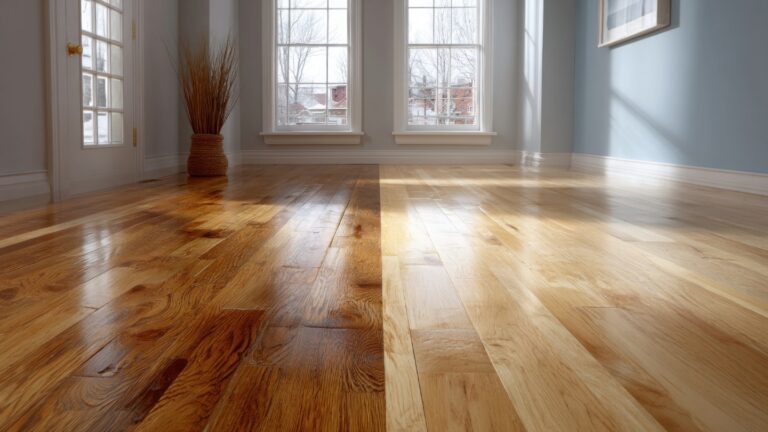
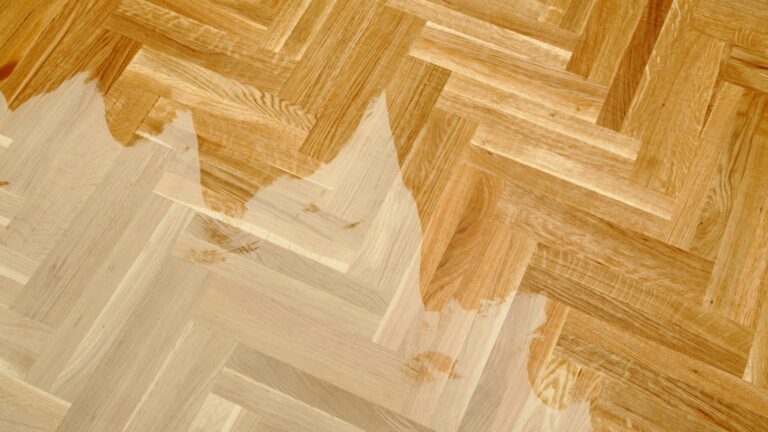
Are you ready to transform your wood floors into pristine surfaces? Achieving flawless results through wood floor sanding is more than just running a machine across the floor. Preparation is key, ensuring that every nook and cranny is ready for the sanding process. This guide will detail each step necessary to prepare your floor, from clearing the room and removing protruding nails to gathering essential equipment. Understanding these foundational steps sets the stage for a smooth, dust-free, and professional-quality finish on your wooden floors. Let’s embark on this journey to uncover the secrets of a perfectly sanded floor.
Preparing Your Wood Floor for Sanding
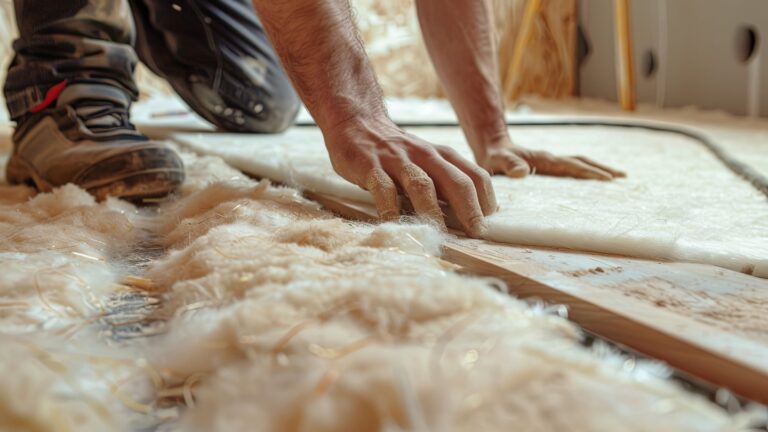
Before embarking on the sanding process, preparing your wood floor properly is crucial to achieve optimal results. Begin by ensuring the room is completely empty, removing all furniture and decorative items. Any old floor coverings, such as carpets or rugs, must be taken out to expose the bare floor. Check for and remove any nails, tacks, or staples that could damage the sanding equipment. Use a vacuum cleaner to thoroughly clean the floor surface, eliminating dust and debris that could interfere with the sanding process.
Essential tools and safety equipment you will need include:
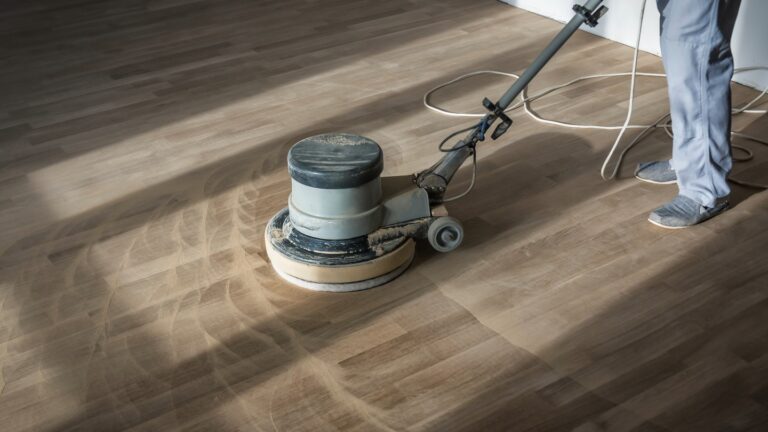
- Drum sander: Essential for sanding large floor areas.
- Edging sander: Designed to reach edges and corners.
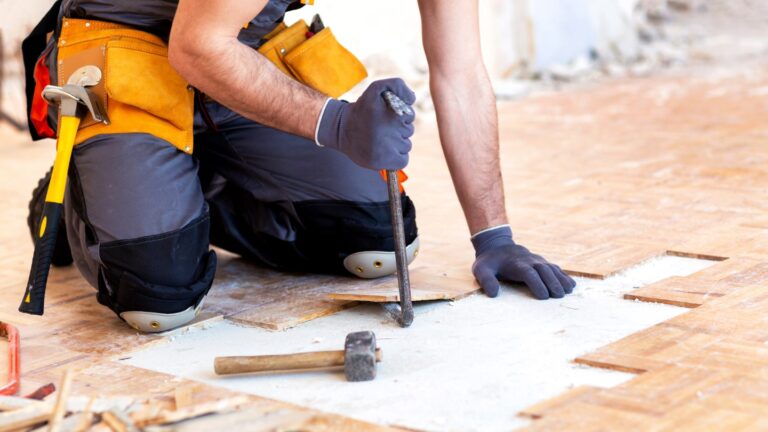
- Hammer and nail punch: This is used to secure any loose nails below the surface.
- Vacuum cleaner: To maintain a clean work environment.
- Safety gear: High-quality dust masks (FFP2), ear protection, and sensible shoes to ensure safety.
After clearing and cleaning, inspect the floor to ensure it is flat and devoid of protruding nails. A flat surface is critical for even sanding. If necessary, use a hammer and nail punch to gently drive any protruding nails below the surface level, although this may not be required if they are already flush. Personal protective gear is essential, as sanding generates dust and noise. Wearing a dust mask and ear protection safeguards your health, while sensible footwear provides comfort and safety during the process.
Choosing the Right Sanding Equipment and Techniques
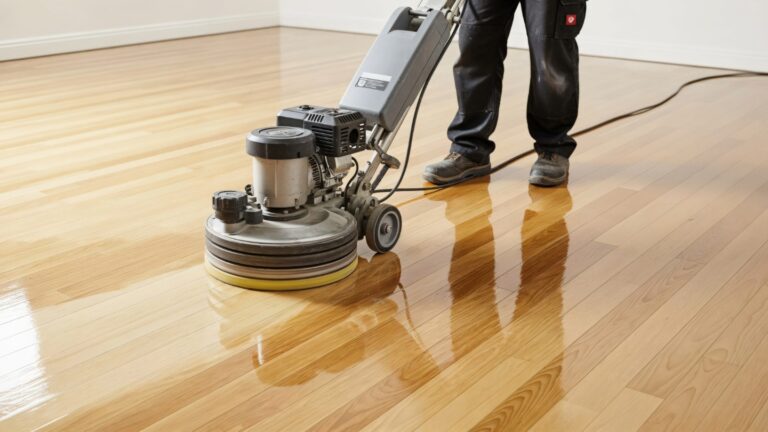
Selecting the correct sanding equipment is vital for achieving flawless results when sanding wood floors. Various types of sanders are available, each serving specific functions. Due to its power and efficiency, a drum sander is commonly used for large floor areas. An edging sander is essential for edges and corners. Professionals might also use a delta sander for its precision in reaching areas that are otherwise difficult to access. These sanders can typically be rented from home improvement stores, making them accessible for both DIY enthusiasts and professionals alike.
Choosing Between Drum and Orbital Sanders
When deciding between a drum sander and an orbital sander, consider the specific needs of your project. Drum sanders are known for their aggressive sanding capabilities, making them ideal for removing substantial layers of wood or dealing with heavily worn floors. They require a steady hand to prevent gouging the wood.
In contrast, orbital sanders provide a gentler approach, suitable for lighter sanding tasks and finishing touches. Their random orbit motion reduces the likelihood of leaving marks on the floor, offering a smoother finish. While drum sanders work faster on large areas, orbital sanders are preferred for delicate work and less experienced users.
Understanding essential sanding techniques is crucial to avoid common pitfalls. One key technique is to keep the sander moving at all times. Stationary sanding can lead to uneven surfaces or grooves. Begin with coarser sandpaper and work towards progressively finer grits to ensure a smooth and even finish. This gradual progression is vital in achieving a quality result without damaging the wood.
Understanding Sandpaper Grits for Wood Floor Sanding
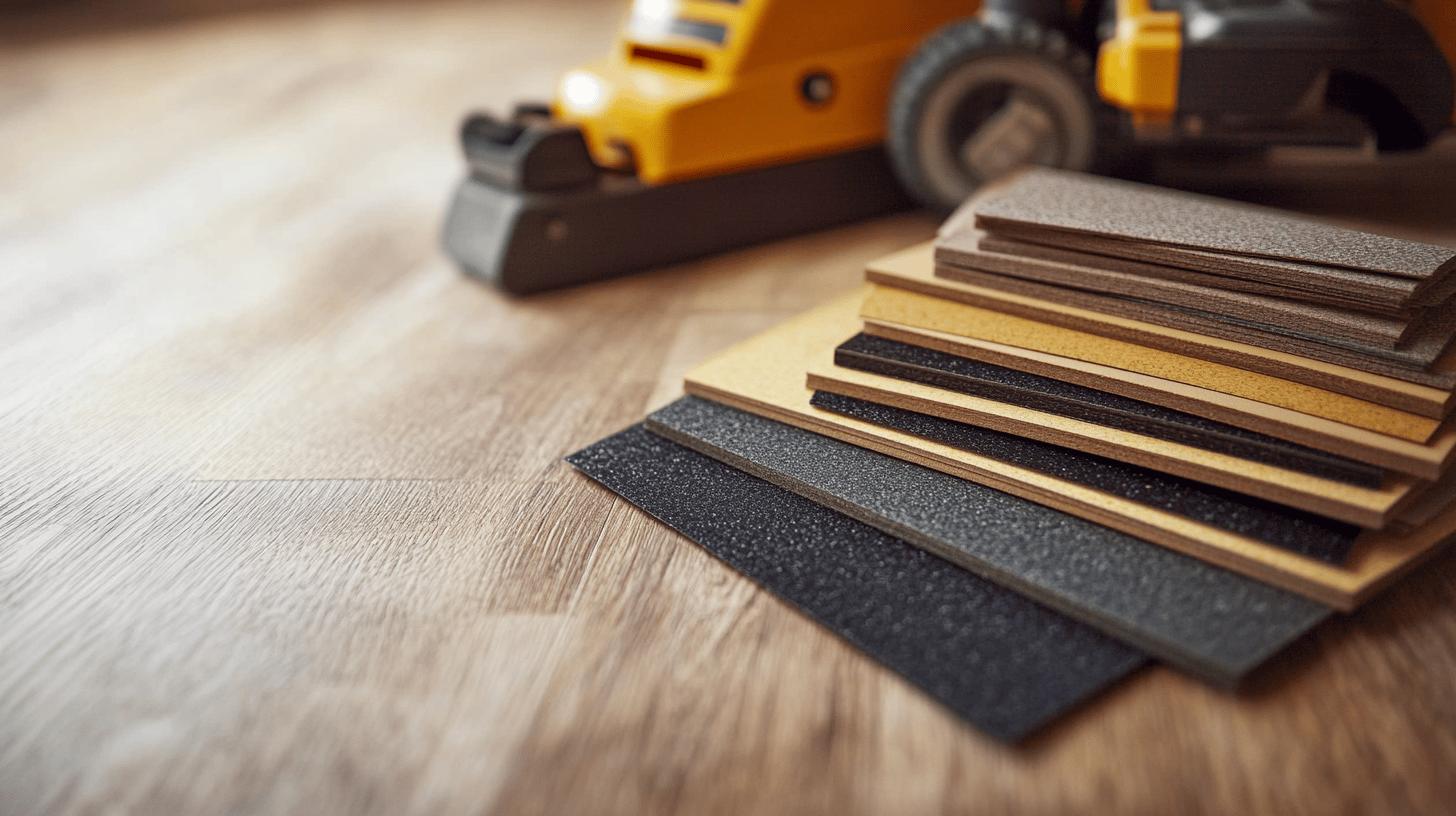
Selecting the appropriate sandpaper grits is integral to achieving a smooth and professional finish on wood floors. The process begins with using coarser grits to effectively remove old finishes and surface imperfections. As the sanding progresses, it is essential to move through progressively finer grits. This gradual transition ensures that the wood surface becomes increasingly smooth, preparing it for the final finishing touches. Employing the right sequence of grits not only improves the efficiency of sanding but also minimizes the risk of damage to the wood’s surface.
Recommended grit sequences for typical wood floor sanding:
- 36 grit: Initial sanding to remove old finishes and significant imperfections.
- 60 grit: Intermediate sanding to smooth out the surface after the initial rough sanding.
- 80 grit: Further refines the surface, preparing it for the final sanding stage.
- 120 grit: Final sanding to achieve a smooth, even finish ready for staining or sealing.
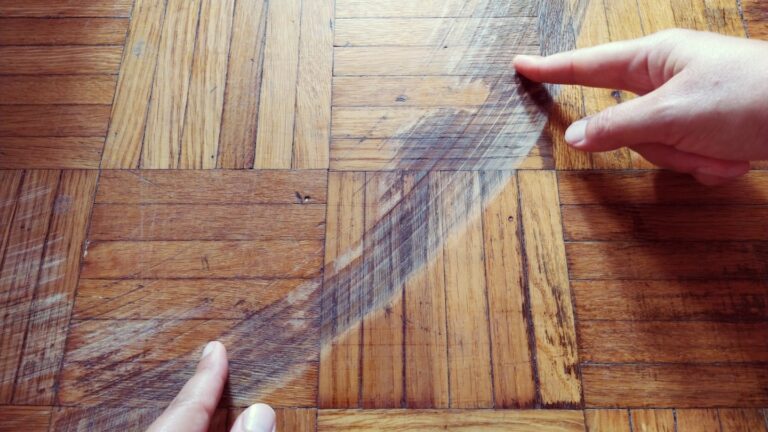
Choosing the correct sandpaper grit significantly impacts the quality of the final floor finish. Using inappropriate grits can lead to uneven surfaces or noticeable scratch patterns, undermining the aesthetic appeal of the floor. The choice of grit affects not only the smoothness of the surface but also how well the wood will absorb stains or finishes. Proper selection and use of sandpaper grits ensure that the floor’s natural beauty is enhanced and preserved, allowing for a flawless and professional appearance.
How to Sand Wood Floors: Achieve Flawless Results
-
- Initial Sanding- Begin by setting up a professional-grade drum sander, which is essential for removing the worn top layer of the wood floor. This step reveals a fresh layer, enhancing the floor’s aesthetic appeal. Start with a coarse grit, such as 36, to effectively strip away old finishes and address any significant surface imperfections. Always keep the sander moving to avoid creating uneven surfaces or gouges. This initial phase sets the foundation for a smooth floor finish.
-
- Edge Sanding- Next, switch to an edging sander for areas that the drum sander cannot reach, such as corners and along the walls. This specialised sander is designed to tackle the edges with precision. Use the same coarse grit as the initial sanding to maintain consistency. Carefully work around the room’s perimeter, ensuring the transition between the main floor and the edges is seamless. Edge sanding is crucial for achieving a uniform look across the entire floor.
-
- Intermediate Sanding- Once the initial and edge sanding is complete, progress to an intermediate sanding stage using a
medium grit, such as 60. This phase smooths out the surface further, removing any marks left by the coarse grit. Employ both the
drum and edging sanders to maintain an even texture across the floor. Intermediate sanding is vital for refining the surface and
preparing it for the final sanding stage.
- Intermediate Sanding- Once the initial and edge sanding is complete, progress to an intermediate sanding stage using a
-
- Final Sanding- For the final sanding, use a fine grit, such as 120, to achieve a smooth and even finish. This step is critical for ensuring the floor is ready for staining or sealing. A professional-grade orbital sander can be beneficial for this stage, as its random orbit motion reduces the risk of leaving marks. The final sanding enhances the wood’s natural beauty and ensures it is prepared to absorb finishes evenly.
-
- Cleaning Up Dust- After sanding, thoroughly cleaning is essential to remove dust and debris. Utilise mobile extraction units and a vacuum cleaner to ensure a dust-free environment. This step not only contributes to a safer workspace but also prevents dust from settling into the finish later. A clean surface is essential for the successful application of stains or seals, allowing the floor’s sheen and colour to shine through without imperfections.
Finishing Touches: Staining and Sealing Your Sanded Floors
Professional wood floor sealing and staining are essential steps in the restoration process, enhancing both the beauty and longevity of the floor. Staining not only adds depth and richness to the wood’s appearance but also allows for customisation to match any décor. Sealing, on the other hand, provides a protective layer that shields the floor from moisture, wear, and damage. The combination of staining and sealing not only improves the aesthetic appeal but also extends the life of the floor, ensuring it remains in pristine condition for years to come.
Applying varnish or oil is a crucial part of the finishing process. Begin by choosing a high-quality product like Granwax Aquathane in satin for varnishing. When applying varnish, start by evenly spreading the first coat across the floor, allowing it to dry completely before proceeding. It is recommended to apply three coats in normal areas, with an additional coat for high-traffic areas, allowing each layer to dry thoroughly to ensure maximum durability. Alternatively, applying an organic oil finish can enhance the wood’s natural beauty and provide water-repellent properties. Ensure the oil is evenly distributed and allow it to penetrate the wood surface before wiping away any excess.
A well-finished floor offers both aesthetic and protective benefits. The sheen from varnish or the soft, natural appearance provided by waxing creates an inviting atmosphere, making the wood grain stand out. Additionally, the protective layer formed by sealing helps resist daily wear and tear, spills, and moisture infiltration, preserving the floor’s condition. Professional wood floor restoration and finishing ensures that the wood floor maintains its elegance and functionality, significantly adding value to the space.
Professional vs. DIY: When to Hire Ryan’s Restoration
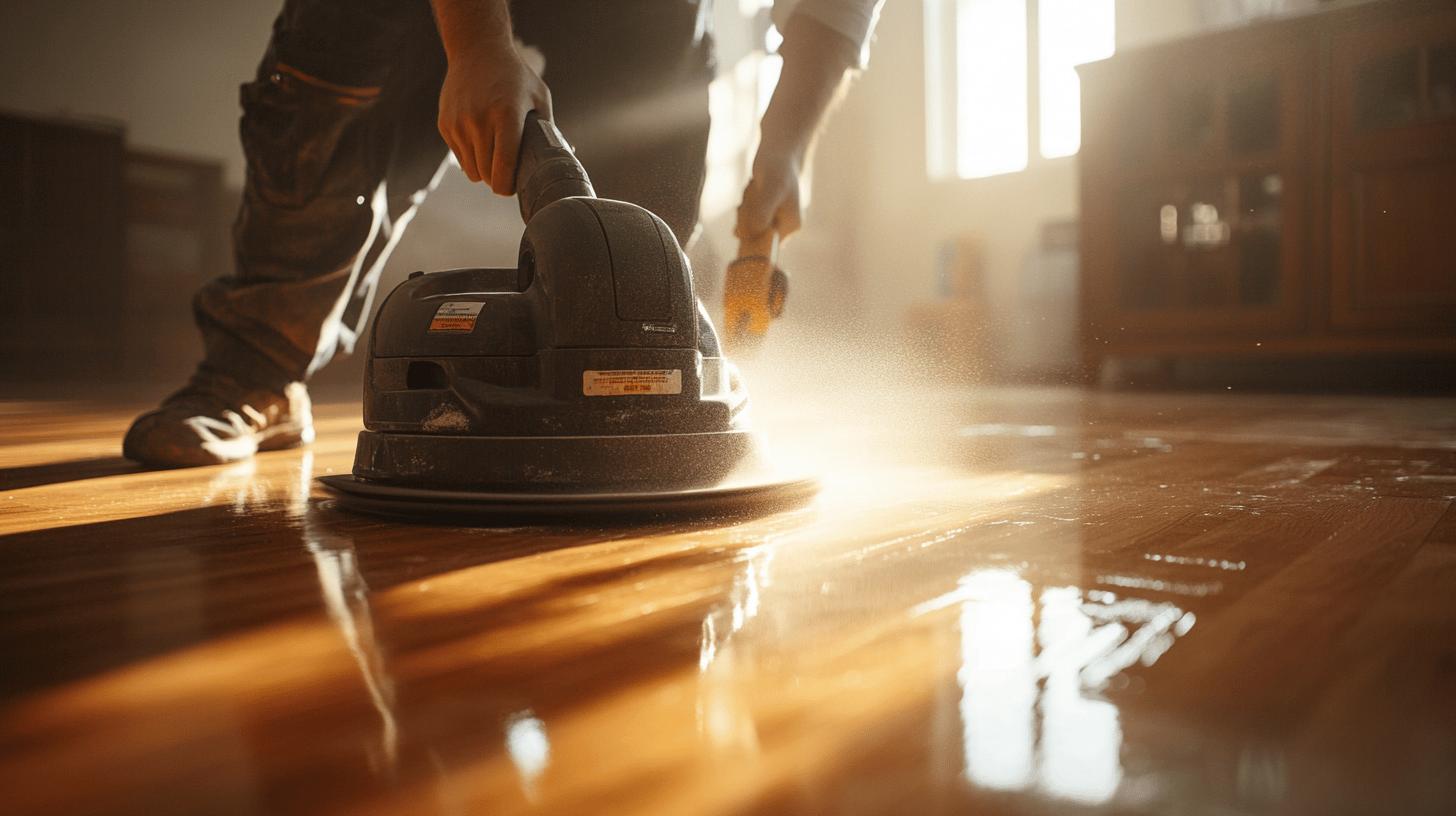
Sanding wood floors can be a rewarding DIY project for those with the time and physical endurance to undertake it. The benefits of DIY sanding include cost savings and the satisfaction of completing the work yourself. However, it is important to consider the physical demands and the potential for uneven results due to inexperience. While there is no significant difference in the final results between DIY and professional sanding, achieving a flawless finish requires careful attention to technique and equipment handling. The task can be laborious, and mistakes may lead to costly repairs or the need for professional intervention.
For those seeking a guaranteed professional finish without the effort and time commitment of a DIY project, hiring experts like Ryan’s Restoration is advisable. Professional sanding services not only provide a faster turnaround but also ensure the use of advanced equipment and techniques. With a cost of approximately £250 for a 15m² room, the investment in professional services can be worthwhile for a high-quality result. Ryan’s Restoration offers expertise and reliability, ensuring your wood floors are restored to their original splendour with minimal hassle.
Final Words
Achieving beautifully sanded wood floors necessitates diligent preparation, the right equipment, and proper techniques. The process starts with preparing your wood floor, which involves clearing the room and ensuring the floor is smooth and free from obstacles. Choosing between drum and orbital sanders plays a crucial role in the sanding process, and selecting the right sandpaper grit can greatly affect the floor’s finish quality.
The comprehensive step-by-step guide to sanding wood floors ensures a flawless result. Enhancing your home’s aesthetic and value becomes achievable with properly stained and sealed floors. Ultimately, whether you choose a DIY approach or seek the expertise of Ryan’s Restoration, understanding how to sand wood floors provides significant value and satisfaction.
FAQ
Can I sand hardwood floors myself?
Sanding hardwood floors can be a DIY project as long as the individual is prepared for the physical demands and equipped with the right tools, such as drums or orbital sanders. Beginners should proceed with caution.
How to sand wood floors for beginners?
For beginners, it is critical to research proper techniques and begins with a drum sander for large areas and an edging sander for borders. Progress through finer grit sandpapers to achieve a smooth finish.
How to sand a wooden floor for beginners?
To sand wood floors as a beginner, remove all furniture, clean meticulously, and use a drum sander for main areas, complementing it with an edging sander for corners.
How do you sand wood floors with a sander?
When using a sander for wood floors, employ a combination of drum and edge sanders. Progress with progressively finer sandpapers, ensuring constant movement to avoid uneven surfaces.
How do you sand wood floors by hand?
Sanding floors by hand is inefficient and costly. Using professional-grade machines, such as a drum or orbital sander, is advisable for best results and ease.
What is the best tool for sanding hardwood floors?
The best tool for sanding hardwood floors is a professional-grade drum or orbital sander, suitable for large areas. For corners, use a delta sander for thoroughness.
How to restore hardwood floors without sanding?
To restore hardwood floors without sanding, apply a revitalising finish or polish that can enhance the appearance and provide some protection without removing the top layer.
What is the easiest way to sand hardwood?
The easiest way to sand hardwood is with a drum or orbital sander, keeping the machine moving consistently to prevent dips or scratches on the surface.
How much do sanding floors cost?
Sanding floors costs approximately £17 per square metre for professional services. DIY costs are lower but require renting necessary equipment like sanders.
How do you refinish hardwood floors cheaply?
For inexpensive refinishing, opt for DIY sanding and consider using budget-friendly finishing products, like water-based varnishes or oils, while ensuring adequate protection.
