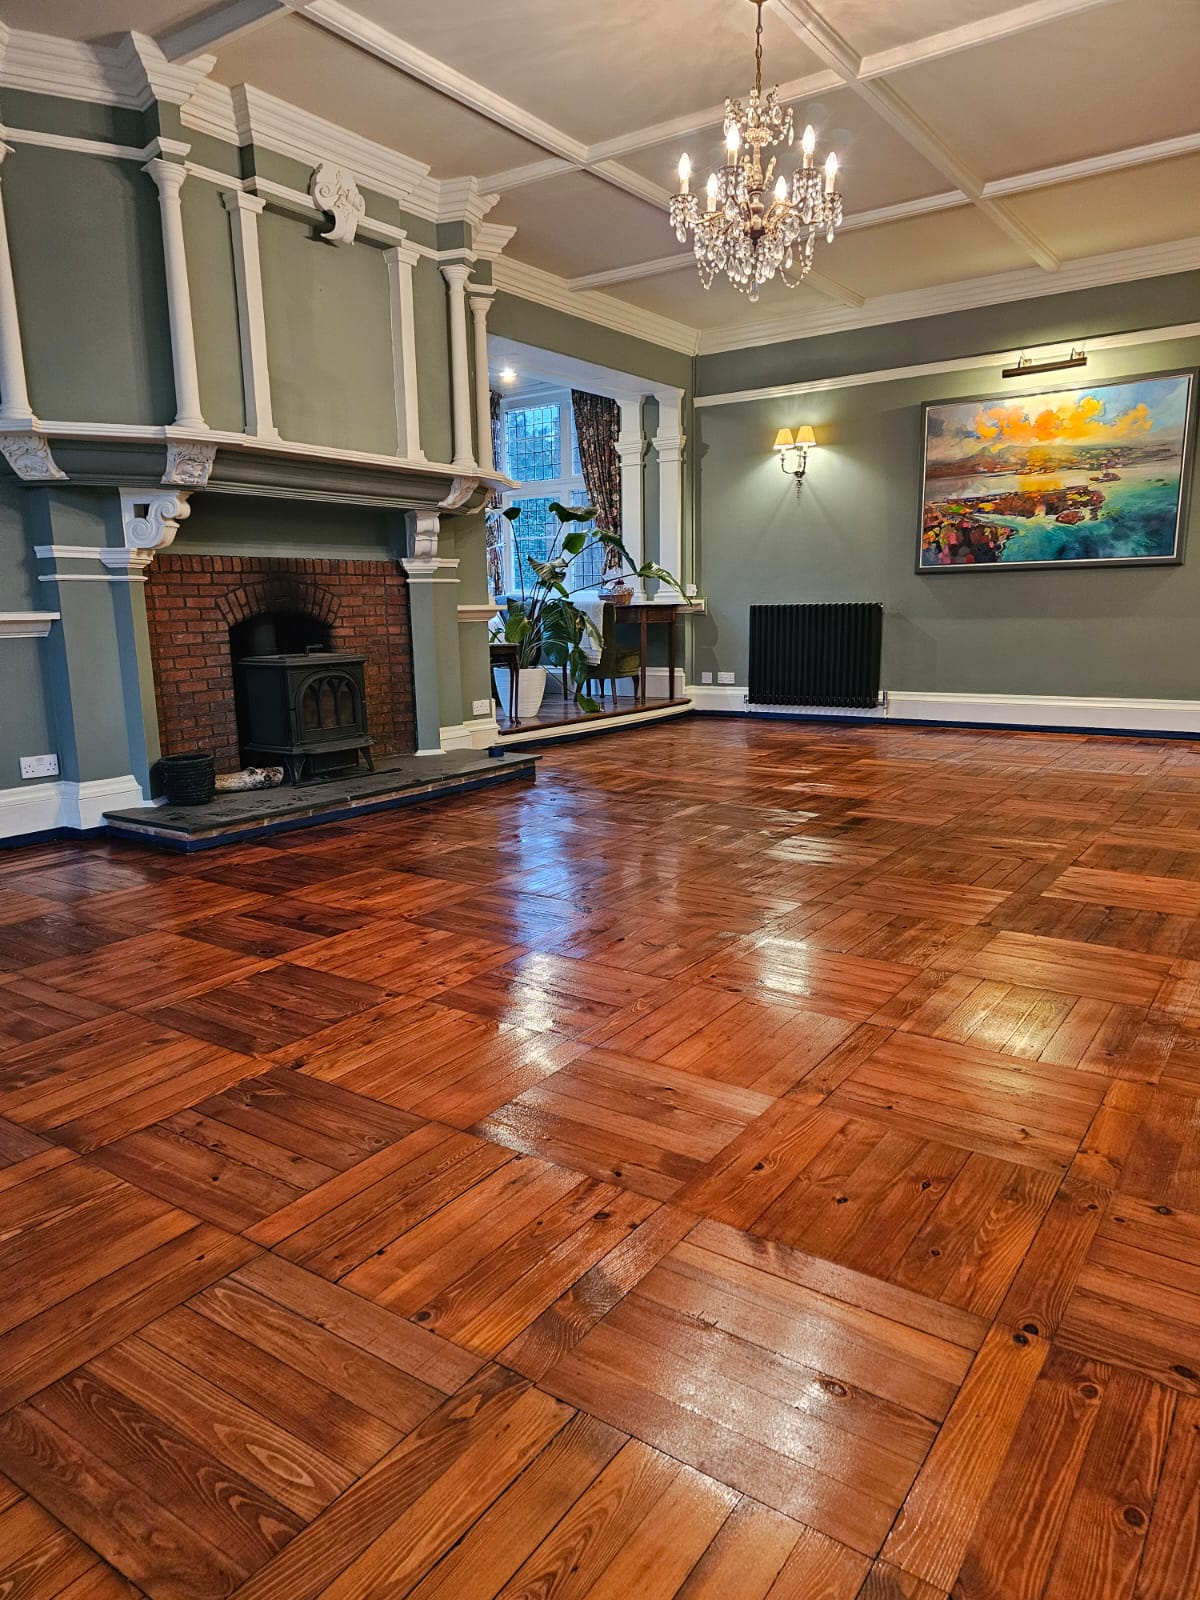
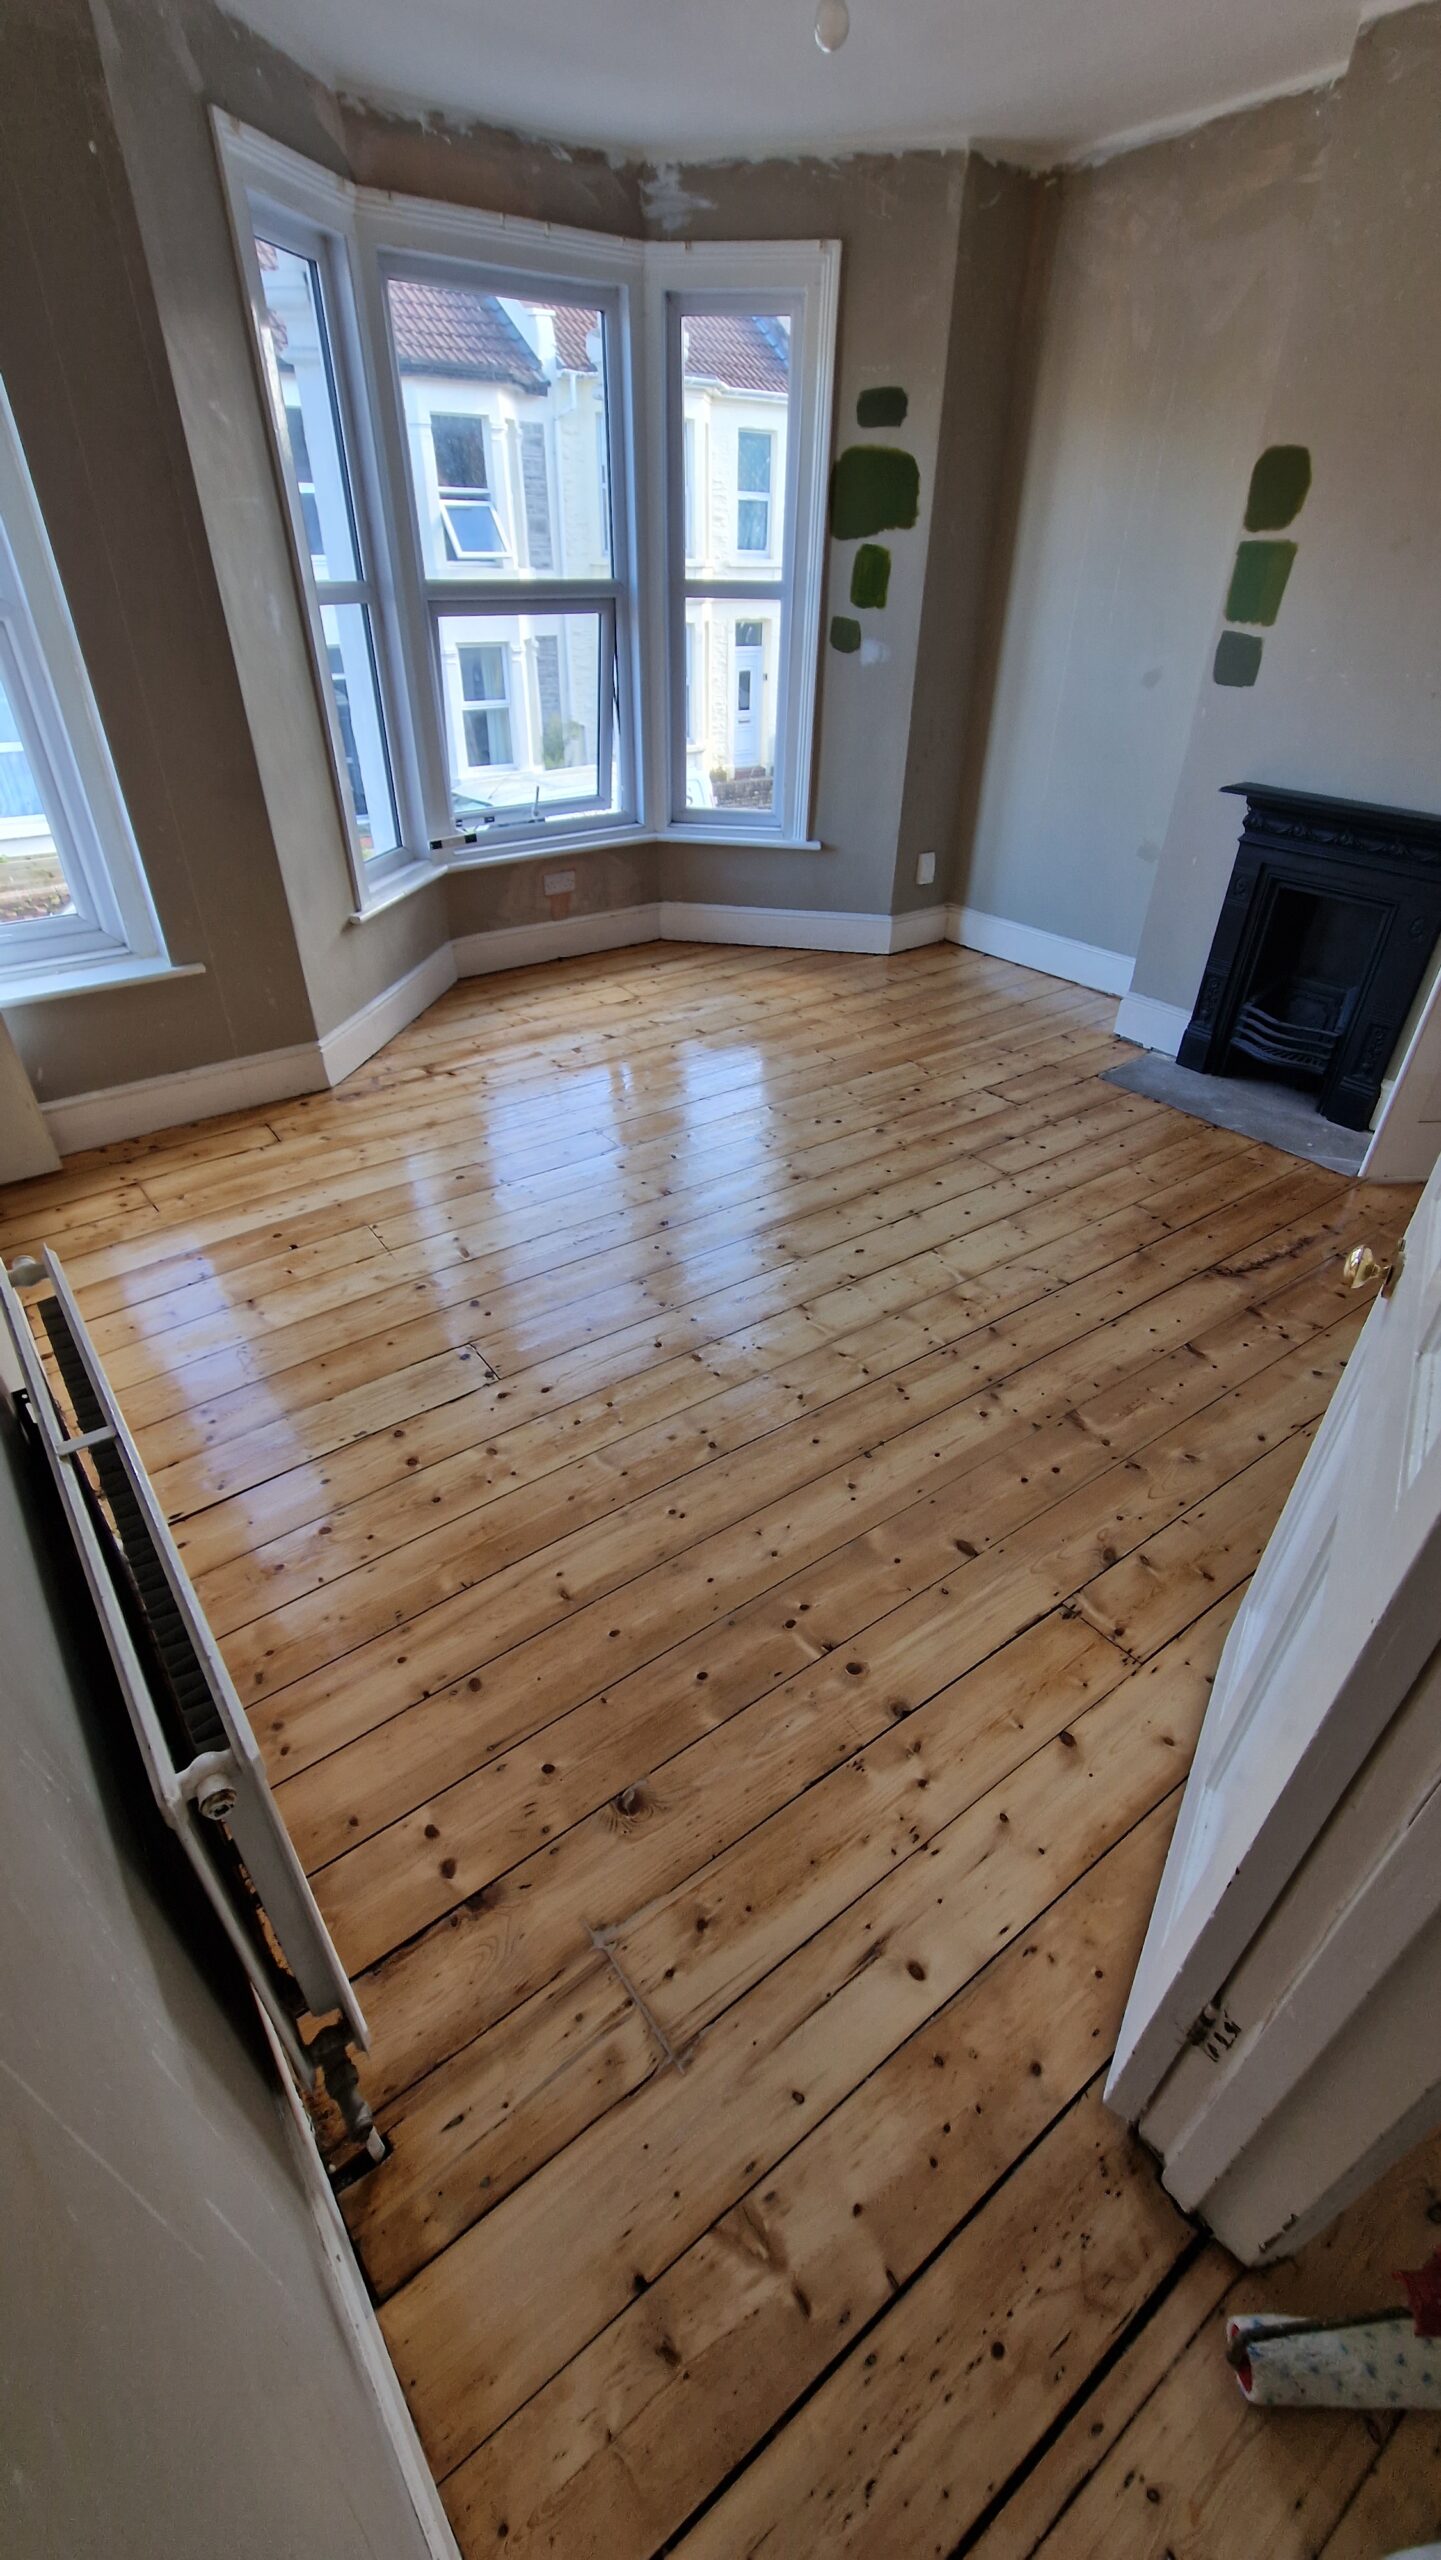
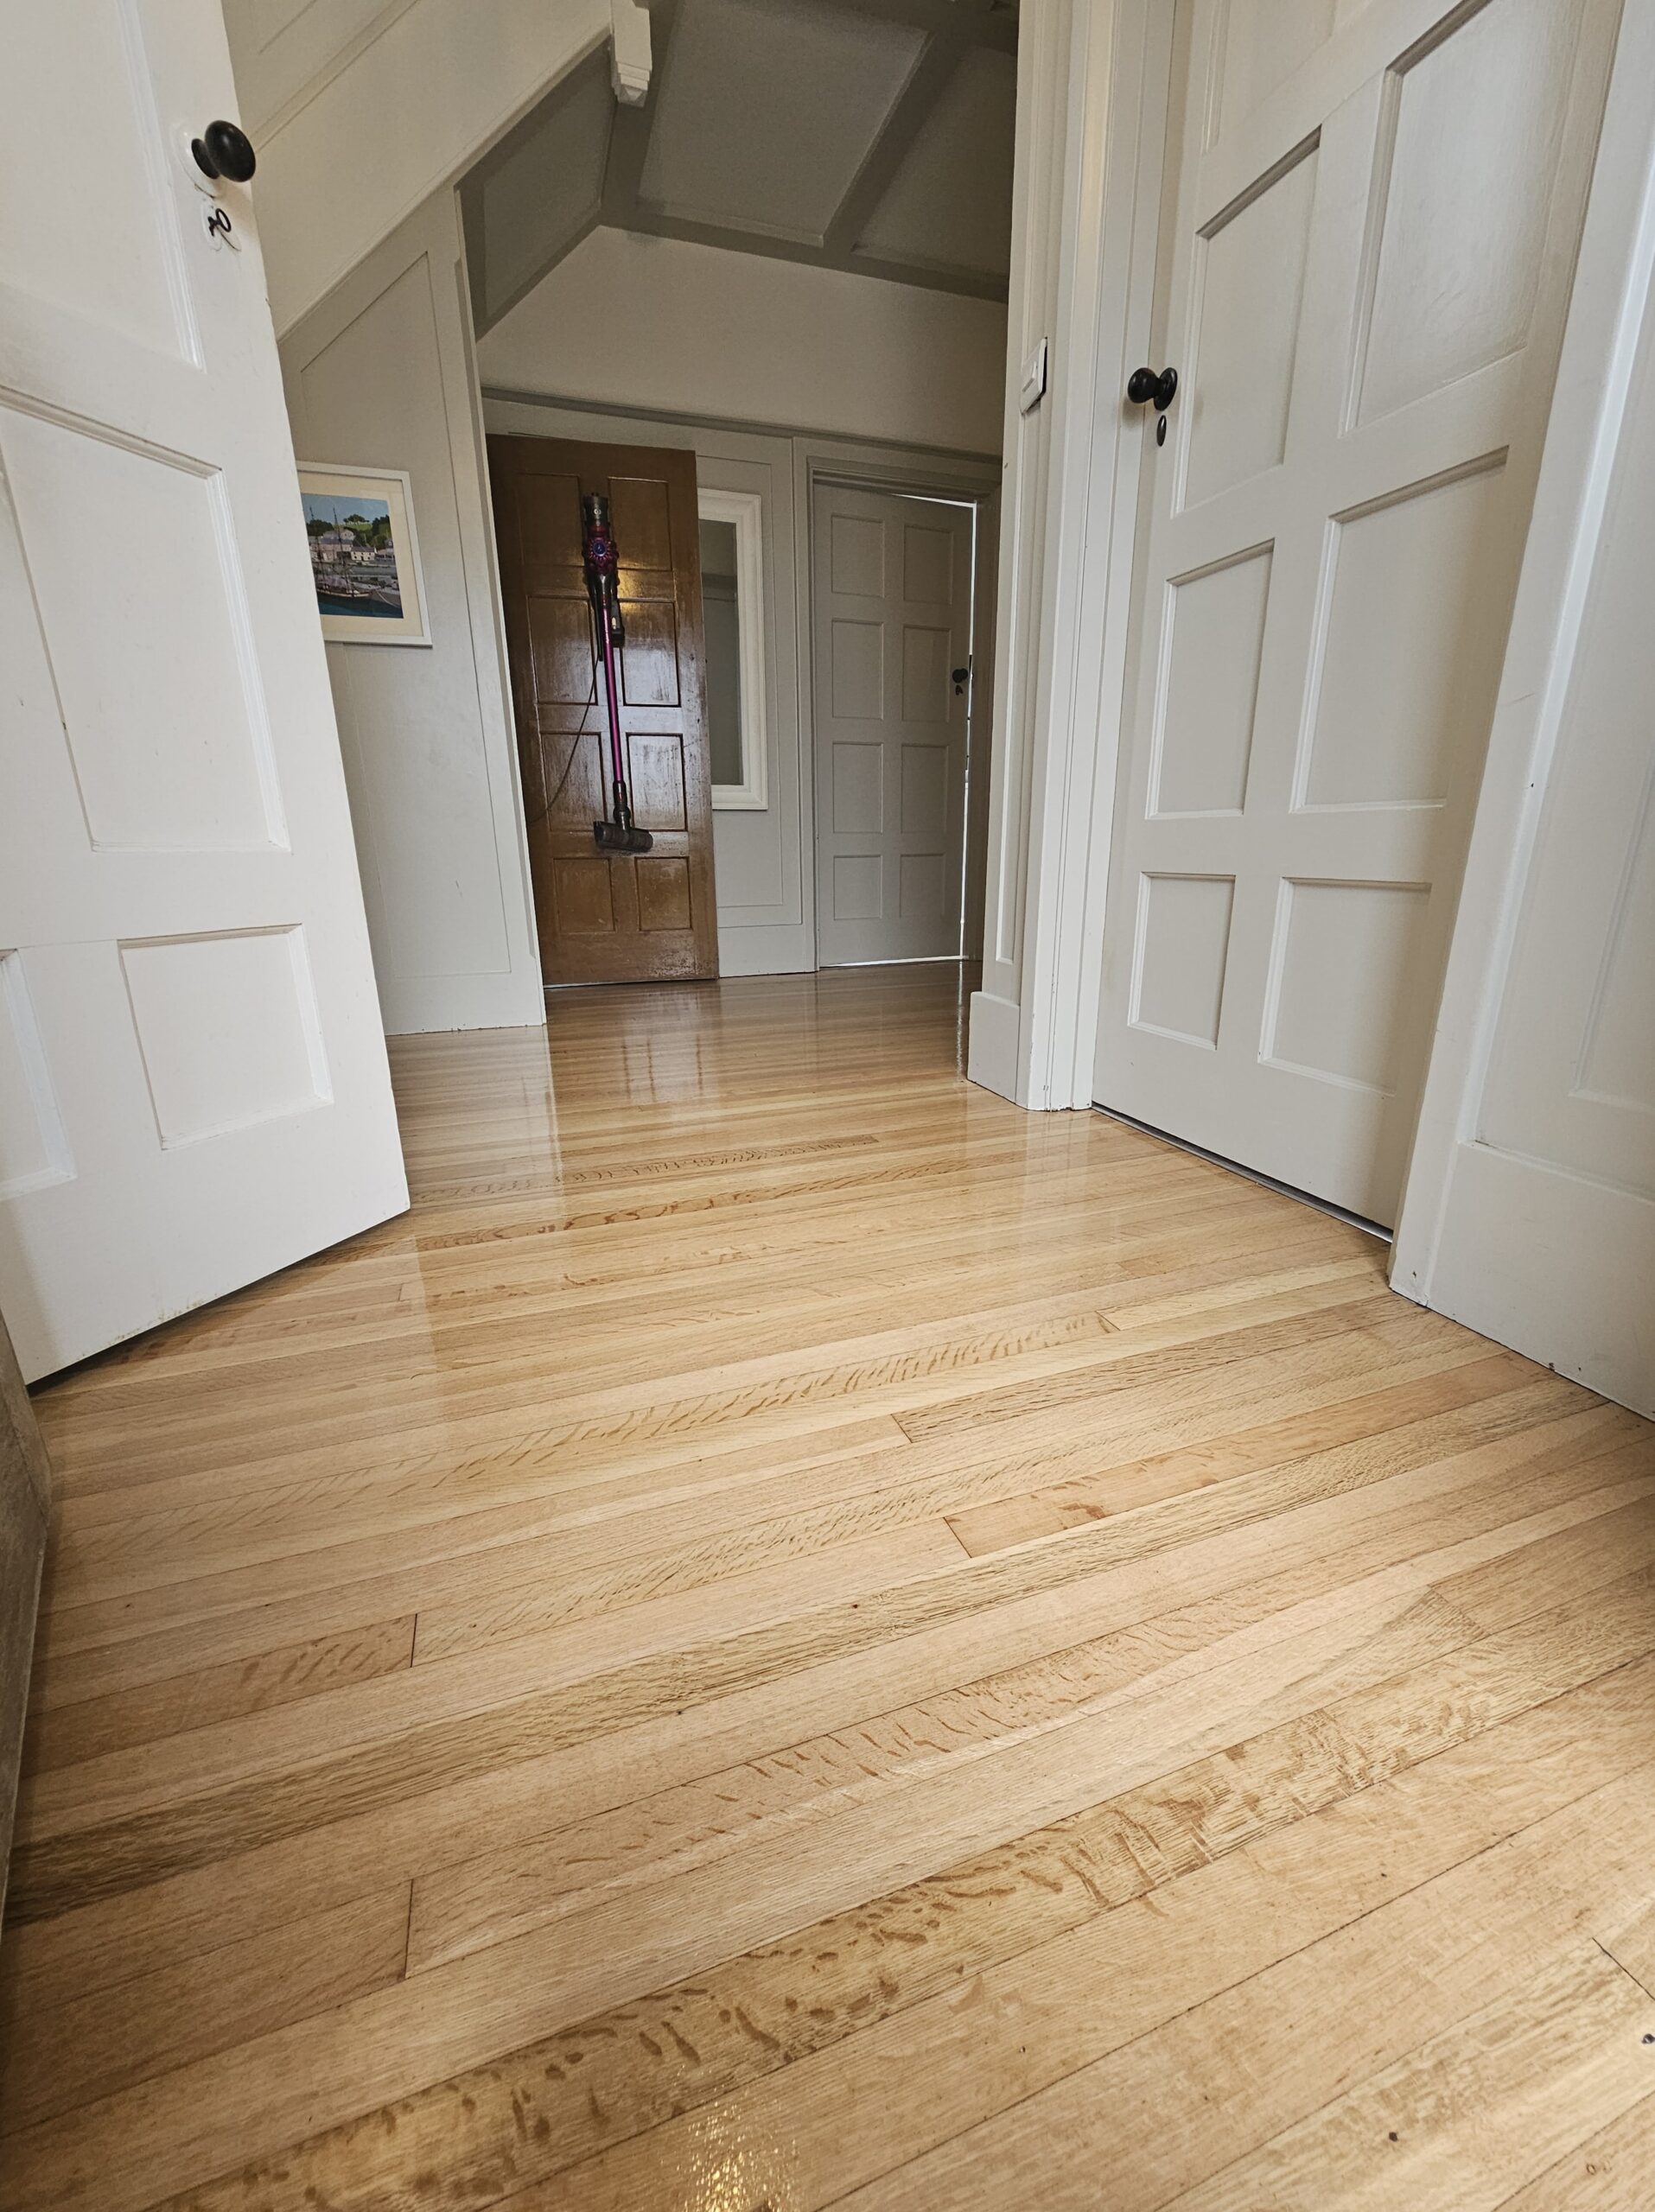
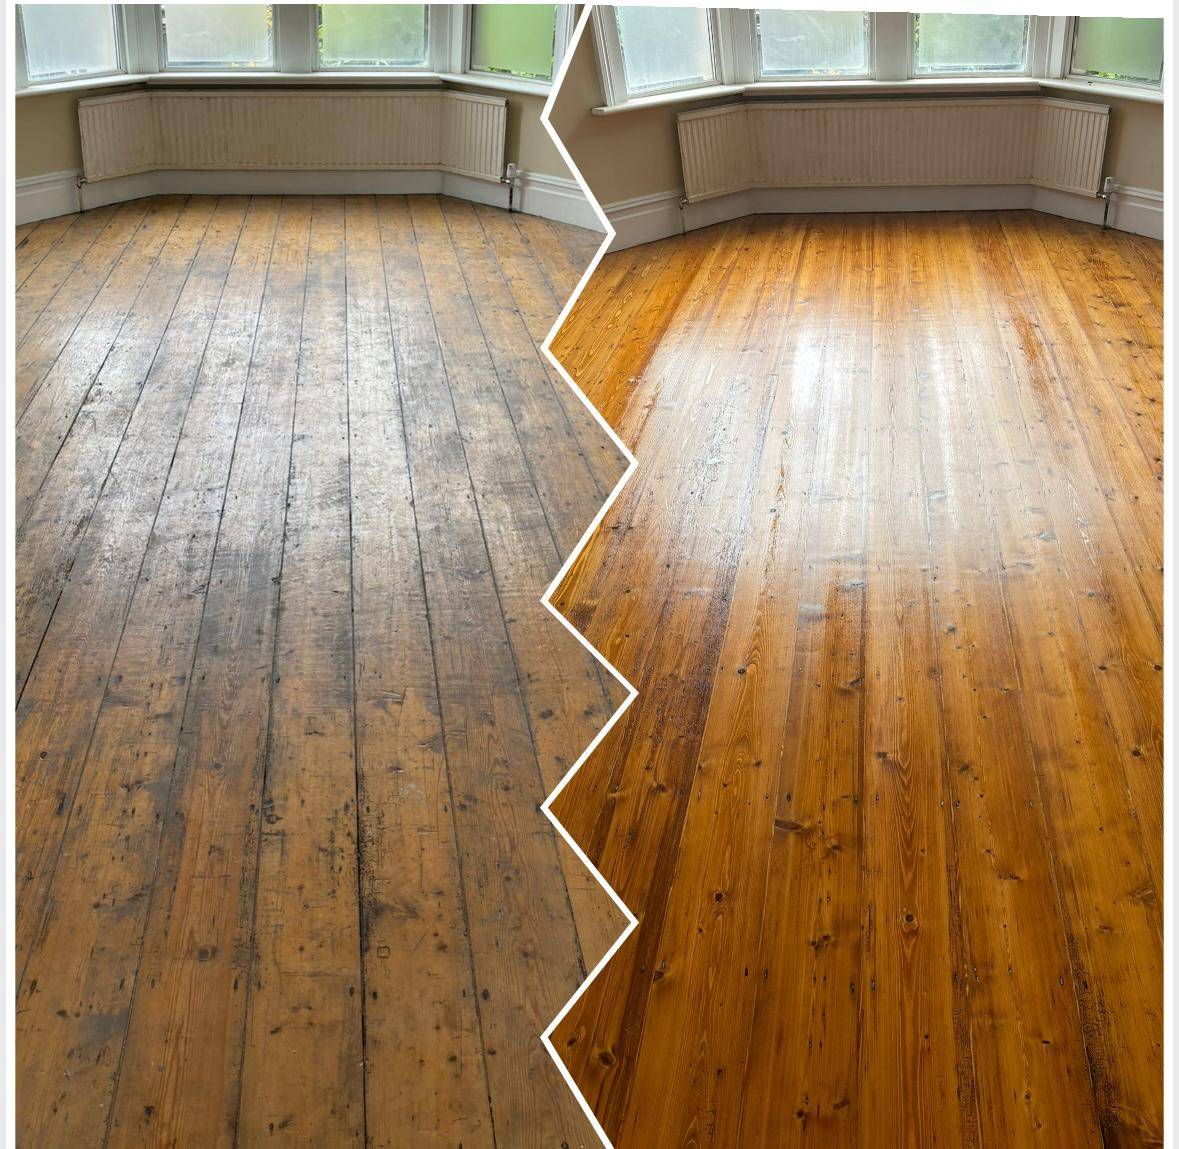
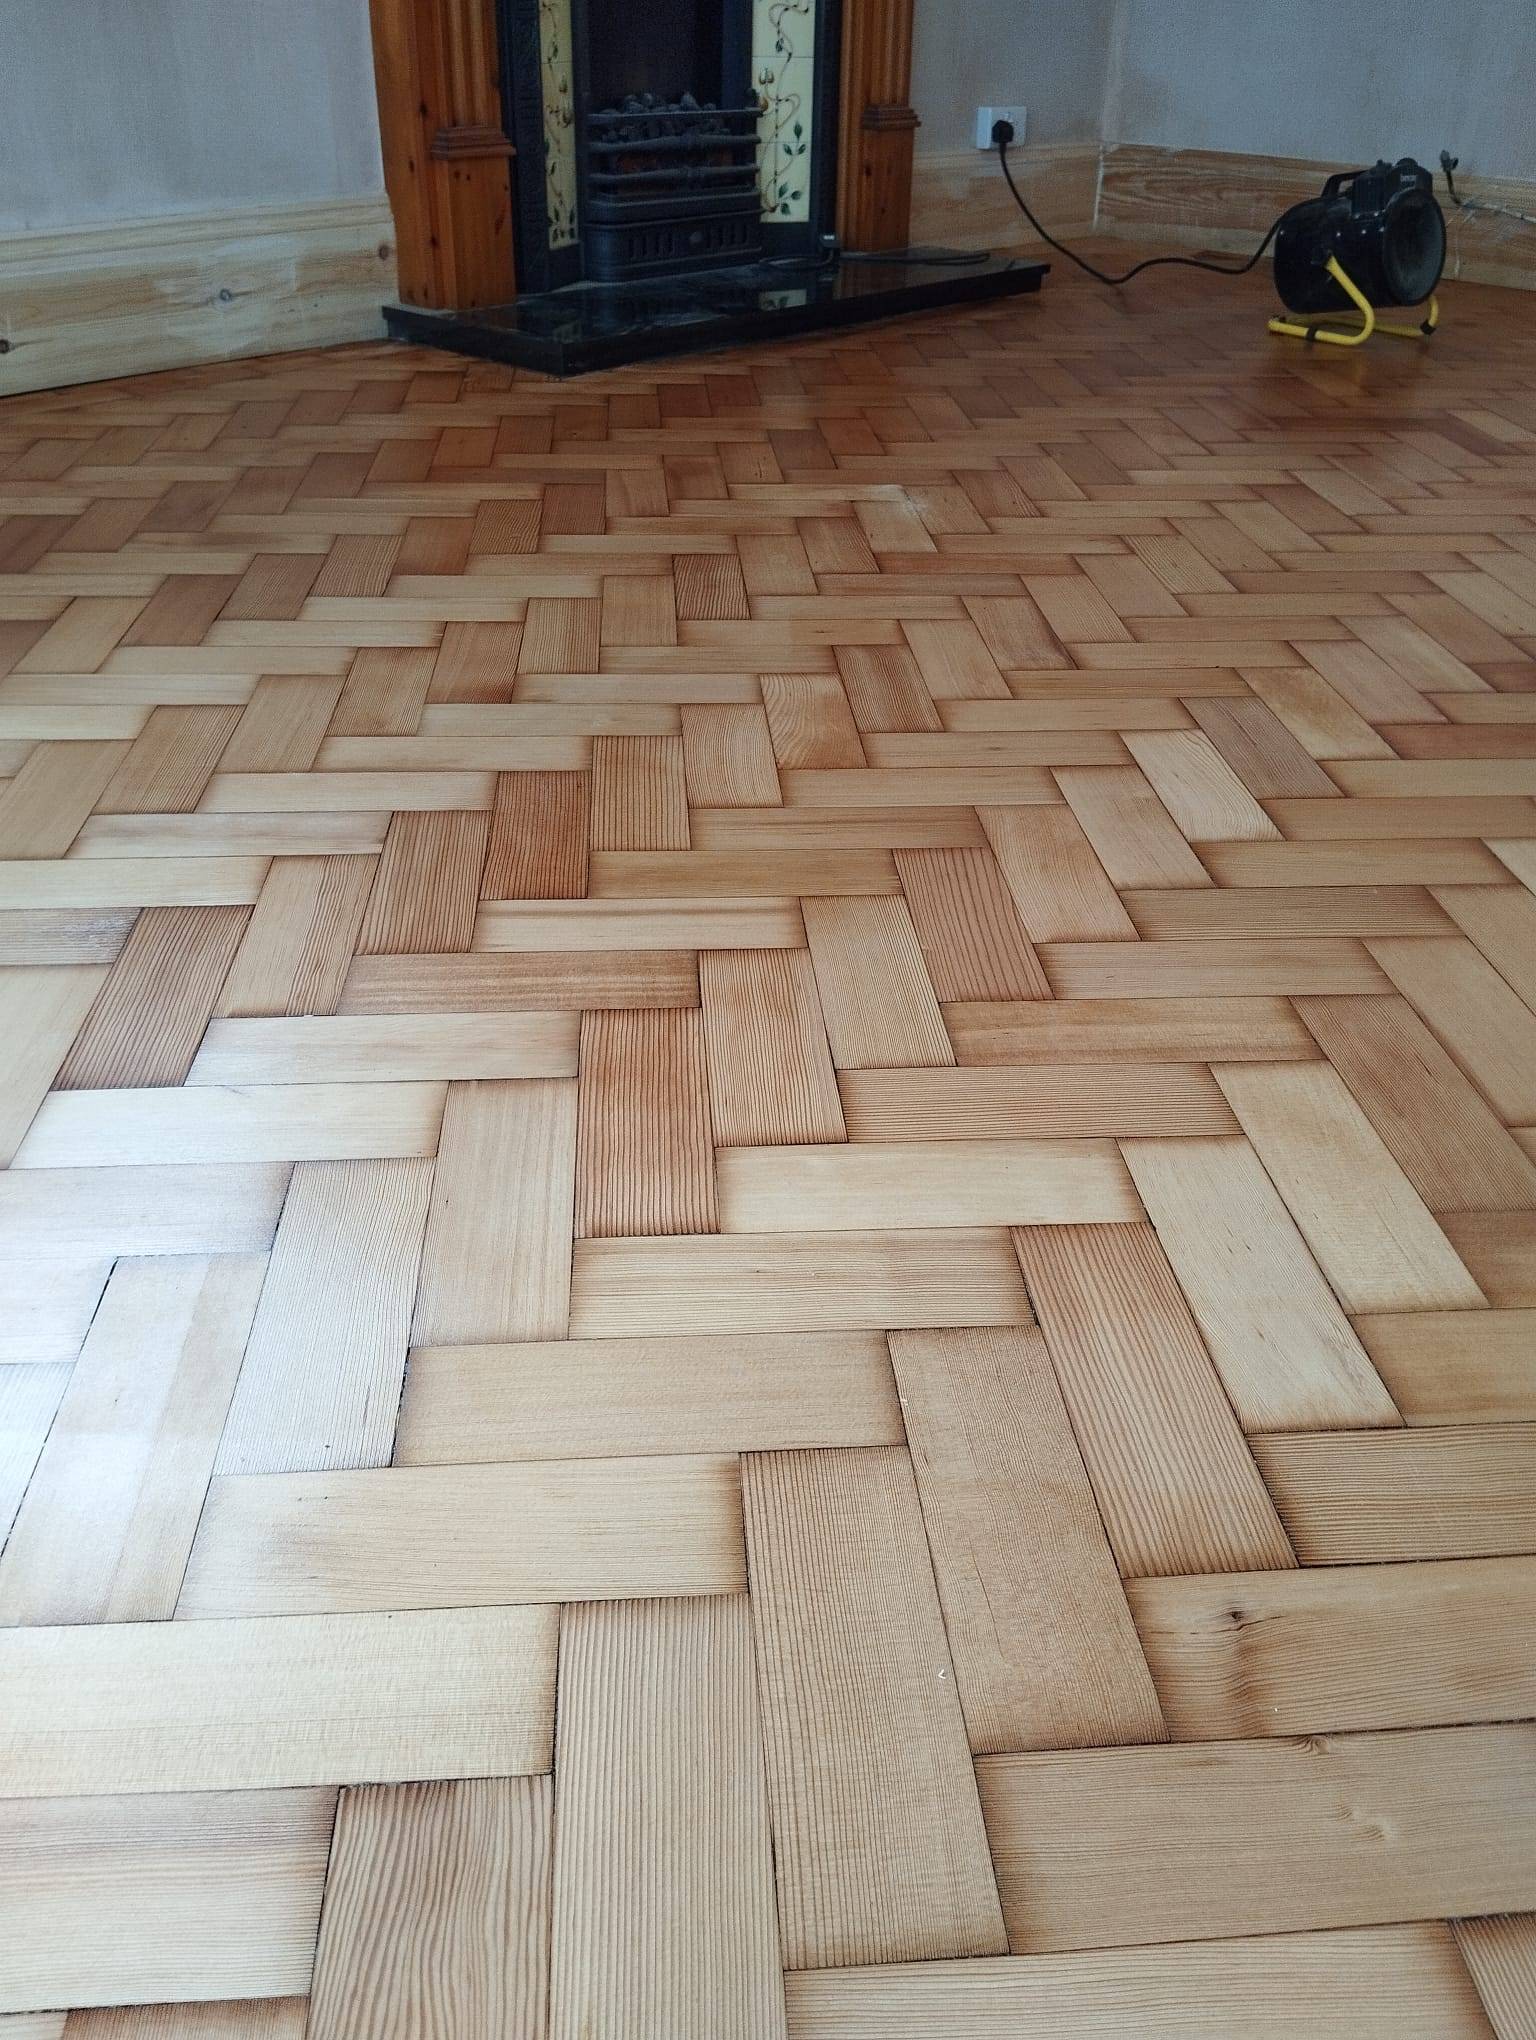
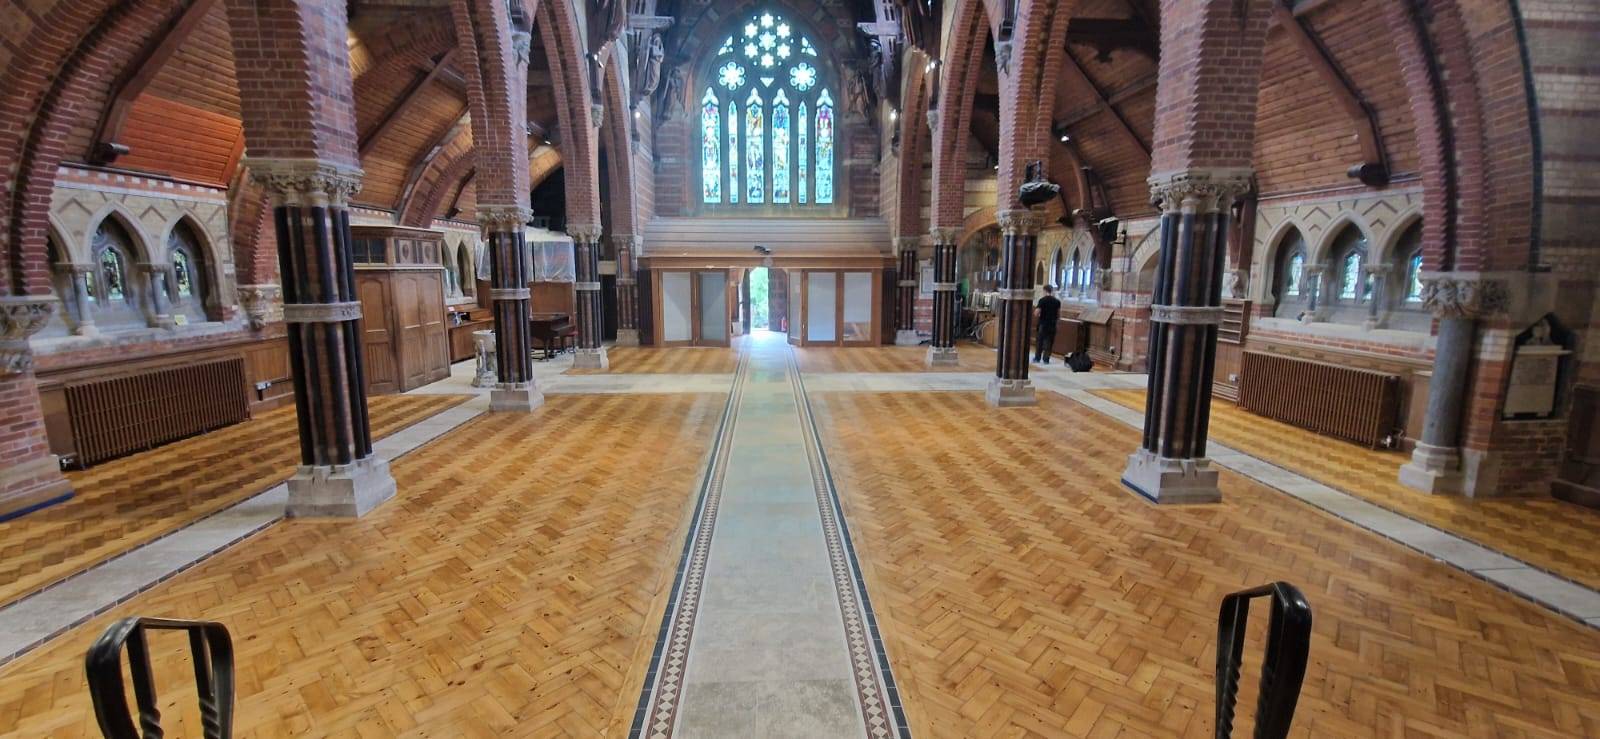
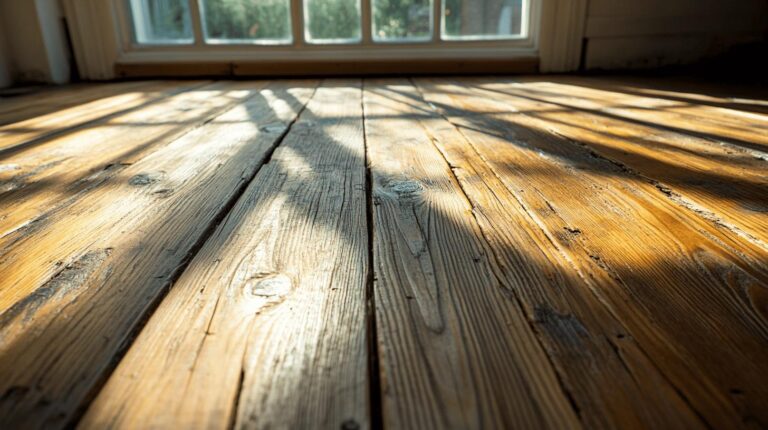
Can your wood floors stand the test of time without losing their original charm? In the quest to revitalise old wood flooring, many homeowners grapple with preserving its inherent beauty while ensuring durability. “Restore Wood Floors: Maintain Their Original Charm” unveils the secrets to achieving this intricate balance, offering expert guidance on evaluating and cleaning techniques, repairing minor blemishes, and choosing the best finishes. Delve into this detailed guide and unearth the perfect approach to not only restore but also maintain the character intrinsic to your beloved wood floors.
Evaluating Your Wood Floor’s Condition and Identifying Wood Type
Evaluating the condition of your wood floor is an essential first step in any restoration project. This process allows you to determine the extent of wear and tear, identify areas that require repair, and understand the specific needs of your flooring. Without a proper assessment, you risk exacerbating existing issues or applying inappropriate restoration techniques that can compromise the floor’s integrity. Checking for signs of damage, such as scratches, dents, and water stains, will inform you about the level of intervention required. Additionally, knowing the wood type of your floor is crucial, as different woods have unique characteristics that influence the restoration approach.
- Oak: Known for its durability and prominent grain patterns, oak floors are versatile and respond well to staining, allowing for a variety of finishes.
- Maple: With a smooth grain and light colour, maple is less porous, making it resistant to deep staining but more challenging to refinish.
- Walnut: Walnut floors are softer and may dent more easily, requiring gentle sanding techniques. They are characterised by their rich, dark colour and fine grain.
- Pine: As a softwood, pine is more susceptible to scratches and dents. It often features knots and a rustic appearance, which can be preserved through careful restoration.
- Cedar: This softwood is aromatic and resistant to decay, often used in areas requiring high moisture resistance, but its softness requires cautious handling during sanding.
The type of wood significantly affects the restoration methods employed. For instance, hardwoods like oak and maple are robust and can handle more intensive sanding processes, while softwoods like pine and cedar demand a gentler touch to prevent damage. The wood’s natural colour and grain pattern should guide the choice of stain and finish, ensuring that the restoration enhances rather than obscures the wood’s inherent beauty. Understanding these characteristics allows for a tailored approach that maintains the floor’s original charm while extending its lifespan.
Gentle Cleaning Methods to Preserve Original Character
Gentle cleaning methods are vital for maintaining the original character of wooden floors. Overly aggressive cleaning can strip away the surface finish, dull the wood’s natural sheen, and result in scratches that mark the floor’s appearance. By adopting a gentle approach, you preserve the wood’s patina and beauty, ensuring that its historical and aesthetic value remains intact. This is particularly important for older floors where the character and charm are integral to the space’s ambience.
To clean wooden floors without causing damage, use soft brooms or cylinder vacuum cleaners equipped with brush nozzles. Soft brooms are ideal because their bristles are less likely to scratch the surface, while cylinder vacuum cleaners with brush nozzles effectively remove dirt and debris without exerting excessive pressure. Avoid using stiff-bristled brushes or harsh vacuum attachments that can gouge or scratch the wood. Begin by sweeping or vacuuming the floor to clear loose debris, preventing dirt from grinding into the surface during further cleaning.
Regular maintenance is key to preserving the floor’s character over time. Establish a routine that includes sweeping or vacuuming at least once a week to prevent dust and dirt build-up. Consider placing mats at entryways to catch grit and moisture before they reach the floor. Additionally, using felt pads under furniture legs can prevent scratches. These simple practices ensure that the floor remains a beautiful and enduring feature of your home.
Repairing Minor Scratches and Imperfections
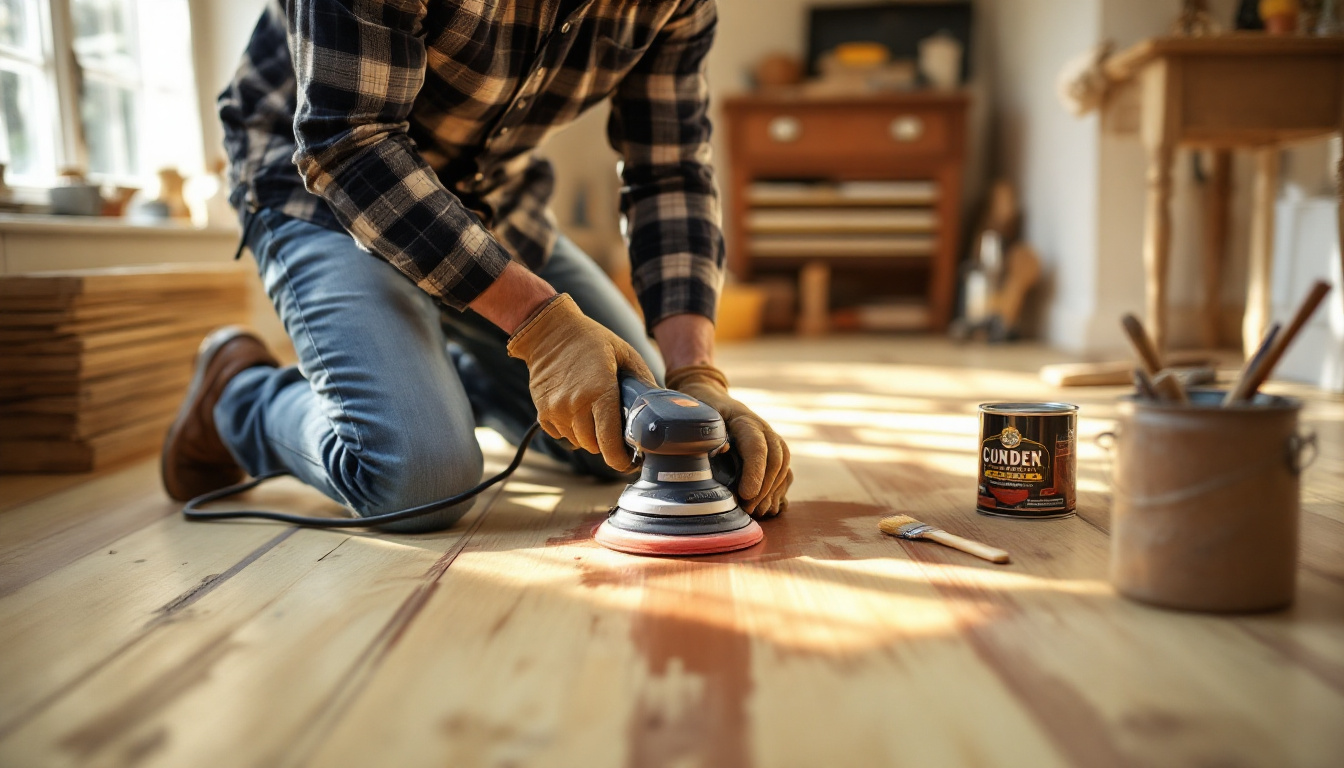
Identifying minor scratches on wood floors is essential to maintaining their charm and preventing further damage. Scratches can appear as light surface marks that disrupt the floor’s finish but do not penetrate the wood deeply. These imperfections are often caused by everyday foot traffic, furniture movement, or small debris. To effectively repair these scratches, it’s crucial to assess their depth and extent. Minor scratches that have not exposed the raw wood are generally easier to fix, whereas deeper gouges may require more intensive restoration techniques. Addressing these issues promptly helps preserve the wood’s natural beauty and extend its lifespan.
- Clean the area around the scratch to remove any dust or debris.
- Choose a wood filler or putty that matches the floor’s colour.
- Apply the filler using a putty knife, ensuring it fills the scratch completely.
- Allow the filler to dry as per the manufacturer’s instructions.
Once the wood filler is dry, sanding the repaired areas is crucial to achieve a smooth finish that blends seamlessly with the surrounding floor. Use fine-grit sandpaper to sand the filled area carefully, maintaining gentle pressure to avoid over-sanding. The goal is to level the filler with the rest of the floor surface, ensuring an even appearance. Following sanding, wipe away any dust with a clean, damp cloth, and consider applying a matching finish to restore the floor’s original sheen. This approach repairs the damage and preserves the floor’s character and integrity.
Non-Invasive Sanding Techniques
Non-invasive sanding is crucial for preserving the original charm and character of wood floors while ensuring their longevity. This approach focuses on removing the minimal material necessary to restore the floor’s surface, thereby retaining as much of the original wood as possible. Over-sanding can lead to excessive wear on the floorboards, reducing their thickness and potentially compromising their structural integrity. By adopting non-invasive techniques, one can achieve a smooth and even finish without sacrificing the historical and aesthetic value of the wood.
Floor Sander
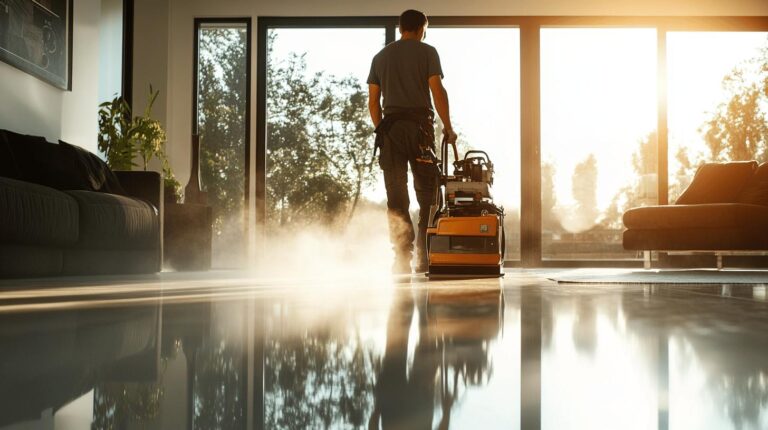
A floor sander is ideal for addressing the main areas of a wooden floor. It is designed to cover large surfaces efficiently and is best used by following the wood grain. This technique ensures an even sanding process and prevents cross-grain scratches, which can be difficult to remove and may detract from the floor’s appearance. The key to the effective use of a floor sander is to maintain consistent pressure and speed, allowing the machine to do the work without forcing it. This enhances the finish and reduces the risk of over-sanding, which can unnecessarily thin the wood.
Edging Sander
The edging sander is purpose-built to reach the edges and tight spaces that a floor sander cannot access, such as skirting boards and corners. It allows for precise control in these areas, ensuring the floor is uniformly sanded without leaving unsightly patches. To use an edging sander effectively, it is important to keep the machine flat on the floor and move it in steady, controlled motions. This approach prevents gouging and ensures a seamless blend between the main floor area and the edges, preserving the floor’s original look.
Choosing the Right Finish to Enhance Natural Beauty
Selecting the appropriate finish for wood floors is crucial in maintaining their natural beauty and providing long-lasting protection. The right finish highlights the wood’s inherent qualities and shields it from daily wear and tear. When considering finishes, it’s crucial to balance aesthetic desires with practical needs, ensuring that the chosen product complements the wood’s characteristics while offering sufficient durability. Finishes serve as a barrier against moisture, scratches, and stains, preserving the floor’s appearance and structural integrity over time. Therefore, understanding the variety of finishes available and their specific benefits is key to making an informed decision.
- Oiling: Provides water-repellent properties, enhancing the wood’s natural grain and giving it a warm, rich appearance.
- Waxing: Offers a soft, low-sheen finish that is ideal for achieving a traditional look while providing moderate protection.
- Buffing: Enhances the floor’s sheen and is typically used as a final step to achieve a polished appearance, complementing either oil or wax finishes.
- Varnishing: Creates a hard, durable surface that is resistant to scratches and stains, ideal for high-traffic areas.
- Shellac: A natural finish that provides a warm tone and is easy to repair, though it may not be as durable as other options.
- Polyurethane: Offers a tough, long-lasting finish available in water-based or oil-based forms, suitable for protecting against heavy use.
Choosing the right finish for wood floors involves more than just enhancing appearance; it is vital in protecting the wood from potential damage. Finishes like oil and wax preserve the wood’s natural beauty by penetrating its surface, allowing its unique patterns and colours to shine through. Meanwhile, options like varnish and polyurethane provide a robust barrier against physical harm, ensuring the floor remains in excellent condition despite frequent use. By carefully selecting a finish that aligns with aesthetic preferences and practical requirements, one can maintain the floor’s original charm for years.
DIY Wood Floor Repair and Maintenance Tips
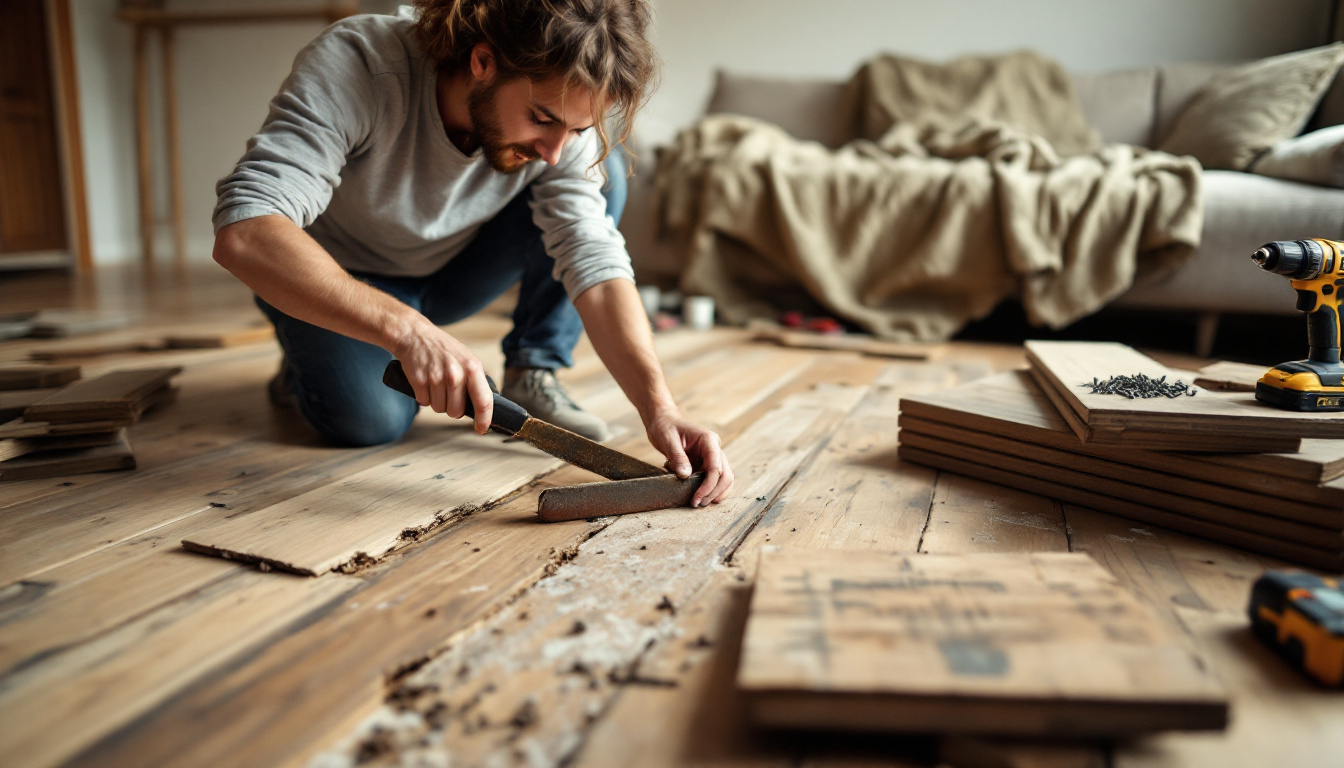
Regular maintenance is the cornerstone of preserving wood floors and retaining their original charm. Neglecting routine care can lead to the accumulation of dirt and debris, which may cause scratches and diminish the floor’s aesthetic appeal. Sweeping or vacuuming the floors regularly helps to remove these particles, preventing them from being ground into the wood surface. This basic upkeep protects the floor’s finish and prolongs its lifespan, allowing its natural beauty to shine through. Additionally, establishing a maintenance routine that includes periodic inspections for damage helps identify potential issues before they escalate, maintaining the floor’s condition and appearance.
For effective DIY wood floor repair, addressing minor damages promptly is essential. Using eco-friendly products, such as natural wood fillers and non-toxic finishes, benefits the environment and ensures that the materials used are safe for indoor air quality. When repairing scratches, opt for a wood filler that matches the floor’s colour, applying it with a putty knife and allowing it to dry completely before sanding. Similarly, for scuffs and dull patches, using a natural oil or wax can rejuvenate the floor’s surface, enhancing its sheen without introducing harmful chemicals.
Long-term maintenance practices are crucial for ensuring the longevity of wood floors. In addition to regular cleaning, consider placing rugs or mats in high-traffic areas to reduce wear and tear. Rotate furniture periodically to prevent uneven wear, and use felt pads under furniture legs to avoid scratches. Ensure the indoor climate remains stable, avoiding excessive humidity or dryness that can cause the wood to warp or crack. By adopting these preventative measures, homeowners can maintain the floor’s structural integrity and visual appeal, preserving its original charm for years to come.
Expert Advice from Ryan’s Restoration
Consulting professionals like Ryan’s Restoration can be invaluable for those embarking on complex wood floor restoration projects. Their expertise ensures that the original charm of your wood floors is preserved while addressing any underlying issues that may compromise their longevity. Ryan’s Restoration offers specialised services that cater to the unique needs of each floor type, employing techniques that minimise invasive procedures and maintain the floor’s historical integrity. By leveraging their extensive experience, you can achieve a balance between restoration and preservation, ensuring that the beauty and character of your floors are enhanced, not diminished. For further guidance and to explore their comprehensive range of services, consider visiting their website to learn more about how they can assist with your restoration needs.
Final Words
In exploring how to restore wood floors without removing the original character, readers have gained insights into evaluating floor conditions and identifying wood types as foundational steps. Harnessing gentle cleaning methods ensures the preservation of a floor’s timeless charm while addressing minor scratches sustains its polished appearance.
For those seeking to revitalize without compromising texture, non-invasive sanding is essential. Choosing the right finish completes the process of enhancing and protecting natural beauty. DIY maintenance tips promise longevity, but Ryan’s Restoration offers unparalleled expertise for more intricate needs. Rejuvenating wood floors doesn’t mean erasing history; with considered actions, one preserves it beautifully.
FAQ
Q: How can I restore old floorboards under the carpet?
A: To restore old floorboards beneath carpet, begin by removing the carpet, fix any damages, sand the surface, and apply a suitable finish to protect and enhance the wood.
Q: How do you restore hardwood floors without sanding?
A: To restore hardwood floors without sanding, clean thoroughly, repair scratches with wood filler, and apply a quality finish. This preserves the floor’s original character while avoiding the invasive sanding process.
Q: Can you fix scratches on hardwood floors?
A: Yes, using a wood filler that matches the floor’s colour can fix scratches. Apply it with a putty knife and sand gently after it has dried for a smooth surface.
Q: How should you deal with gaps when refinishing old hardwood floors?
A: Use a rope or synthetic filler treated with wood glue to fill gaps. Sand and finish afterwards to ensure a uniform look.
Q: What are some methods for restoring floorboards DIY?
A: DIY restoration involves cleaning, repairing scratches, filling gaps, sanding sparingly, and then applying a protective finish. Regular maintenance ensures longevity.
Q: How can old wood floors be rejuvenated to look good again?
A: Clean the surface, address scratches and gaps, apply a suitable finish, and maintain care to rejuvenate and enhance old wood floors’ appearance.
Q: Is it worth restoring the original floorboards?
A: Yes, restoring original floorboards is worthwhile. It enhances natural beauty and adds character whilst increasing property value through skilled restoration techniques.
Q: How do you revive a wood floor without refinishing it?
A: Regular cleaning, minor scratch repairs, and applying a suitable top coat can revive a wood floor without the need for complete refinishing.
Q: Can artificial wood floors be refinished?
A: Artificial wood, or laminate, cannot be refinished like solid wood as it doesn’t support sanding and refinishing due to its wear layer.

