Understanding The Tools For The Job
What Is Diamond Grinding Wood Floors?
So, you’ve got a hardwood floor that’s seen better days, maybe it’s got some serious dips or humps. You might have heard about diamond grinding. What exactly is it? Think of it like a super-powered sander, but instead of sandpaper, it uses diamond-tipped discs. These discs are tough, like, really tough. They spin around and basically shave off the high spots and smooth out the low spots. It’s a pretty aggressive method, not something you’d use for a light refresh. It’s more for when the floor is really out of whack, like if there are old glues, coatings, or just major unevenness that regular sanding can’t handle. It’s not really about making the wood shiny at this stage; it’s about getting the surface flat and ready for whatever comes next, like a new finish or even just a more even base for a different flooring type.
How Belt Sanders Work Their Magic
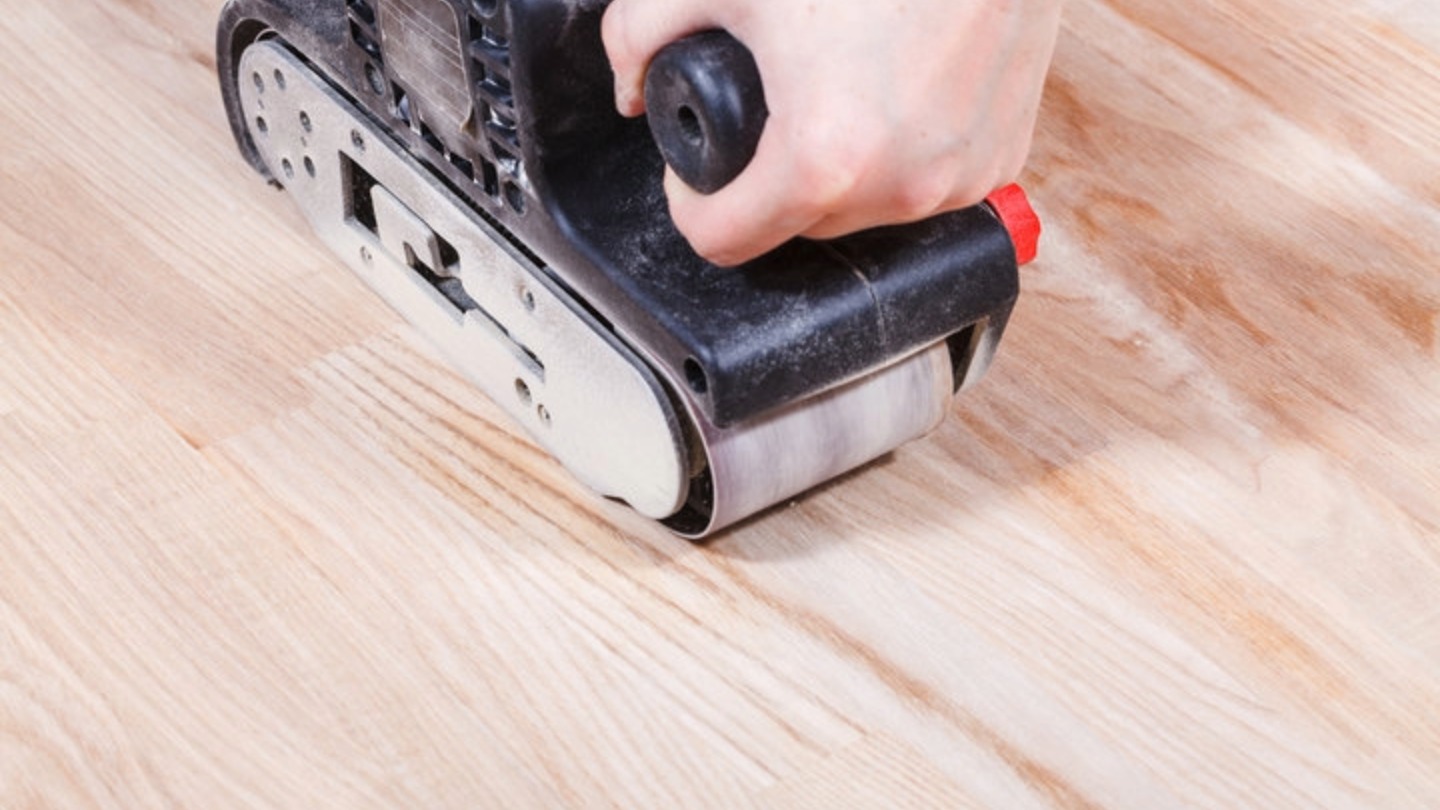
Now, let’s talk about the classic belt sander. This is probably what most people picture when they think about sanding a wooden floor. It’s got a long loop of sandpaper that spins really fast. You push it along the floor, and it grinds away the top layer of wood. Belt sanders are great for taking off old finishes, like varnish or paint, and for smoothing out general wear and tear. They can also help with minor unevenness, but they’re not really designed for big dips or humps. If you’ve got a floor that’s mostly level but just needs a good clean-up and a fresh start, a belt sander is often the go-to tool. It’s a bit more controlled than diamond grinding, and you can get a really nice, smooth surface with it if you use the right grit sandpaper and take your time. It’s the workhorse for most floor refinishing jobs.
Tackling Those Annoying Bumps And Dips
Diamond Grinding’s Approach To Unevenness
So, you’ve got a hardwood floor that’s seen better days, right? Maybe it’s got those little waves, or a few spots that just feel… off. Diamond grinding is pretty much built for this kind of problem. Think of it like a really aggressive, but controlled, sanding. Instead of sandpaper, it uses spinning discs with diamond segments. These things are tough, and they’re designed to shave off high spots and fill in low spots by removing material. It’s not just about making things flat; it’s about leveling the whole surface.
Here’s how it generally goes down:
- Aggressive Material Removal: Those diamond segments really get to work, taking down any high edges or bumps that are sticking out.
- Surface Leveling: It works across the entire floor, not just on the problem areas, to create a consistent plane.
- Dealing with Old Finishes: If you’ve got old, uneven layers of varnish or paint, diamond grinding can often take those right off too, starting you with a clean slate.
It’s a bit like using a really powerful planer, but for your floor. It’s not subtle, but it gets the job done when you need serious leveling.
Belt Sanding’s Battle With High Spots
Now, belt sanders are a bit different. They use a long, continuous loop of sandpaper that moves back and forth. They’re great for general sanding and can definitely smooth out a floor. But when it comes to those really noticeable bumps and dips, they can be a bit of a struggle.
Think about it: a belt sander is designed to sand a surface. If you have a big hump, the sander will hit that hump hard. It’ll take material off the hump, sure, but it might also dig in too much or leave a noticeable divot around it if you’re not super careful. It’s more about smoothing what’s there than aggressively leveling major imperfections.
- Focus on Smoothing: Belt sanders excel at removing scratches and making the surface generally smooth.
- Challenging with Major Unevenness: Big dips or humps can be tricky. You might end up sanding one area down too much trying to get to the level of another.
- Requires Skill: Getting a perfectly flat floor with a belt sander, especially with significant unevenness, takes a lot of practice and a light touch. You have to constantly move it and be aware of how it’s interacting with the floor’s contours.
So, while a belt sander can smooth things out, it’s not always the first choice for floors that are seriously out of whack.
The Dust Factor: A Grimy Reality
Dealing With Dust From Diamond Grinding
Alright, let’s talk about the elephant in the room: dust. When you’re talking about diamond grinding, especially on hardwood, you’re essentially pulverising the top layer of wood and whatever else is in there. This process kicks up a serious amount of fine particulate matter. It’s not just a little bit of sawdust; it’s microscopic stuff that can get everywhere. Most professional diamond grinding machines come with dust collection systems built-in, which is a big plus. They hook up to industrial vacuums that do a pretty decent job of containing the mess. However, even with the best systems, some dust is going to escape. It’s like trying to keep a secret in a small town; eventually, it gets out.
Here’s what you can expect with diamond grinding dust:
- Fine Particles: We’re talking super-fine dust that can hang in the air for a while.
- Residue: It leaves a fine film on surfaces, even those you thought were covered.
- Air Quality: It can really impact the air quality in your home, making it tough to breathe if you’re sensitive.
If you’re doing this yourself, a good respirator mask is non-negotiable. Seriously, don’t skimp on this. You’ll also want to seal off the room you’re working in as much as possible and cover up furniture and anything else you want to keep clean. Expect to do a lot of cleaning afterward.
Belt Sanding’s Dust Cloud
Now, belt sanders are a different beast when it comes to dust. They work by using a continuous loop of sandpaper to abrade the wood surface. While they also produce dust, it tends to be a bit coarser than what you get from diamond grinding. Think more like traditional sawdust. The dust collection on belt sanders varies. Cheaper models might have a small bag that fills up quickly, meaning you’re stopping often to empty it. Higher-end models often have better dust shrouds and can connect to external vacuums, similar to the grinding machines.
However, the nature of how a belt sander moves (back and forth), often with more aggressive passes, can still create a significant dust cloud. It’s not quite the same fine, pervasive powder as diamond grinding, but it’s still a lot. You’ll find:
- Sawdust Accumulation: A good amount of wood shavings and dust will collect.
- Airborne Particles: Some dust will inevitably become airborne, especially if the dust collection isn’t top-notch.
- Surface Dust: Like grinding, it leaves a layer of dust that needs cleaning.
Again, wearing a mask is a good idea, though perhaps not as critical as with diamond grinding unless you’re particularly sensitive. Sealing off the room and covering items is still a smart move. The cleanup might feel a bit more manageable than with diamond grinding, but don’t underestimate the amount of dust a belt sander can produce, especially on a large floor.
Speed And Efficiency On The Floor
Alright, let’s talk about time. Nobody wants their floor renovation to drag on forever, right? So, how do these two methods stack up when it comes to getting the job done quickly?
How Fast Can Diamond Grinding Go?
Diamond grinding is, well, it’s a bit of a beast. It’s designed for serious work, like taking off a thick layer of old finish or levelling out really uneven spots. Because it’s so aggressive, it can chew through material pretty fast. Think of it like a heavy-duty excavator; it gets the big jobs done, but it’s not exactly subtle. For a whole room, especially if it’s got some serious issues, diamond grinding can be surprisingly quick at the initial levelling stage. It’s not something you’ll be doing on a Sunday afternoon for a small patch, though. This is more for when you need to make significant changes to the floor’s surface, and you want it done without messing around.
Belt Sanding’s Pace
Belt sanders, on the other hand, are the workhorses for most floor sanding jobs. They’re great at removing finish and smoothing out general wear and tear. They move at a decent clip, and you can cover a good amount of ground in a reasonable time. However, when you’re dealing with really warped boards or big dips, a belt sander can take a long time to try and level things out. You might find yourself going over the same spots again and again, and it still might not get perfectly flat. It’s more of a steady, consistent pace. You can get a whole room done in a day or two, depending on the size and the condition of the wood, but if the floor is seriously out of whack, it might struggle to keep up with the speed you’d get from a more aggressive method like diamond grinding for the initial flattening.
Achieving That Smooth, Polished Finish
The Surface Left By Diamond Grinding
So, you’ve gone the diamond grinding route. What kind of floor are you left with when the dust settles? Well, it’s usually pretty darn smooth. Think of it like a really aggressive sanding, but with tiny, super-hard diamond bits doing the work. They chew up the high spots and fill in the low spots, leaving a surface that’s generally quite level. It’s not always perfectly glass-like right after grinding, mind you. You might still see some faint lines from the grinding heads, especially if the wood is really soft or if the grinder wasn’t perfectly balanced. But overall, it’s a solid base for whatever comes next, like a new finish or even just a good buffing.
Belt Sanding’s Final Touch
Now, let’s talk about belt sanders. These things are workhorses for getting a floor smooth. When you’re done with the main sanding passes, you’re usually left with a surface that feels really nice to the touch. It’s a different kind of smooth than diamond grinding. Belt sanders tend to leave a more uniform scratch pattern, which is actually what you want before you put on a finish. If you’ve done your job right, the floor should feel like a tabletop: no splinters, no rough patches. It’s all about getting those high spots down and making sure the whole floor has a consistent texture. You’ll often follow up with finer grit papers to really get that polished look, making the wood grain pop.
When To Call In The Pros
Is Diamond Grinding a DIY Affair?
Look, sometimes you just gotta know your limits, right? Diamond grinding is a serious bit of kit. It’s not like using a regular sander where you can just wing it and hope for the best. This stuff is powerful, and if you mess it up, you could end up doing more harm than good. Think about it: you’re essentially using industrial-grade diamonds to shave down your floor. If you’re not careful, you can easily create new low spots or even damage the wood itself. It’s usually best left to folks who do this for a living.
When Belt Sanding Might Be Enough
Now, belt sanding is a different story. For smaller jobs or if your floor isn’t that bad, a belt sander might just do the trick. If you’ve only got a few minor scuffs or some slightly uneven boards, you might be able to tackle it yourself. Here’s when you might consider going the DIY belt sander route:
- Minor Imperfections: You’ve got a few scratches, maybe some old finish that needs removing, or just a couple of boards that are a bit higher than the rest.
- Smaller Spaces: We’re talking about a single room, not your entire house. A smaller area is way more manageable.
- You’ve Got Time (and Patience): Belt sanders take a while, and you’ll need to go over the floor multiple times with different grits. If you’re not in a rush and don’t mind the effort, it’s doable.
But honestly, if your floor is really out of whack, or if you’re just not feeling confident, save yourself the headache and call in a professional. They’ve got the right tools and the know-how to get it done right the first time. It might cost a bit more upfront, but it’ll save you time, stress, and potentially a costly repair job down the line.


