Are your wood floors looking tired and lifeless, begging for a transformation? Refinishing might be your answer. Understanding the wood floor, refinishing basics can breathe new life into your home whilst preserving its natural charm. This guide will help homeowners navigate the refinishing process, revealing crucial steps like sanding, staining, and finishing. With an investment of three to five days, depending on your room size and floor condition, you can achieve stunning results. Equipped with essential tools and techniques, you’ll soon be walking on revitalised floors that reflect both your style and craftsmanship. Dive in and transform your space today!
Understanding Wood Floor Refinishing Basics
Understanding the refinishing process for wooden floors is crucial for achieving a professional and long-lasting result. Refinishing is not merely a cosmetic upgrade; it restores the wood’s natural beauty and extends its lifespan. The process involves several critical stages, each requiring attention to detail and precision. Without a thorough understanding, one might risk damaging the floor or achieving a subpar finish. Engaging in a refinishing project armed with knowledge ensures that every step, from preparation to finishing, is executed to enhance the floor’s durability and aesthetic appeal.
- Removing old materials
- Sanding the surface
- Staining for colour changes
- Applying a protective finish
A typical refinishing project can take three to five days, varying with room size and floor condition. Essential tools include a drum sander for larger areas and an edge sander for corners and edges, both of which can be rented. These tools are critical in ensuring the sanding process removes the old finish and smooths imperfections effectively. Proper planning and timing are necessary to accommodate the drying times for stains and finishes, ensuring a seamless and high-quality result.
Preparing Wooden Floors for Refinishing
Proper preparation is the foundation of a successful wood floor refinishing project. It ensures that all subsequent steps are carried out smoothly and effectively. Before beginning the refinishing process, it is essential to clear the room of all furniture and rugs. This not only provides a clear working space but also prevents damage to your belongings. Adequate preparation also involves assessing the floor for any repairs that may be needed, such as fixing loose floorboards or filling gaps. By addressing these issues beforehand, you can avoid complications during the sanding and finishing stages, ensuring a seamless and professional result.
Despite claims of “dustless” sanding processes, some dust will inevitably be generated. Effective dust control is vital to protect both your health and the quality of your refinishing work. Ensure that you have proper ventilation in place, such as opening windows and using fans, to help disperse dust and fumes. Additionally, consider sealing off adjacent rooms with plastic sheeting to contain the dust within the work area. By prioritising dust management and ventilation, you can create a safer work environment and achieve a superior finish on your floors.
Essential Sanding Techniques for Beginners
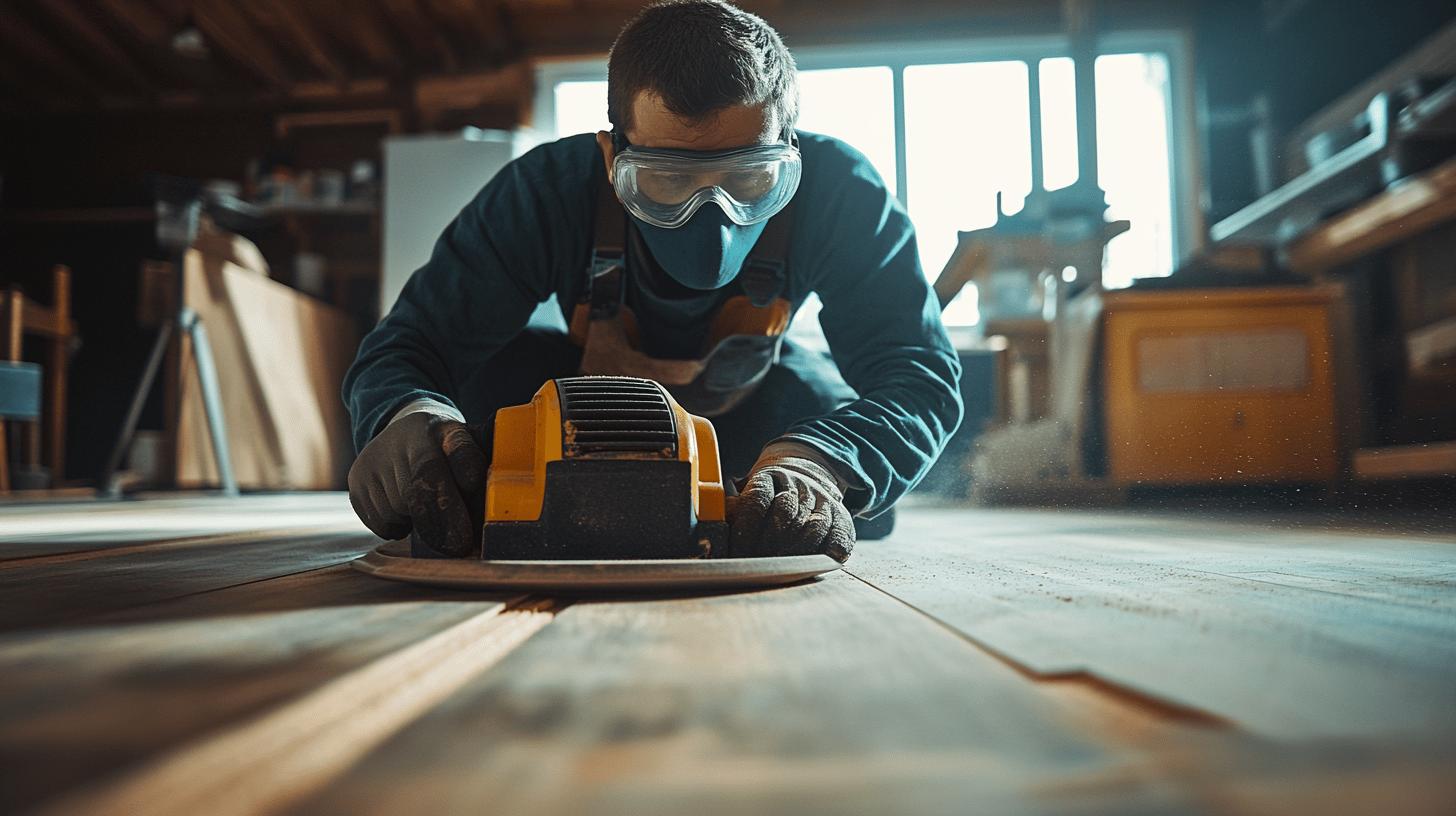
Sanding is a pivotal step in the wood floor refinishing process, serving to remove the old finish and smooth over any surface imperfections. This stage is critical in preparing the wood to accept new stains and finishes, ensuring that the final result is both visually appealing and durable. Proper sanding techniques involve using the right tools and sandpaper grits to achieve a flawlessly smooth surface. For beginners, understanding the nuances of sanding can significantly impact the quality of the refinishing project. Utilising a drum sander for larger areas and an edge sander for corners and edges is recommended to effectively address all parts of the floor.
Choosing Sandpaper Grit
Selecting the appropriate sandpaper grit is essential for effective sanding. Beginners should start with a coarse grit, such as 36-grit, to remove the old finish and any deep scratches. As the sanding process progresses, it’s crucial to move to finer grits, like 60-grit, 80-grit, and finally 100-grit, to achieve a smooth and even surface. This step-by-step approach ensures the wood is prepared to absorb stains evenly, resulting in a uniform finish. The progression from coarse to fine grits also helps in reducing visible sanding marks on the floor, contributing to a polished appearance.
Using Sanding Equipment Safely
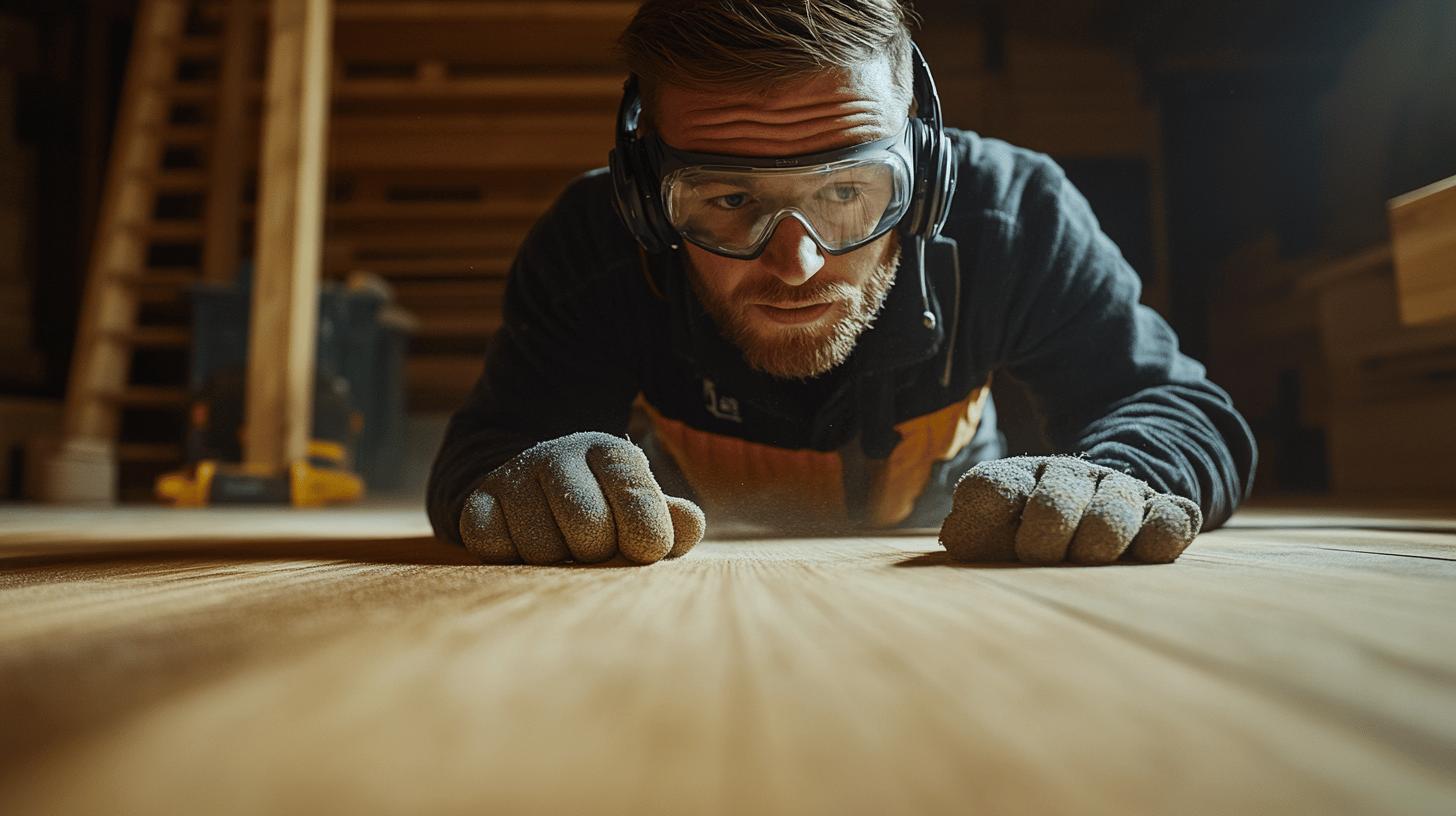
Safety during sanding cannot be overstated, as the process generates dust and requires the use of heavy machinery. Following essential safety precautions ensures a safe working environment and prevents accidents. Key safety tips include:
- Wear protective gear, including goggles and dust masks, to shield against dust particles.
- Ensure the work area is well-ventilated to disperse dust and fumes effectively.
- Familiarise yourself with the equipment’s operation before starting, particularly if using rented machinery.
- Inspect sanding equipment for any damage before use to prevent malfunctions.
- Keep cords and obstacles out of the work path to avoid tripping hazards.
By adhering to these safety measures, beginners can confidently execute the sanding stage, laying the foundation for a successful wood floor refinishing project.
Staining and Finishing Your Wooden Floors
Staining is a pivotal step in the refinishing process that allows homeowners to enhance or alter the natural colour of their wooden floors. The application of wood stain not only revitalises the floor’s appearance but also adds a layer of protection. For even application, using a brush or cloth is recommended, ensuring that the stain seeps into the wood fibres uniformly. This even application prevents blotchy or streaky finishes, which can detract from the overall aesthetic. It is crucial to test the stain in a discreet area to ensure the colour meets expectations before committing to the entire floor.
Choosing the right finish is equally important and requires careful consideration between water-based and oil-based options. Water-based finishes are popular for their quick drying times and low odour, making them an environmentally friendly choice. They also maintain the natural colour of the wood, providing a clear finish that does not turn yellow over time. In contrast, oil-based finishes offer a richer hue and greater durability, which is ideal for high-traffic areas. However, they have longer drying times and emit stronger fumes. Understanding the pros and cons of each type can guide homeowners in selecting a finish that aligns with their lifestyle and aesthetic preferences.
Proper application techniques and ventilation are vital to the success of the staining and finishing process. During application, ensure that the room is well-ventilated by opening windows and using fans to dissipate fumes. This not only ensures safety but also aids in the drying process. Apply the stain in thin, even layers, allowing sufficient drying time between coats as per the manufacturer’s instructions. Following these guidelines ensures a flawless finish, enhancing the longevity and beauty of the wooden floors.
Common Wood Floor Refinishing Mistakes to Avoid
Refinishing wooden floors can be a rewarding project, but several common mistakes can undermine the final result. One of the most frequent errors is improper sanding, which can lead to uneven surfaces and visible scratches. Beginners often use the wrong grit sandpaper or apply uneven pressure, resulting in a floor that is not adequately prepared for staining. Uneven stain application is another pitfall that can leave the floor looking patchy and unprofessional. This often occurs when the stain is not applied consistently or when the excess stain is not wiped away promptly. Inadequate drying times between coats of stain and finish can also compromise the durability and appearance of the floor.
- Improper sanding: Use the correct grit sandpaper and maintain even pressure to avoid scratches.
- Uneven stain application: Apply stain consistently and wipe away excess for an even finish.
- Inadequate drying times: Allow sufficient drying time between coats to ensure durability.
- Skipping the test patch: Test stain colours on a small area to confirm suitability.
- Using low-quality tools: Invest in high-quality tools for a professional finish.
Learning from tutorials and professional advice is crucial for avoiding these common pitfalls. By watching instructional videos and reading expert guides, beginners can gain valuable insights into the refinishing process. These resources offer step-by-step instructions and tips that can enhance understanding and execution. Investing time in learning from experienced professionals can significantly improve the quality of the refinished floor, making the effort more rewarding and successful.
Wood Floor Maintenance Post-Refinishing
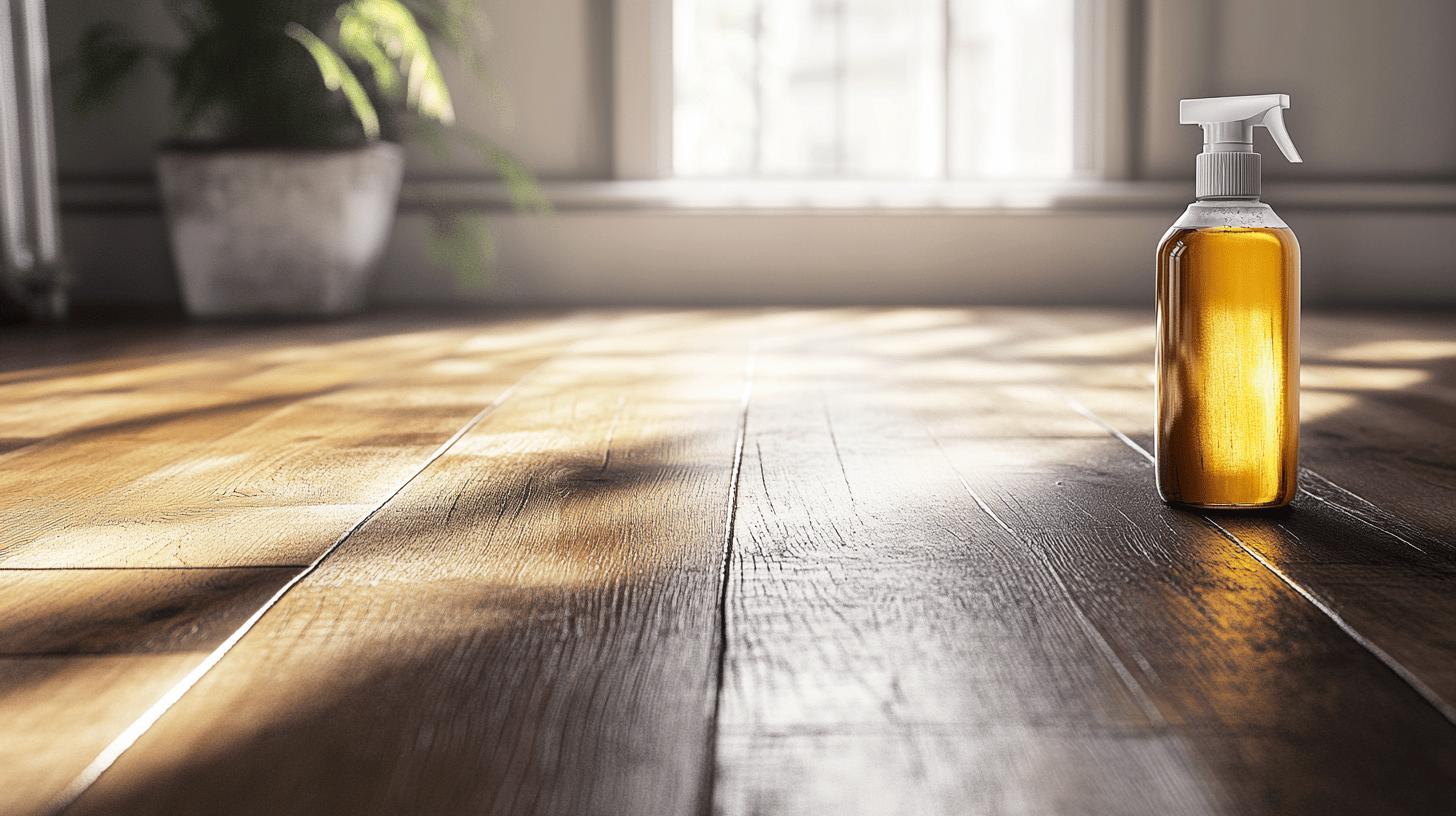
After refinishing wooden floors, it is essential to allow a curing time of at least two weeks before using any floor cleaners. This period is crucial because it ensures the finish has adequately hardened, providing a robust protective layer that endures daily wear and tear. Using cleaning products prematurely can compromise the integrity of the finish, leading to potential damage or discolouration. By respecting this curing time, homeowners can maintain the floor’s aesthetic appeal and durability, ensuring that the refinishing effort yields long-lasting results.
- Use only recommended cleaning products to avoid damaging the finish.
- Prevent water damage by quickly wiping up spills and avoiding excessive moisture.
- Re-coat the floor as required to maintain its protective layer and appearance.
Proper maintenance after refinishing is vital for preserving the floor’s quality and extending its lifespan. Regularly cleaning with appropriate products helps maintain the shine and prevents dirt from embedding into the finish. Avoiding water damage is particularly important, as wood is susceptible to swelling and warping when exposed to excess moisture. Additionally, re-coating the floor as needed will reinforce the protective finish, ensuring the wood remains safeguarded against scratches and wear. By adhering to these maintenance practices, homeowners can enjoy the beauty and functionality of their refinished floors for many years.
Final Words
Having navigated through the journey of wood floor refinishing, one understands its core elements, from surface preparation to selecting suitable finishes. Engaging in A Beginner’s Guide to Wood Floor Refinishing reveals the importance of careful preparation, adept sanding techniques, and the nuanced application of stains and finishes.
Avoiding common pitfalls and adhering to maintenance practices post-refinishing ensures longevity. A thorough understanding and meticulous execution not only enhance aesthetics but also add value and durability. Embrace the transformative potential of refinishing your wooden floors.
FAQ
How to refinish wood floors for beginners?
Refinishing wood floors involves removing old materials, sanding, staining, and applying a finish coat. Beginners should rent necessary tools like a drum sander, follow a step-by-step guide, and ensure proper ventilation.
What not to do when refinishing hardwood floors?
Do not rush the sanding process or ignore proper dust management. Avoid uneven stain application, incorrect drying times, and skipping protective gear. Ignoring these could lead to unsatisfactory results and potential safety hazards.
What are the stages of refinishing hardwood floors?
The stages include removing old flooring materials, sanding, staining, and applying a finish coat. Each stage demands time and precision to ensure the wood floors are properly rejuvenated and protected.
How long do you have to stay off wood floors after refinishing?
After refinishing, avoid using the floors for at least three to five days to allow the finish to cure properly. This ensures the longevity and durability of the newly applied finish.


