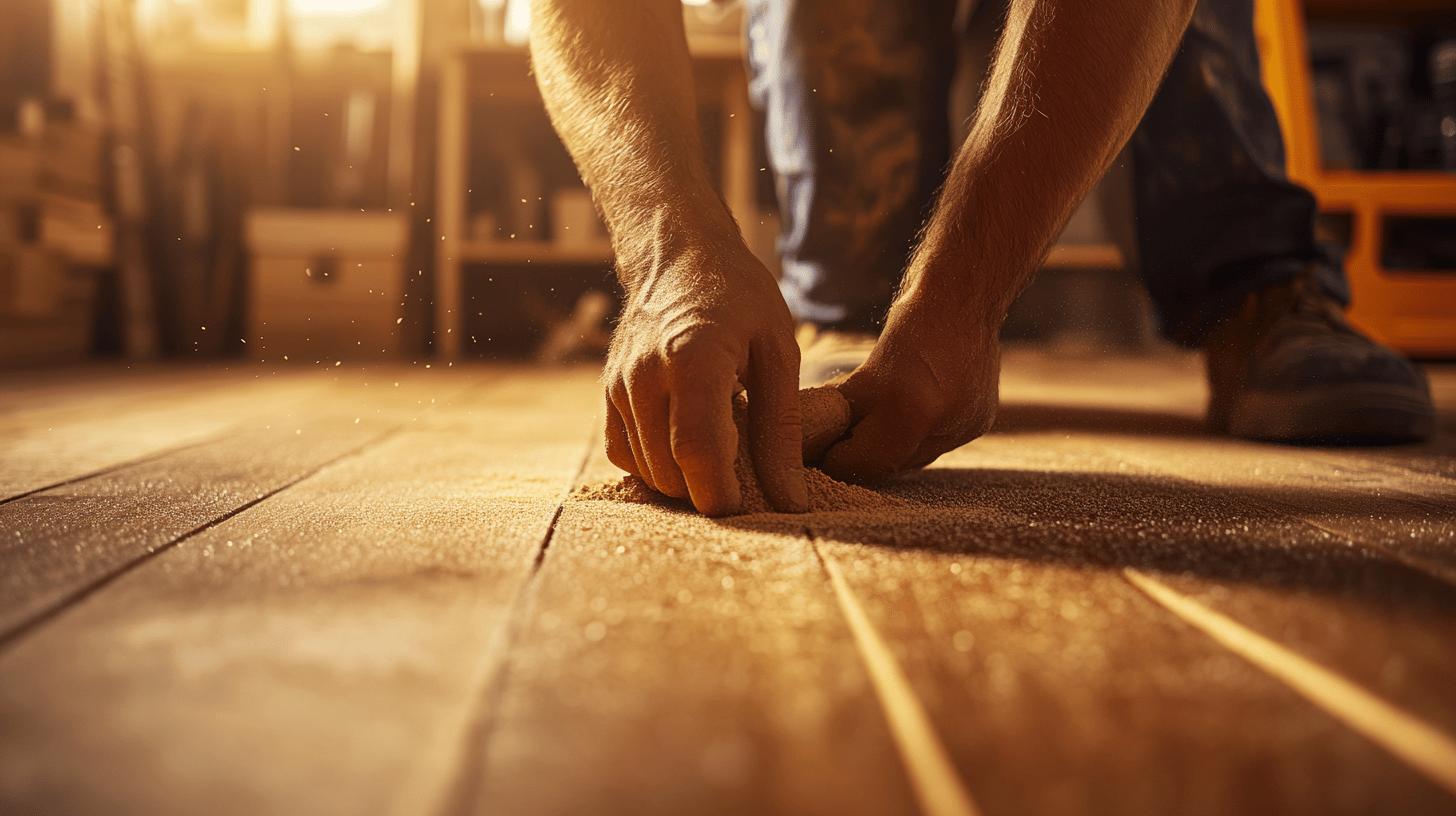
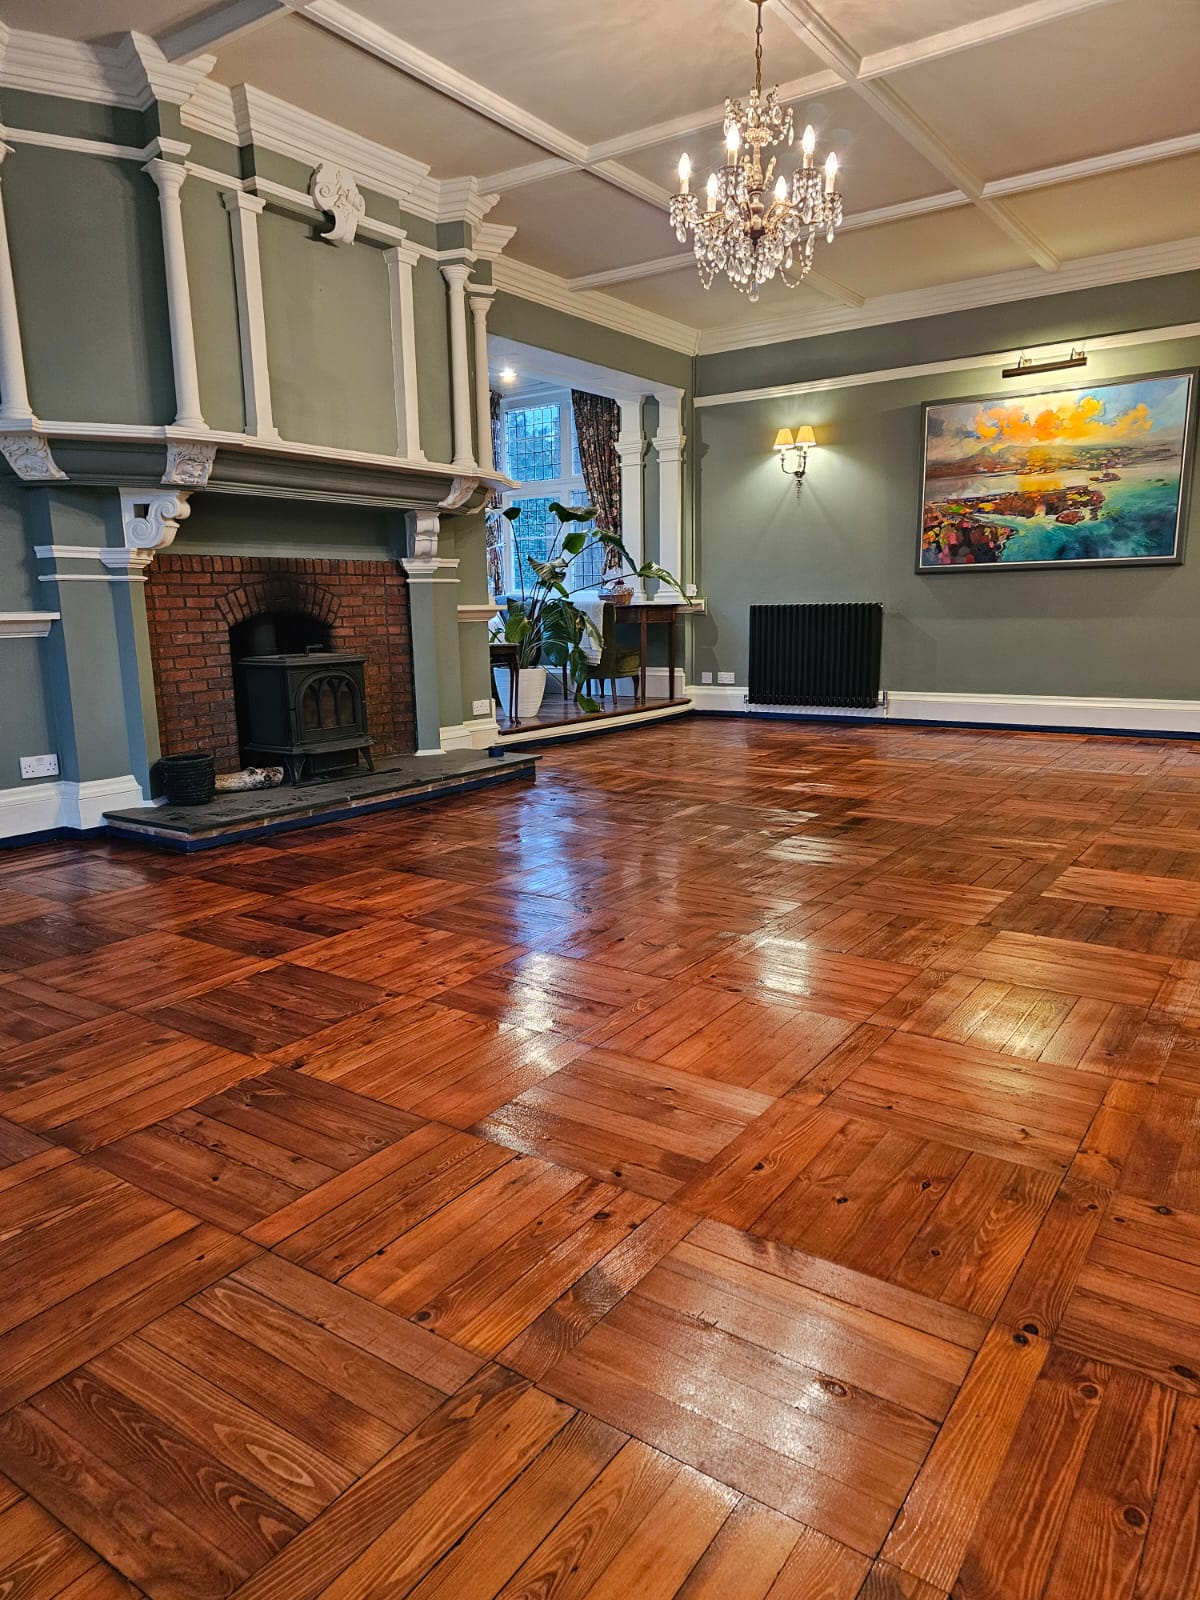
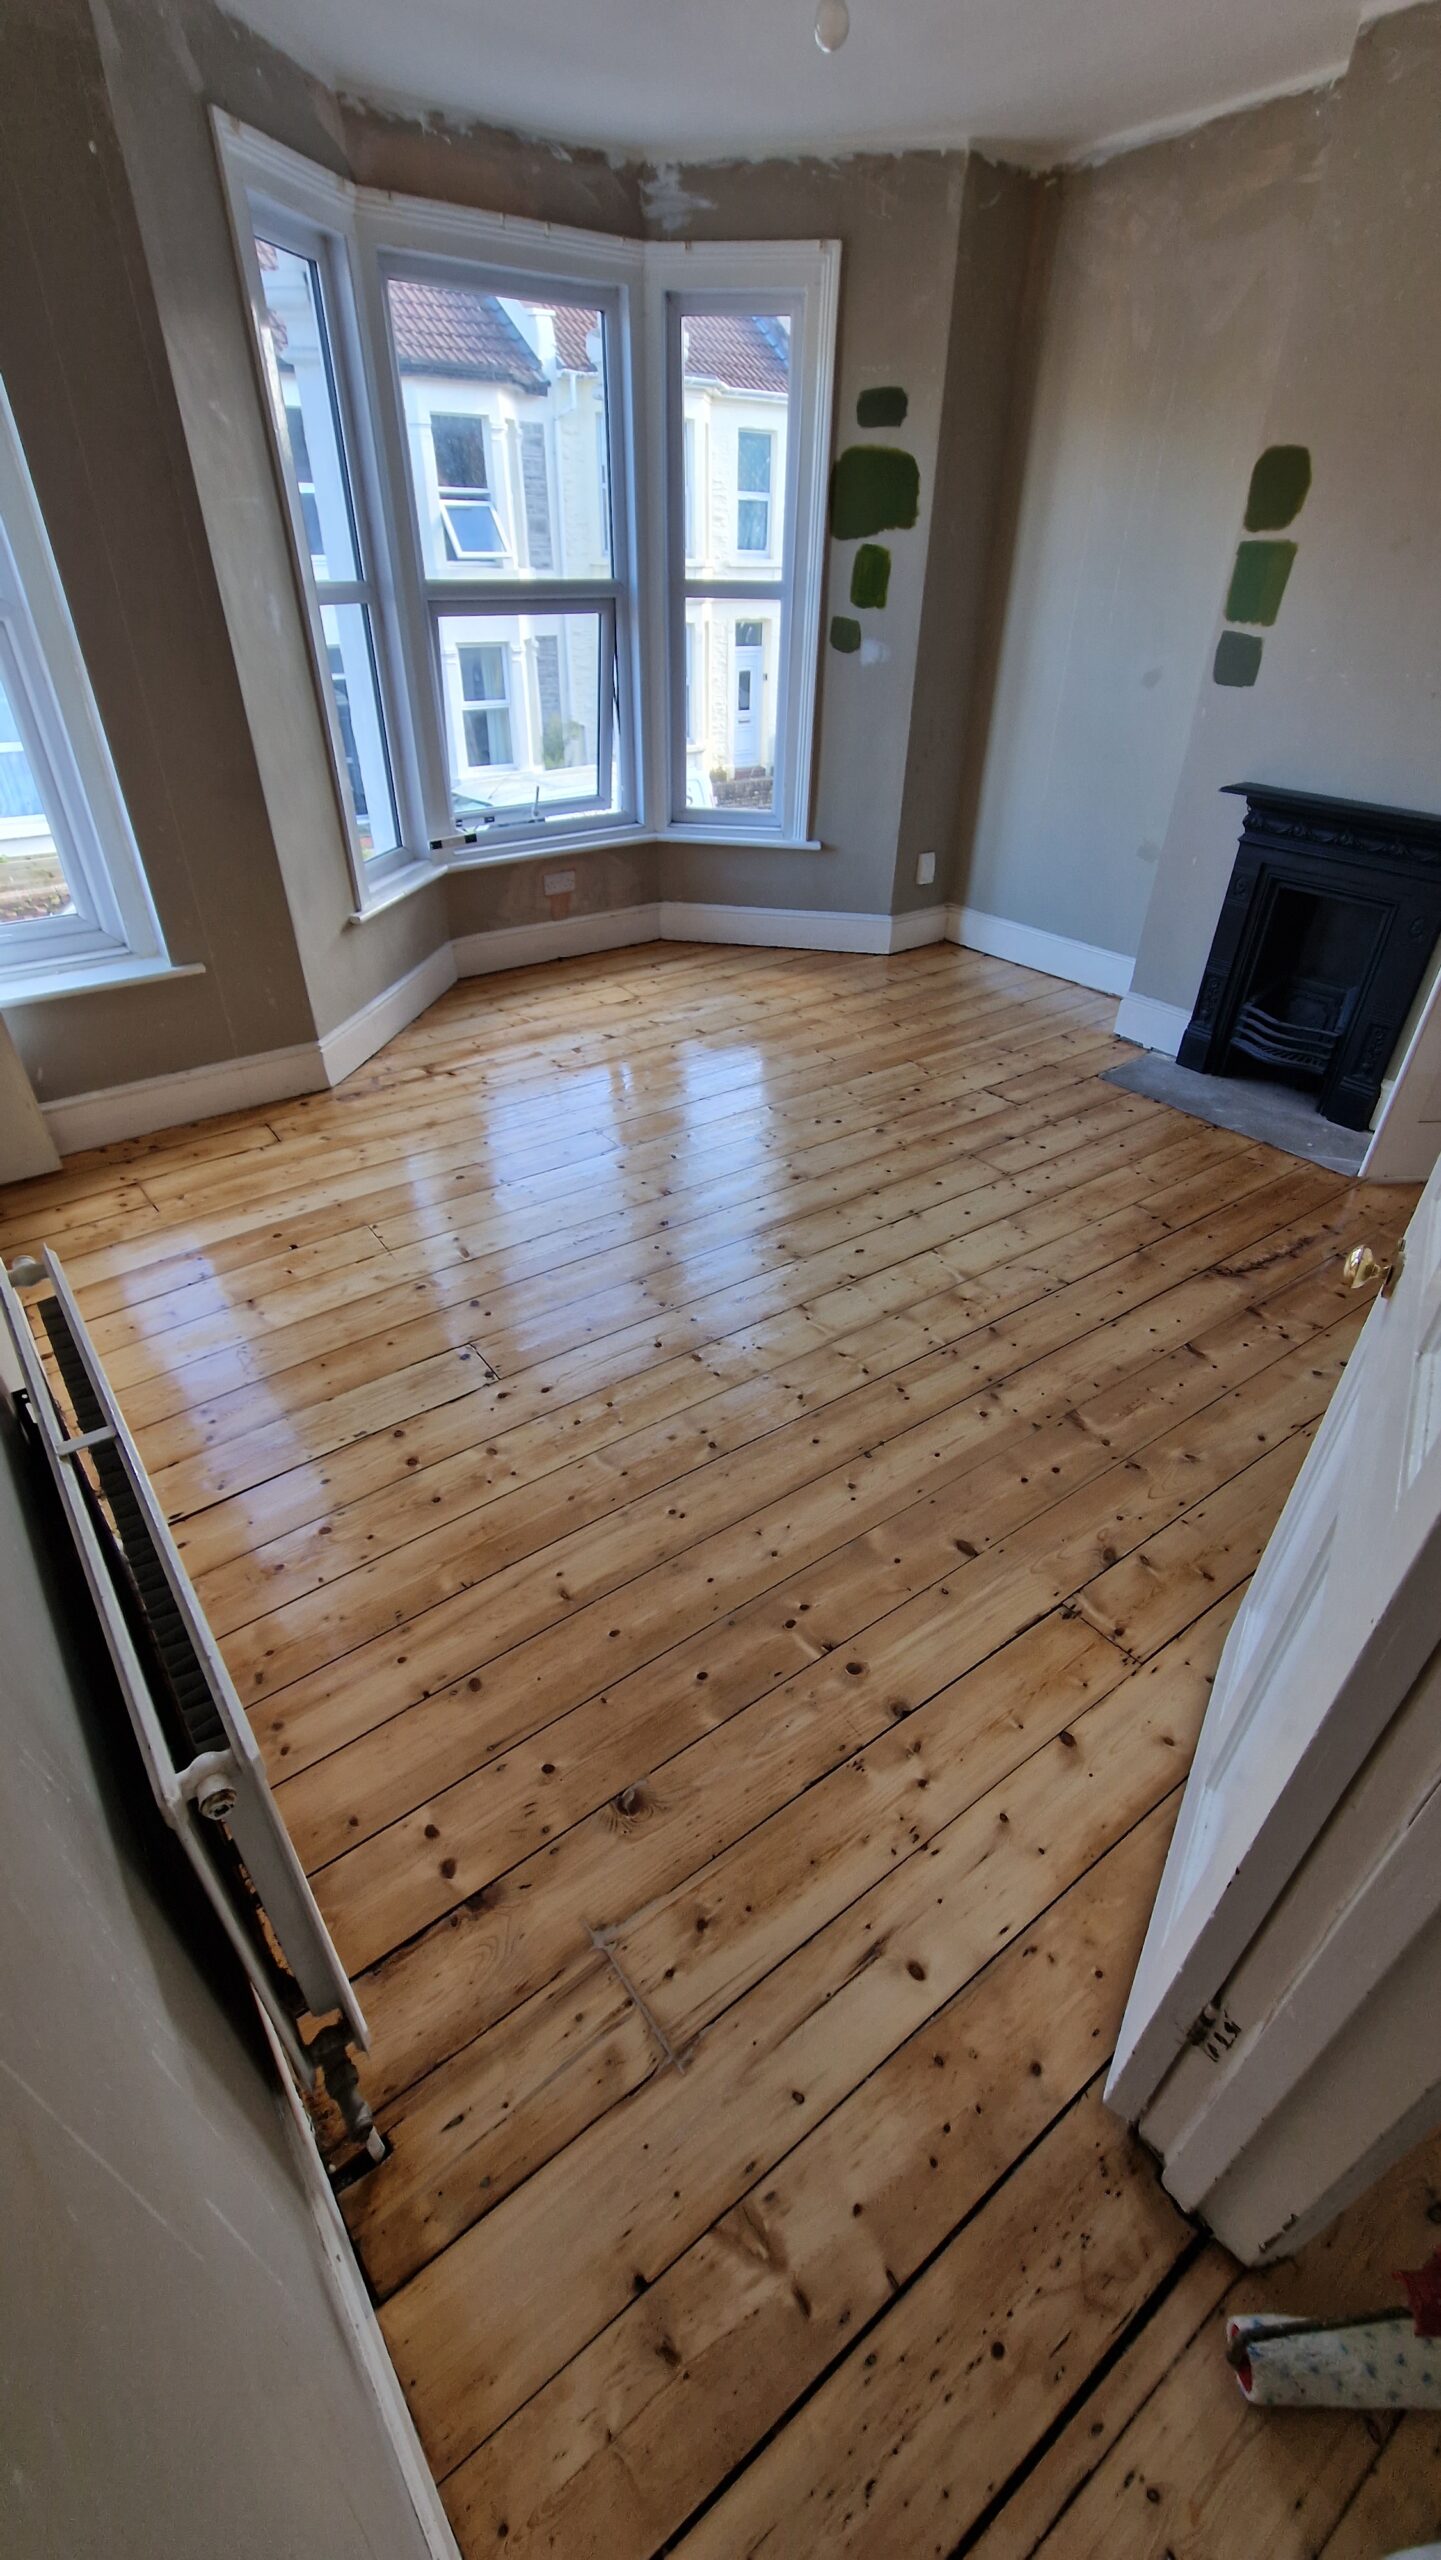
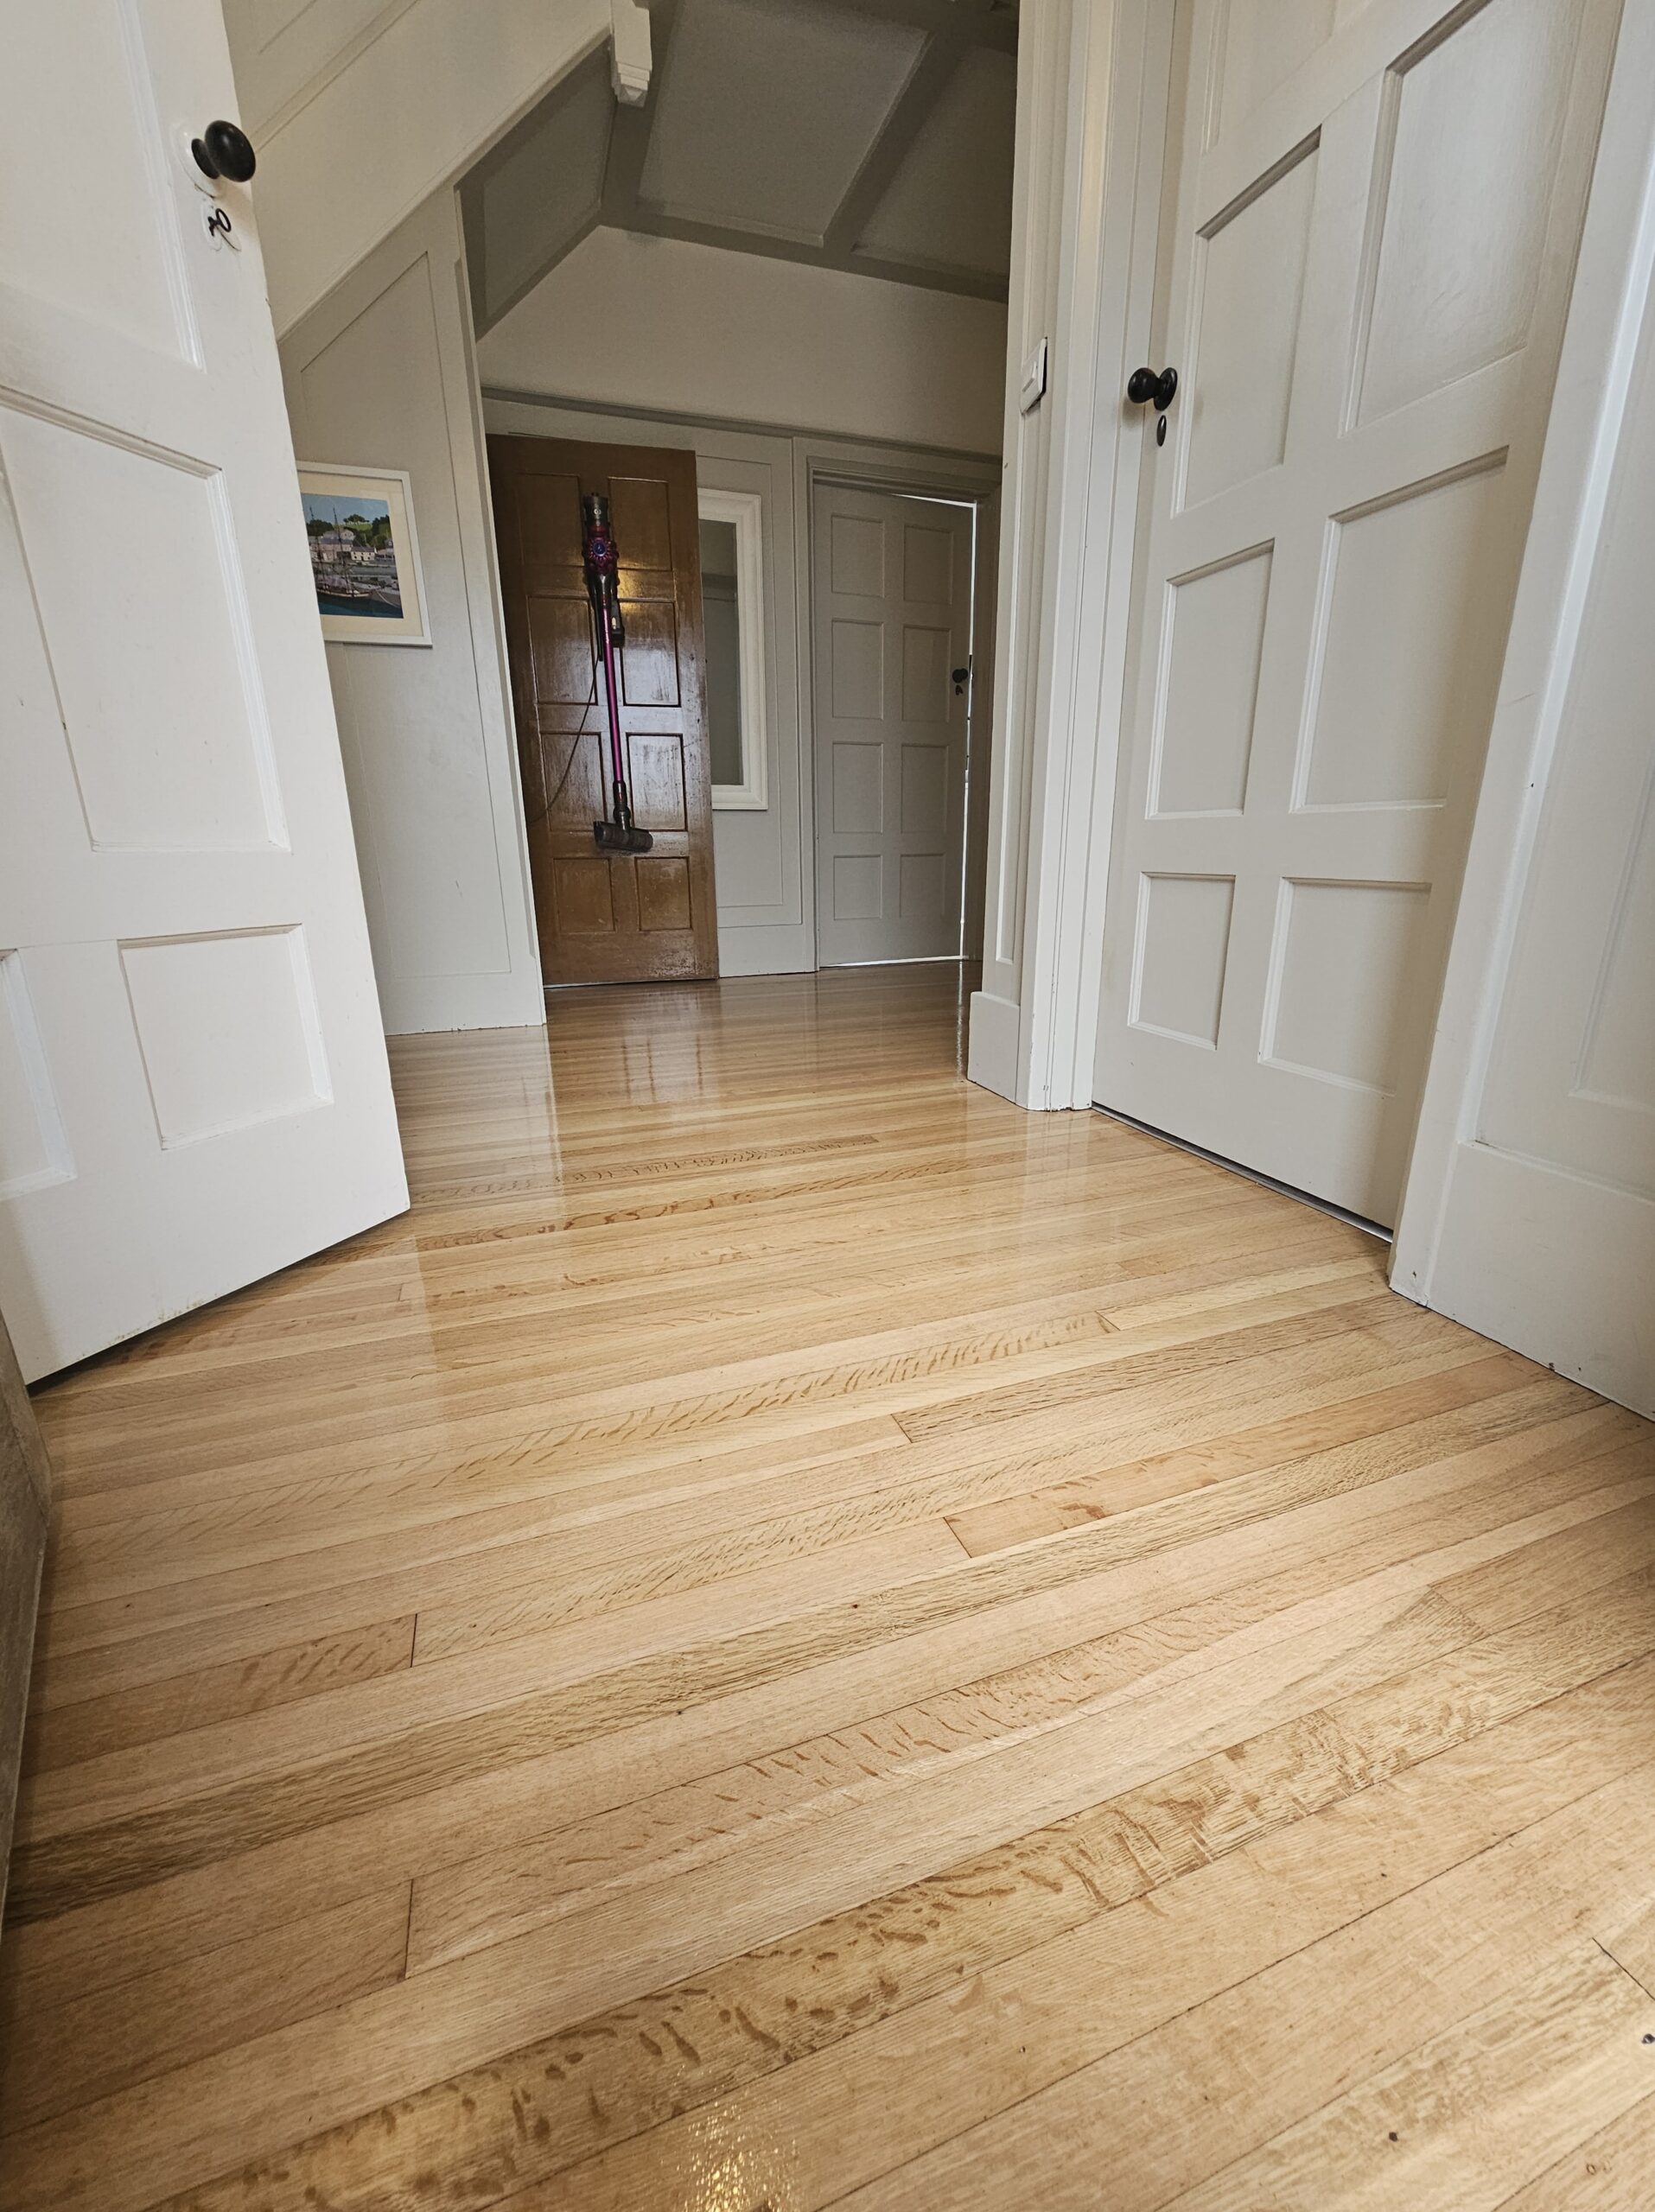
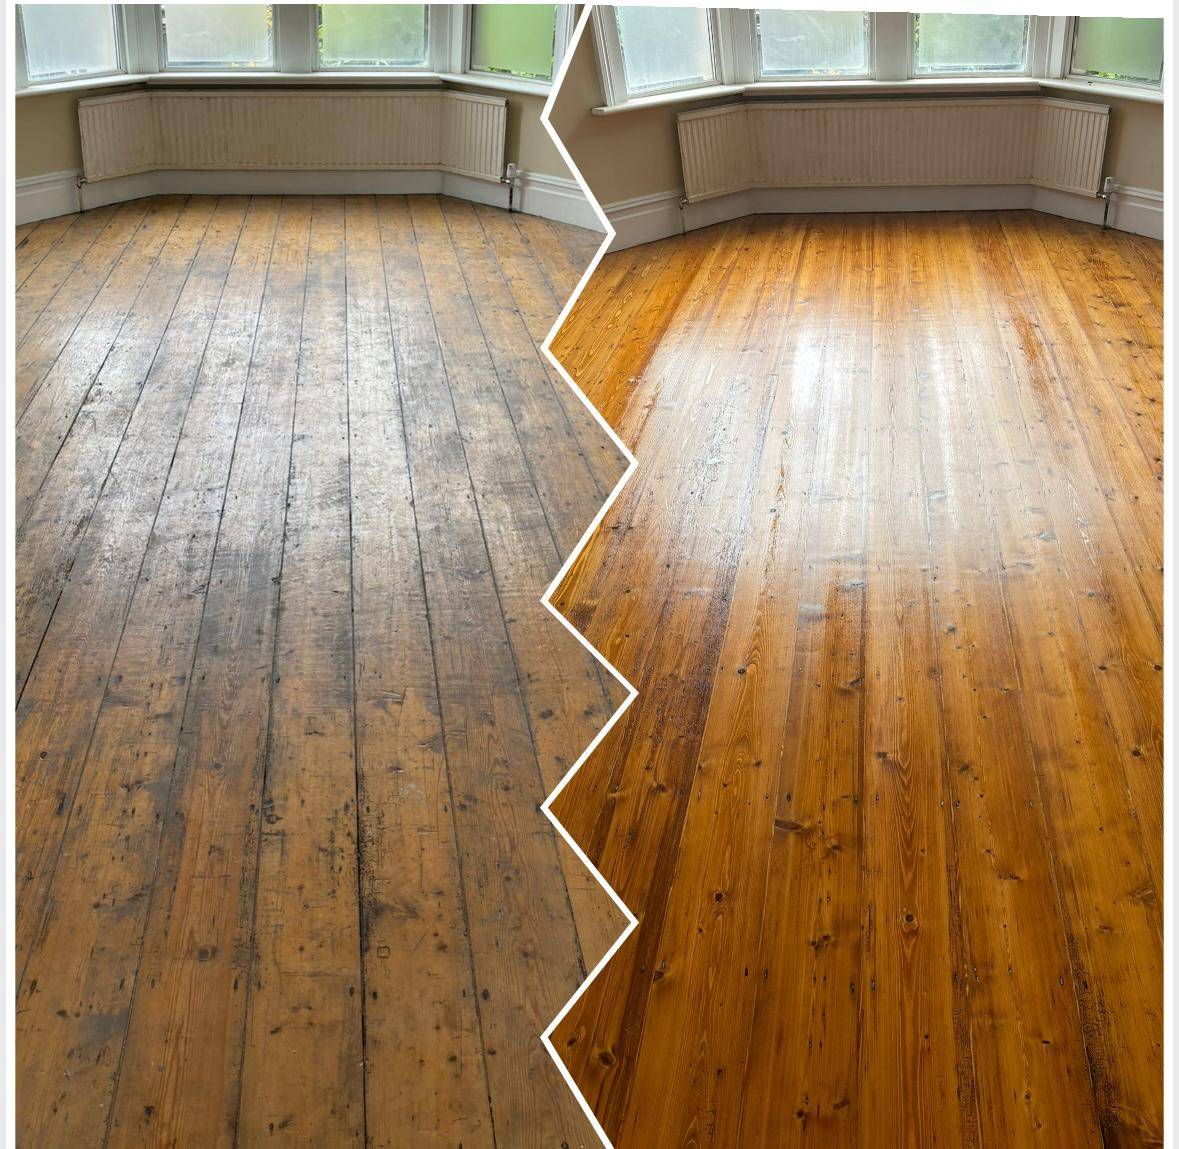
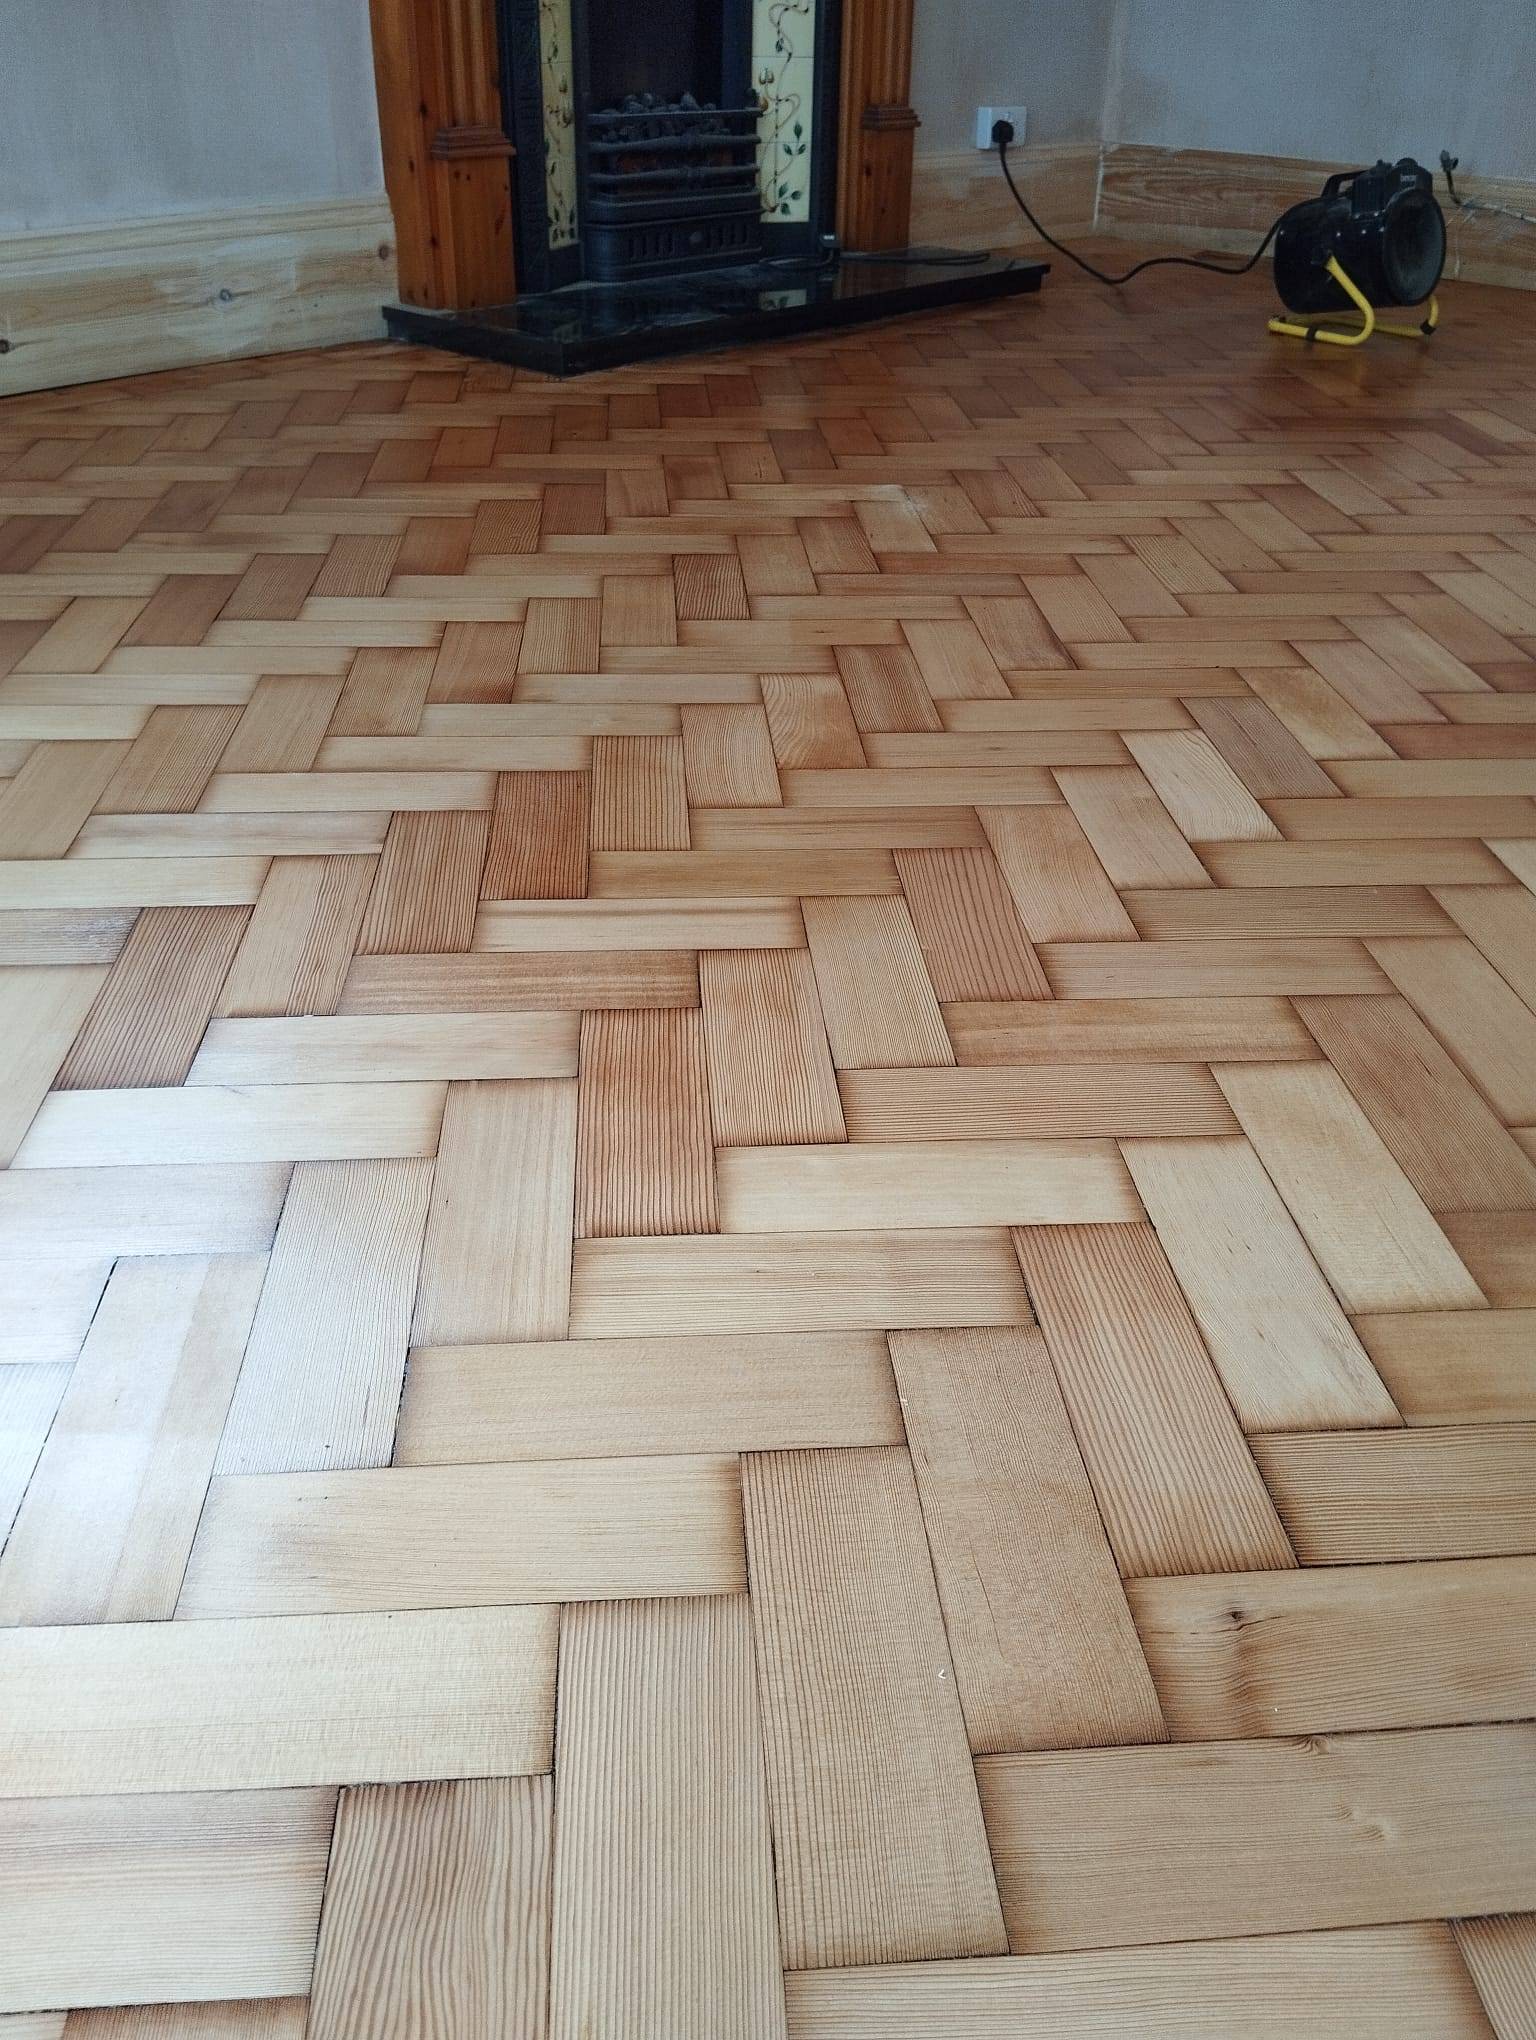
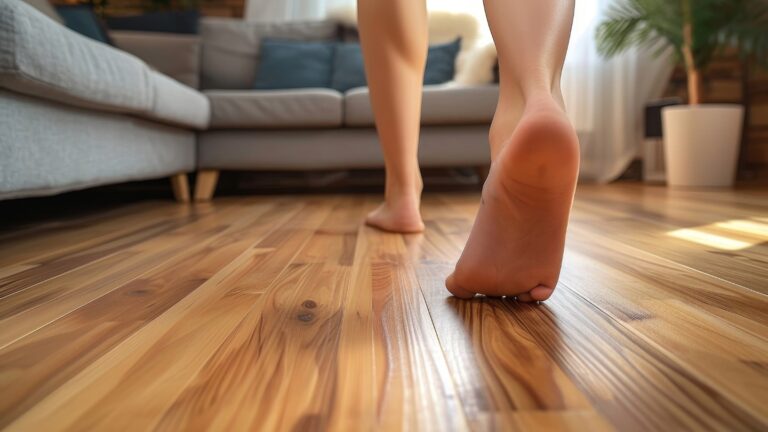
Do you know that your dull, scratched wooden floor could be hiding an exquisite masterpiece just waiting to be revealed? Wood floor restoration is not merely a practical task; it’s an art form that can transform the heart of your home. If you’ve noticed signs of wear and tear like surface scratches or worn finishes, it may be time to delve into restoring your wood floor. This guide will help you assess the condition of your floor, choose the right tools, and beautifully rejuvenate your home’s wooden surfaces. Discover the art of wood floor restoration today and give your floors the care they deserve.
Assessing the Condition of Your Wood Floor
Assessing the condition of your wood floor is a crucial first step in the restoration process. This initial evaluation helps determine whether your floor needs minor repairs or a full restoration. By understanding the current state of your wood floor, you can plan the restoration process more effectively, ensuring that the final result meets your expectations. Ignoring this step can lead to suboptimal results, requiring additional time and resources down the line.
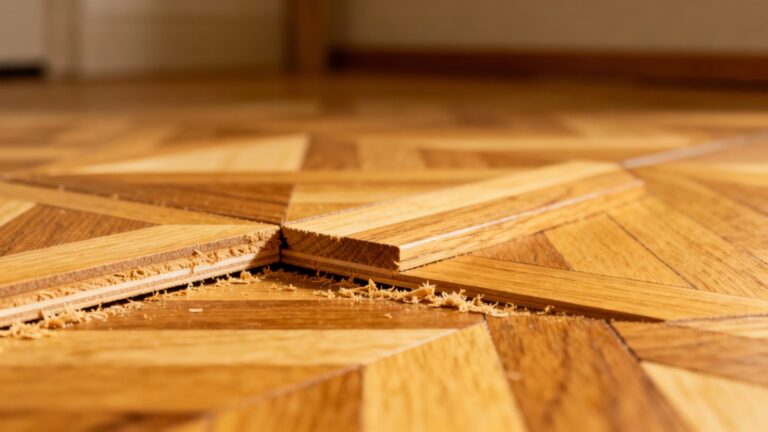
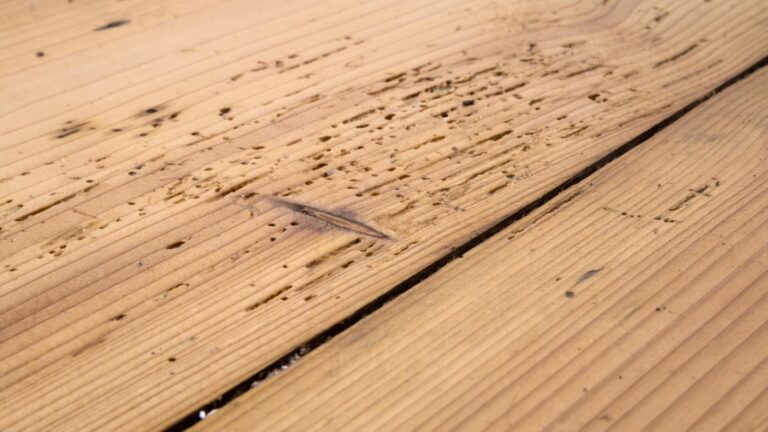
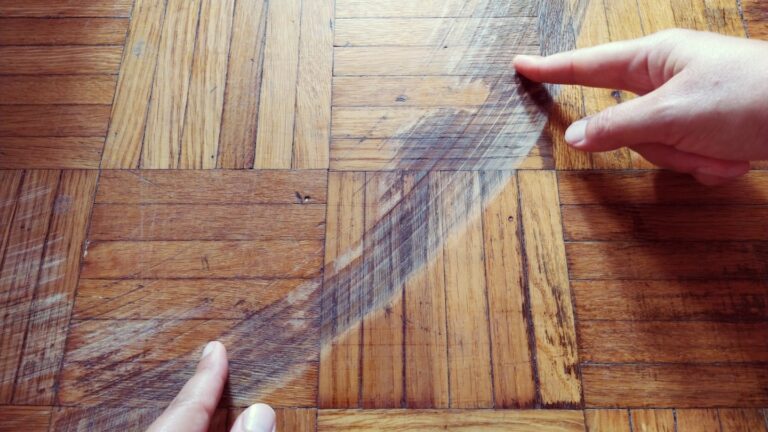
Common signs of damage to look out for include surface scratches, dents, and areas where the finish has worn away. These issues can detract from the floor’s appearance and may worsen over time if not addressed. Additionally, gaps between floorboards can indicate that the wood has expanded or contracted due to changes in humidity. These gaps can be filled to restore the floor’s integrity and appearance.
- Check for surface scratches, dents, and worn finishes.
- Look for gaps between floorboards that may need filling.
- Assess the overall level of wear and tear.
- Examine high-traffic areas for more severe damage.
- Consider the age and historical value of the wood.
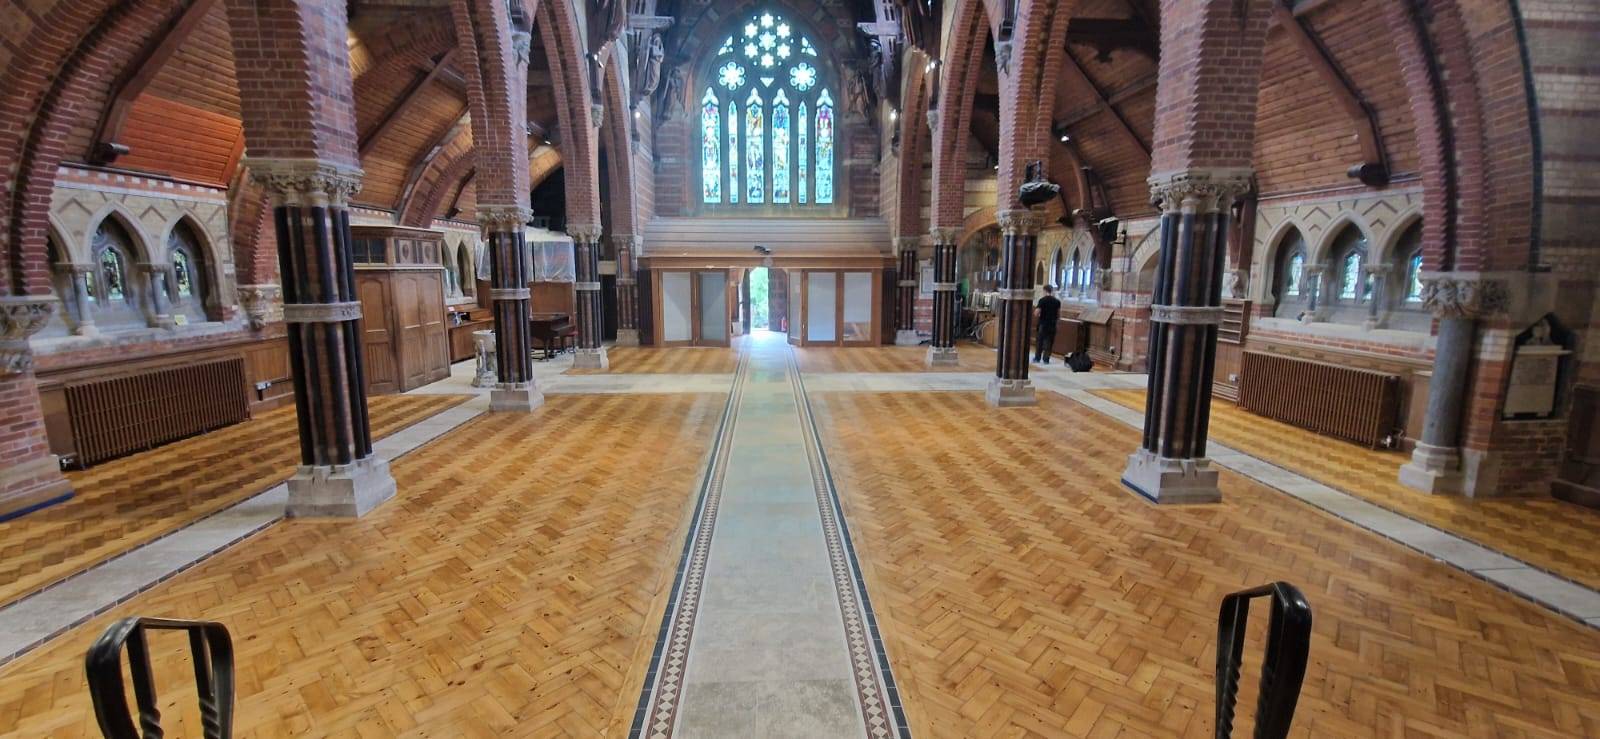
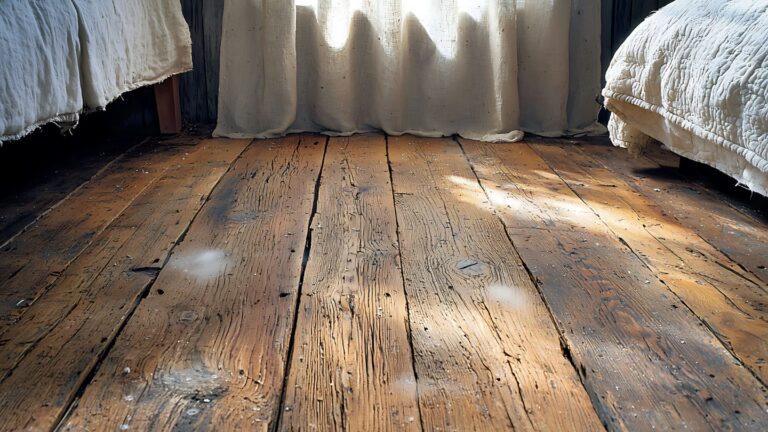
The significance of historical wood floors, especially in older homes or heritage properties, cannot be overstated. These floors often carry historical and aesthetic value, making it essential to approach their restoration with care. Understanding the age and type of wood can help in selecting the appropriate restoration techniques and materials, ensuring that the floor’s character and value are preserved.
Choosing the Right Tools and Materials for Wood Floor Restoration
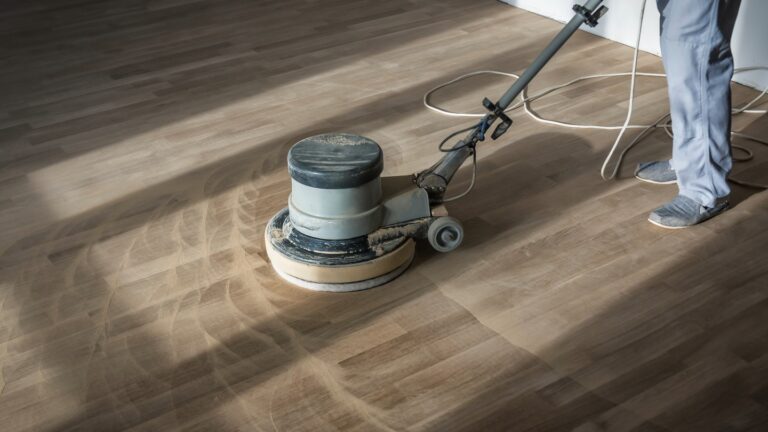
Choosing the right tools and materials is paramount for achieving a successful wood floor restoration. The quality and suitability of the tools you use can significantly impact the final result. Proper tools not only ensure a smoother and more efficient process but also help in achieving a professional finish. For instance, using floor sanders, edgers, and buffing machines allows for precise and thorough sanding, which is essential for preparing the floor surface for finishing. Moreover, using high-quality, virtually dust-free continuous belt machinery with mobile extraction units can make the restoration process cleaner and safer.
When it comes to materials, specific items are essential to achieve the best results. Sandpaper of various grits is necessary for the different stages of sanding. Coarse grit is used for initial sanding to remove the old finish, medium grit for smoothing the surface, and fine grit for the final polish. Wood filler is crucial for filling any gaps or cracks in the floorboards, ensuring a seamless look. Finishing products, such as stains, oils, or polyurethane, are needed to protect the wood and enhance its appearance. Each type of finish offers different benefits, so it’s important to choose one that suits your specific needs and preferences.
- Floor sanders
- Edgers
- Buffing machines
- Sandpaper (various grits)
- Wood filler
- Stains
- Oils
- Polyurethane
Using the recommended tools and materials from Ryan’s Restoration can provide numerous benefits. Their expertise ensures that you are equipped with the best tools for your project, reducing the risk of errors and enhancing the overall quality of the restoration. Additionally, their guidance on material selection helps you choose the most appropriate products for your floor type and desired finish. This not only saves time and resources but also ensures a durable and aesthetically pleasing result.
Step-by-Step Guide to Wood Floor Restoration
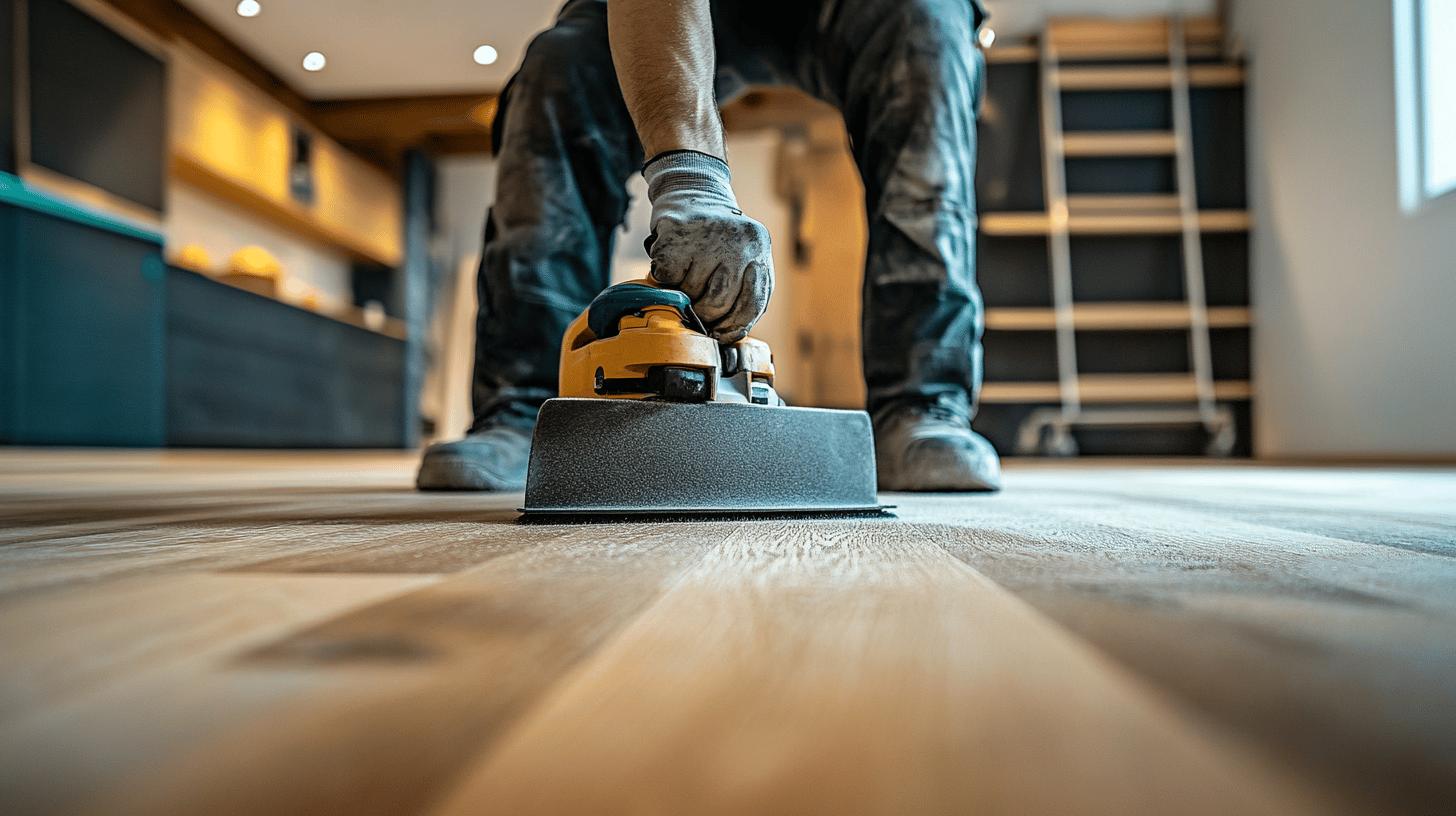
Following a structured process is crucial for a successful wood floor restoration. Each step is designed to ensure that the floor’s surface is properly prepared, sanded, stained, and finished, resulting in a durable and aesthetically pleasing outcome. Skipping or improperly executing any stage can lead to subpar results, requiring additional time and effort to correct. By adhering to this comprehensive guide, you can achieve a professional-grade restoration, even as a DIY enthusiast.
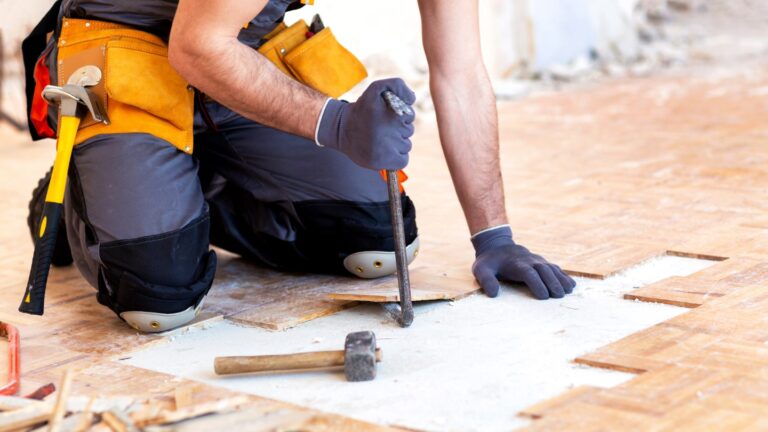
Preparation is the first and most vital step in the restoration process. This involves removing all furniture, rugs, and any other items from the room to ensure a clear working space. Thoroughly clean the floor to remove dust, dirt, and debris, making it easier to assess the condition of the wood. This step sets the stage for an effective sanding process, which follows immediately after.
- Remove furniture and rugs: Clear the room entirely to create an unobstructed workspace.
- Thoroughly clean the floor: Sweep and mop to eliminate all dust and debris.
- Coarse sanding: Use coarse-grit sandpaper to remove the old finish and level the floor.
- Medium sanding: Switch to medium-grit sandpaper to smooth out the floor surface.
- Fine sanding: Finish with fine-grit sandpaper for a polished, smooth finish.
- Staining (optional): Apply wood stain if you wish to change the floor’s colour.
- Apply finishing product: Use oil-based, water-based polyurethane, or natural oils for protection.
- Allow proper curing time: Ensure the finish cures completely to achieve durability.
The significance of allowing proper curing time for finishes cannot be overstated. Whether you opt for oil-based, water-based polyurethane, or natural oils, each finish type requires a specific amount of time to cure fully. This curing period ensures that the finish hardens correctly, providing maximum durability and resistance to wear. Neglecting this step can result in a finish that is easily damaged, undermining the entire restoration effort and necessitating further repairs.
Selecting the Perfect Finish for Your Wood Floor
Choosing the perfect finish for your wood floor is a critical step in the restoration process. The finish not only enhances the wood’s appearance but also provides essential protection against wear and tear. Selecting the right finish ensures that your floor looks stunning and remains durable over time. Factors such as the type of wood, the desired aesthetic, and the level of foot traffic all play a role in determining the most suitable finish.
There are several popular finishes to consider, each offering unique benefits. Oiling, waxing, and water-based polyurethane are some of the most common options. Oiling enhances the natural beauty of the wood and is water-repellent, making it an excellent choice for areas prone to moisture. Waxing delivers a soft, elegant finish that can be easily maintained and refreshed. Water-based polyurethane provides a durable, long-lasting protective layer that is resistant to scratches and scuffs, ideal for high-traffic areas.
- Oiling: Enhances natural beauty and is water-repellent.
- Waxing: Offers a soft, elegant finish that is easy to maintain.
- Water-based polyurethane: Provides durability and scratch resistance.
- Oil-based polyurethane: Offers a high-gloss finish and excellent durability.
- Natural oils: Penetrate deeply into the wood, providing long-lasting protection.
Ryan’s Restoration provides expert advice on selecting the best finish for your floor’s specific needs and aesthetic preferences. Their extensive experience ensures that you receive tailored recommendations, helping you achieve the perfect balance of beauty and durability for your wood floors. By consulting with their professionals, you can make an informed decision that enhances the longevity and appearance of your restored flooring.
Common Mistakes to Avoid in Wood Floor Restoration
Mistakes in wood floor restoration can lead to unsatisfactory results or even permanent damage to the floor. These errors often stem from a lack of knowledge or improper execution of the restoration steps. Understanding the common pitfalls can help you achieve a more professional finish and prolong the life of your wooden floors.
- Insufficient sanding: Failing to sand the floor adequately can leave remnants of the old finish and uneven surfaces.
- Using the wrong finish: Selecting an inappropriate finish can compromise the floor’s durability and appearance.
- Not allowing enough curing time: Skimping on curing time can result in a weak, easily damaged finish.
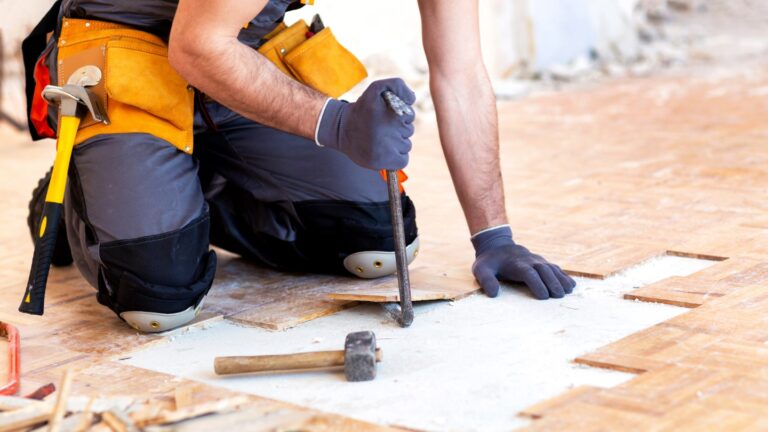
- Ignoring minor repairs: Overlooking small gaps or cracks can lead to bigger issues over time.
Ryan’s Restoration underscores the importance of professional guidance to avoid these pitfalls. Their expertise ensures that each step of the restoration process is executed correctly, from sanding to finishing. By following their advice, you can achieve a high-quality restoration that enhances both the beauty and longevity of your wood floors.
Maintaining Your Restored Wood Floor
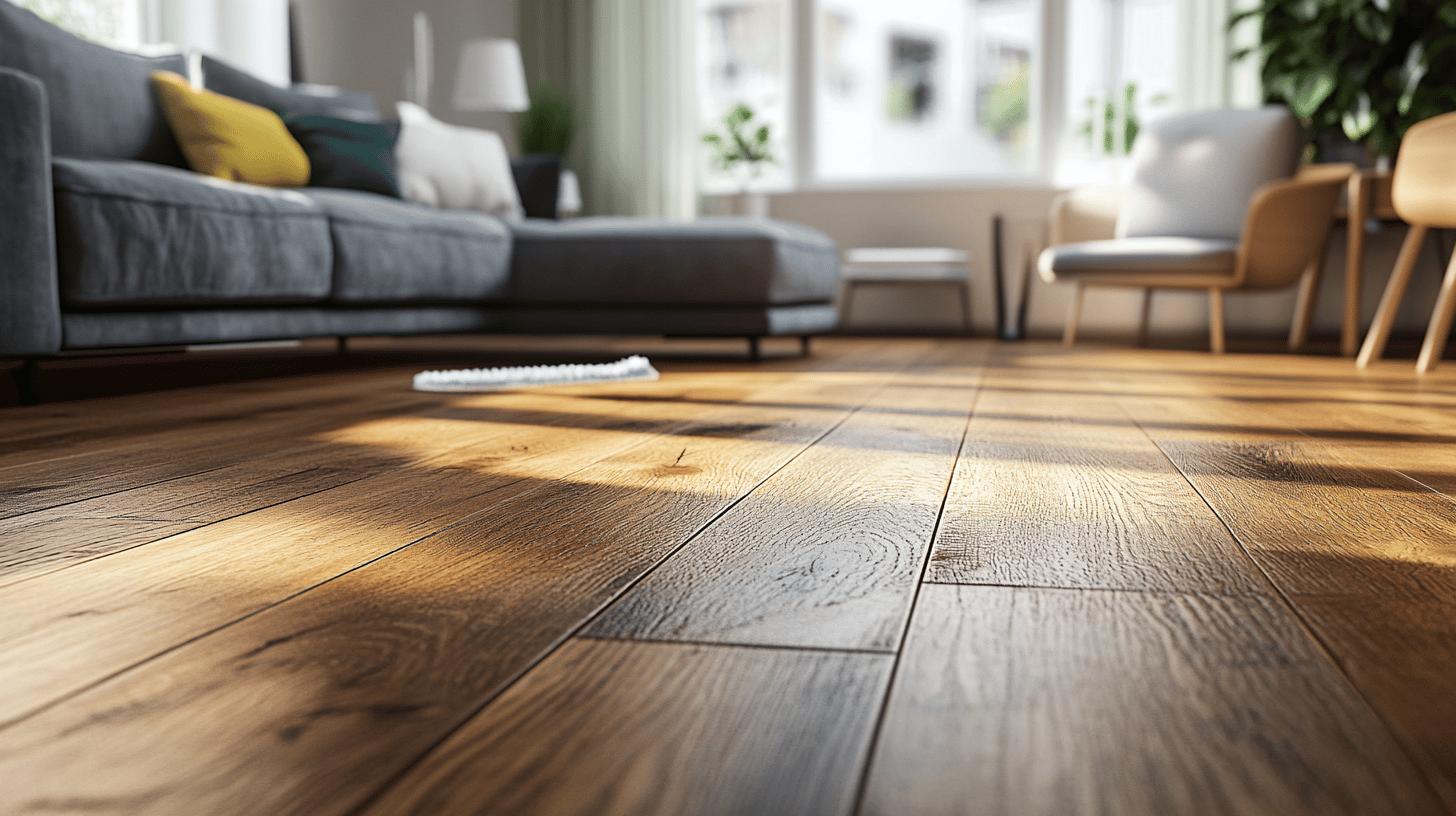
Regular maintenance is crucial for extending the life of restored wood floors. Consistent care not only preserves the floor’s aesthetic appeal but also protects it from everyday wear and tear. Neglecting maintenance can lead to the deterioration of the finish and underlying wood, necessitating more frequent and costly restorations. By incorporating a few essential practices into your routine, you can ensure that your wood floors remain in excellent condition for years to come.
Daily maintenance tasks are simple yet effective in preserving the beauty of your wood floors. Regular cleaning is essential to remove dust and debris that can scratch the surface. Additionally, using protective pads under furniture can prevent dents and scratches caused by heavy items. Addressing spills immediately is also important, as prolonged exposure to moisture can damage the wood and the finish.
- Sweep or vacuum regularly to remove dust and debris.
- Use a damp mop with a wood floor cleaner for deeper cleaning.
- Place protective pads under furniture to avoid scratches.
- Address spills immediately to prevent moisture damage.
- Use area rugs in high-traffic areas to reduce wear.
- Reapply finish as needed to maintain protection and appearance.
Ryan’s Restoration offers a range of maintenance tips and products to help you keep your floors looking their best. Their expert advice ensures that you are using the right techniques and materials for your specific floor type. By following their recommendations, you can maintain the integrity and beauty of your restored wood floors, thereby protecting your investment and enhancing the overall appeal of your home.
Final Words
In the action of restoring wood floors, assessing the condition accurately is vital. Identifying damage signs, choosing the right tools, and following a step-by-step process ensures the best results. Selecting an appropriate finish tailored to your needs can enhance the floor’s longevity and appearance.
Avoiding common mistakes during restoration can save time and ensure quality. Maintaining your restored wood floor through regular cleaning and care is essential.
Discover the art of wood floor restoration with Ryan’s Restoration and transform your home beautifully.
Transform your wood floors today – Contact Ryan’s Restoration for expert guidance!
FAQ
Q: How do you assess the condition of your wood floor?
Assessing the condition of your wood floor is crucial. Look for surface scratches, dents, worn areas, and gaps between floorboards. Consider the age and historical value of the wood, especially in older or heritage properties.
Q: What are common signs of wood floor damage?
Common signs of wood floor damage include surface scratches, dents, and worn-away finish. Gaps between floorboards may also indicate the need for restoration.
Q: What tools and materials are needed for wood floor restoration?
Essential tools for wood floor restoration include floor sanders, edgers, and buffing machines. Necessary materials include sandpaper, wood filler, and finishing products like stains, oils, or polyurethane.
Q: Why is it important to choose the right tools for wood floor restoration?
Choosing the right tools ensures a clean and safe working environment. Using reliable tools recommended by professionals, like Ryan’s Restoration, enhances the quality and durability of your restored wood floors.
Q: What are the steps involved in wood floor restoration?
The steps in wood floor restoration include preparation, sanding in three stages (coarse, medium, fine), optional staining, and applying a finish like oil-based or water-based polyurethane. Proper curing time is essential after finishing.
Q: How do you prepare a wood floor for restoration?
Preparation involves removing furniture and rugs and thoroughly cleaning the floor. Ensuring a dust-free environment is important before starting the sanding process.
Q: What are the benefits of different wood floor finishes?
The different finishes each have unique benefits. Oiling enhances natural beauty and is water-repellent, waxing offers a soft finish, and polyurethane provides durability. Expert advice helps you select the best finish for your needs.
Q: What are common mistakes to avoid in wood floor restoration?
Common mistakes include insufficient sanding, using the wrong finish, and not allowing enough curing time. Professional guidance helps avoid these issues, ensuring a successful restoration.
Q: What maintenance is required for restored wood floors?
Maintaining restored wood floors involves regular cleaning, using protective pads under furniture, and addressing spills immediately. Regular maintenance extends the life and appearance of wood floors.
Q: How can Ryan’s Restoration help with wood floor maintenance?
Ryan’s Restoration offers maintenance tips and products to keep your floors looking their best, providing expert advice and resources for long-lasting wood floor care.
