Is your home’s wooden flooring showing signs of wear and tear, leaving you pondering whether DIY sanding can deliver the results you crave? Professional floor sanding is not only vital for preserving the beauty and longevity of your floors but also essential for achieving that perfectly smooth finish you’ve always dreamed of. Proper preparation dictates the quality of the outcome, ensuring a dust-free, hassle-free experience. In this detailed guide, Ryan’s Restoration will walk you through the indispensable steps and tools required for flawless floor sanding, helping you transform your space with ease and precision.
Preparing for Domestic Floor Sanding
Proper home preparation is crucial for a smooth and almost dust-free sanding experience. Ensuring the room is completely empty is essential as it allows for the efficient movement of bulky equipment like the drum sander. Moreover, a well-prepared space helps in achieving the best possible sanding results.
- Completely empty the room of furniture and personal items.
- Remove old floor coverings, such as carpets or rugs.
- Extract nails, staples, and any other protrusions from the floor.
- Thoroughly clean the area to remove dust, dirt, and debris.
- Ensure all windows and doors are sealed to minimise dust spread.
A clean, empty workspace is vital. The bulkiness of the drum sander necessitates ample space to manoeuvre without any obstructions. This allows for an even and consistent sanding job, ensuring that every part of the floor receives attention.
Additionally, assessing the floor’s condition before starting is imperative. Floors in poor condition may not achieve the desired look even after sanding. Addressing issues such as deep scratches, warped boards, or significant damage beforehand will enhance the final outcome.
Essential Tools and Equipment for Domestic Floor Sanding
Having the right tools is essential for achieving perfectly smooth results in domestic floor sanding. The correct equipment ensures efficiency, safety, and a professional finish. Whether you’re a DIY enthusiast or a seasoned professional, investing in or renting quality tools can significantly impact the final outcome.
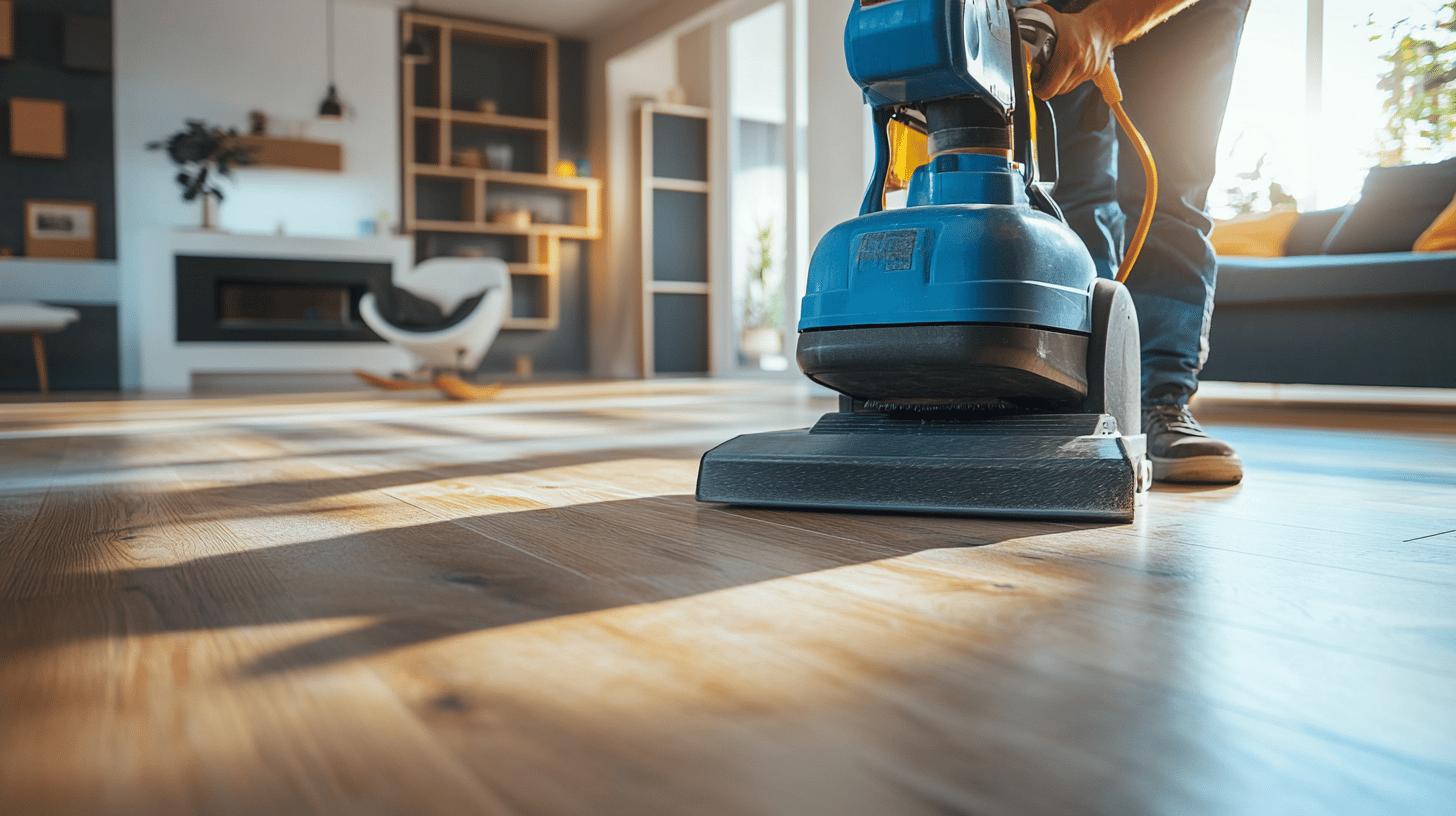
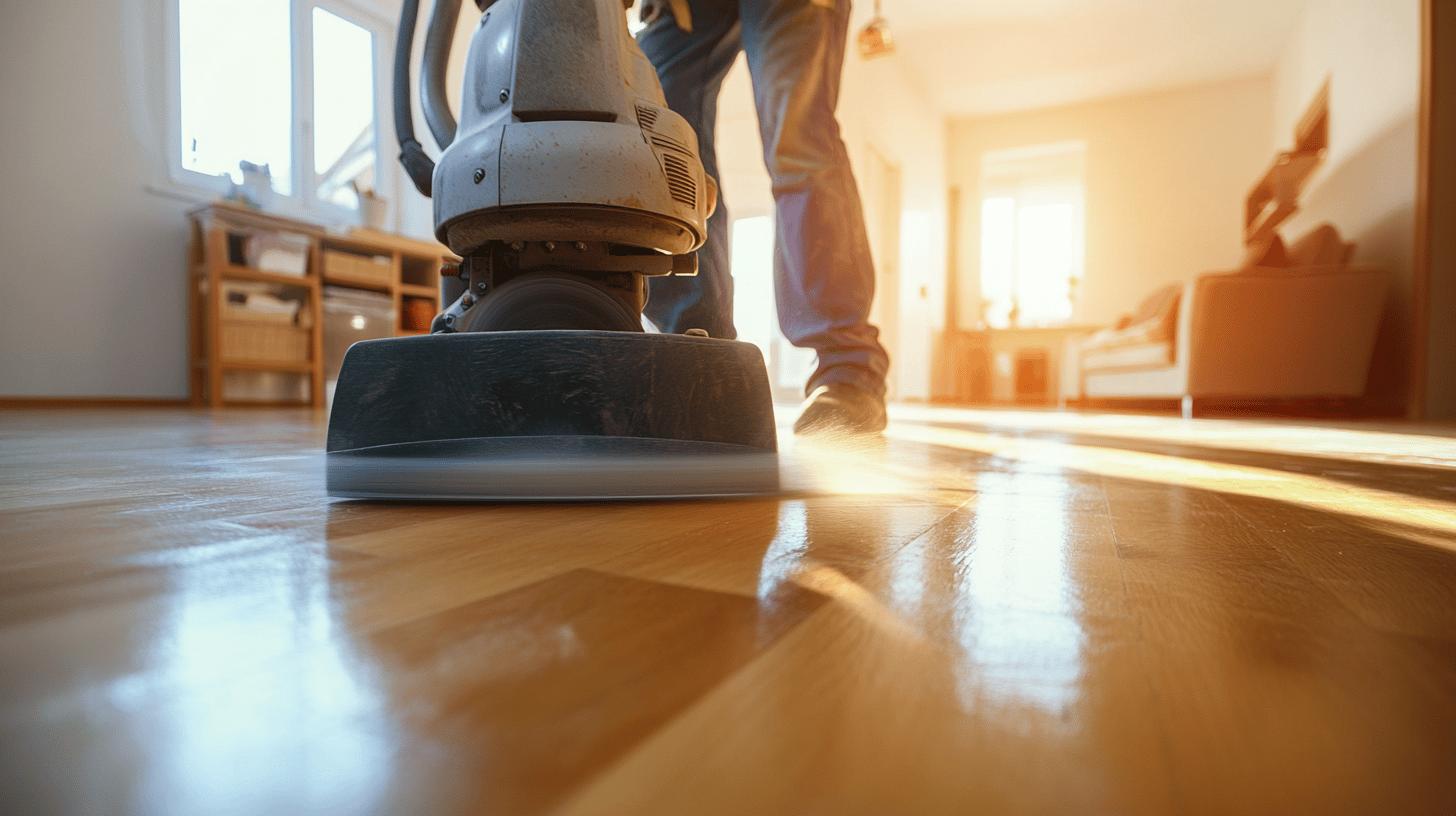
The primary tools required for sanding include a drum sander and an edging sander. A drum sander is used for the main, open areas of the floor, providing an even surface by removing layers of wood. An edging sander is necessary for sanding the edges and corners that the drum sander cannot reach. Both of these machines can typically be hired from reputable rental shops.
Additional tools are also necessary to complete the job efficiently. A hammer and nail punch are crucial for ensuring all nails are driven below the wood surface, preventing damage to the sanders. Various grits of sandpaper are needed to achieve a smooth finish, starting with coarse paper and moving to finer grits. A vacuum cleaner is essential for keeping the workspace clean and removing dust between sanding passes.
Protective equipment is critical for safety during the sanding process. High-quality dust masks, such as FFP2-rated masks, protect against inhaling fine dust particles. Ear protection is necessary due to the loud noise generated by the sanders. Wearing sensible shoes can prevent foot injuries from heavy equipment or falling debris.
| Tool | Use |
|---|---|
| Drum Sander | For sanding the main areas of the floor |
| Edging Sander | For sanding edges and corners |
| Hammer | For driving nails |
| Nail Punch | For setting nails below the wood surface |
| Sandpaper (various grits) | For progressively smoothing the floor |
| Vacuum Cleaner | For cleaning dust between sanding passes |
| Dust Mask (FFP2) | For protecting against dust inhalation |
Step-by-Step Guide to Domestic Floor Sanding
Sanding a wooden floor can rejuvenate its appearance and extend its lifespan. The process involves several steps, each requiring specific techniques and tools to achieve a perfectly smooth finish. This guide will walk you through the essential steps to ensure a professional-quality result.
Edging and Drum Sanding
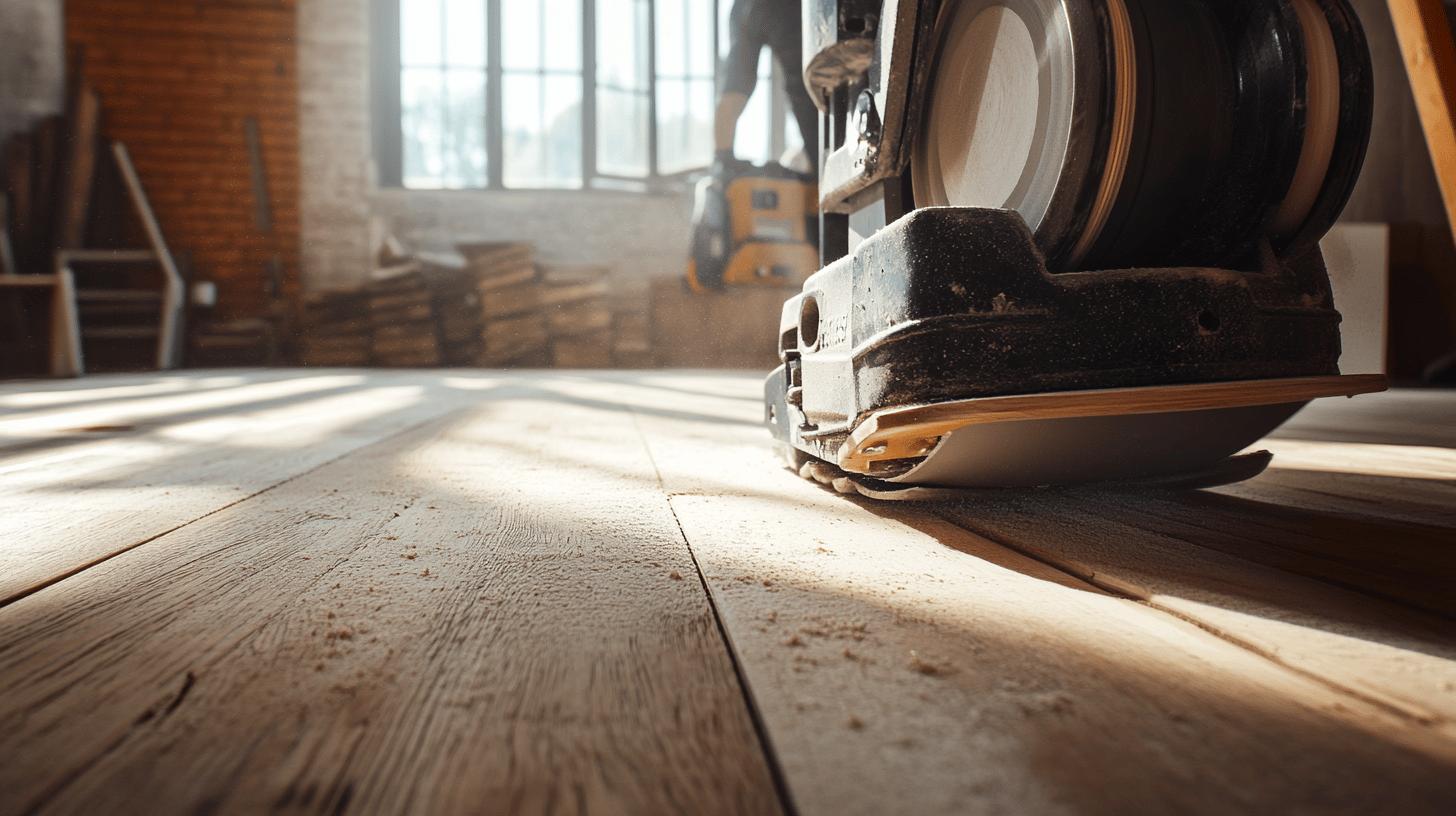
The sanding process begins with using an edging sander for the room’s perimeter. This tool is designed to reach areas that the larger drum sander cannot access, such as corners and edges along the walls. To use the edging sander, start in one corner of the room and work your way around, ensuring even pressure and consistent movement to avoid creating uneven surfaces.
Next, the drum sander is used for the main, open areas of the floor. This machine removes the top layer of wood, erasing scratches, stains, and old finishes. Begin sanding with a coarse grit sandpaper to remove the bulk of the material. Move the sander in straight lines, overlapping each pass slightly to ensure uniformity. Always keep the sander in motion to prevent gouging the floor.
Sandpaper Selection and Usage
Selecting the appropriate sandpaper grit is crucial for achieving a smooth finish. The condition of the floor determines the starting grit. For heavily worn or damaged floors, start with a coarse grit (around 24-36). For less damaged floors, a medium grit (40-60) may be sufficient. Progressively move to finer grits (80-120) to smooth the surface further.
Regularly switching sandpaper is essential to maintain efficiency and quality. Dull sandpaper will not remove material effectively and can cause uneven sanding. Check the paper frequently and replace it as soon as it becomes clogged or worn.
Hand sanding is not recommended due to its time-consuming and labour-intensive nature. The cost inefficiency and potential for inconsistent results make it impractical for large areas. Instead, invest in or hire professional-grade machines, which offer superior performance and ease of use.
Professional-grade machines are typically more robust and efficient than those available for hire at DIY stores. They provide better dust extraction, reducing cleanup time and improving air quality. Additionally, these machines achieve a more consistent finish, making them a worthwhile investment for those seeking high-quality results.
Floor Finishing Options after Sanding
Proper floor finishing is crucial for protecting your newly sanded wooden floors and enhancing their appearance. Finishing not only adds a layer of protection against wear and tear but also highlights the natural beauty of the wood. There are various finishing options available, each with its own application methods and effects. Choosing the right finish depends on your aesthetic preferences and the floor’s usage.
Varnishing is one of the most popular finishing options. It provides a durable and long-lasting protective layer. To achieve the best results, varnishing typically requires 3-4 coats, especially in high-traffic areas. The varnish is applied evenly across the floor using a brush or roller, ensuring each coat is dry before applying the next. A varnished floor offers a glossy or satin finish, depending on the type of varnish used.
Staining is another excellent option if you wish to alter the wood’s colour. Stains penetrate the wood, enhancing its natural grain while providing a uniform colour. Staining is usually followed by a protective topcoat, such as varnish or oil, to seal in the colour and add durability. The process involves applying the stain with a cloth or brush, allowing it to penetrate, and wiping off any excess to achieve the desired shade.
Oiling offers a more natural and matte finish compared to varnishing. Oils penetrate deep into the wood, providing protection from within while enhancing the wood’s natural texture. Oiling requires regular maintenance, as it does not form a hard protective layer on the surface. Applying oil involves spreading it evenly with a cloth or brush and allowing it to soak into the wood. Multiple coats may be necessary to achieve the desired level of protection.
Application methods and drying times are essential considerations for floor finishing. Each type of finish has specific application techniques to ensure even coverage and optimal results. Varnishing, for example, requires careful brushing to avoid streaks, while staining needs thorough wiping to achieve uniformity. Drying times vary: varnish typically takes 24-48 hours per coat, while oil may take longer to penetrate fully. It is essential to allow sufficient drying time between coats and wait up to 14 days before moving furniture back to avoid damaging the finish.
Cost of Domestic Floor Sanding
Understanding the costs associated with domestic floor sanding is essential for effective budgeting. Professional restoration and sanding services typically cost around £17 per square metre. DIY sanding, on the other hand, can be more cost-effective, but the total expense varies depending on the number of rooms and the equipment required. While DIY might seem cheaper initially, the costs of hiring quality tools and purchasing materials can add up.
Several factors can influence the overall cost of floor sanding. The size of the area to be sanded is one of the primary determinants; larger areas will naturally incur higher costs. The condition of the floor also plays a significant role. Floors with deep scratches, stains, or significant damage may require more intensive sanding and additional treatments, increasing the overall expense. The type of wood and the desired finish can further impact costs. Exotic or harder woods may require specialised sanding techniques and materials, while premium finishes like high-gloss varnish or custom stains can add to the cost.
| Cost Factor | Impact |
|---|---|
| Area Size | Larger areas incur higher costs |
| Floor Condition | More damage requires additional treatments |
| Type of Wood | Exotic woods may need specialised techniques |
| Desired Finish | Premium finishes increase costs |
| Labour Rates | Professional fees vary by region |
Benefits of Professional Domestic Floor Sanding
Opting for professional domestic floor sanding offers several advantages over DIY approaches. While DIY sanding is possible, it often requires significant effort and time. Professionals bring expertise, ensuring a high-quality finish and addressing any unique challenges your floor may present. Furthermore, professional sanding services are equipped with advanced machinery that achieves smoother and more consistent results compared to typical rental equipment.
- Access to high-quality, industrial-grade sanding machines
- Expertise in handling various floor types and conditions
- Efficient and timely completion of the sanding process
- Reduced dust and debris due to advanced dust extraction systems
- Comprehensive aftercare advice and services
Professional services, such as those offered by Ryan’s Restoration, provide exceptional efficiency and quality. Their use of superior machines ensures a more even and polished finish, reducing the likelihood of errors and inconsistencies. This level of precision and attention to detail can make a significant difference in the final appearance and longevity of your floors. Investing in professional floor sanding not only saves time but also guarantees a result that enhances the beauty and value of your home.
Final Words
In the action, preparing for domestic floor sanding sets the stage for a flawless finish. Ensuring a clean, empty space and assessing the condition of your floor is essential.
Having the right tools, such as drum and edging sanders, and protective gear ensures efficiency and safety.
Following a detailed step-by-step guide, including proper sandpaper selection, leads to professional results. Floor finishing, whether varnishing, staining, or oiling, enhances durability and aesthetics.
Professional domestic floor sanding offers superior equipment and expertise, ultimately saving time and guaranteeing quality. Embrace these practices for a beautifully restored wooden floor.
Transform your wooden floors with expert floor sanding – Contact Ryan’s Restoration for professional services today!
FAQ
Can you sand your own floors?
Sanding your own floors is possible, but it requires suitable equipment, patience, and a level of skill. Rental sanders are available, but professional results are challenging without experience.
How much does it cost to have a floor professionally sanded in the UK?
Professional floor sanding in the UK typically costs about £17 per square metre. Prices can vary based on room size and additional services like varnishing or staining.
How do I prepare my house for floor sanding?
Preparation involves emptying the room completely, removing old coverings and nails, and thoroughly cleaning. Ensure the space is empty due to the sanders’ bulkiness. Floors in poor condition may need more work.
Is floor sanding worth it?
Floor sanding is worth it if your floors are worn or damaged. It revitalises the floor’s appearance, improves durability, and can increase property value. However, the cost-benefit ratio must be considered.


