Choosing the right sanding grit for wood floors is like selecting the perfect brush for a masterpiece. It requires precision, understanding, and strategy to achieve a flawless finish. An incorrect choice can lead to uneven textures or damage to your cherished floors. This article delves into the nuanced world of sanding grit selection, equipping you with expert tips to ensure you achieve a professional, polished result every time. Discover the essential grit levels for various stages of floor restoration, and learn how to tailor your approach based on wood type and floor condition.
Understanding Sanding Grit Levels for Wood Floors
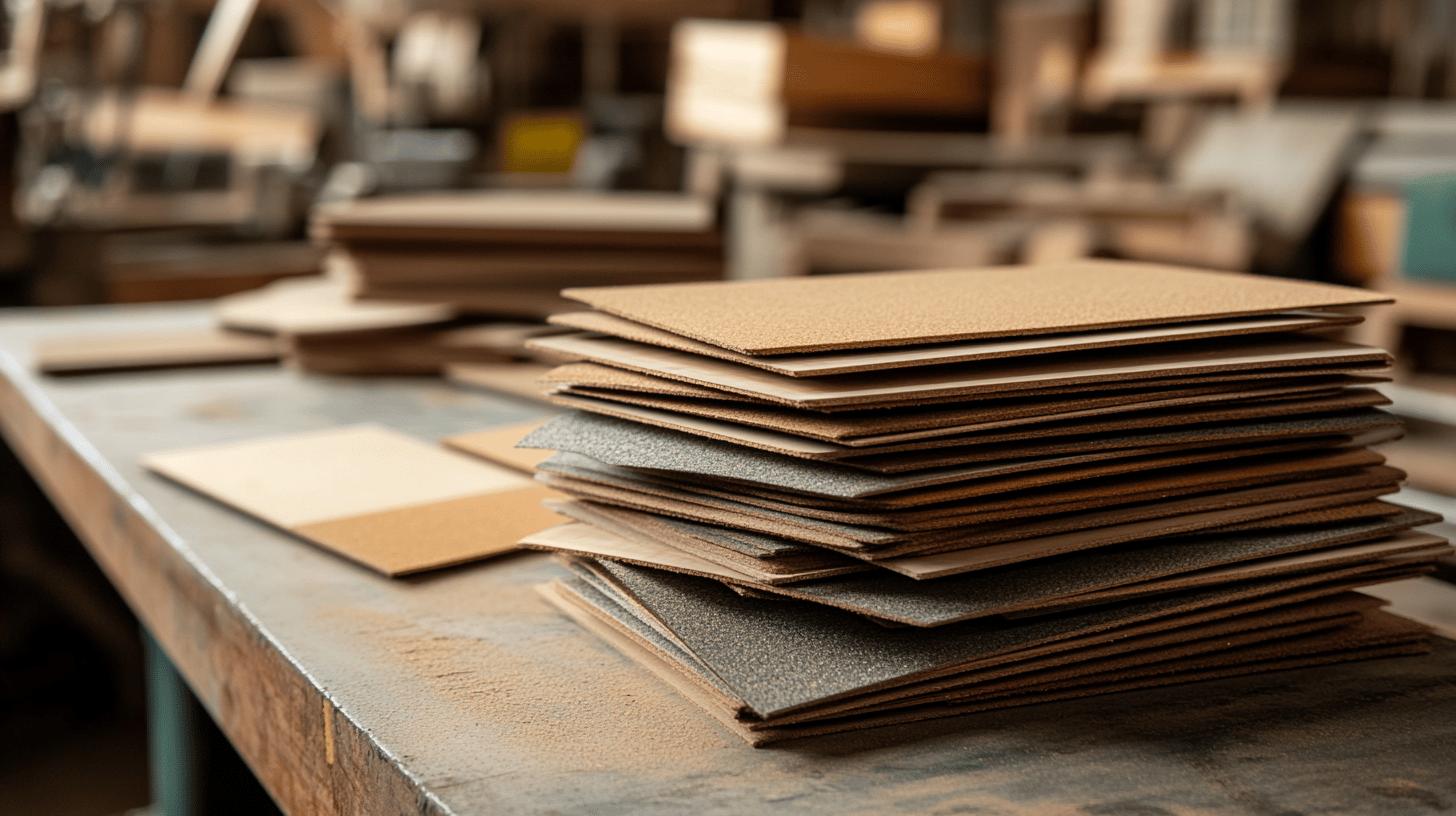
Selecting the correct sanding grit is vital for achieving a smooth, professional finish on wooden floors. The grit number of sandpaper specifies its coarseness, with lower numbers indicating coarser grit, suitable for more aggressive sanding, and higher numbers indicating finer grit, ideal for finishing touches. Each stage of the sanding process necessitates different grit levels to ensure optimal results and to protect the wood’s surface.
- Coarse grit (e.g., 24-36): Utilised for removing old finishes and levelling uneven surfaces, this grit effectively strips away the top layers of wood, making it the first step in many sanding processes.
- Medium grit (e.g., 60-80): Employed for smoothing surfaces after the initial coarse grit sanding. This grit helps to refine the wood’s surface, preparing it for finer sanding.
- Fine grit (e.g., 100-150): Used for final polishing, this grit provides a smooth finish, ensuring the wood is ready for staining or sealing.
- Aluminium oxide: Particularly suited for hardwoods, this sandpaper type is durable and effective at cutting through tough finishes.
- Silicon carbide: Ideal for achieving finer finishes, it is often used in the final stages of sanding to create a polished look.
Choosing the appropriate type of grit is essential for specific wood types and conditions. For instance, hardwood floors like oak or maple benefit from aluminium oxide sandpaper due to their durability, while softer woods may require more delicate handling to avoid damage. Understanding these distinctions ensures that each type of wood floor is treated with the care and precision it deserves, enhancing both aesthetics and longevity.
Factors Influencing Sanding Grit Choice
Choosing the correct sanding grit begins with a thorough assessment of the wood type and its condition. Hardwood floors, such as oak and maple, typically require a more aggressive grit to effectively sand the dense wood. Conversely, softwood floors, like pine, are more prone to damage, necessitating a gentler approach with finer grits. Engineered wood floors, which feature a thin hardwood veneer, call for extra care to prevent excessive sanding that might damage the veneer layer. Additionally, the existing floor finish and the desired outcome play a crucial role; removing thick layers of varnish may require coarser grits, while preparing the wood for a smooth finish involves progressively finer grits.
These considerations significantly impact sanding efficiency and the final appearance of the floor. Using the wrong grit can lead to uneven surfaces, wasted time, and potential damage to the wood. Therefore, understanding the characteristics of the wood and the task at hand ensures that each sanding stage is optimised for the best results, preserving the integrity and enhancing the beauty of the wood floors.
Step-by-Step Sanding Process for Wood Floors

Sanding wooden floors is a meticulous process that involves three main stages: rough sanding, medium sanding, and fine sanding. Each stage utilises specific grit levels to achieve a smooth, polished finish and to prepare the floor for subsequent treatments. Understanding the purpose and technique of each stage is essential for ensuring an optimal outcome.
Rough Sanding
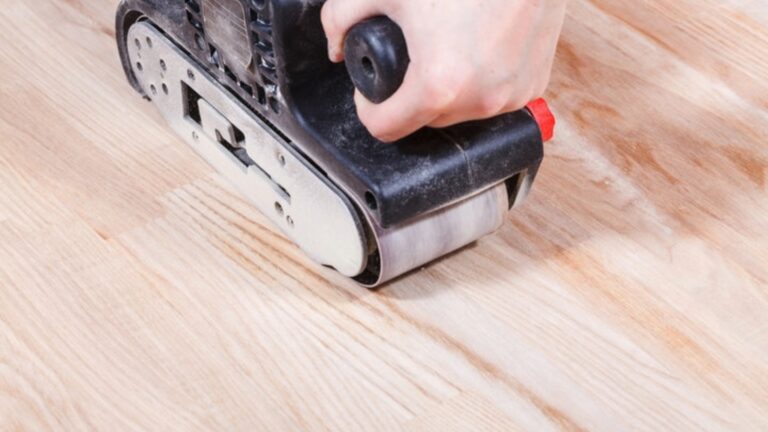
The initial stage of sanding, known as rough sanding, employs coarse grit sandpaper, typically ranging from 24 to 36 grit. This phase aims to remove old finishes, such as varnish or paint, and to level uneven surfaces. Coarse grit is highly abrasive and efficient at stripping away the top layers of wood, addressing deep scratches and stains. It’s crucial to maintain a consistent pace and even pressure during this stage to prevent gouges and ensure a uniform surface.
Medium Sanding
Following rough sanding, the process advances to medium sanding, which uses sandpaper with a grit level between 40 and 60. Medium sanding serves to smooth the wood’s surface, removing marks left by the coarse grit. This stage refines the wood by eradicating any remaining imperfections and preparing it for the final sanding phase. Careful attention should be paid to the wood grain direction to avoid unwanted scratches and ensure a consistent finish.
Fine Sanding
The final stage, fine sanding, involves using sandpaper ranging from 80 to 100 grit. This step is essential for achieving a polished surface, ready for staining or sealing. Fine sanding removes any residual sanding marks and provides a smooth, even texture. Applying gentle pressure and maintaining a steady pace is key to avoiding over-sanding and achieving a professional-quality finish.
Recognising the need to switch grits is crucial for an efficient sanding process. Indicators include the floor’s smoothness and the current grit’s effectiveness in removing imperfections. Regularly inspecting the floor and adjusting grit levels accordingly ensures a flawless finish while preserving the wood’s integrity.
Common Mistakes and Expert Tips for Sanding
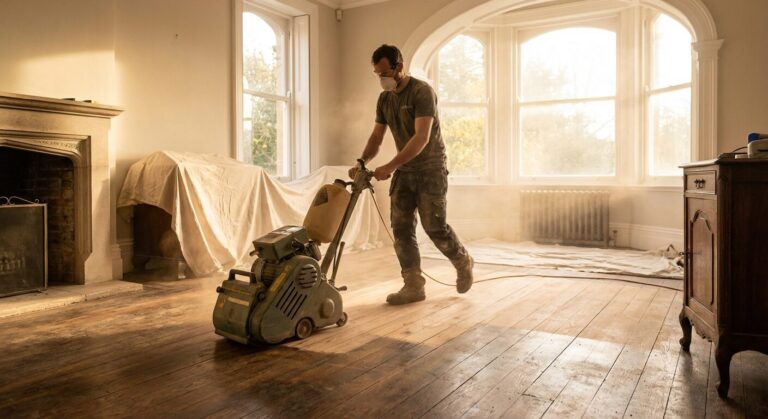
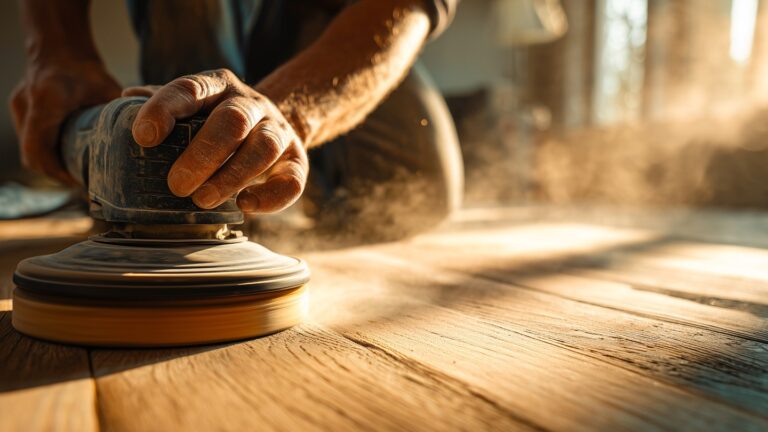
Sanding wood floors is an art that requires precision and attention to detail. One of the primary challenges faced by many is achieving an even finish. Uneven sanding can result from improper use of the sander, varying floorboards, or inconsistent pressure applied during the sanding process. Dust management is another significant challenge, as excess dust can mar the finish and create a less-than-ideal work environment. Additionally, safety equipment is essential to protect against inhalation of dust particles and to prevent injury from equipment use.
To avoid these common pitfalls in sanding, consider the following mistakes:
- Skipping grit levels.
- Over-sanding in one area.
- Ignoring wood grain direction.
- Poor dust management.
- Neglecting safety equipment.
Expert tips from Ryan’s Restoration can make a substantial difference in the quality of your sanding results. Firstly, always begin with the coarsest grit necessary to remove the old finish, then gradually work towards finer grits to achieve a smooth finish. This progression ensures that each stage effectively prepares the floor for the next, avoiding the need for excessive sanding. Secondly, maintain a steady pace and consistent pressure to prevent gouges or uneven areas. Following the wood grain helps minimise scratches and enhances the final appearance.
Safety cannot be overstated in the sanding process. Wearing a dust mask, goggles, and ear protection is crucial to safeguard against the hazards of dust and noise. Adequate ventilation and dust collection systems can significantly reduce airborne particles, ensuring a cleaner and safer workspace. By adhering to these guidelines, one can achieve a professional result and prolong the life of wooden floors.
Achieving a Professional Finish with the Right Sanding Grit
The choice of sanding grit is pivotal in achieving a polished finish that enhances both the aesthetic and durability of wood floors. What impact does the correct grit choice have on floor aesthetics? By selecting the appropriate grit, one ensures that the natural beauty of the wood is preserved and the surface is prepared to accept finishes evenly, thus preventing blotches and inconsistencies.
The grit level determines the degree of smoothness in the sanding process, which is critical for maintaining the wood’s grain and overall appearance. Coarser grits remove old finishes and level the surface, while finer grits polish the wood, preparing it for the final finish. Proper grit progression is essential to avoid scratches and to achieve a flawless result.
- Thorough cleaning of the sanded surface.
- Application of an appropriate floor finish.
- Allowing sufficient drying time.
- Conducting a final polish for shine.
For those seeking a truly professional result, consider enlisting the expertise of Ryan’s Restoration. Their skilled team can ensure that the right sanding grit is chosen and applied with precision, delivering a beautiful, long-lasting finish that showcases the natural allure of your wood flooring.
Final Words
Selecting the right sanding grit is crucial for achieving a polished and durable wood floor finish. It begins with understanding grit levels, where each type serves a unique purpose. Various factors, such as wood type and condition, also significantly influence grit choice, ensuring optimal results. The expert tips outlined in this guide will help avoid common pitfalls and improve efficiency during sanding. Prioritising the appropriate grit selection will transform wood floors, showcasing aesthetics and durability as advised by Ryan’s Restoration, emphasising the importance of Expert Tips for Choosing the Right Sanding Grit for Your Wood Floors.
FAQ
What grit sandpaper is best for sanding hardwood floors?
The best grit for sanding hardwood floors typically starts with a coarse grit, such as 24-36, to remove old finishes and level the surface. Progress to medium grit, 60-80, for smoothing, followed by fine grit, 100-150, for polishing.
How do I choose the right sanding grit for wood?
Choosing the right sanding grit depends on the wood type and its condition. Begin with coarser grit for rough surfaces, gradually moving to finer grit for a smoother finish. Consider the wood species and your desired outcome.
What is the grit sequence for sanding wood?
The grit sequence for sanding wood starts with coarse grit (24-36) for initial sanding, followed by medium grit (60-80) for surface smoothing, and finally, fine grit (100-150) for polishing.
What grit sandpaper should I use for painting wood?
Before painting wood, use medium grit sandpaper, such as 100-150, to smooth the surface and ensure the paint adheres better.
What grit sandpaper is best for skirting boards?
For skirting boards, use medium to fine-grained sandpaper, such as 80-120, to prepare the surface for painting or staining.
What grit sandpaper should I use for wood stain?
Use medium grit sandpaper, like 120-150, to lightly sand the wood before staining. This grit range helps the stain penetrate the wood evenly.
What is a floor sander and its benefits?
A floor sander is a tool for sanding wooden floors, offering a professional finish and increasing floor life. Benefits include smoother surfaces and a more even application of finishes.
What are the common mistakes when sanding wood floors?
Common sanding mistakes include skipping grit levels, over-sanding, ignoring wood grain direction, poor dust management, and neglecting safety equipment. Avoid these to achieve a professional result.
How does sanding grit affect wood floor aesthetics?
Sanding grit choice directly impacts wood floor aesthetics by influencing the smoothness and finish clarity. Proper selection ensures a polished appearance and extended floor durability.
