Are you contemplating a floor makeover but unsure of what to expect? Witness the captivating art of wood floor sanding transformations, where faded and tired floors emerge rejuvenated and elegant. In this article, we delve into the “before and after” miracle that floor sanding offers. Discover how to scrutinise these pivotal transformations, ensuring consistency in colour and finish, and grasp why visual evidence is key in selecting a reliable service provider. Ryan’s Restoration exemplifies excellence in wood floor restoration, promising dust-free, high-quality results. Embark on this journey to elevate your home’s aesthetic and value.
Evaluating Floor Sanding Transformations: Before and After
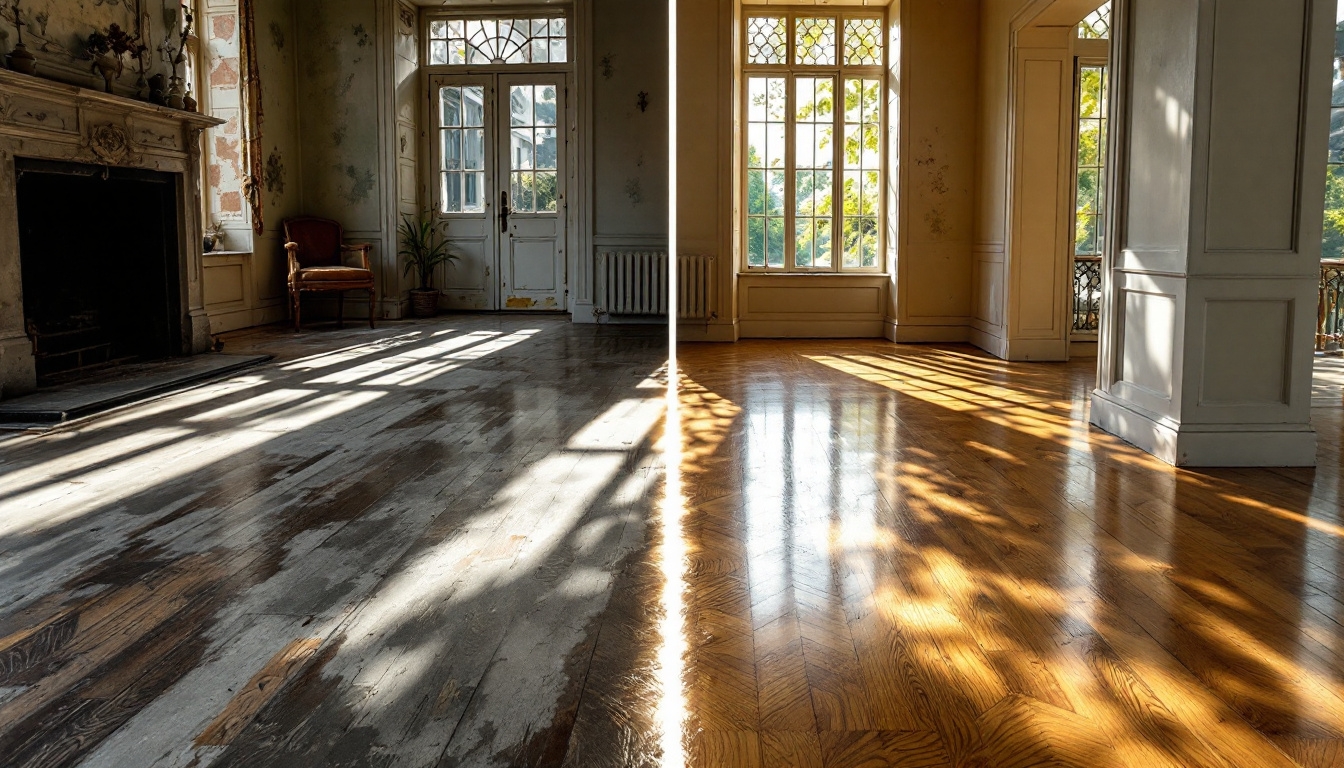
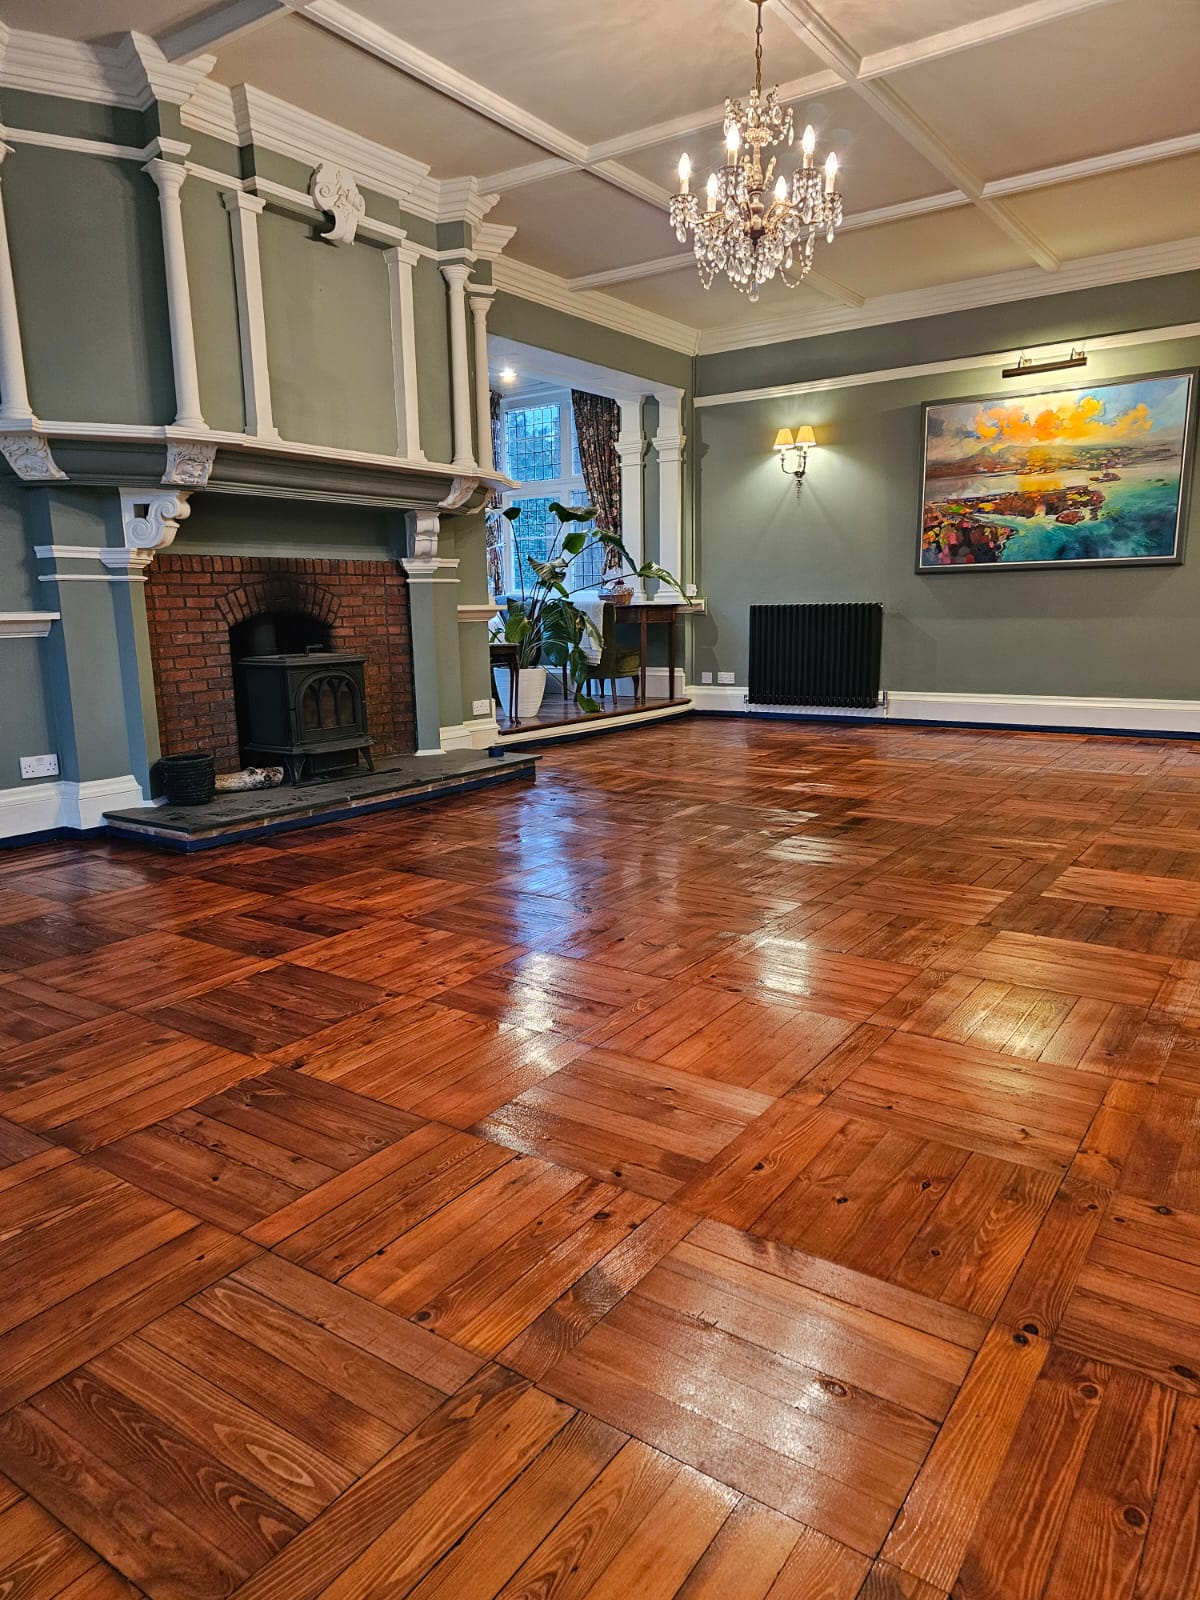
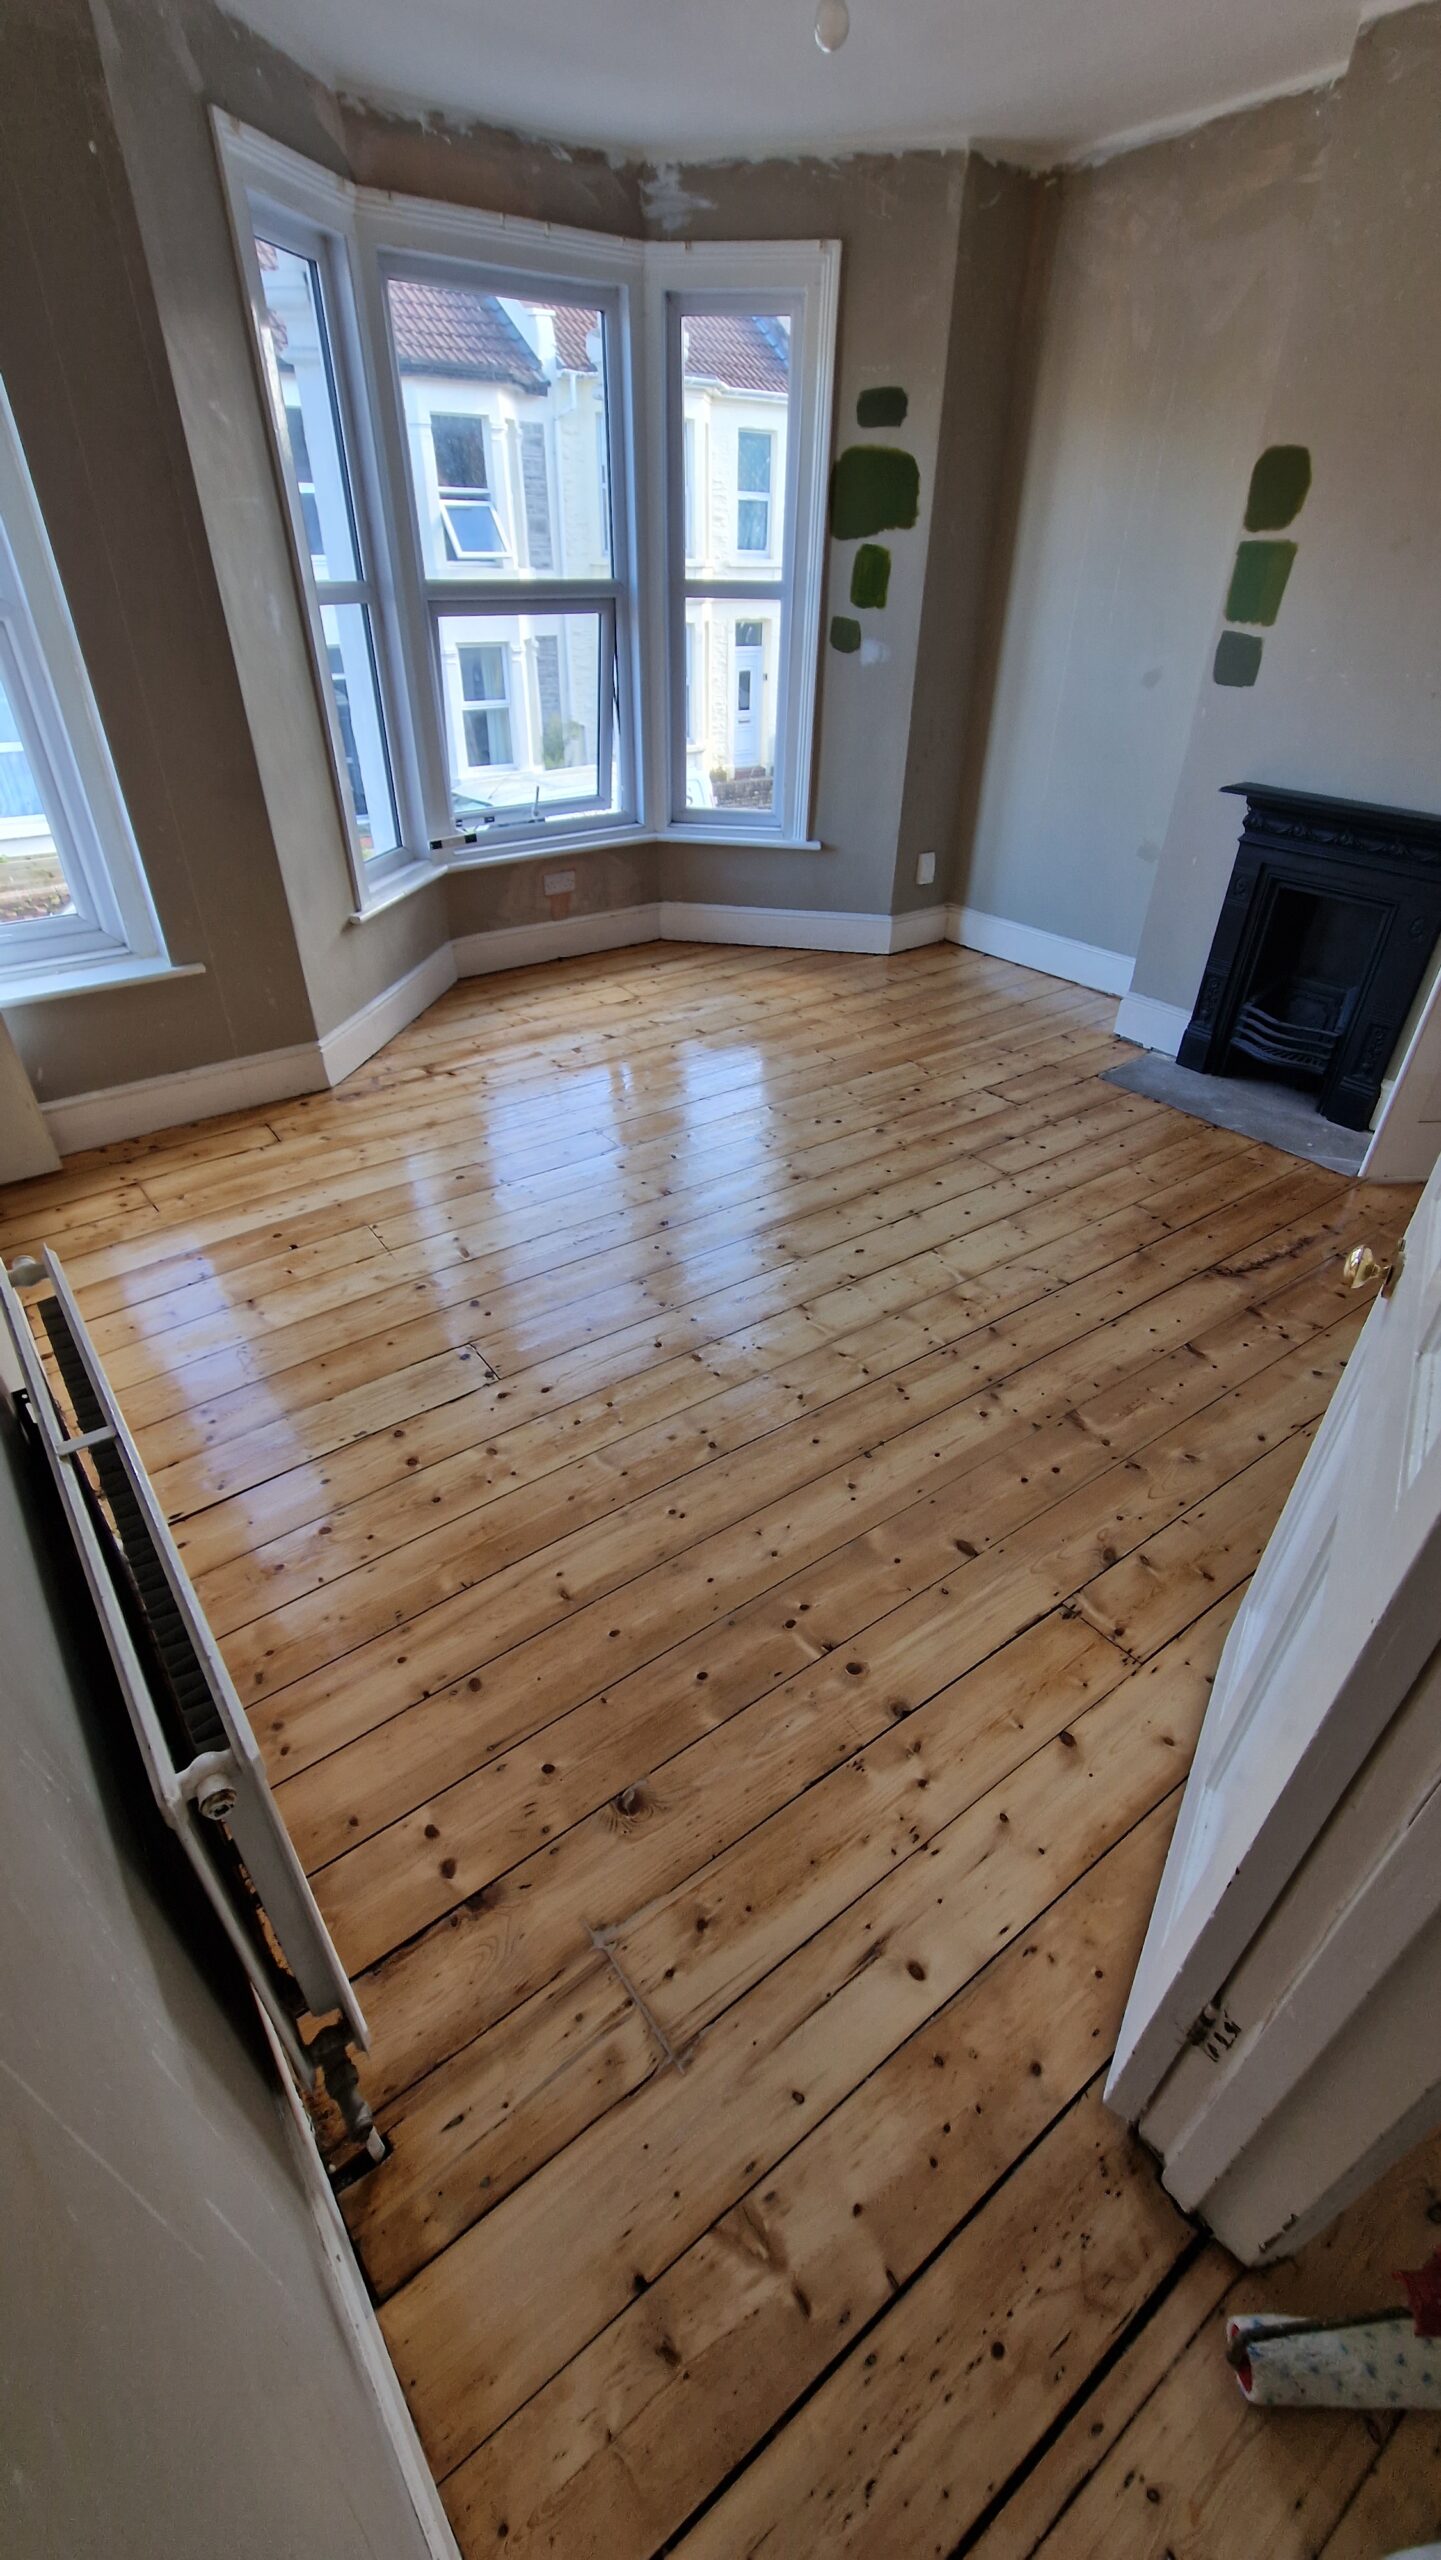
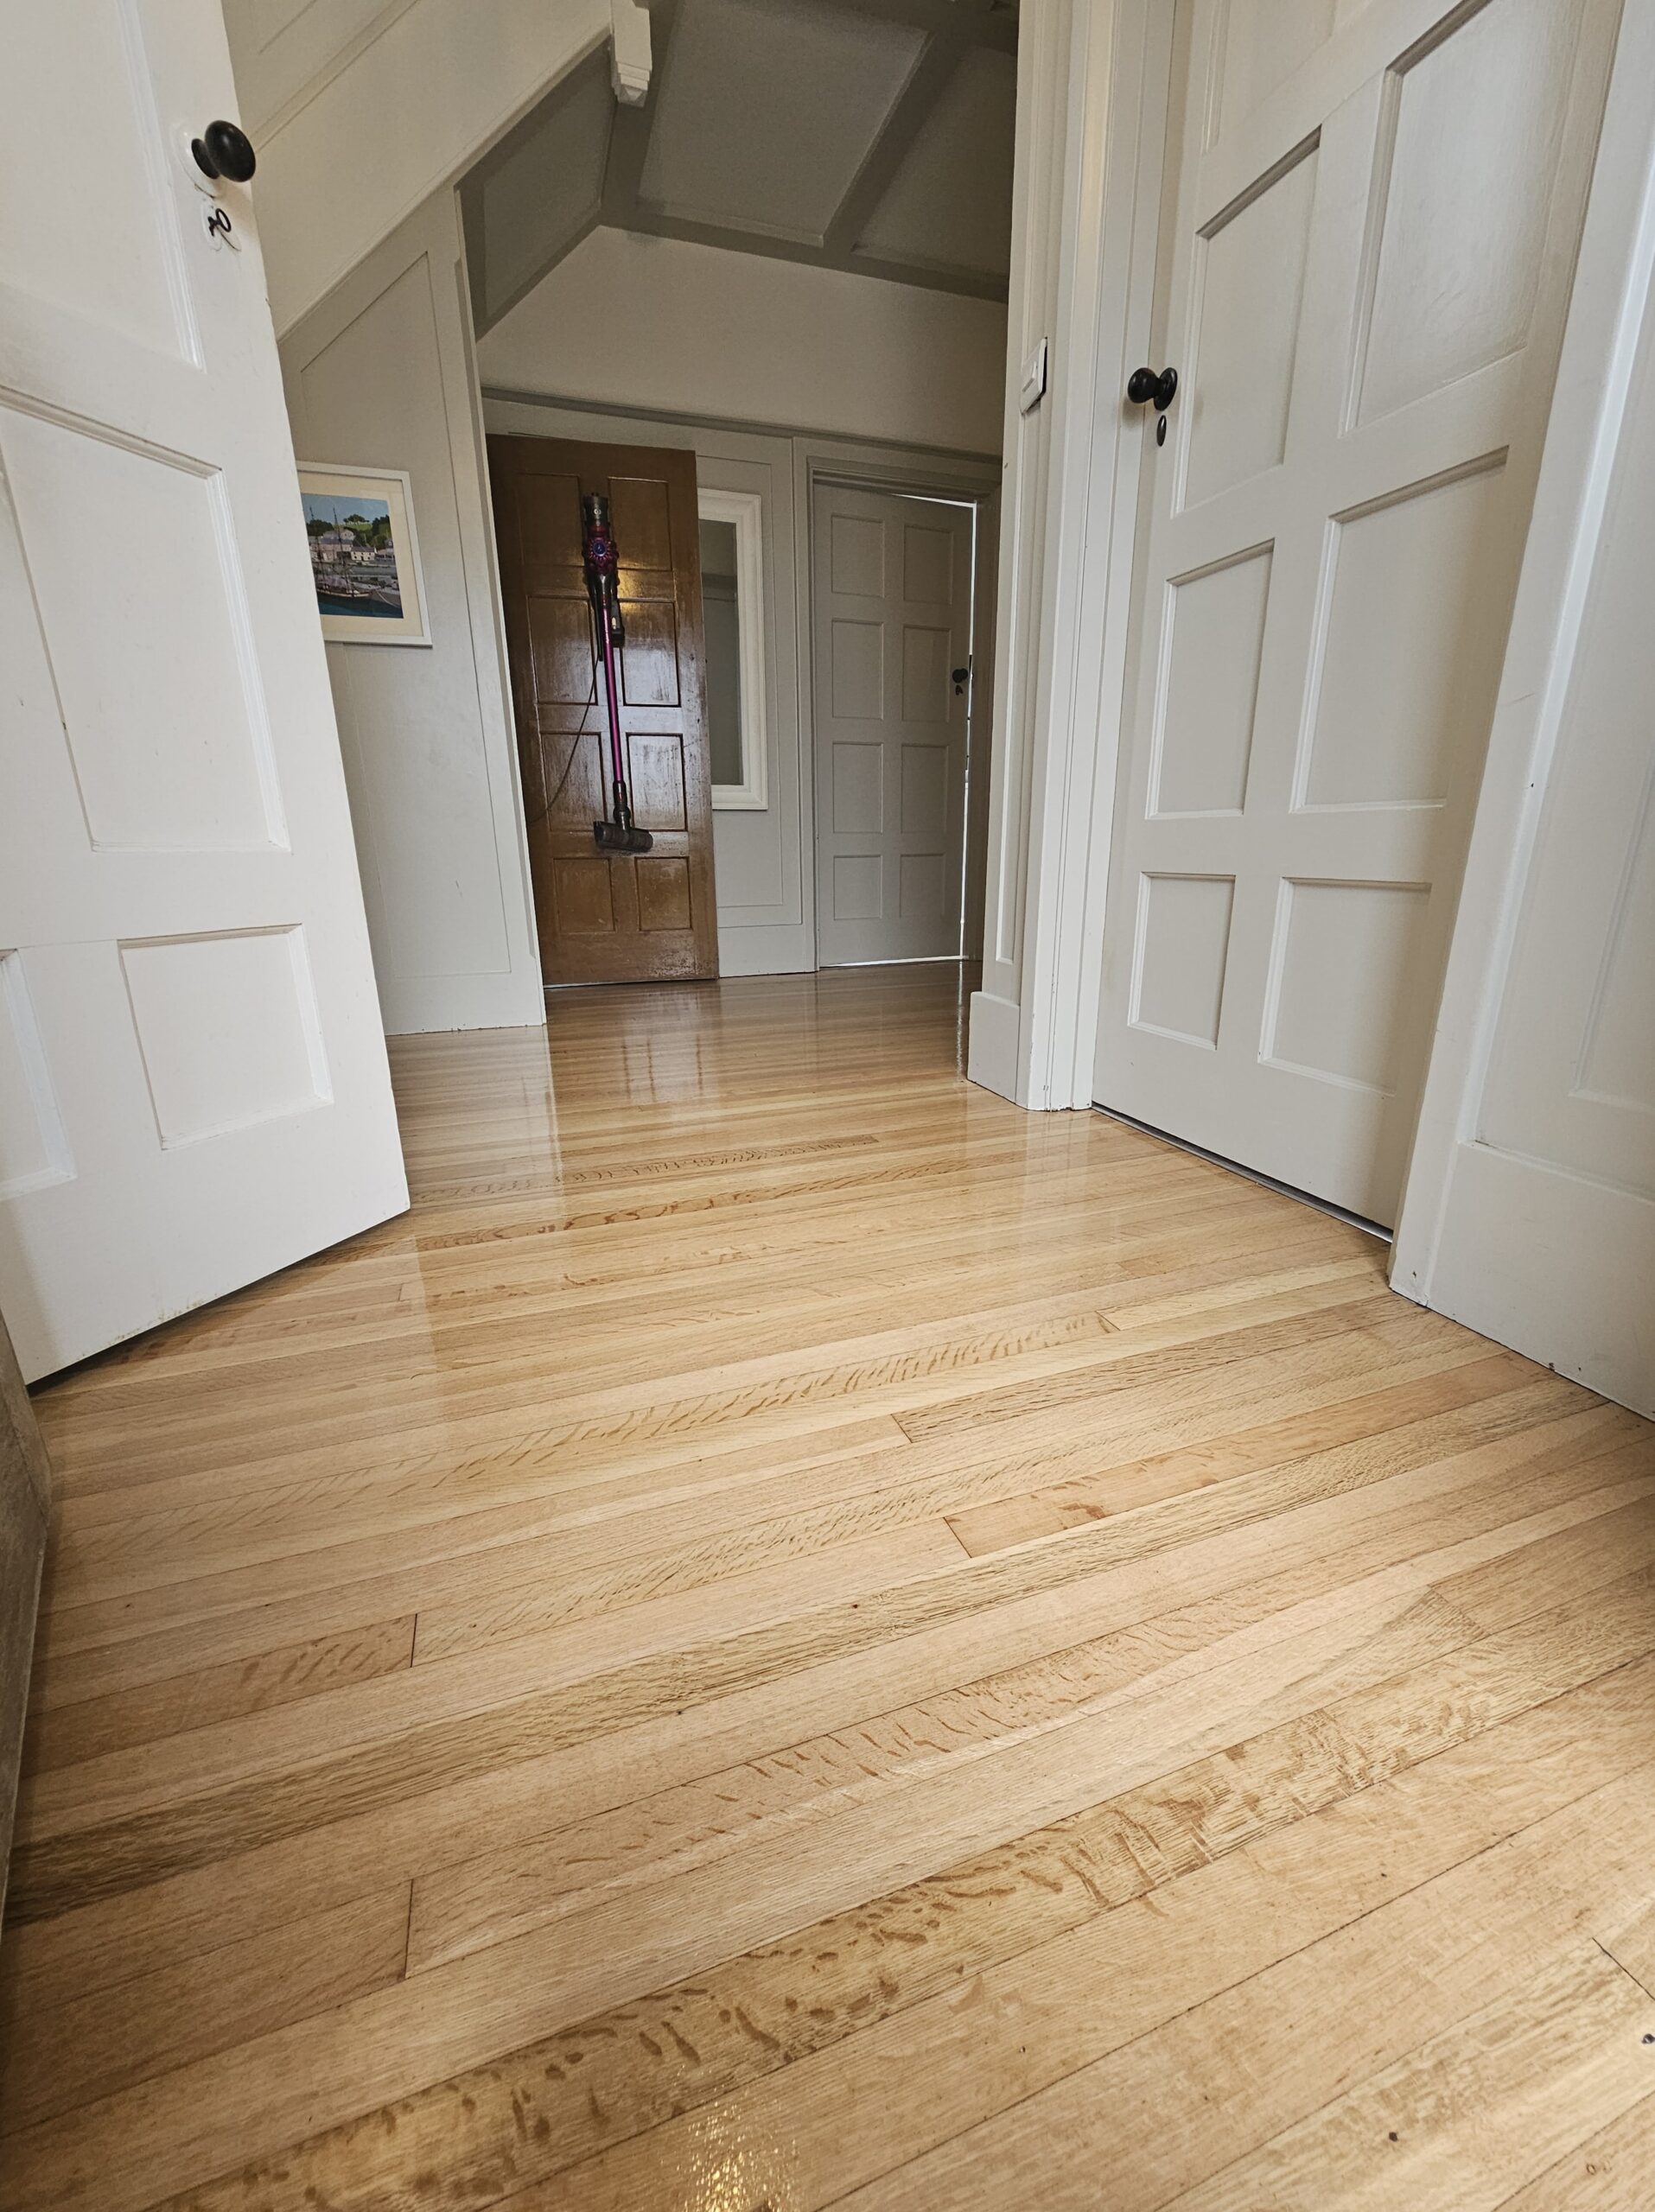
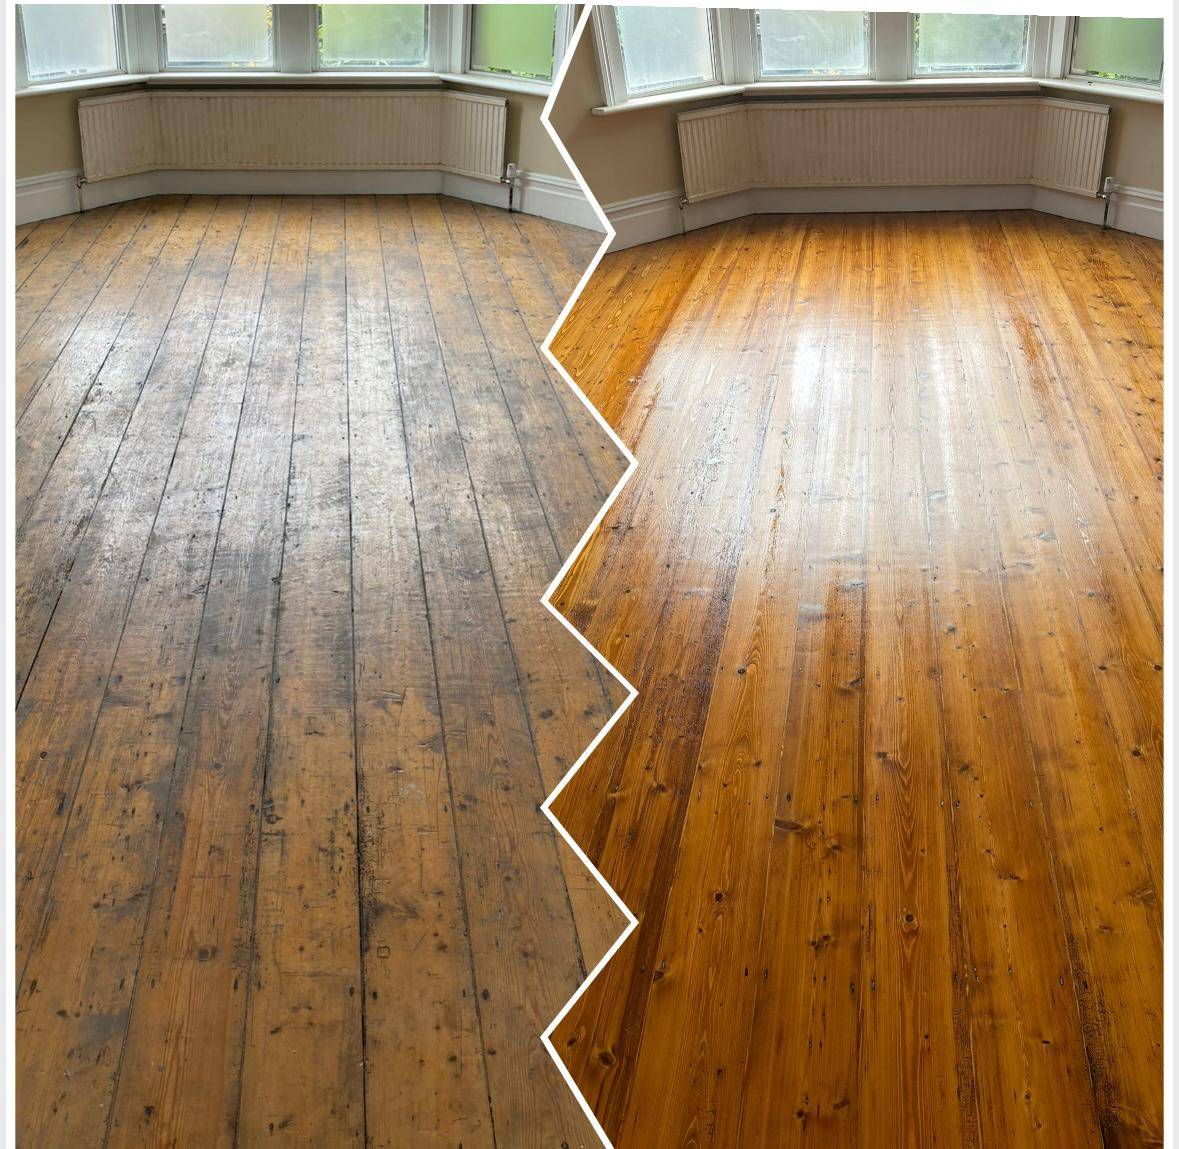
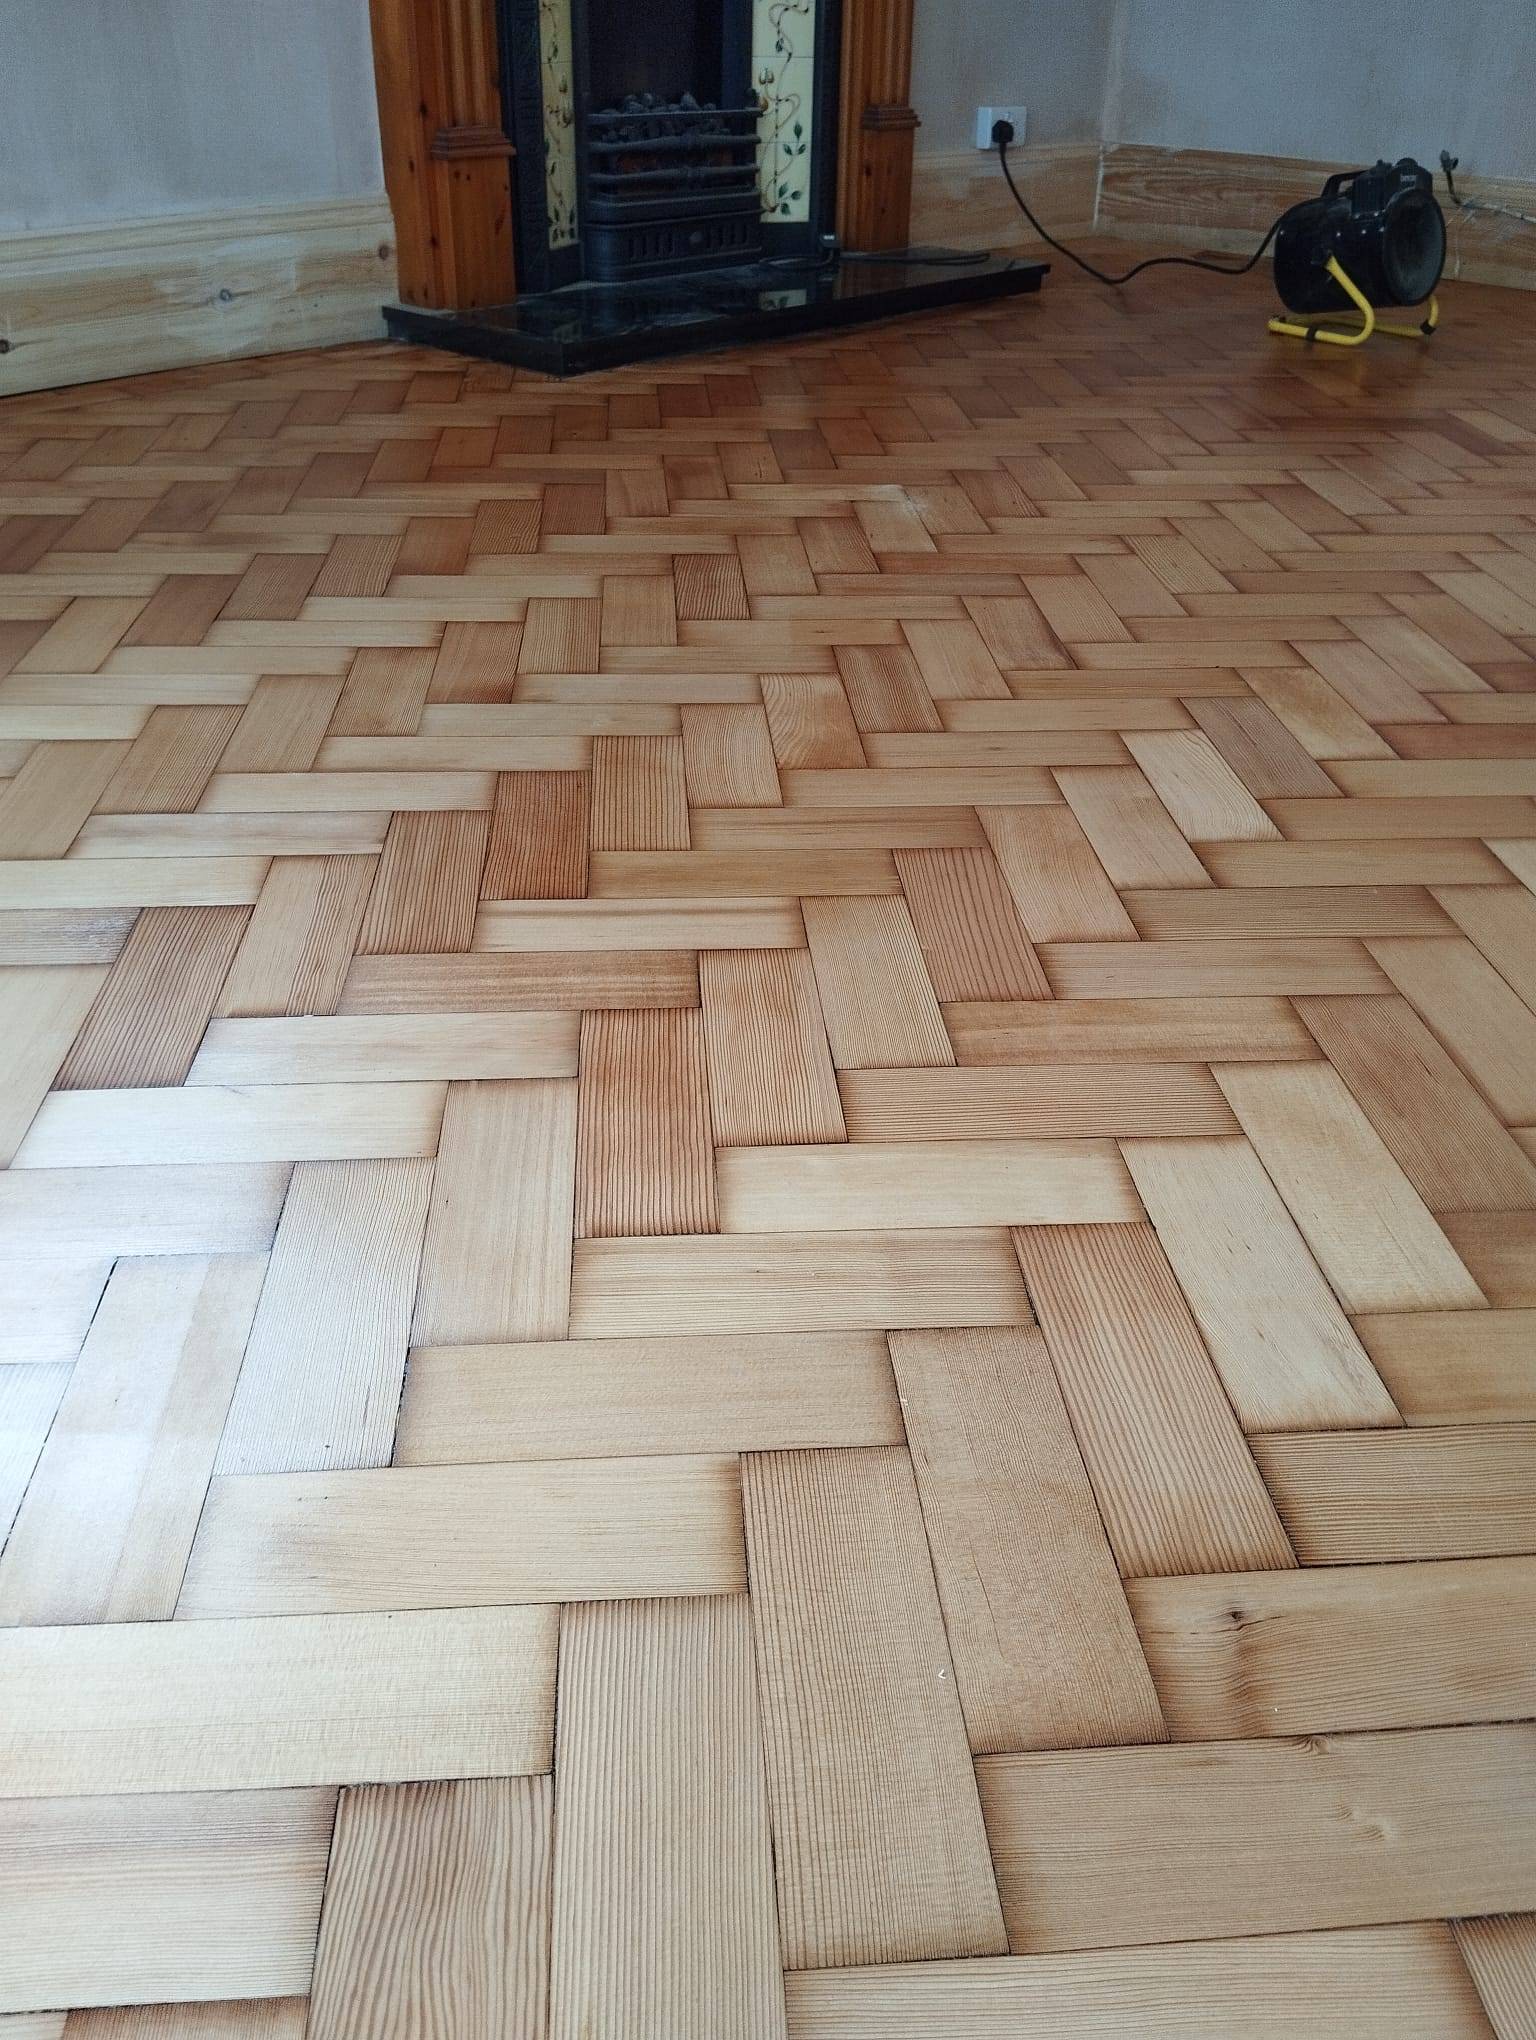
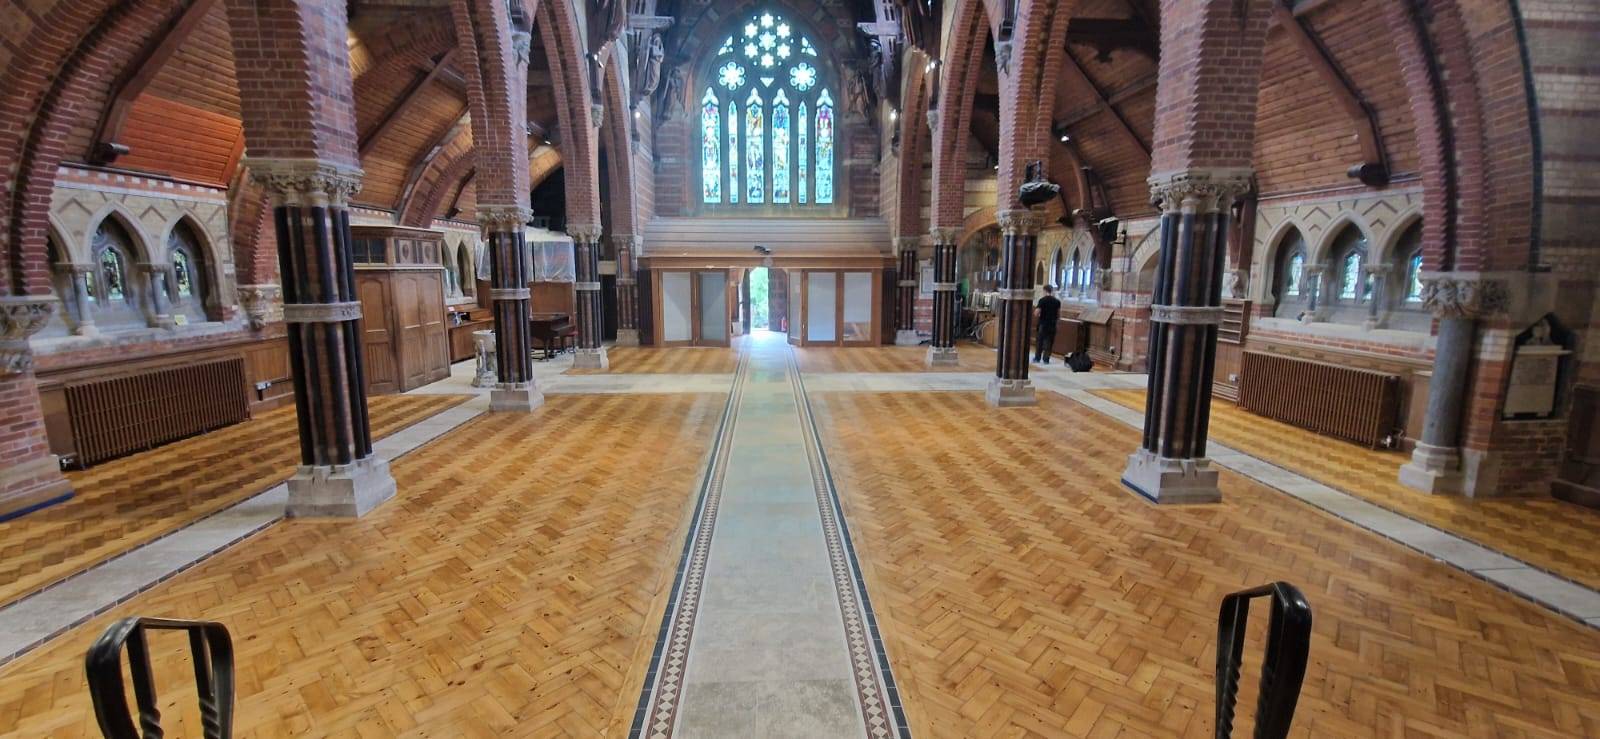
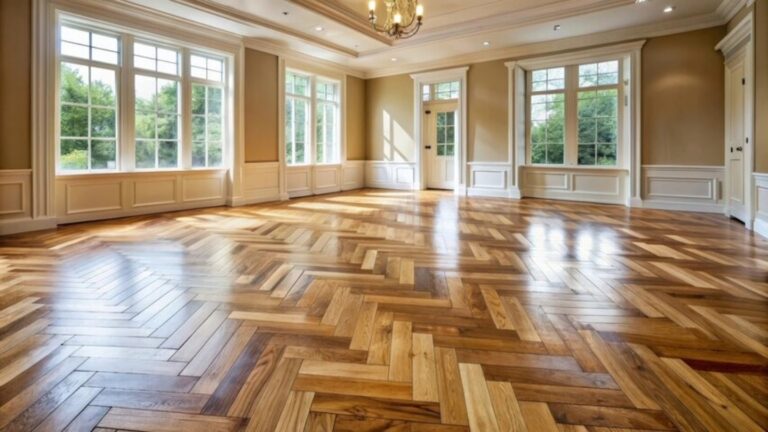
Visual evidence is indispensable when assessing floor sanding transformations. “Before and after” photos offer a clear demonstration of the project’s impact, allowing potential clients to gauge the quality and effectiveness of the service. These images establish credibility, as they provide tangible proof of the transformation a floor undergoes—showcasing the expertise of the sanding professionals. Furthermore, they set realistic expectations for what can be achieved through refinishing, aiding clients in making informed decisions. By comparing the visual results from different companies, clients can identify the most consistent and high-quality outcomes, making these photos a vital tool in the evaluation process.
Key features to look for in transformation photos include:
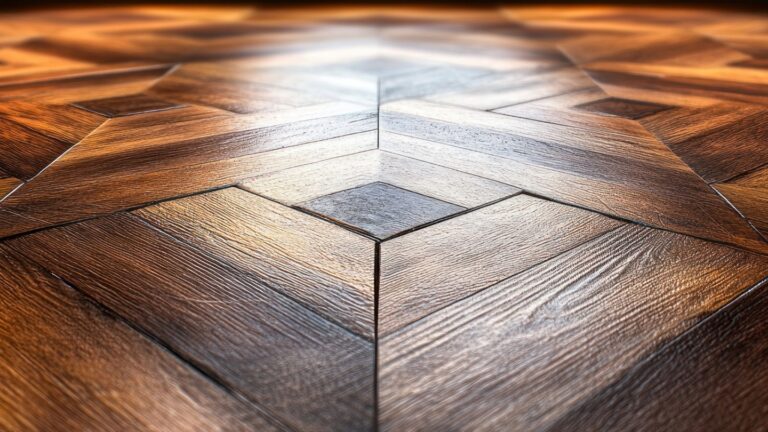
- Consistency in Colour and Finish: Ensures an even application of stain or sealant across the entire floor.
- Smoothness: Indicates the absence of imperfections or undulations in the wood surface.
- Evenness: Reflects uniformity in sanding depth and surface preparation.
- Edge and Corner Detailing: Demonstrates attention to detail in less accessible areas.
- Dust Containment: This signifies the use of advanced equipment to minimise dust during the sanding process.
These “before and after” images are not only crucial for assessing the quality of work but also play a significant role in selecting the right service provider. With a reputable company like Ryan’s Restoration, clients can expect stunning refinished wood transformations that meet high standards of quality and customer satisfaction. Their portfolio of successful projects showcases meticulous attention to detail and a commitment to delivering exceptional results, making them a preferred choice for those seeking professional floor sanding services.
The Floor Sanding Process: Tools and Techniques
Selecting the appropriate floor sanding tools is crucial to achieving a stunning transformation. The right equipment not only ensures a professional finish but also enhances the efficiency and safety of the sanding process. Understanding the various tools and techniques involved can significantly impact the quality of the refinished wood floors.
Preparation
The initial stage of floor sanding involves thorough preparation. This begins with clearing the space of furniture and any items that could obstruct the process. Ensuring the floor is clean and free from debris is essential to avoid imperfections during sanding. Any nails or staples should be hammered down, and the floor should be vacuumed to remove dust and dirt. This step lays the groundwork for a successful sanding operation.
Equipment Selection
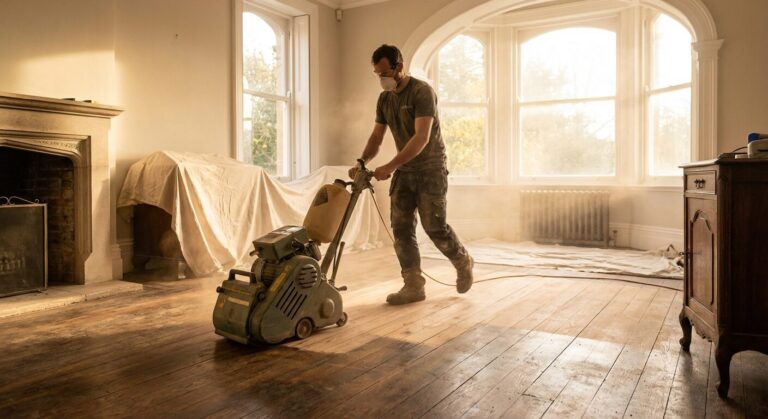
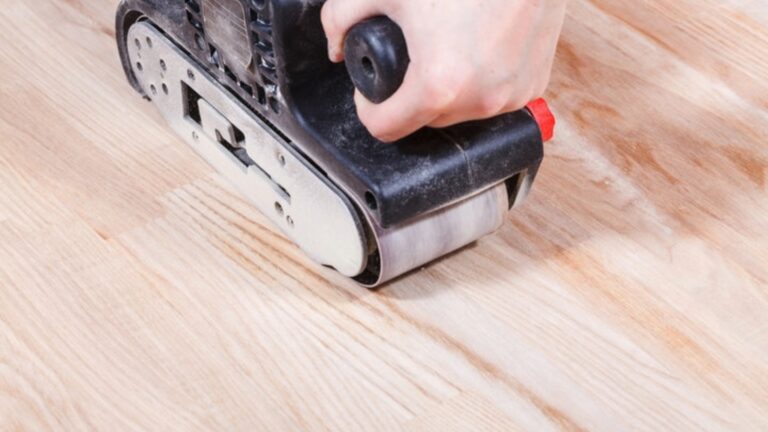
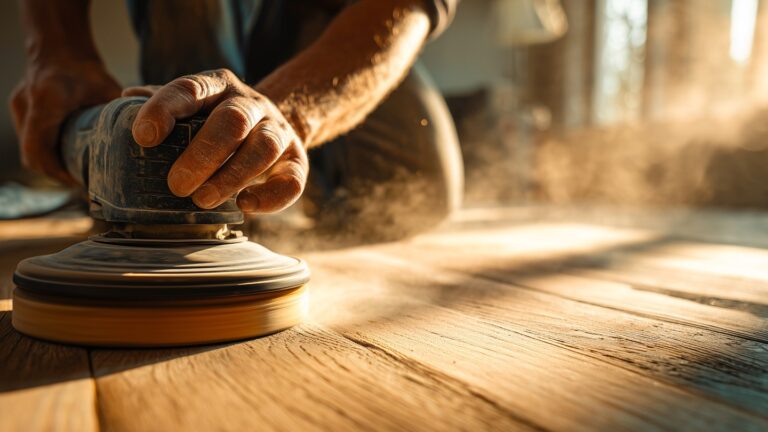
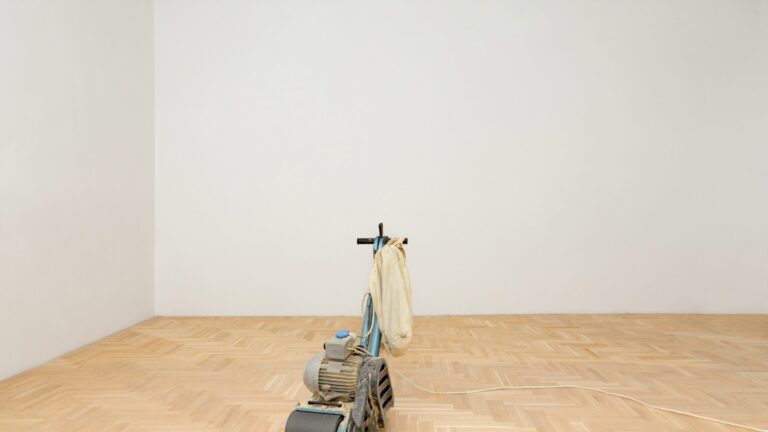
Choosing between renting and buying sanding equipment is a key decision. Drum sanders, known for their power and efficiency, are ideal for large, open areas but require skill to operate without causing gouges. Alternatively, orbital sanders are more forgiving and suitable for smaller spaces or less experienced users. Renting might be cost-effective for a one-time project while purchasing equipment could be beneficial for ongoing needs.
Sanding Technique
Proper sanding technique is critical to achieving a smooth, even surface. Begin sanding along the grain of the wood, making multiple passes with progressively finer grit sandpaper. This gradual approach ensures that the floor becomes increasingly smooth, removing old finishes and minor imperfections. Attention to detail, especially in corners and edges, is vital for a uniform finish.
Cleaning and Polishing Preparation
Once sanding is complete, meticulous cleaning is necessary to prepare the floor for polishing. Vacuuming the entire area removes dust and particles, preventing them from marring the finish. Allowing the floor to dry thoroughly is also essential to ensure the polish adheres properly. This step paves the way for applying the finishing touches that enhance the floor’s appearance and durability.
Comparing DIY and Professional Floor Sanding Services
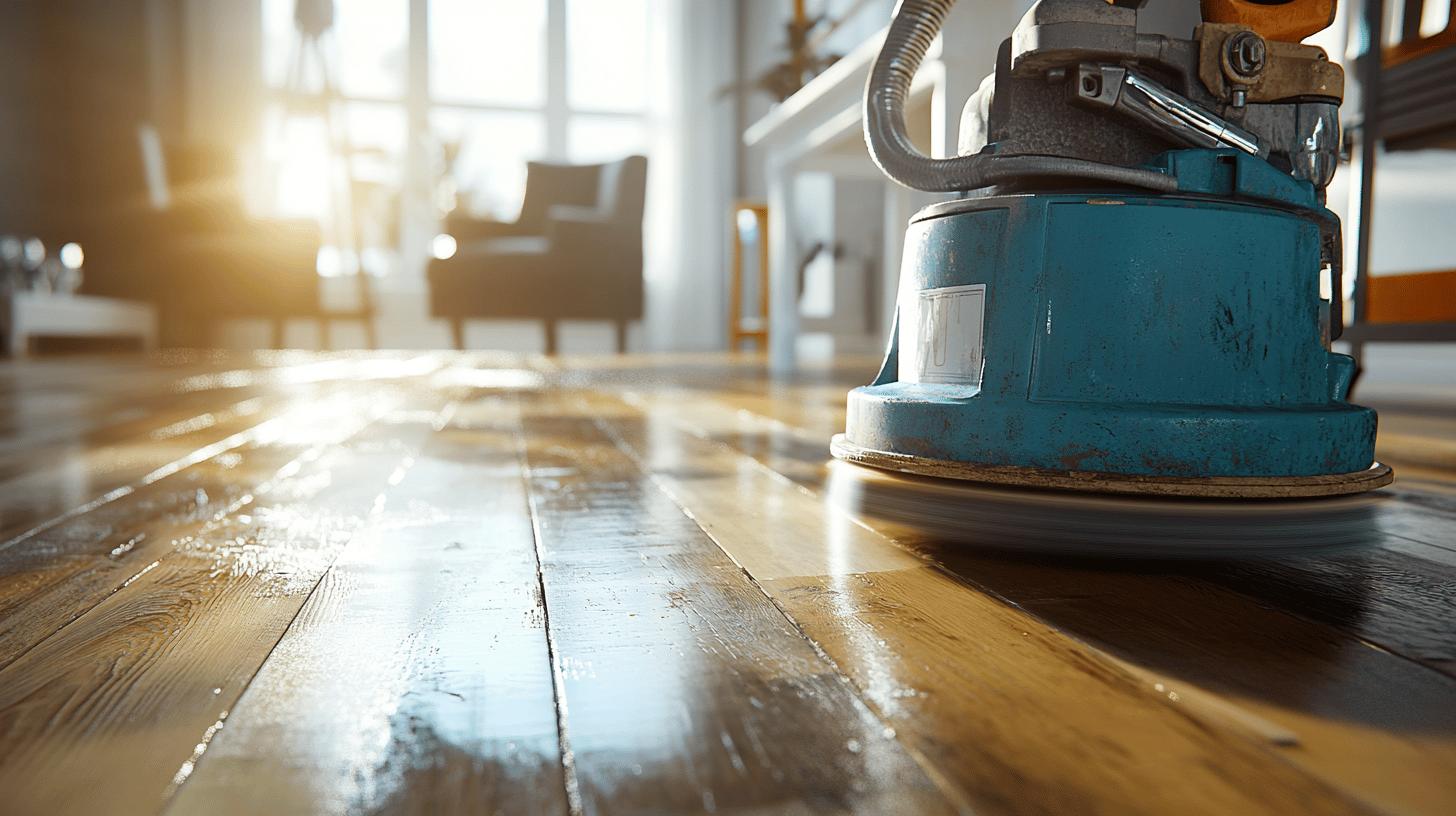
Hiring professional floor sanding services offer numerous advantages over attempting a DIY approach. Companies like Ryan’s Restoration bring invaluable expertise and access to high-quality equipment that ensures a superior finish. Professionals are adept at handling various challenges that may arise during the sanding process, guaranteeing a more consistent result. Additionally, they provide time and cost savings by completing the job efficiently and often include warranties and customization options to meet specific client needs. These benefits make professional services a preferred choice for many homeowners looking to achieve stunning transformations without the hassle.
When considering DIY floor sanding, several challenges should be taken into account:
- Lack of Expertise: Inexperience can lead to uneven sanding or damage to the floor.
- Equipment Costs: Renting or purchasing sanding equipment can be expensive.
- Time-Consuming: DIY projects often take longer due to the learning curve and manual labour.
- Inconsistent Results: Achieving a professional-grade finish can be difficult without the proper skills.
Cost considerations play a crucial role in deciding between DIY and professional services. Hiring professionals often involves higher upfront costs, but the investment can lead to better results and long-term savings by avoiding costly mistakes. DIY sanding might seem more budget-friendly initially, but potential errors and equipment expenses can quickly add up. Evaluating the scope of the project, personal skill level, and available resources can help determine the most suitable option for achieving the desired floor transformation.
Understanding Floor Sanding Costs and Budgeting
The cost of floor sanding is influenced by several key factors, primarily the size and condition of the floor. Larger areas require more time and resources, leading to higher costs. Additionally, floors that are severely worn or improperly fitted may necessitate more intensive restoration efforts, further impacting the budget. The type of wood and the desired finish also play a role in determining the final cost, as some materials and finishes are more expensive than others. By understanding these factors, homeowners can better anticipate the expenses involved in their floor sanding project and plan their budget accordingly.
Effective budgeting for floor sanding can be achieved by following these tips:
- Assess Floor Condition: Determine the extent of wear and necessary repairs to estimate costs accurately.
- Compare Quotes: Obtain multiple estimates from different service providers to find the best deal.
- Plan for Extras: Allocate funds for unexpected repairs or additional services that may arise during the project.
Consulting with a professional like Ryan’s Restoration can provide a more accurate assessment and cost estimate, ensuring that all aspects of the floor’s condition and restoration needs are considered. Their comprehensive services offer not only cost-effective solutions but also peace of mind, as they guarantee high-quality results tailored to meet specific client requirements. This approach allows homeowners to make informed decisions and achieve beautiful, long-lasting transformations within their budget.
Maintenance and Aftercare for Sanded Floors
Professional wood floor polish and aftercare is crucial for maintaining the longevity and appearance of sanded floors. Without adequate maintenance, the benefits of sanding can quickly diminish, leading to a need for more frequent refinishing. Aftercare involves not only preserving the aesthetic appeal of the floor but also protecting it from everyday wear and tear. Regular upkeep can extend the floor’s lifespan, ensuring that it remains a valuable feature in any space. By implementing a consistent maintenance routine, homeowners can enjoy the beauty and functionality of their sanded floors for years to come.
- Regular Cleaning: Keep the floor free of dust and debris by sweeping or vacuuming frequently.
- Oiling: Use an organic finish to enhance the floor’s beauty and provide water-repellent properties.
- Waxing: Apply wax for a natural finish, allowing the floor to breathe and maintaining a soft appearance.
- Use Furniture Pads: Prevent scratches and damage by placing pads under furniture legs.
Ongoing maintenance offers significant benefits, including an enhanced appearance and increased durability of the floor. A well-maintained floor not only looks exquisite but also withstands the rigours of daily use more effectively. For those seeking expert advice on aftercare, contacting Ryan’s Restoration is advisable, as they can provide tailored guidance to ensure optimal results. Their expertise in floor care can help homeowners develop a maintenance plan that preserves the floor’s condition and maximises its longevity.
Final Words
In evaluating floor sanding transformations, “before and after” visuals are pivotal for judging quality. These pictures reveal the project’s success by highlighting colour consistency, smoothness and detailing, guiding homeowners to select services such as Ryan’s Restoration. The floor sanding process entails preparation, equipment selection, and proper sanding techniques, each crucial for achieving flawless results. Compared to DIY and professional services, Ryan’s Restoration stands out due to its expertise and high-quality offerings, which make it a preferred choice. Understanding floor sanding costs assists in effective budgeting, ensuring homeowners can plan projects efficiently. Aftercare is vital for maintaining floor appearance and durability, where Ryan’s Restoration’s advice proves invaluable.
FAQ
Q: Is it worth sanding your own floors?
A: Sanding your floors can be cost-effective if you possess the necessary skills and tools. However, hiring professionals offers benefits like expertise, time savings, and access to high-quality equipment.
Q: Is it better to sand floors before or after painting?
A: It is recommended to sand floors before painting. This avoids any accidental damage to painted surfaces during the sanding process and ensures a smooth finish.
Q: Should you mop floors after sanding?
A: Mopping floors after sanding is essential. It removes any remaining dust and particles, providing a clean surface for any finishing treatments that follow.
Q: How much does it cost to have a floor professionally sanded in the UK?
A: Professional floor sanding costs in the UK can vary based on factors such as floor size and condition. It’s best to get a personalised quote from a reputable provider for an accurate estimation.
Q: What are the key features to look for in before and after floor sanding photos?
A: Before and after photos should demonstrate consistency in colour and finish, smoothness, evenness, detailed edges and corners, and efficient dust containment.
Q: How can before and after photos help in choosing the right floor sanding service provider?
A: Images help assess a provider’s quality and reliability. They set realistic expectations and allow comparisons between services, ensuring you choose a company like Ryan’s Restoration, known for stellar results.
Q: What tools and techniques are used in the floor sanding process?
A: Floor sanding involves preparation, equipment selection, technique, and cleaning. The right tools, such as drums and orbital sanders, are vital for achieving a smooth and even surface.
