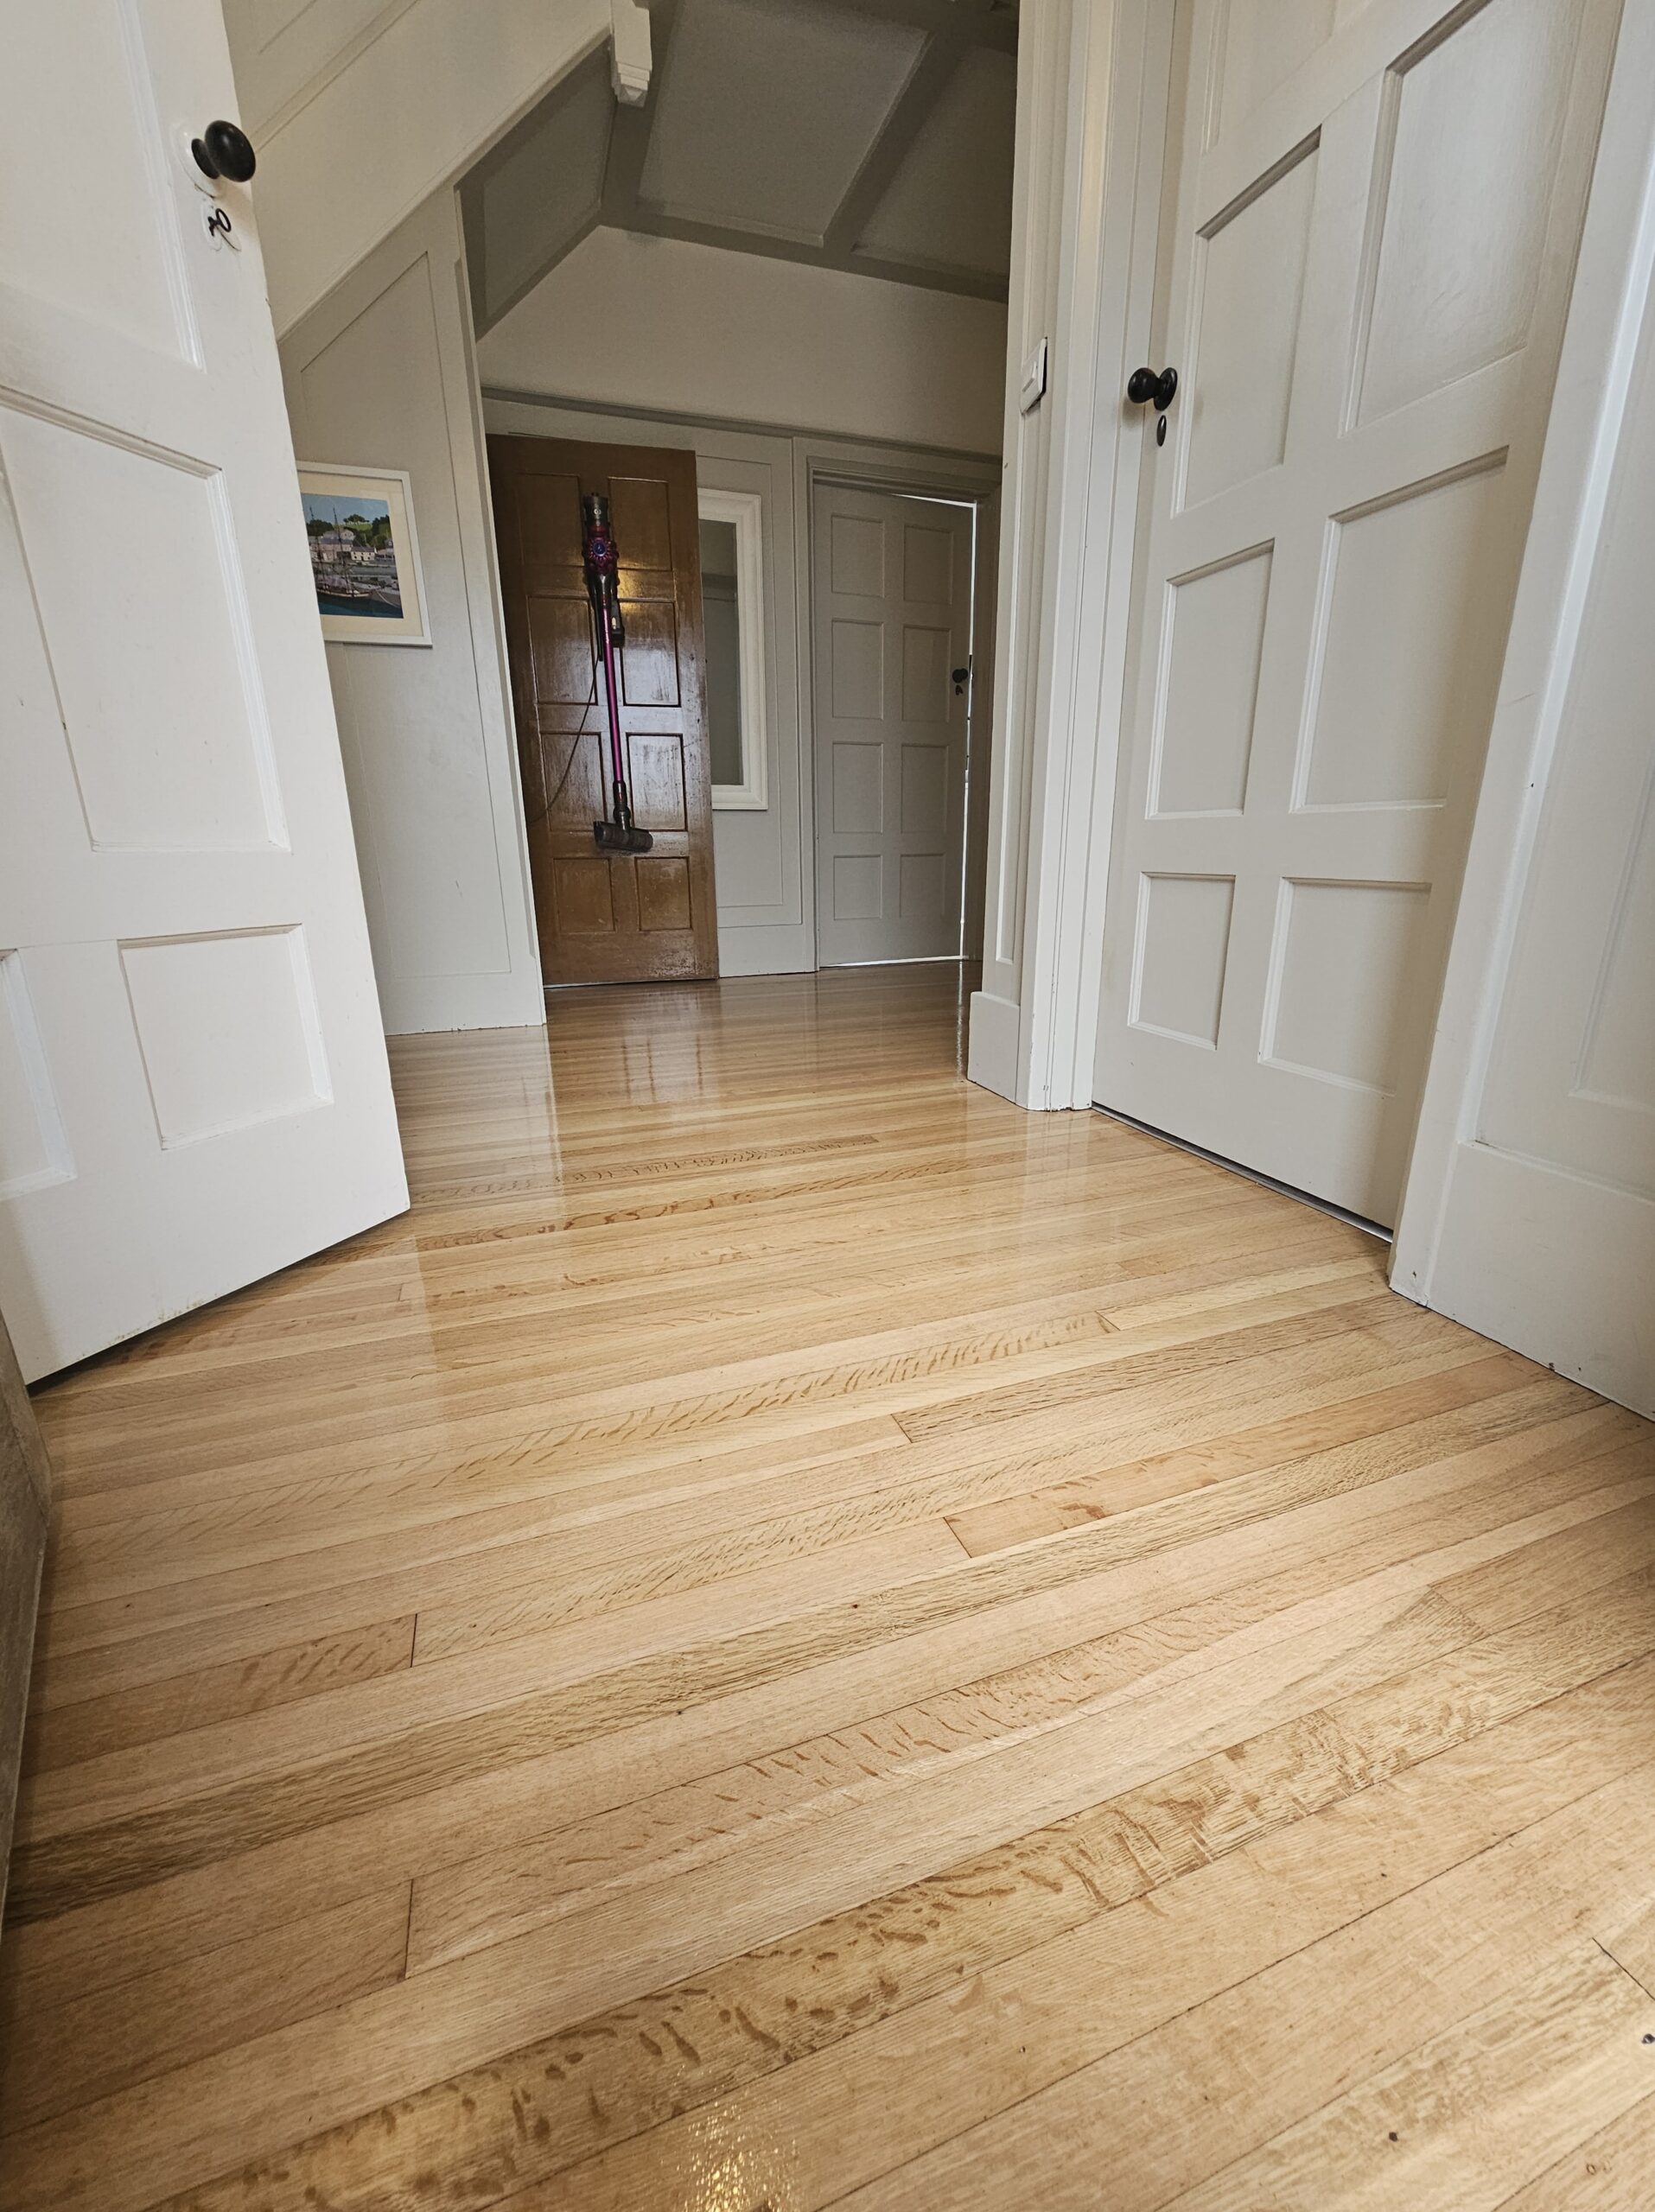
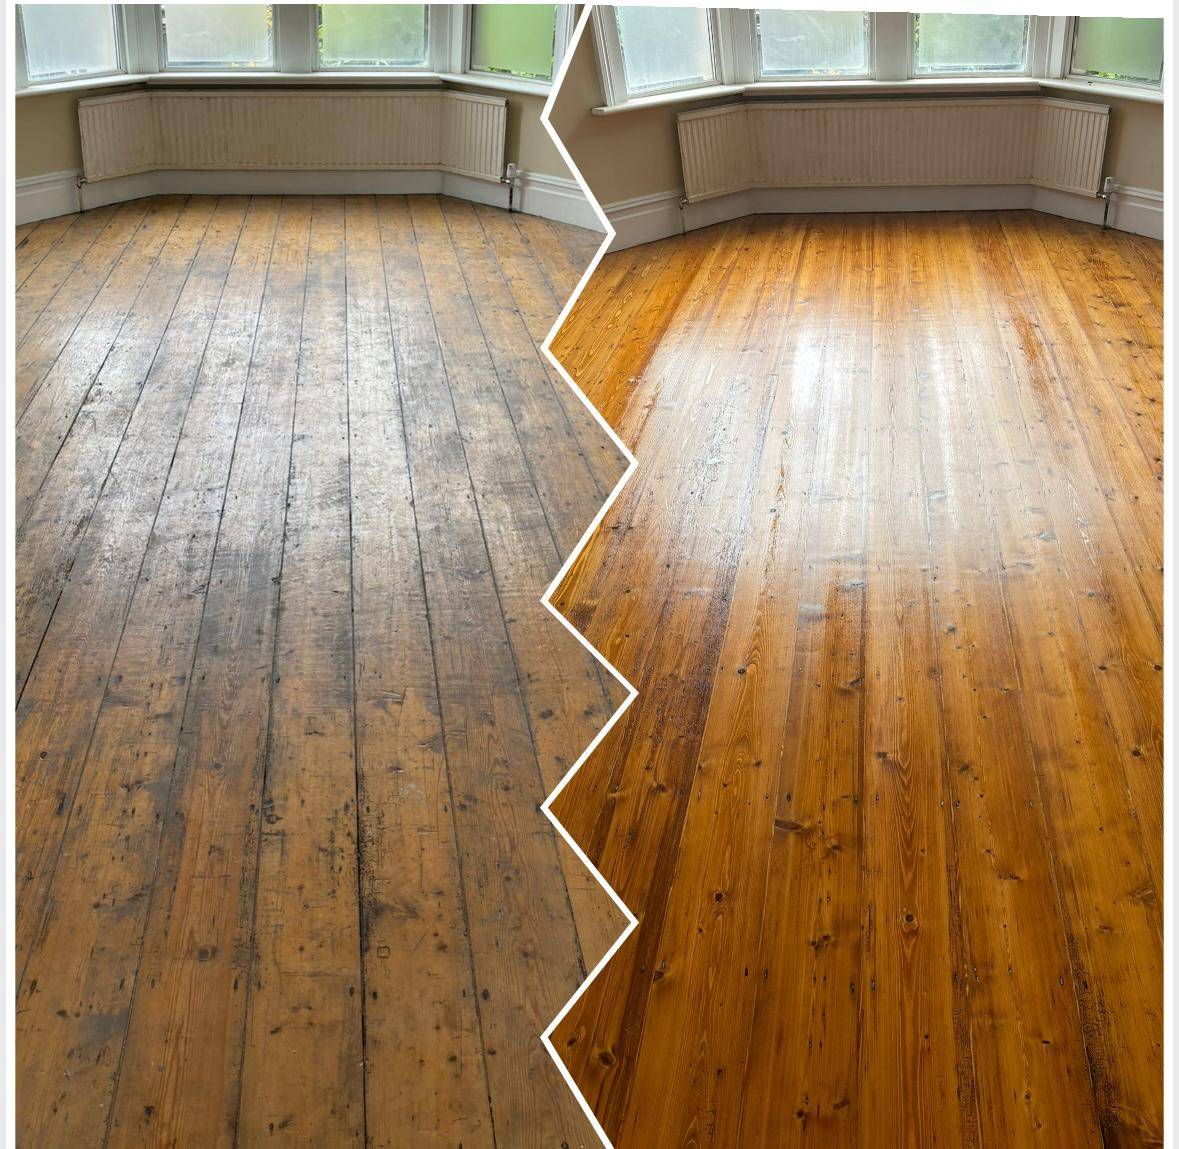
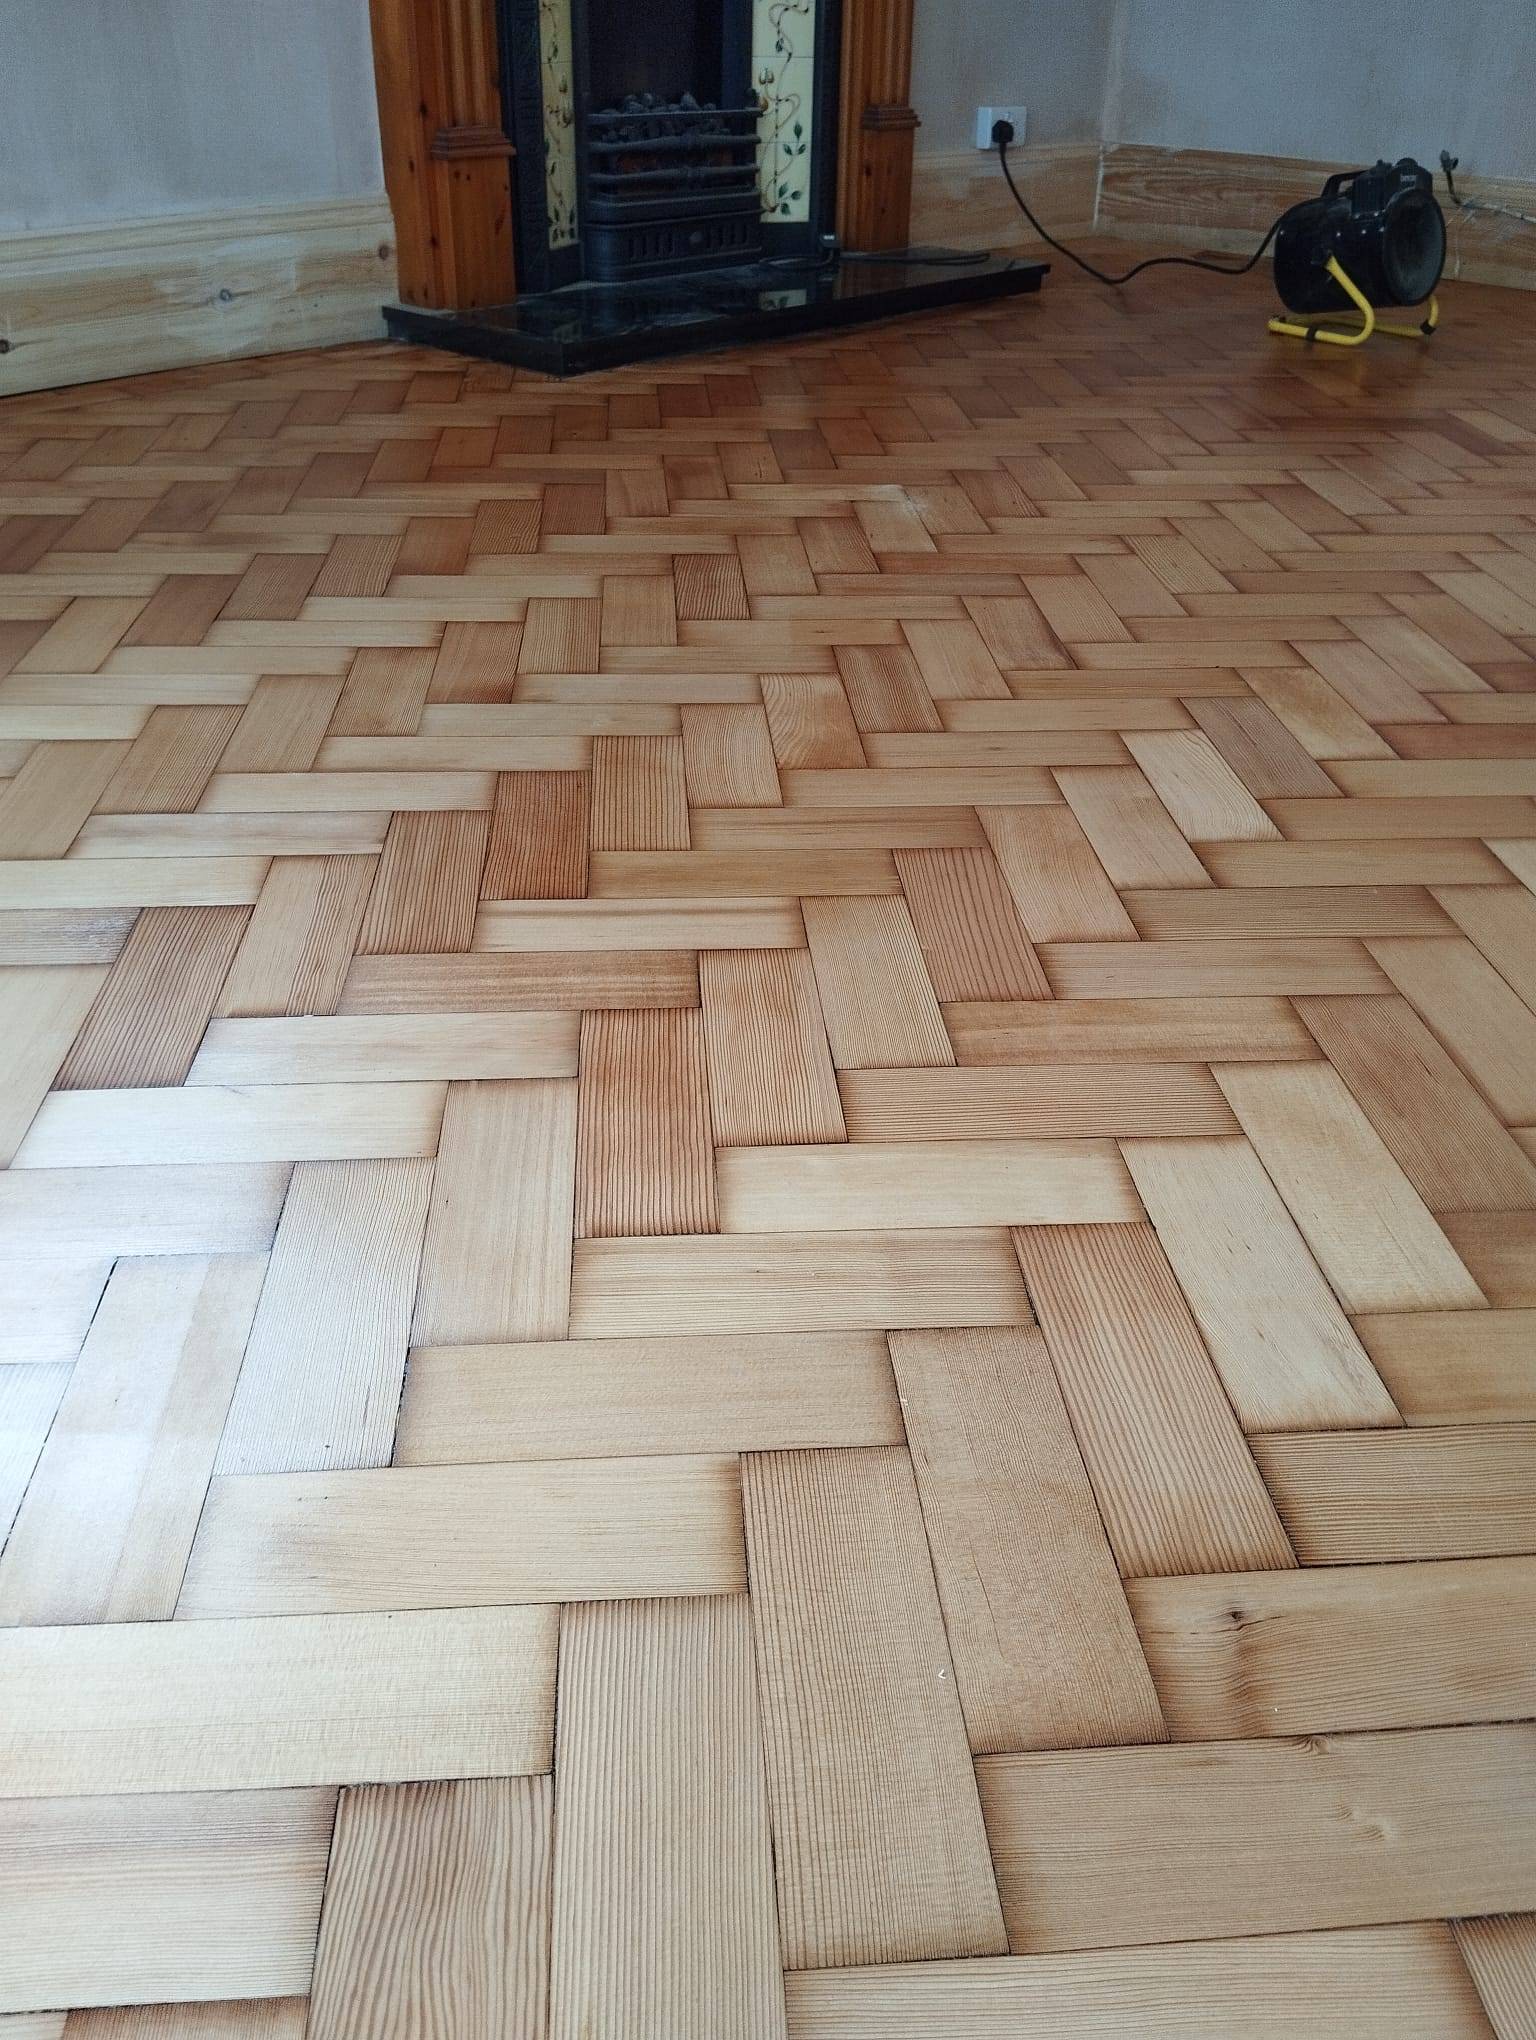
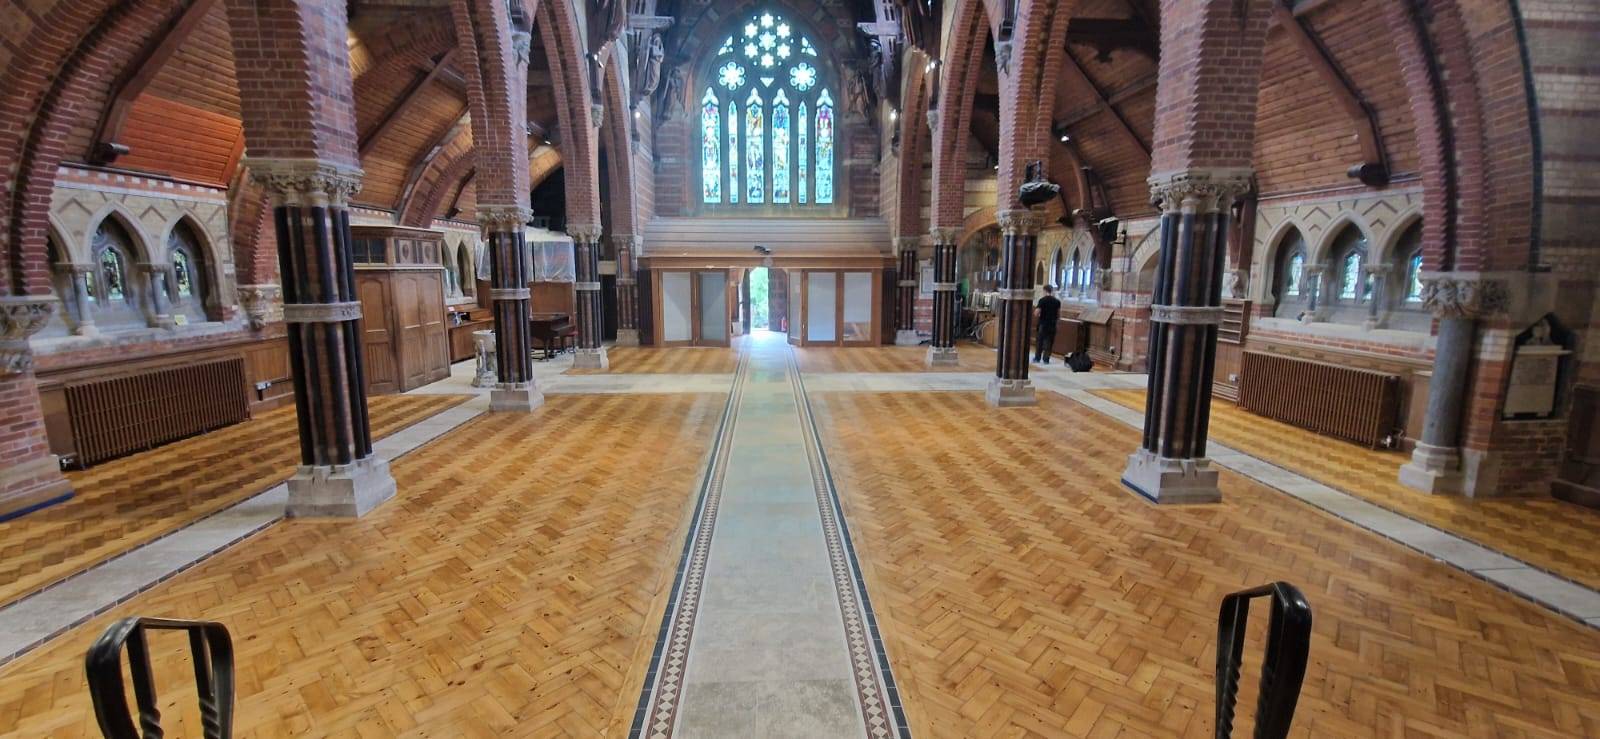
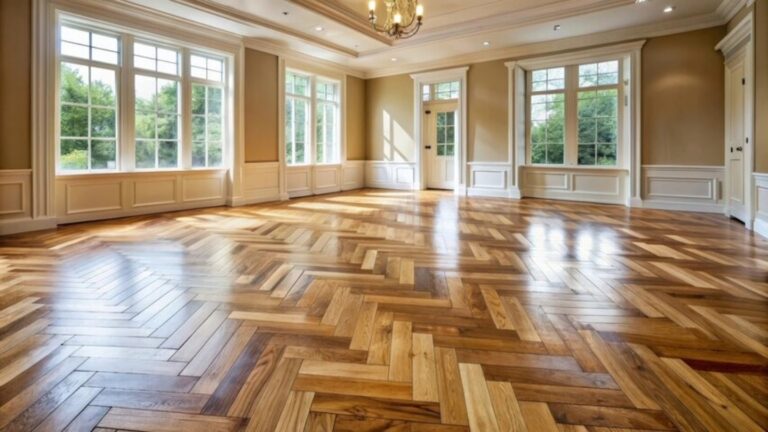
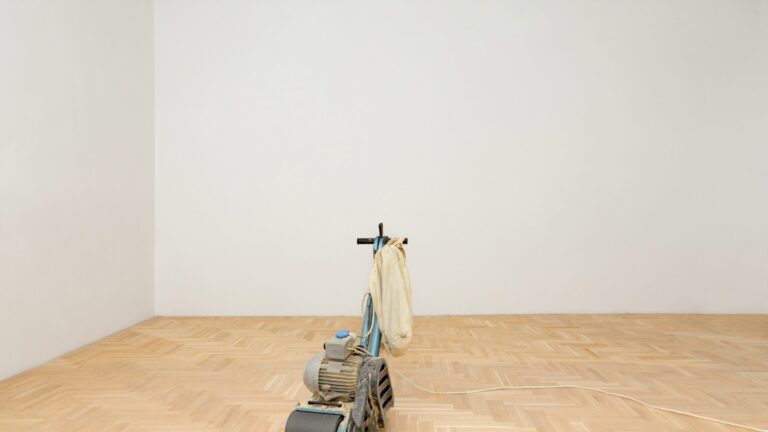
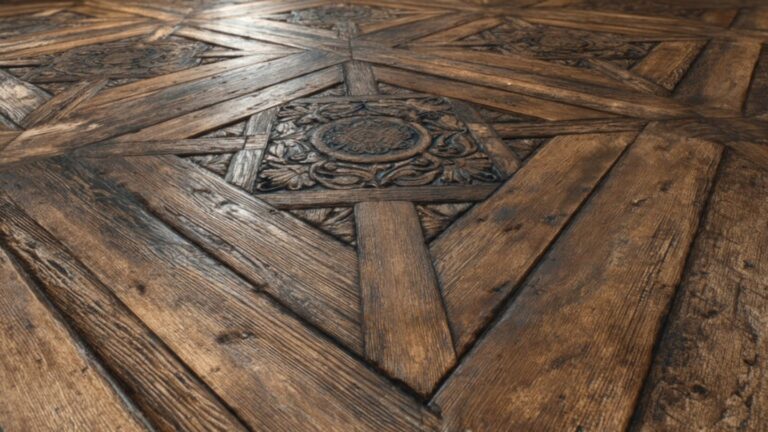
Are your hardwood floors more dreary than dazzling? A dull, scratched surface can detract from the elegance and value of your home. Fortunately, there is a transformative process that can restore their former glory. Refinishing your hardwood floors is like giving them a new lease of life—returning the shine, enriching the colour, and enhancing their durability. In this comprehensive guide, Ryan’s Restoration explores each step of the refinishing journey, from assessing the need for restoration to selecting the ideal finish. Join us as we unlock the secrets to turning your wooden surfaces from worn to wonderful.
Assessing the Need for Hardwood Floor Refinishing
Recognising the condition of your hardwood floors is crucial for maintaining their beauty and longevity. Much like a health check-up, assessing floor condition helps identify when refinishing is necessary. Signs such as visible scratches, dents, and a dull appearance often indicate that the protective finish has worn away. By identifying these signs early, you can take timely action to restore your floors and prevent further damage.
Ignoring the signs of wear and tear on your hardwood floors can lead to more significant issues over time. Without timely refinishing, the wood becomes vulnerable to moisture and dirt, potentially leading to costly repairs or even replacement. A neglected floor may lose its aesthetic appeal and functional integrity, affecting both the look and value of your home. Therefore, understanding these indicators is essential for proactive hardwood floor care.
- Dull appearance with a lack of sheen
- Visible scratches or surface marks
- Discolouration from sunlight or stains
- Noticeable dents or wear patterns
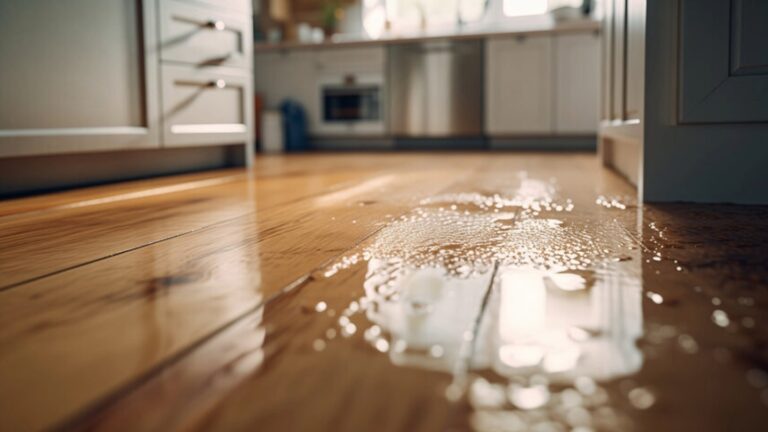
- Water damage or moisture marks
Essential Tools and Materials for Hardwood Floor Refinishing
For a successful hardwood floor refinishing project, having the right tools and materials is essential. The refinishing process requires precision and care, making it crucial to equip yourself with appropriate supplies to achieve the best results. The correct tools not only facilitate the task but also ensure the durability and beauty of the finished floor.
- Sanders: A drum sander for large areas and an edge sander for corners and edges.
- Sandpaper: Various grits, from coarse to fine, to smooth the wood surface effectively.
- Wood fillers and putties: Used to repair small cracks, holes, or imperfections.
- Vacuum cleaner: Essential for removing dust and debris between sanding stages.
- Stains and finishes: Choose according to the desired colour and protection level.
- Applicators: Brushes, rollers, or pads for applying stains and finishes evenly.
- Tack cloths: Sticky cloths are used to pick up fine dust particles before staining.
- Protective sheets or masking tape: To protect adjacent surfaces from sanding dust and stains.
Safety precautions are just as important as the tools themselves. Proper ventilation is crucial to ensure that fumes from stains and finishes do not accumulate, potentially causing health hazards. Wearing masks and protective eyewear is advised to protect against dust and chemical exposure. Always follow the manufacturer’s safety instructions for each product to maintain a safe working environment while achieving dazzling results.
Preparing Your Hardwood Floors for Refinishing
Proper preparation is the cornerstone of a successful hardwood floor refinishing project. It sets the stage for an even, flawless application of stains and finishes, ensuring the end result is both visually appealing and long-lasting. Skipping or rushing through the preparation phase can lead to uneven finishes, trapped dirt, or even damage during sanding. Therefore, dedicating time to thoroughly clean and prepare your floors can significantly enhance the refinishing outcome, transforming dull surfaces into dazzling centrepieces.
- Clear the area: Remove all furniture and decor to provide unobstructed access to the floor.
- Clean the floor: Sweep and vacuum to remove dirt and debris. Follow with a damp mop using a mild wood cleaner to eliminate grime.
- Inspect for damage: Check for any signs of damage, such as scratches or stains, that need attention.
- Tape and protect adjacent surfaces: Use masking tape and protective sheets to safeguard walls and baseboards from dust and splashes.
- Ensure proper ventilation: Open windows and doors to maintain airflow, reducing dust and fume accumulation during sanding.
Filling gaps and making minor repairs are essential steps in the preparation process. Addressing these issues before refinishing ensures a smooth surface and prevents further deterioration. Use wood fillers or putties to close gaps and repair small cracks or holes in the floor. Once applied, allow the filler to dry completely, then sand it smooth to blend seamlessly with the surrounding wood. This attention to detail in the preparation phase lays the groundwork for a polished and durable finish, enhancing both the aesthetic and structural integrity of your hardwood floors.
Mastering Sanding Techniques for Hardwood Floors
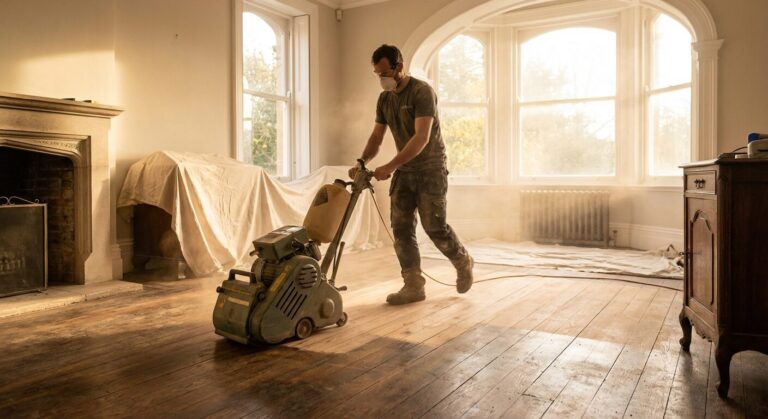
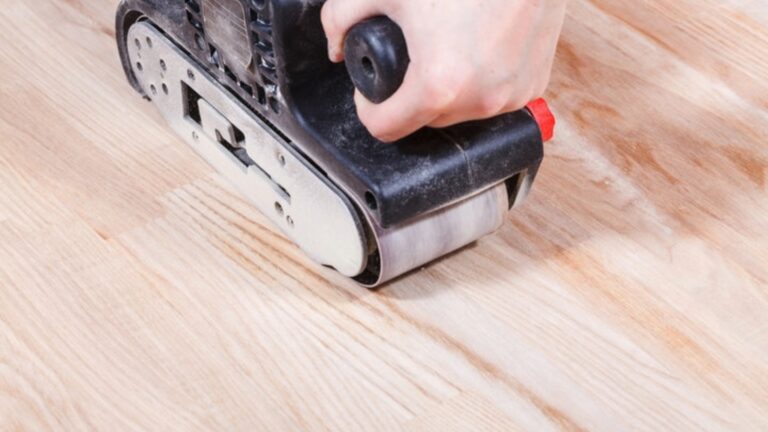
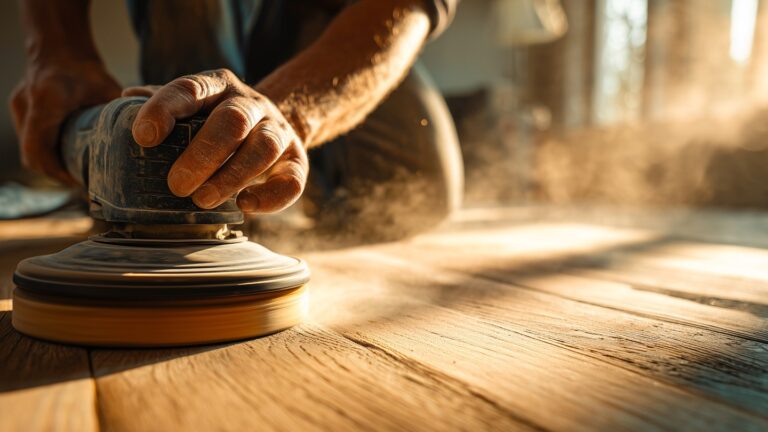
Sanding plays a pivotal role in the hardwood floor refinishing process, as it effectively removes imperfections and prepares the surface for staining and finishing. By smoothing out the surface, sanding ensures that the finish adheres properly, resulting in a uniform and polished look. This step is not only about aesthetics but also about preserving the integrity of the wood, helping to prevent future damage and prolong the floor’s lifespan. Proper sanding requires knowledge of techniques and the right tools to achieve a pristine finish.
Avoiding Common Sanding Errors
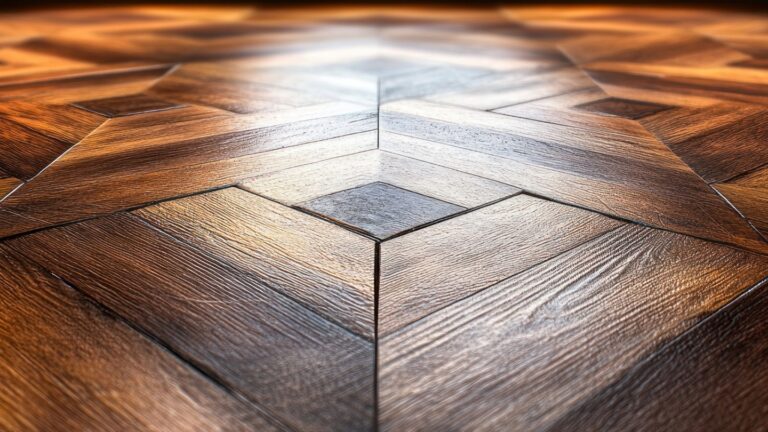
One of the most prevalent mistakes during sanding is over-sanding, particularly with engineered parquet floors. This can lead to irreversible thinning of the wood layer, compromising the floor’s structural integrity. Other errors include using incorrect grit sandpaper, which can either fail to smooth the surface adequately or cause deep scratches. It’s crucial to calibrate the sanding machine correctly and follow a consistent sanding pattern to avoid uneven surfaces.
- Begin with a coarse grit to remove old finishes, gradually moving to finer grits for a smooth finish.
- Keep the sander moving at all times to prevent gouging the floor.
- Sand with the grain of the wood to maintain a consistent and smooth surface.
- Regularly check and replace sandpaper to ensure effective and efficient sanding.
Choosing the Perfect Stain and Finish for Your Floors
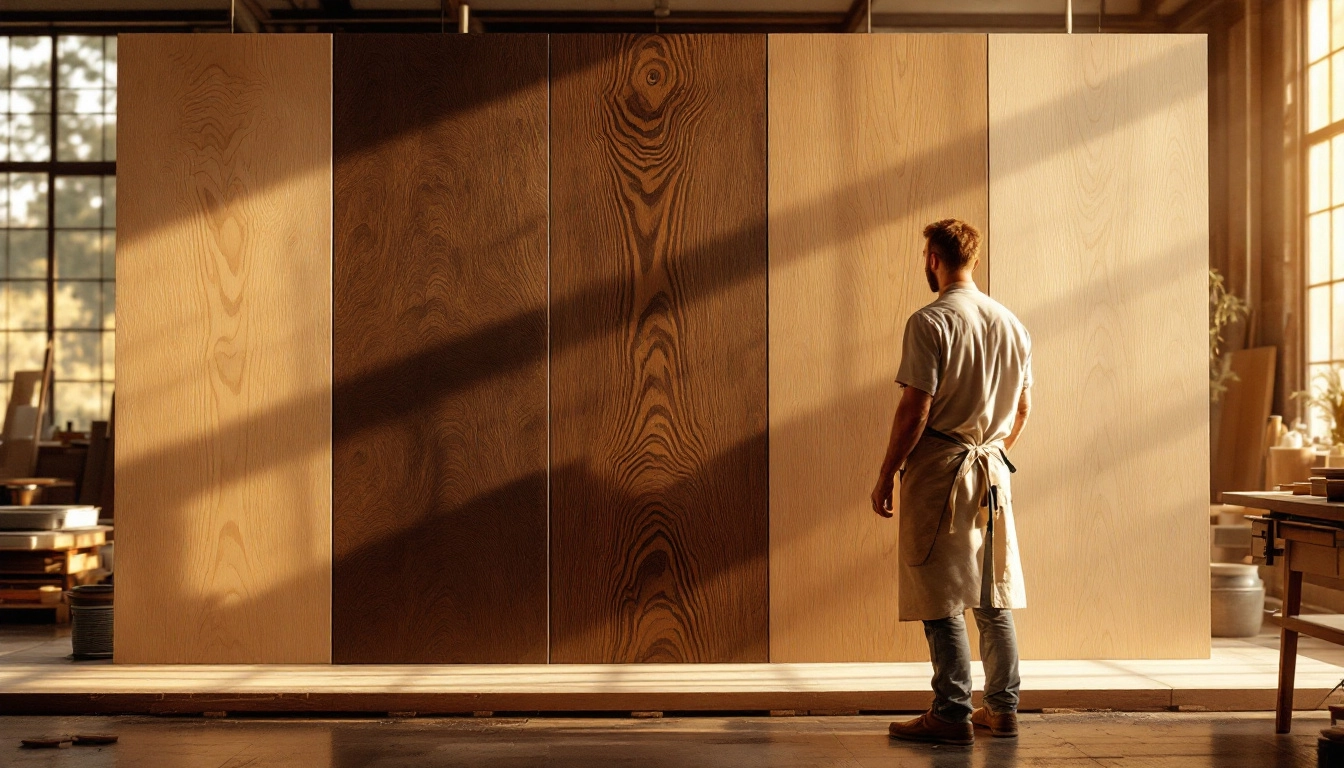
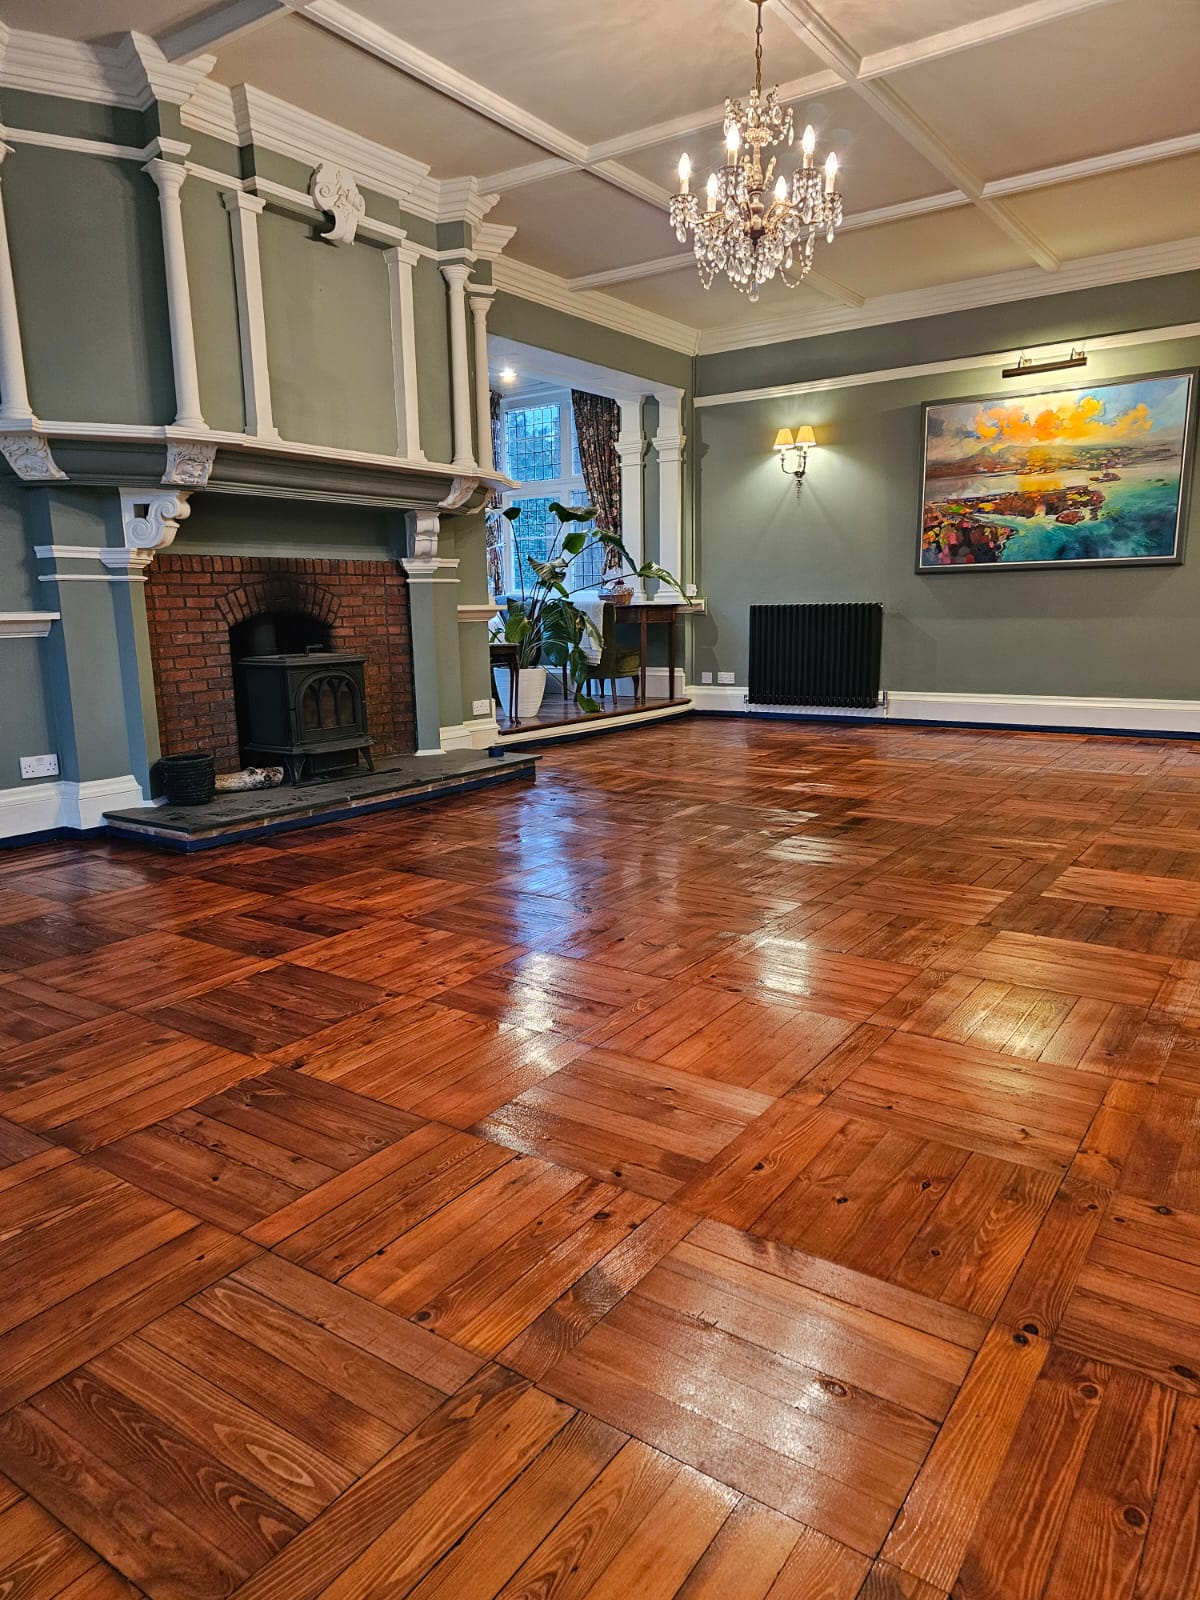
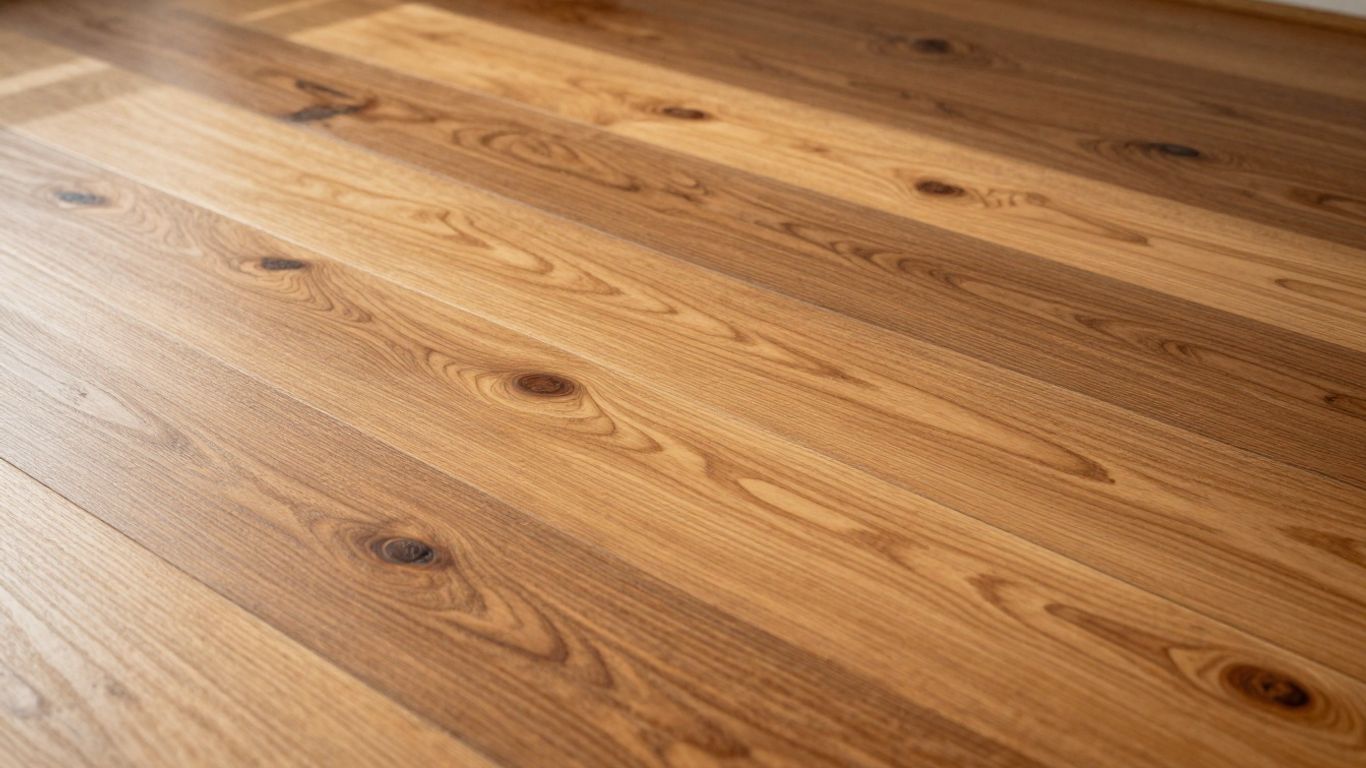
Stains and finishes play a crucial role in the hardwood floor refinishing process, serving both aesthetic and protective functions. Stains enhance the natural beauty of the wood by adding depth and richness to its colour, allowing homeowners to customise the look of their floors to suit their interior design preferences. Finishes, on the other hand, provide a protective layer that guards against wear, moisture, and stains, thereby extending the floor’s lifespan. The choice of stain and finish can dramatically transform a room’s appearance, making it essential to select the right combination to achieve a dazzling result.
Comparing Finish Options
Selecting the right finish involves understanding the benefits and drawbacks of various types, such as oil-based, water-based, and speciality finishes. Each type offers distinct characteristics that cater to different needs and preferences.
When choosing the right colour and sheen for your floors, consider the existing décor and lighting in the room. Lighter stains can make a space feel larger and more open, while darker stains add warmth and a sense of elegance. The sheen level—ranging from matte to high gloss—also impacts the floor’s appearance and maintenance needs. Matte finishes hide imperfections and require less upkeep, whereas high gloss finishes offer a striking, reflective surface but show scratches and dust more easily. Balancing these factors will help you achieve the desired look and functionality for your refinished hardwood floors.
Maintenance Tips for Refinished Hardwood Floors
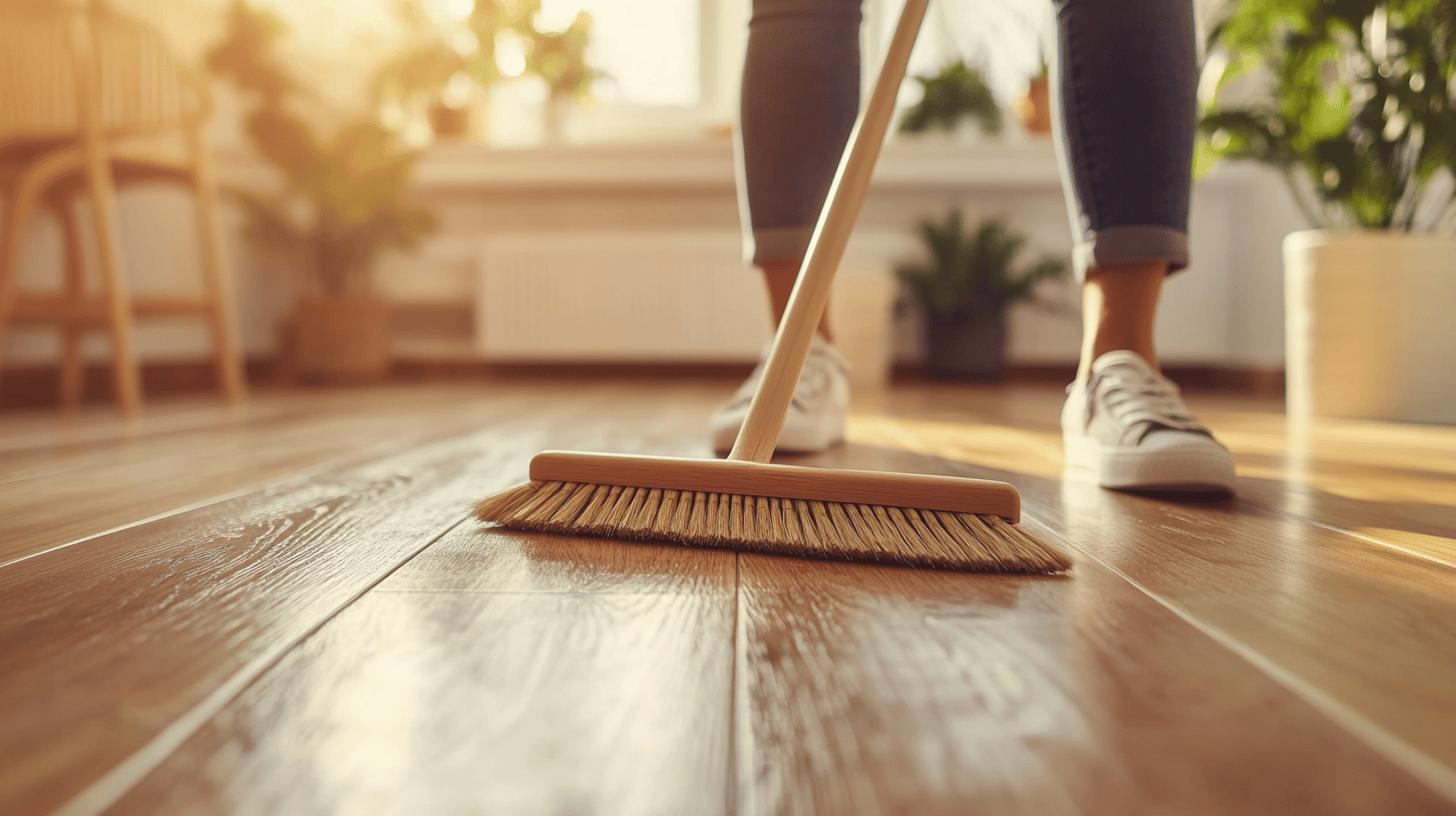
Regular maintenance is essential for preserving the beauty and longevity of refinished hardwood floors. Without consistent care, even the most meticulously refinished floors can lose their lustre and become susceptible to damage. Maintenance not only keeps the floor looking its best but also protects the investment made in the refinishing process. By implementing a routine maintenance schedule, homeowners can ensure their floors remain dazzling and in optimal condition for years to come.
- Sweep or vacuum regularly: Use a soft-bristled broom or a vacuum with a hardwood floor attachment to remove dust and debris.
- Mop with care: Use a damp mop and a mild wood cleaner, ensuring the mop is not too wet to prevent moisture damage.
- Apply floor mats: Place mats at entryways to reduce dirt and moisture tracked onto the floor.
- Use furniture pads: Attach felt pads to furniture legs to protect floors from scratches and scuffs.
- Avoid harsh chemicals: Steer clear of steam cleaners and harsh chemical products that can strip the floor’s finish.
Long-term care practices are integral to maintaining the allure and structural integrity of refinished hardwood floors. Periodic light sanding and re-coating every few years can rejuvenate the floor’s surface, preventing wear and keeping the finish intact. This process helps to address minor scratches and dullness, ensuring the floor retains its vibrant appearance. Additionally, controlling indoor humidity levels can prevent wood expansion and contraction, reducing the risk of warping or gaps. By adopting these long-term strategies, homeowners can safeguard their refinished floors, ensuring they remain a stunning focal point within their homes.
Cost Considerations and Professional Refinishing Services
Refinishing hardwood floors is an investment that varies significantly depending on the approach. A DIY restoration can be more cost-effective, as it primarily involves purchasing materials and renting tools. However, it requires a substantial amount of skill and experience to achieve satisfactory results. Mistakes made during DIY refinishing can lead to costly damage, potentially outweighing initial savings. On the other hand, hiring professional services entails a higher upfront cost but guarantees expertise and precision. Professionals possess the necessary tools and knowledge to handle complex refinishing tasks efficiently, often resulting in a superior finish that enhances the floor’s longevity and appearance.
- Professionals ensure consistent and high-quality results with minimal risk of damage.
- They provide valuable advice on suitable stains and finishes tailored to specific needs.
- Time efficiency is maximised, reducing the inconvenience of having an unfinished floor.
- Access to advanced tools and techniques that may not be available for DIY enthusiasts.
For top-tier results, consider Ryan’s Restoration, known for its commitment to quality and customer satisfaction. Their expert team is equipped to handle a wide range of refinishing projects, ensuring your hardwood floors are transformed from dull to dazzling with precision and care.
Final Words
Transforming dull hardwood floors into dazzling features involves strategic steps and informed decisions.
Recognising the need for refinishing is crucial and entails assessing visible wear. Armed with the right tools, safety gear, and preparation methods, one can ensure a smooth transition.
Mastering sanding techniques avoids common pitfalls while selecting the proper stain enhances the floor’s aesthetic appeal.
Post-refinishing maintenance preserves these efforts, extending longevity.
Balancing costs and utilising professional services, like Ryan’s Restoration, bring expertise and value. This complete guide ensures floors reach their full potential, turning homes into showcases.
FAQ
How do you restore sheen to dull hardwood floors?
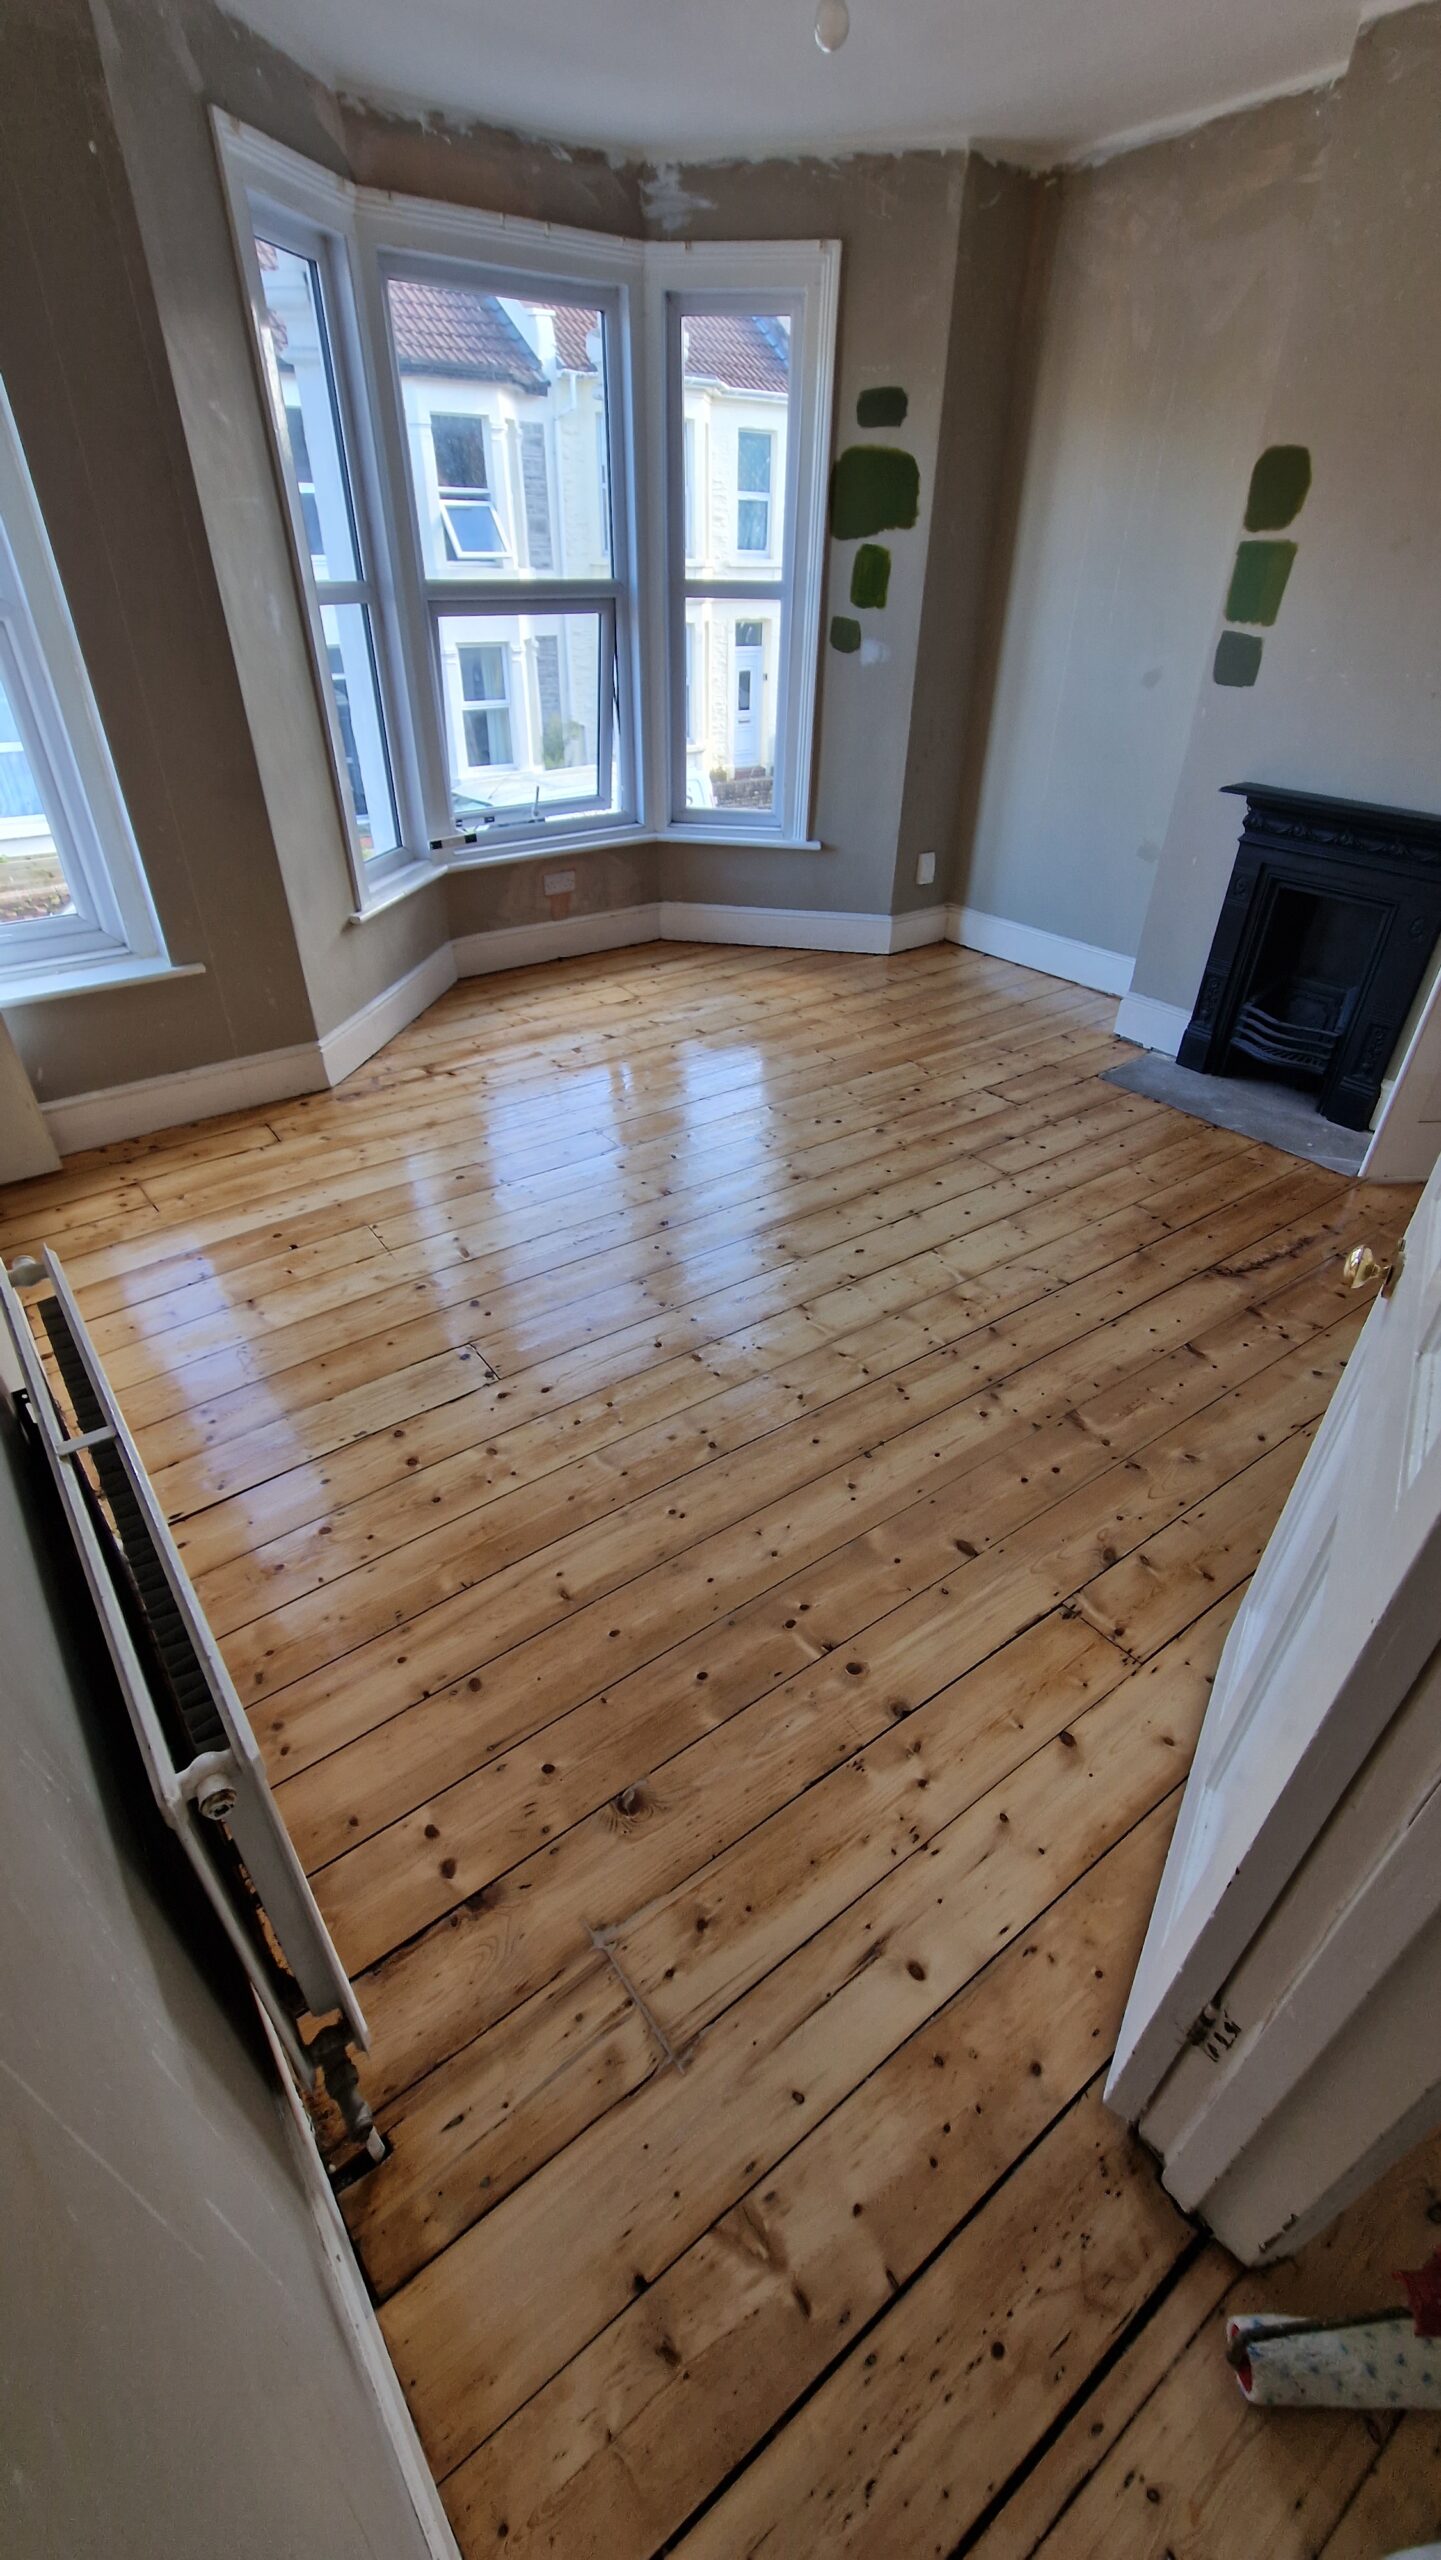
Restoring sheen to dull hardwood floors involves deep cleaning, light sanding, and applying a fresh coat of finish. This process rejuvenates the surface, enhancing its lustre and extending its durability.
How do you remove dull film from hardwood floors?
To remove a dull film from hardwood floors, clean thoroughly using a solution of water and mild wood soap. Follow with a light buffing using a soft cloth or pad to restore clarity and shine.
What not to do when refinishing hardwood floors?
When refinishing hardwood floors, avoid over-sanding and use appropriate grit sandpaper. Refrain from applying finishes on a dirty surface, and ensure proper ventilation to prevent health hazards.
How do you clean old, dull, hardwood floors?
Cleaning old, dull hardwood floors requires gentle sweeping to remove debris, followed by mopping with a damp mop and a suitable wood floor cleaner. Avoid excessive water, as it can damage the wood.
