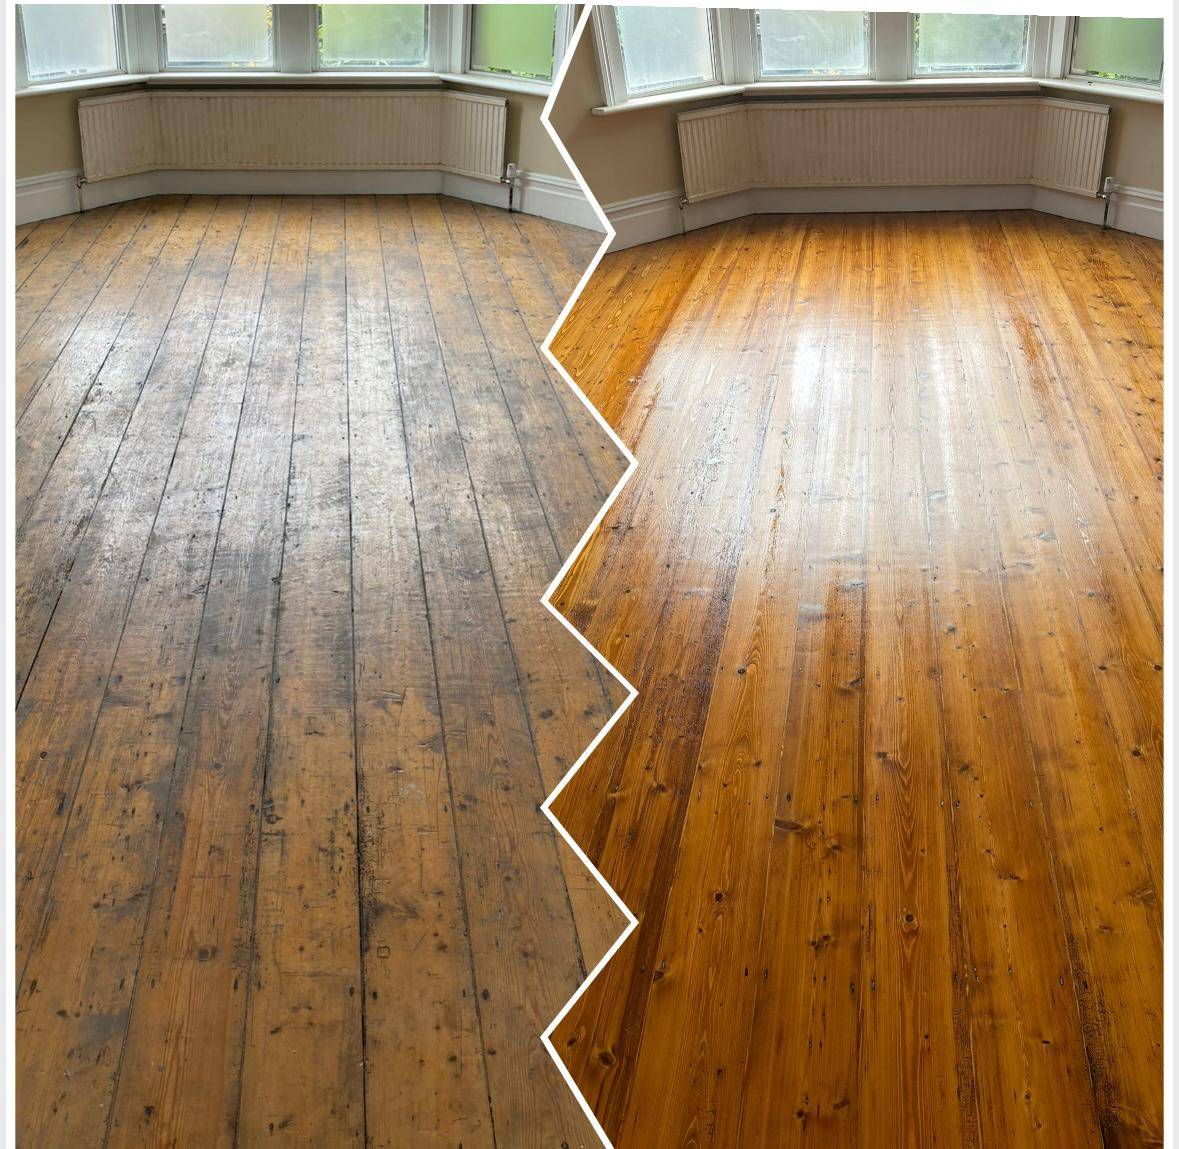
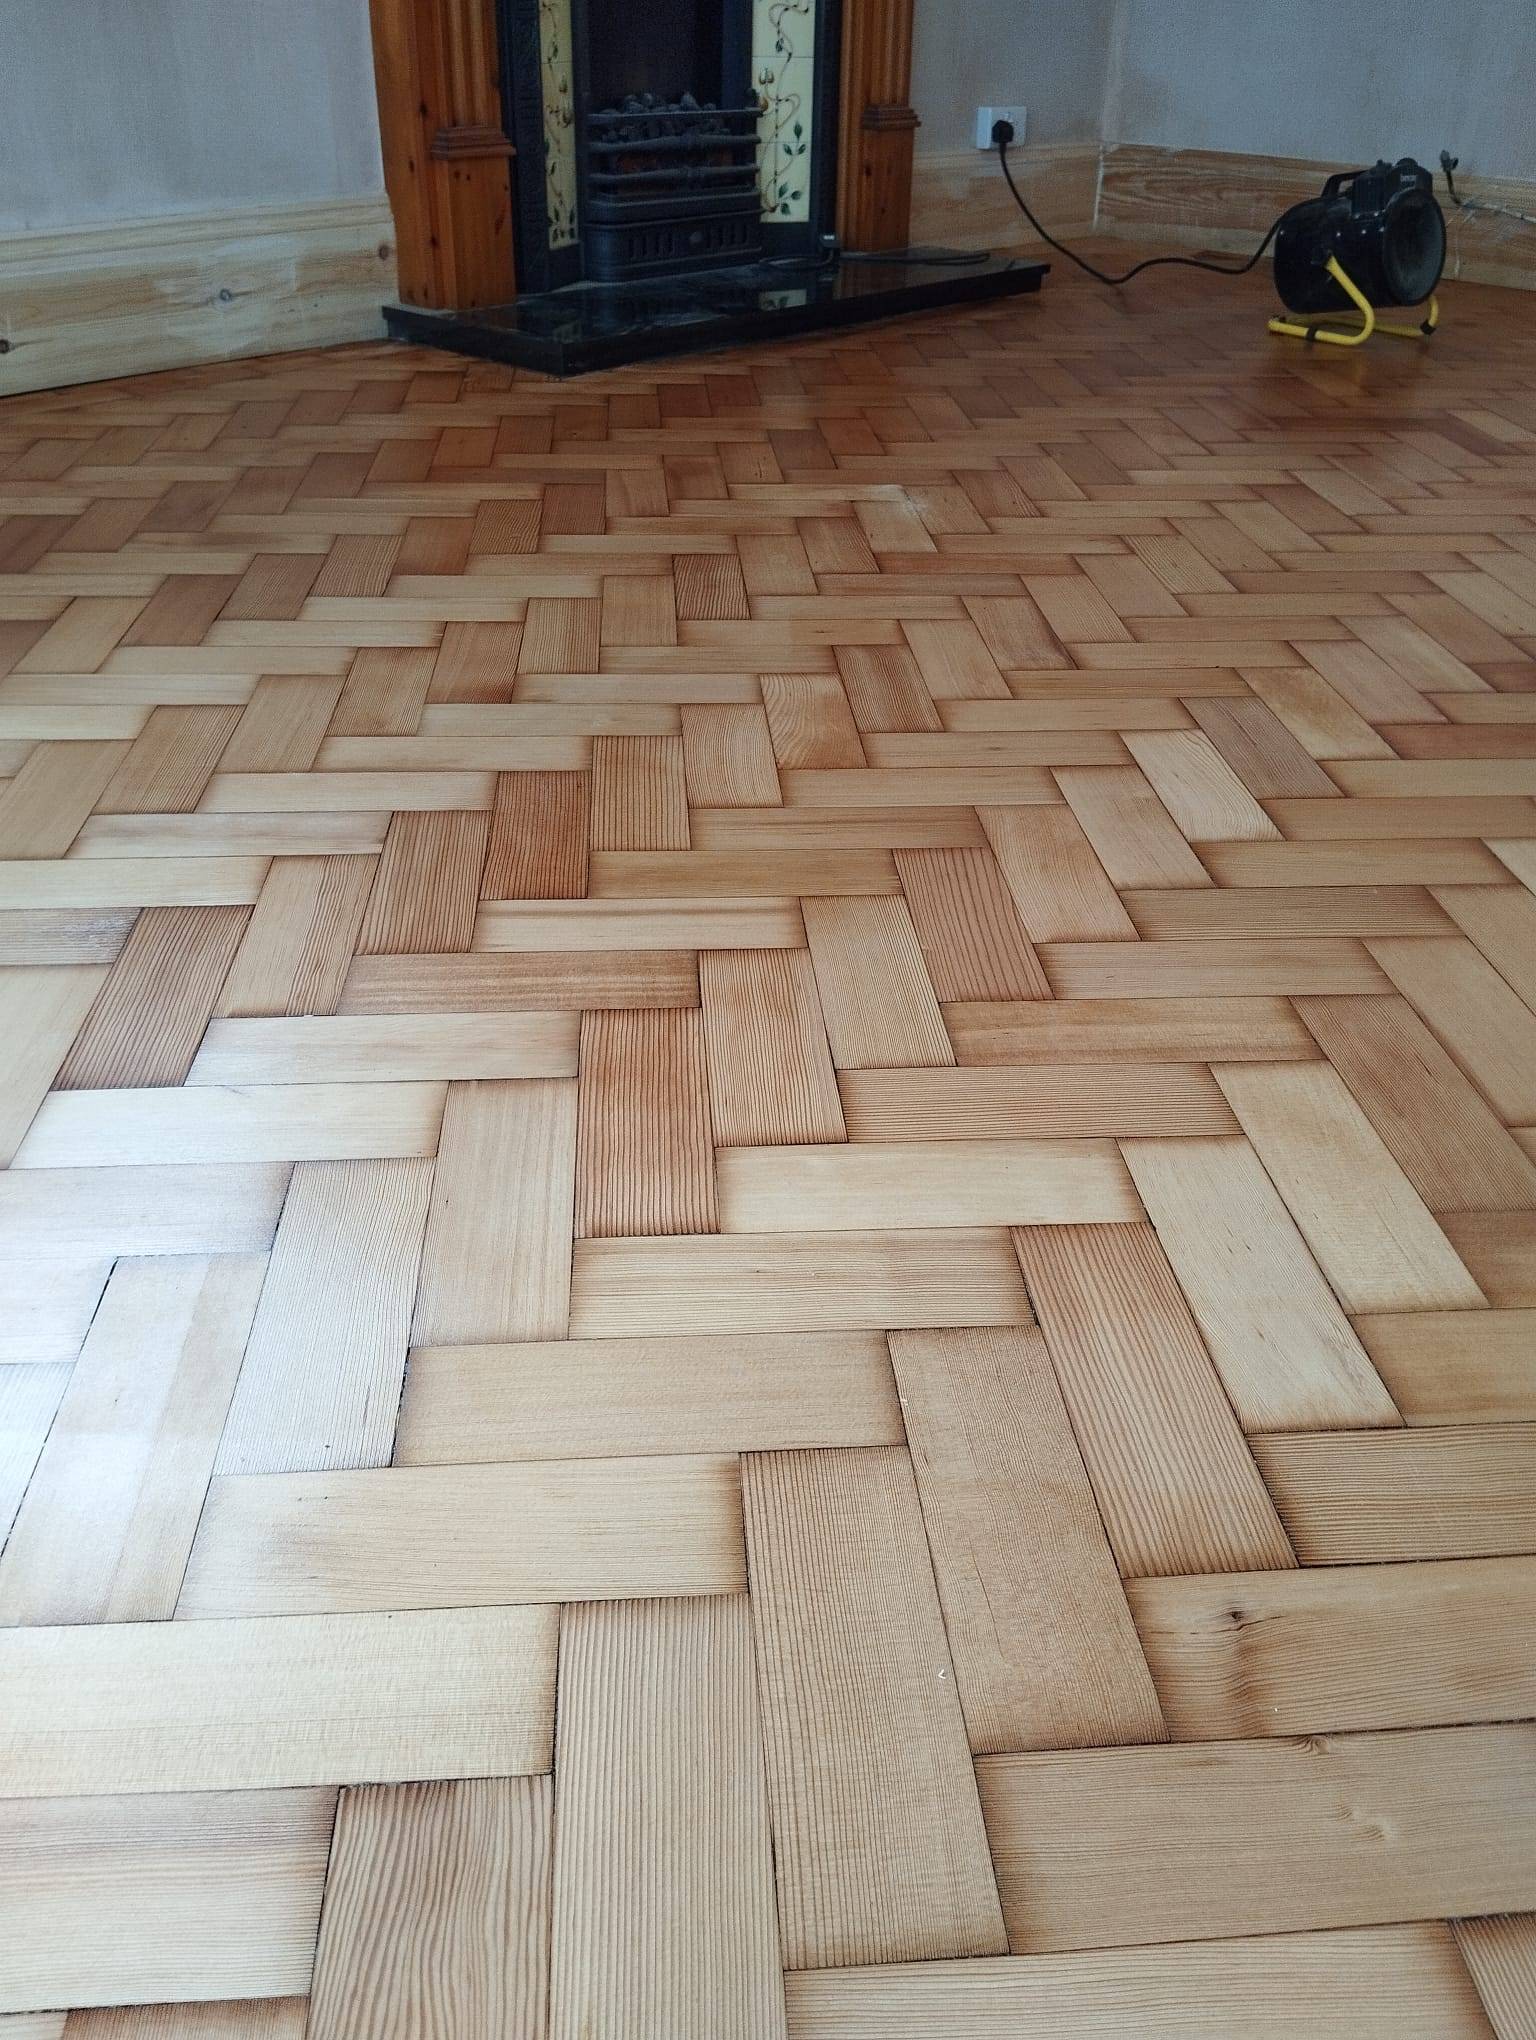
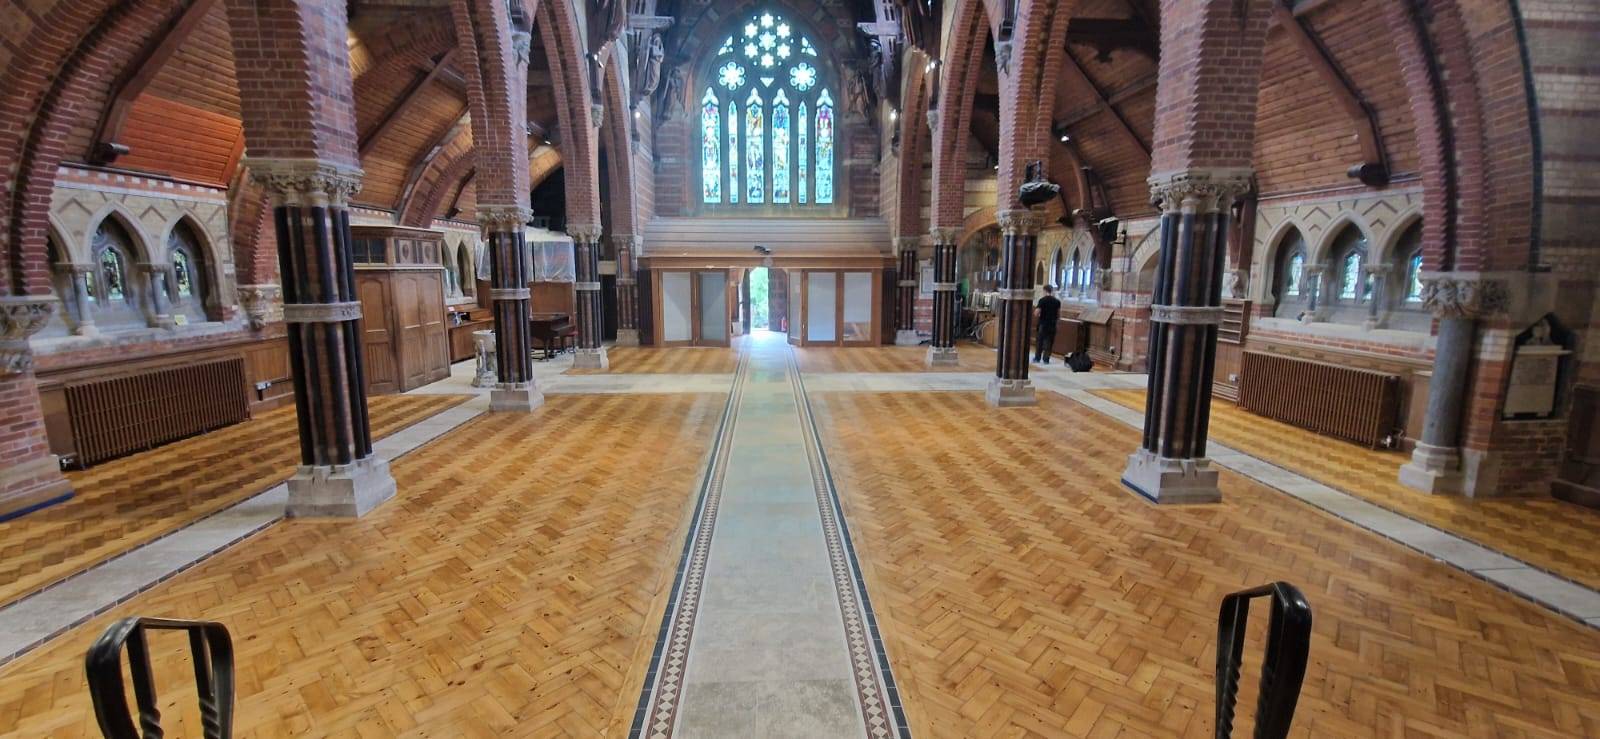
How long does floor sanding take? It’s a common question with an answer that can be as varied as the floors themselves. Whether you’re a DIY enthusiast or considering hiring a professional for wood floor sanding, understanding the factors that affect sanding duration is crucial. The time it takes hinges on several variables, from the room’s size and floor condition to the method you choose. With the right approach and expertise, a professional like Ryan’s Restoration can transform your floors in a matter of days, promising both efficiency and an immaculate finish. Ready to dive into the details? Discover more now.
Understanding the Floor Sanding Process Duration
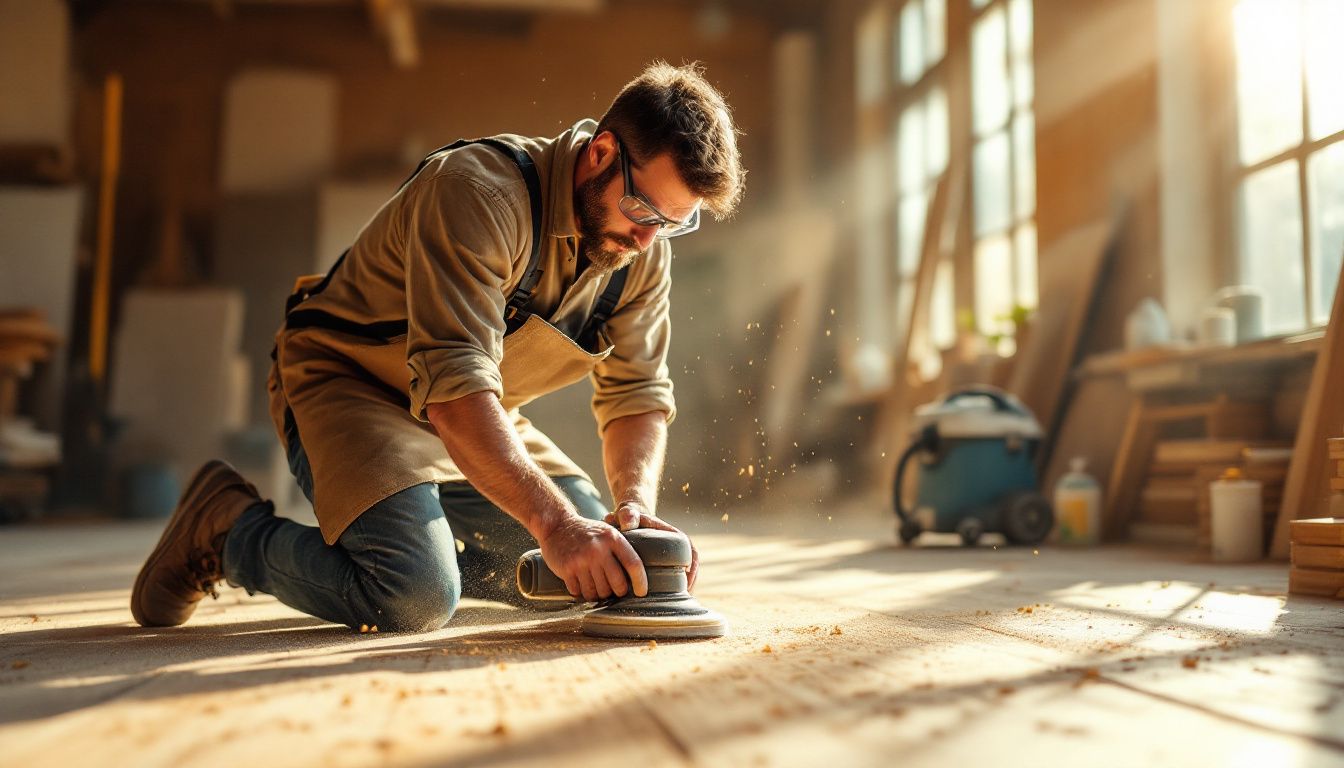
The floor sanding process involves several key steps that contribute to the overall timeline of a project. These steps include preparation, sanding, and finishing. Preparation involves clearing the room of furniture and ensuring the floor is clean and dry. Sanding itself is the core task where the top layer of wood is removed to refresh the surface. Finally, finishing involves applying a protective layer such as varnish or oil to ensure durability.
| Step | Average Time |
|---|---|
| Preparation | 2-3 hours |
| Sanding | 3-5 hours |
| Finishing | 1-3 hours (per coat) |
Professionals can typically complete the entire floor sanding and finishing process for a standard-sized room within one to two days. This efficiency is due to their experience, access to advanced equipment, and systematic workflow. The sanding stage, which is the most time-consuming part, can be completed in just a few hours with professional-grade machinery and techniques. Moreover, professionals often apply multiple coats of finish more quickly, reducing the time needed for drying between applications.
In contrast, DIY floor sanding projects may extend to a week or more, largely due to fewer resources and less experience. DIY enthusiasts often face longer sanding times as they may not have access to industrial-grade sanders, which means longer working hours and potentially more effort to achieve the same smoothness. Additionally, drying times between finish coats can be prolonged without professional-grade finishes or techniques. The preparation stage might also take longer if individuals are unfamiliar with the process, further extending the overall timeline.
Factors Affecting Floor Sanding Duration
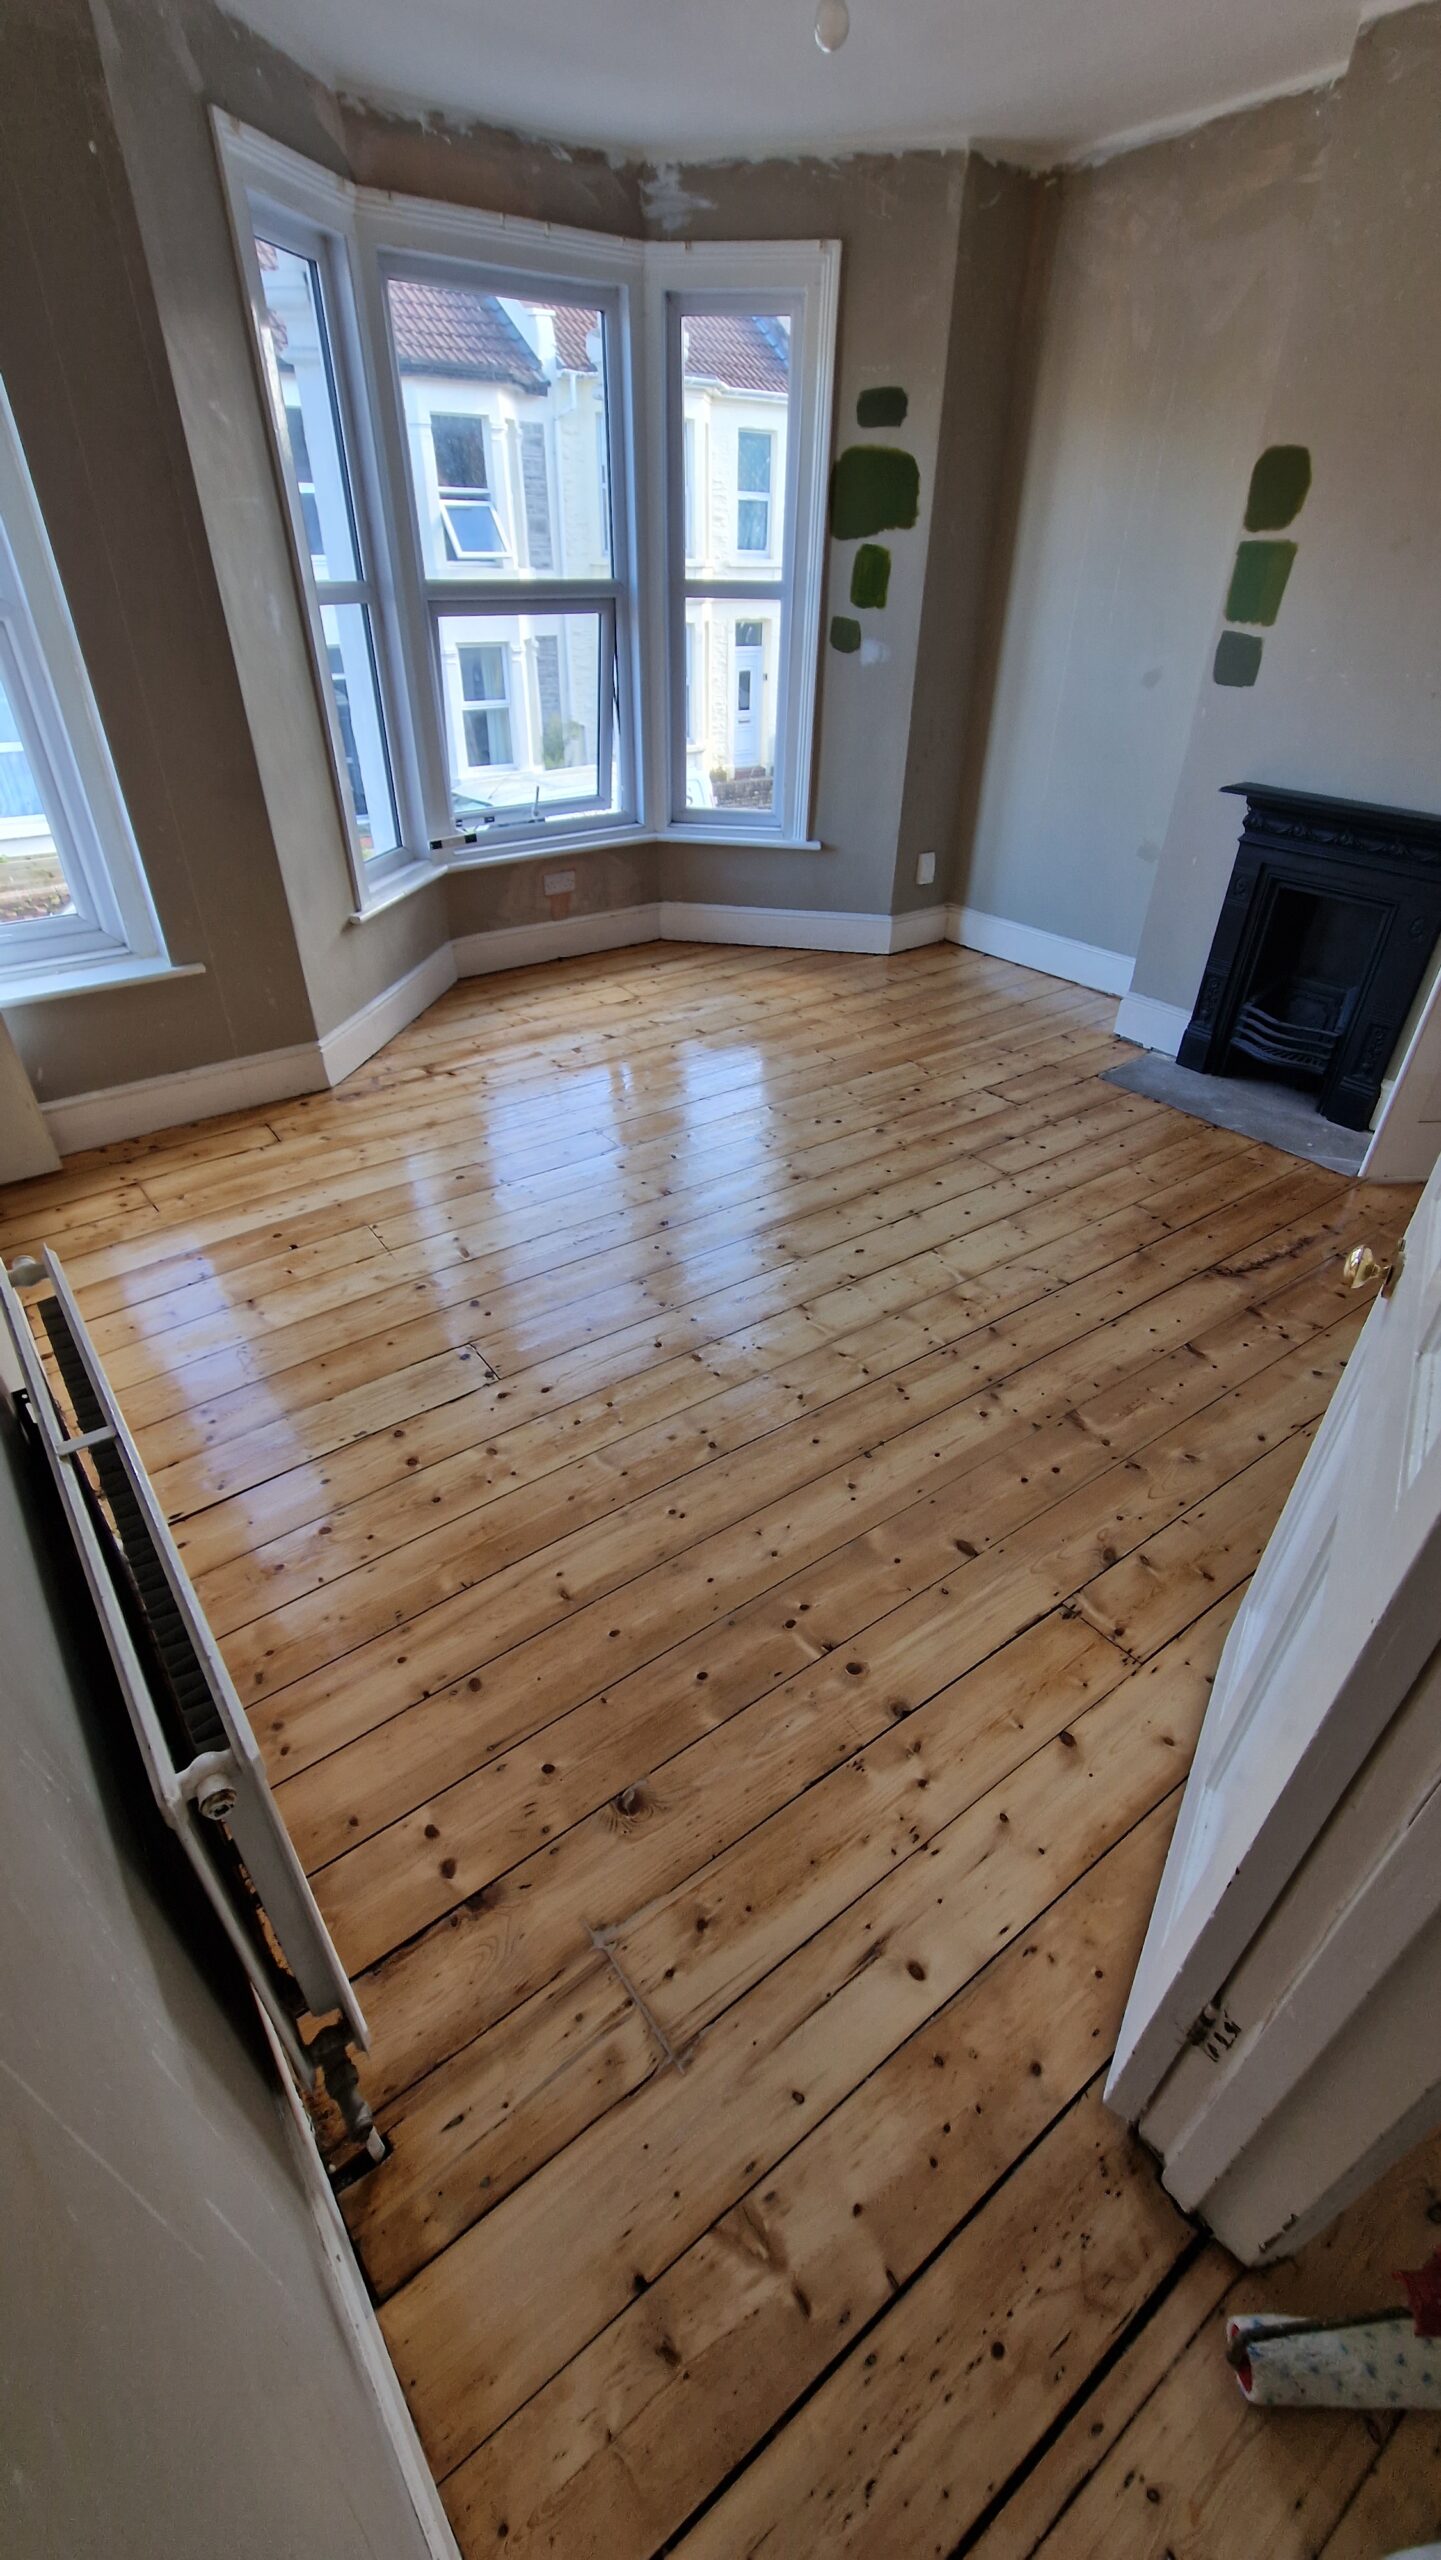
The type and condition of flooring significantly influence the duration of sanding projects. Hardwood species like oak are generally easier to sand, facilitating a faster process. In contrast, woods such as Heart Pine may present more challenges, requiring additional time. Floors with previous finishes, like carpet glue, demand extensive effort to remove, thus prolonging the sanding phase. Damage, in the form of deep dents or scratches, also extends the timeline as more material must be sanded down to achieve a smooth surface. Uneven floors complicate the process further, necessitating extra care and time to level the floor properly.
- Previous finishes: Removing stubborn finishes like glue can add hours to the project.
- Type of wood: Harder woods may require more time due to their density.
- Damage presence: Deep dents or scratches mean more sanding is needed.
- Floor unevenness: Levelling uneven surfaces takes additional time.
- Room layout: Complex layouts with many edges or tight spaces extend the sanding duration.
Proper preparation can substantially reduce the time required for floor sanding. Assessing the floor’s condition beforehand allows for strategic planning, ensuring all necessary tools and materials are ready to address specific challenges. Clearing the room of furniture and thoroughly cleaning the floor can also expedite the process by eliminating obstacles that might slow down the workflow. By addressing potential issues early on, the sanding operation becomes more efficient and manageable, minimising delays caused by unforeseen complications.
Professional vs. DIY Floor Sanding Timelines
Professional floor sanding can be remarkably efficient, with experienced contractors typically completing a standard-sized room in about 2-3 hours. This speed is due to their expertise and access to advanced equipment that ensures a smooth and even finish quickly. In contrast, DIY floor sanding can take significantly longer, often extending over several days. This is primarily because DIYers may lack the specialised tools and familiarity with the process, resulting in extended labour and potentially slower progress.
Reasons why DIY might extend project duration:
- Lack of specialised equipment: DIYers often use rental tools, which may not be as efficient as professional-grade machinery.
- Inexperience: Without prior experience, DIY enthusiasts may take longer to understand and execute each step properly.
- Frequent breaks: Unlike professionals accustomed to the physical demands, DIYers may require more rest periods.
- Additional preparation time: DIY projects often involve more time in setup and preparation due to a lack of familiarity with the process.
DIY floor sanding offers a sense of personal achievement and cost savings as individuals avoid labour charges. However, it demands considerable time and effort, and the lack of experience can lead to issues like uneven surfaces or inadequate finishing. Despite these challenges, the outcome quality can be quite similar to professional work if the DIYer is meticulous and willing to invest the necessary time. Yet, it is crucial to recognise the physical demands and potential for prolonged disruptions, especially in busy households.
Hiring professionals, such as Ryan’s Restoration, presents several benefits. Their expertise ensures a high-quality finish with minimal hassle and disruption. Professionals efficiently handle complexities like previous finishes or intricate room layouts, which might otherwise prolong DIY efforts. Additionally, the use of industrial-grade equipment not only speeds up the process but also guarantees a more thorough and consistent result. By entrusting the task to seasoned experts, clients can enjoy peace of mind and a beautifully restored floor without the extensive time commitment required for DIY projects.
Tips for Efficient Floor Sanding
Efficiency in floor sanding is crucial for both DIY enthusiasts and professionals alike, ensuring that projects are completed swiftly and to a high standard. One of the key strategies is regularly switching between different grit levels of sandpaper. This approach not only speeds up the sanding process but also ensures a smoother finish. Professionals often have an advantage with access to industrial-grade equipment, which enhances sanding efficiency significantly. However, DIYers can still achieve excellent results by meticulously planning each step and ensuring all necessary tools and materials are prepared in advance. Efficient workflow management, including proper preparation and strategic execution, minimises downtime and streamlines the sanding process.
- Use a drum sander for larger areas to speed up the sanding.
- Start with coarser grit sandpaper and progressively move to finer grits.
- Regularly check and change sandpaper to maintain efficiency.
- Ensure the sanding equipment is well-maintained and functioning optimally.
- Plan the project timeline to avoid peak noise hours.
- Consider hiring equipment if professional-grade tools are unavailable.
Managing noise and dust is essential to maintaining a clean and neighbour-friendly environment. Scheduling sanding during times when neighbours are less likely to be disturbed can help mitigate noise complaints. Additionally, implementing effective dust management systems, such as using dust extractors and sealing off work areas, reduces cleanup time and maintains air quality, contributing to a more efficient and pleasant floor sanding experience.
Post-Sanding Considerations and Drying Time
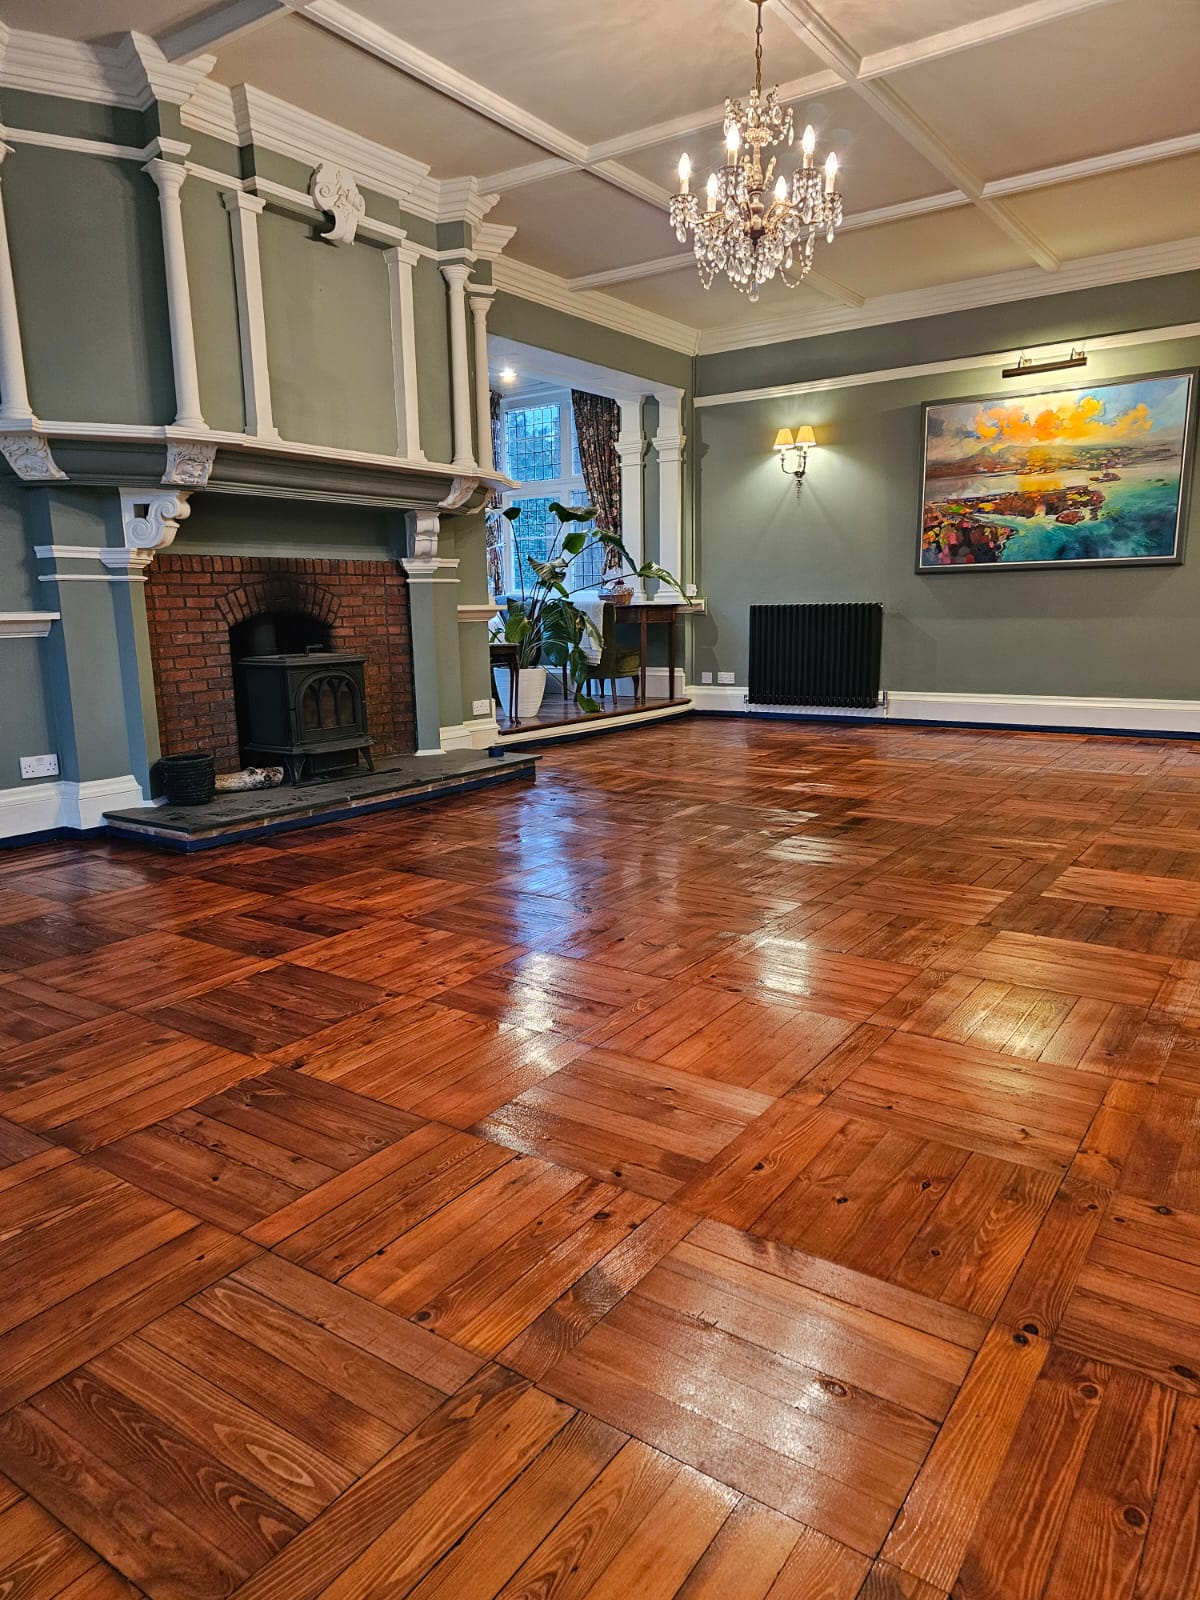
Once the sanding process is complete, finishing the floor is crucial to ensure its longevity and protection. Applying a finish, such as varnish or oil, is a standard procedure that involves multiple coats. Typically, three coats are sufficient for most floors, but a fourth coat is advisable for high-traffic areas to enhance durability. Each coat must be applied evenly and allowed to dry thoroughly before the next application. This layered approach not only seals the wood but also enriches its natural beauty and resilience against wear and tear.
- Oil-based varnish: Each coat can take up to 24 hours to dry, and the varnish is completely cured in 14 days.
- Water-based varnish: Dries faster, often within 6-8 hours per coat, with complete curing in about a week.
- Polyurethane finish: Requires 24 hours for each coat to dry, with a complete cure taking 21 days.
- Hard wax oil: Typically needs 12 hours per coat, with a complete cure in 10 days.
- Furniture replacement: Generally safe after 48 hours, although total cure times vary by finish type.
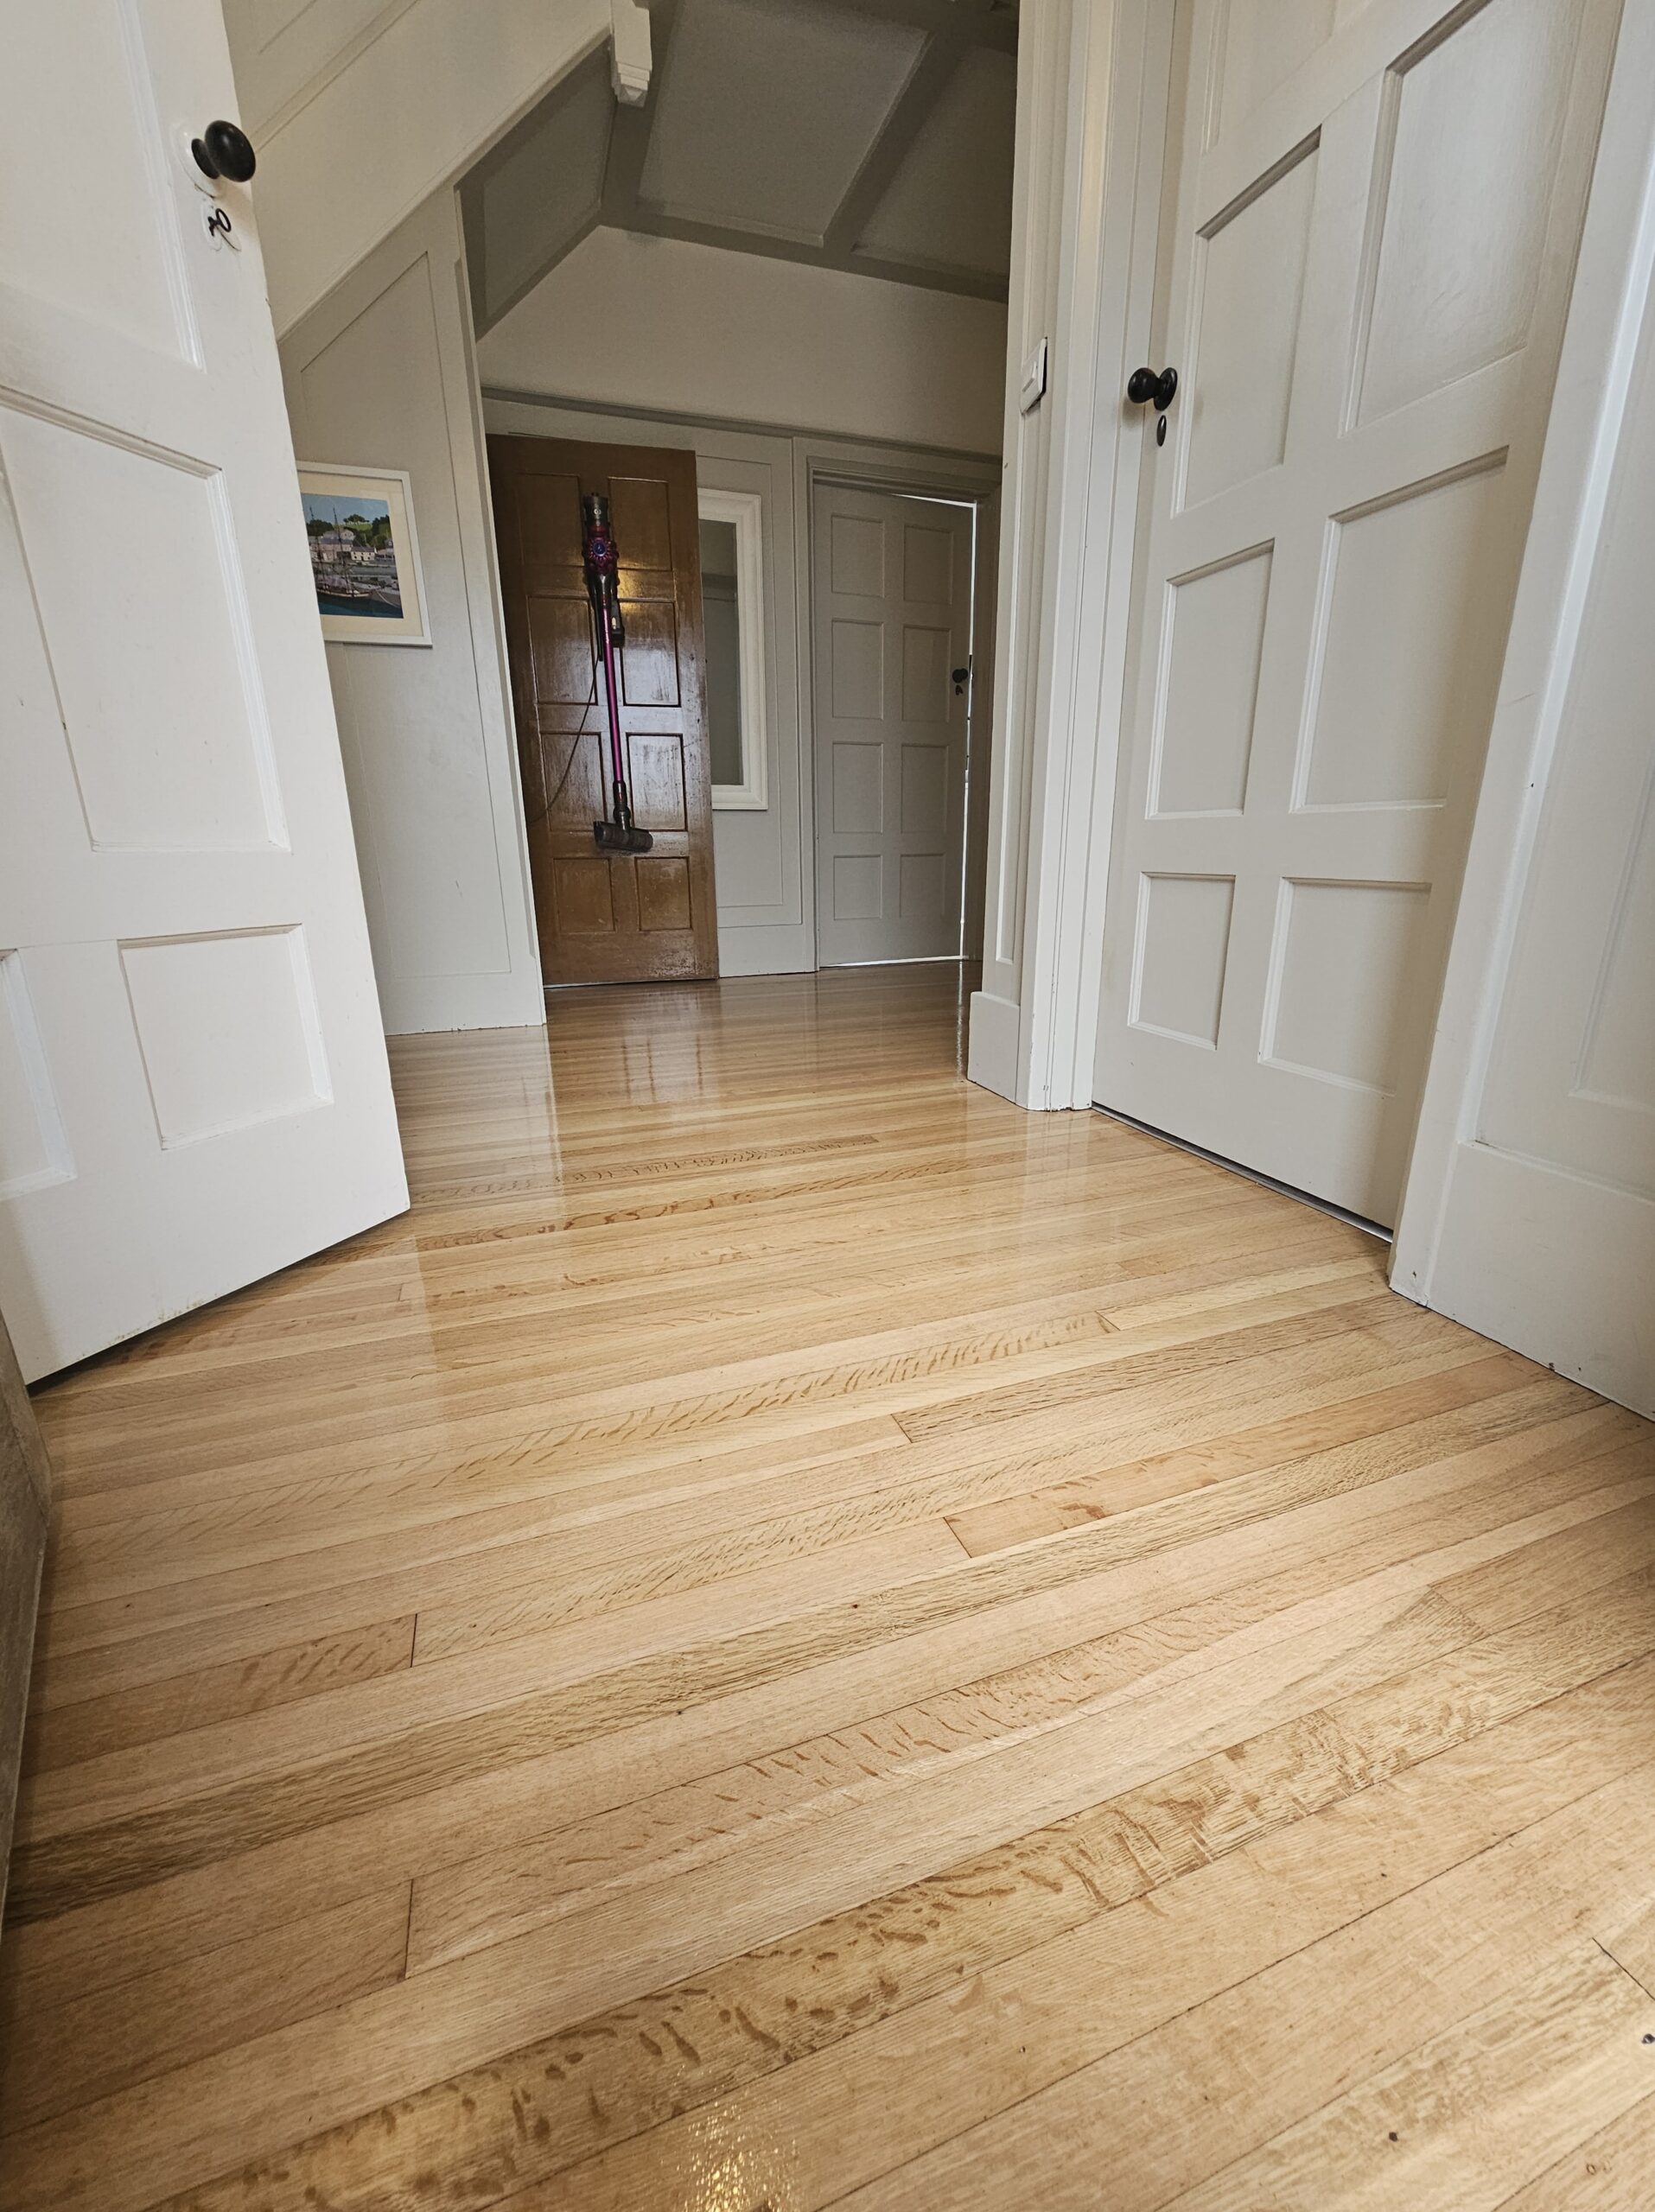
After the floor is finished and the appropriate drying times have been observed, regular maintenance is essential to uphold the floor’s appearance and integrity. Routine vacuuming and damp mopping are recommended to prevent dust and dirt accumulation, which can cause scratches over time. Using protective pads under furniture helps minimise surface damage. Additionally, maintaining a stable indoor climate with controlled humidity and temperature levels contributes to the floor’s long-term stability and beauty.
Final Words
Exploring how long floor sanding takes reveals it is shaped by multiple factors, from room size and floor type to skill level. While professionals often complete tasks swiftly, DIY approaches vary, influenced by preparation and experience. Effective preparation can mitigate delays, optimising the process whether done professionally or DIY. Employing efficient techniques improves outcomes, ensuring a smoother experience. Post-sanding care, including proper drying and maintenance, ensures longevity and beauty. Embracing these insights with high-quality practices enhances any wood floor, elevating aesthetics and value.
FAQ
How long does it take to sand a floor with an orbital sander?
The time to sand a floor with an orbital sander varies. On average, professionals may take 2-3 hours per room, while DIY enthusiasts might need longer, possibly extending to a day or more.
How long does it take to sand hardwood floors?
Sanding hardwood floors generally takes 1-2 days for professionals. If undertaking as a DIY task, expect the process to last up to a week, especially for larger or more damaged areas.
Can you sand floors one room at a time?
Sanding floors, one room at a time, is feasible. This approach allows for uninterrupted use of other areas and manages dust and noise effectively during renovation.
How long does floor sanding and polishing take?
The combined process of sanding and polishing typically requires 1-2 days for professionals. DIYers might spend a week or more, accounting for drying and curing times between coats.
