Is your beautiful wooden floor showing signs of distress, such as buckling or unsightly stains? Ignoring water damage can turn even the most elegant of floors into an eyesore, undermining your home’s aesthetics and value. Early detection and repair are vital to halt further deterioration. In this guide, you’ll learn how to swiftly identify water-damaged wood floors and address the problem using effective repair methods. With this newfound knowledge, you’ll be well-equipped to restore your floors to their former glory, ensuring they remain a valuable asset to your home for years to come.
Identifying Water Damage in Wood Floors
Prompt identification of water damage in wood floors is critical to prevent further deterioration and costly repairs. Water can quickly compromise the structural integrity of the wood, leading to issues like warping or mould growth. Detecting these problems at an early stage allows for timely intervention, reducing the likelihood of extensive damage. Taking immediate action not only helps maintain the aesthetic appeal of your flooring but also prolongs its lifespan.
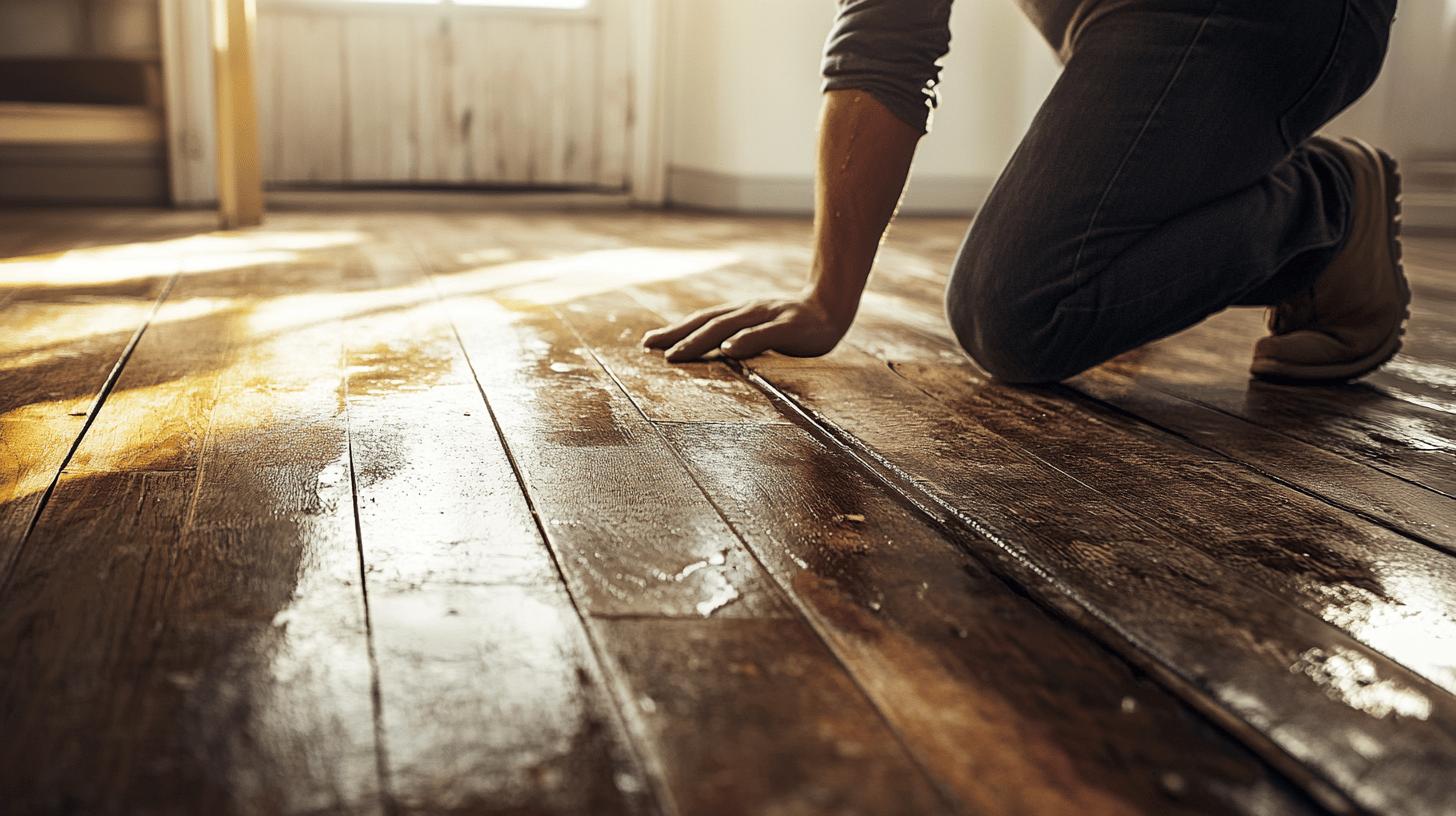
Visual and tactile assessments are effective initial steps in identifying water damage. Look for cupping, where the edges of a board are higher than the centre, or buckling, where the wood rises from the subfloor. Staining and discolouration often indicate prolonged exposure to moisture. Additionally, a spongy feel underfoot may suggest underlying water damage. A musty odour typically accompanies these signs, serving as an alert to potential mould growth.
- Cupping of floorboards
- Buckling or lifting from the subfloor
- Staining or discolouration of wood
- Spongy or soft areas when walked on
- Musty odour indicating possible mould
Using a moisture meter is a reliable method to quantify the extent of water damage. This tool measures moisture levels in wood, which should ideally range between 6-9%. If higher levels are detected, further investigation is warranted. In cases of significant damage or visible mould, consulting a professional is advisable to assess the situation accurately and recommend appropriate repairs. A professional evaluation can offer insights into the severity of damage and the best course of action to restore the wood floors effectively.
Quick Repair Methods for Water-Damaged Wood Floors
Acting swiftly is crucial when it comes to repairing water-damaged wood floors. Water can quickly seep into the wood, leading to warping, mould, and structural issues. Immediate action helps mitigate further damage and reduce repair costs. Prioritising a quick response can prevent minor issues from escalating into significant problems, ensuring the longevity and integrity of your flooring.
- Stop the water source: Identify and halt the source of water immediately to prevent further damage.
- Remove excess water: Use a mop or wet vacuum to extract standing water from the surface.
- Dry the area: Set up dehumidifiers and fans to thoroughly dry the affected area, which can take up to a full day.
- Inspect for damage: Once dry, inspect for visible signs of damage, such as raised edges or popped boards.
- Clean with disinfectant: Apply a wood-safe disinfectant to prevent mould growth.
Minor repairs can often be handled with simple techniques. Sanding raised edges helps level the surface while resetting any popped boards ensures a uniform appearance. Gaps or minor cracks can be filled with wood putty to restore a smooth finish. These repairs not only improve the visual appeal but also contribute to the floor’s structural integrity.
Safety is paramount during repairs. Avoid using direct heat sources, such as heaters, to expedite drying, as this can cause the wood to crack or warp. Instead, rely on fans and dehumidifiers for a safe drying process. Proper protective gear, like gloves and masks, should be worn to shield against potential hazards while handling cleaning agents or sanding tools. Taking these precautions ensures that repair efforts are both effective and safe.
Tools and Equipment for Effective Water Damage Repair
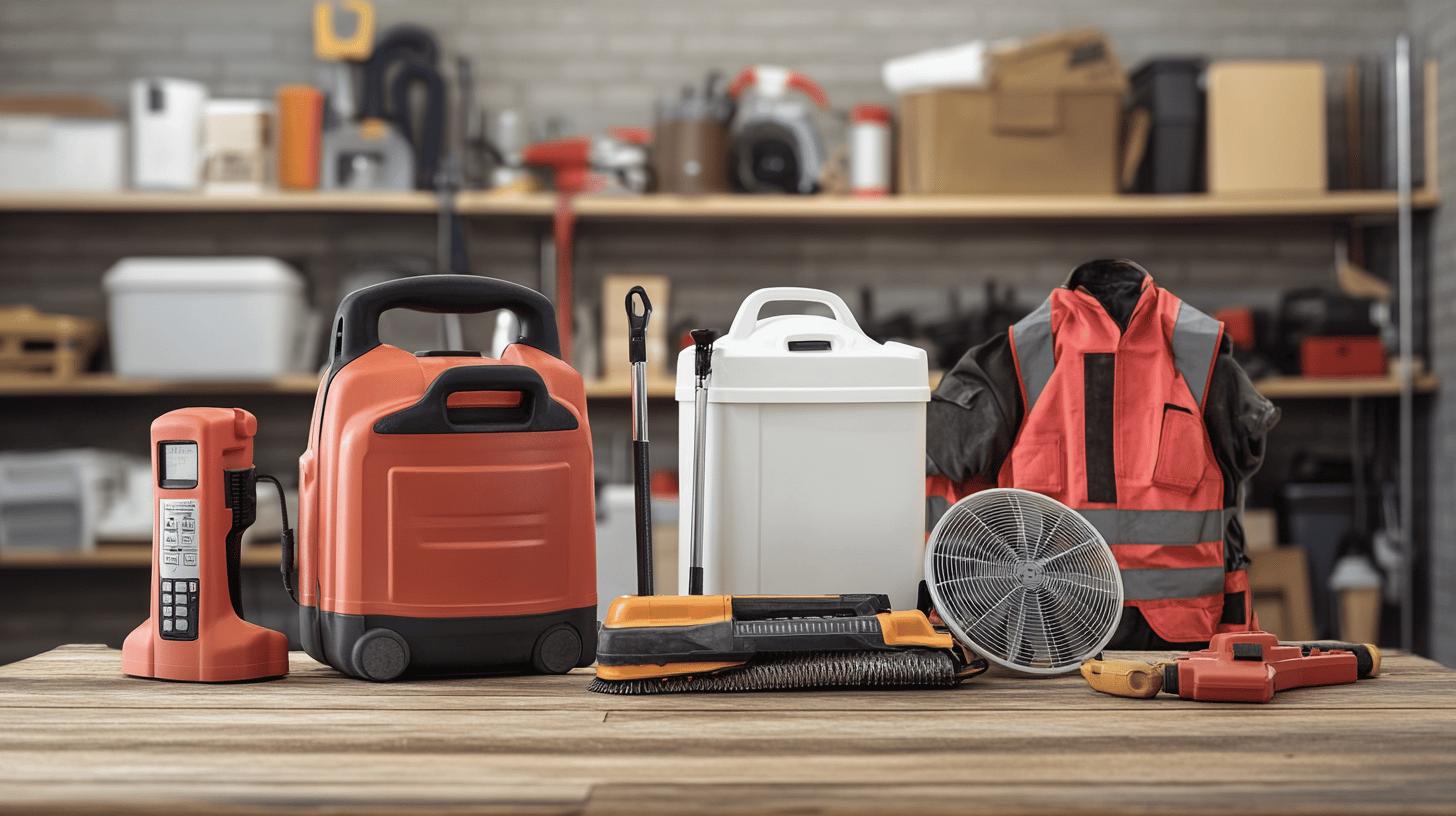
Having the right tools is essential for efficiently repairing water-damaged wood floors. Proper equipment allows for precise and effective restoration, preventing further damage and ensuring long-term durability. A moisture meter is crucial for assessing moisture levels, helping to determine the extent of water damage. Sanding tools are needed to smooth out any raised edges or warped boards, while protective gear like gloves and masks ensure safety during the repair process. Removing excess water promptly using mops or wet vacuums is critical, followed by thorough drying with fans and dehumidifiers to restore the wood to its optimal condition.
- Moisture meter
- Sander
- Protective gear (gloves, masks)
- Wet vacuum or mop
DIY repairs can be cost-effective but may vary in time and expense depending on the severity of the damage. Minor repairs could take a few days, while more extensive issues might extend over several weeks. The cost of tools like moisture meters and sanders should be considered, balancing against potential professional service fees. Professional services offer expertise and can expedite the repair process, but they come at a higher cost. Weighing these factors helps in making informed decisions about tackling water-damaged floors.
Professional vs DIY Repair: Making the Right Choice
Deciding between DIY repairs and hiring professionals for water-damaged wood floors involves weighing several factors. DIY repairs can be cost-effective, offering savings on labour expenses. However, they require time, effort, and a degree of expertise in handling tools and materials. The quality of a DIY repair may vary based on the homeowner’s skill level. In contrast, professional repairs ensure expertise and precision, resulting in higher-quality outcomes. Professionals can quickly identify the extent of damage and apply suitable repair techniques, but their services come at a higher cost.
Comparing DIY and Professional Services
- Time: DIY repairs can take longer, especially for those unfamiliar with the process. Minor issues may take a few days, while extensive damage might require weeks. Professionals can often complete repairs more swiftly due to their experience and access to specialised equipment.
- Cost: The initial cost of DIY repairs is typically lower, involving the purchase of tools and materials. Professional services, while more expensive, offer a comprehensive solution that may prevent future repair costs due to incomplete or improper DIY fixes.
- Quality: DIY repairs depend on the individual’s skill and knowledge. Professionals deliver consistent quality, leveraging their expertise to address both visible and hidden damage effectively.
Professional help becomes essential when floors are severely damaged or when mould has developed after 24 hours. In such cases, a professional assessment can accurately determine the scope of the problem and recommend appropriate solutions, potentially involving replacement rather than repair. Expert recommendations ensure that repairs are thorough and meet industry standards, safeguarding the longevity and safety of the flooring.
Preventing Future Water Damage to Wood Floors
Regular maintenance and preventive measures are essential to protect wood floors from water damage. Consistent cleaning prevents dirt and grime from trapping moisture, which can lead to deterioration. Moisture control is crucial; maintaining indoor humidity between 30-50% reduces the risk of wood warping and mould growth. Proper ventilation, particularly in areas prone to humidity, like kitchens and bathrooms, is vital for preventing moisture accumulation. Mats and rugs can act as barriers, absorbing minor spills and preventing water from reaching the wood surface.
Regular inspections are fundamental in maintaining wood floors. Check for early signs of damage, such as minor warping or discolouration, to address issues before they worsen. Reapplying sealants periodically enhance the floor’s resistance to water penetration. Dehumidifiers can play a pivotal role in moisture-prone areas, reducing the risk of water damage. Proper ventilation, alongside these preventive steps, ensures that wood floors remain in optimal condition, safeguarding their longevity and aesthetic appeal.
Final Words
Quick identification and repair of water-damaged wood floors are crucial to maintaining their integrity and beauty. From detecting signs like cupping, staining, and mould to employing effective repair methods using appropriate tools and equipment, a structured approach ensures optimal results. While some repairs are suitable for DIY, severe cases demand professional expertise.
Implementing preventive measures—such as regular inspections and controlling indoor humidity—contributes significantly to long-term wood floor health. Embracing these best practices not only safeguards your investment but enhances your home’s overall value and aesthetic appeal.
FAQ
Can hardwood floors be repaired after water damage?
Hardwood floors can often be repaired after water damage, depending on the extent of the damage. Minor issues may require simple repairs like sanding or filling gaps, while severe damage may necessitate replacement.
How do you fix water-damaged wood without replacing it?
To fix water-damaged wood without replacement, ensure the area is dry, sand raised edges, and use wood putty for gaps. Always address the source of water to prevent future issues.
What do water-damaged hardwood floors look like?
Water-damaged hardwood floors often show signs like buckling, cupping, staining, or a spongy feel. These may accompany a musty odour, indicating potential water damage and mould presence.
How do you detect a water leak under a wood floor?
Detect a water leak under a wood floor by checking for unexplained water pooling or a musty smell or using a moisture meter to identify unexpected high moisture levels.
How long does it take for water to damage wood floors?
Water can begin to damage wood floors within 24 to 48 hours, potentially leading to warping, staining, or mould. Timely identification and action can minimise repair requirements.
What is the cost of water damage floor repair?
Water damage floor repair costs vary based on damage severity, square footage, and materials used. Minor repairs may be affordable, while extensive damage needing replacement can be costly.
How to fix a swollen wood floor?
Fixing a swollen wood floor involves drying the area thoroughly, sanding down any raised sections, and employing wood putty to fill resultant gaps.
What are the signs of water damage on hardwood floors?
Signs of water damage on hardwood floors include cupping, buckling, staining, and a spongy feel, often accompanied by a musty odour, which suggests mould growth. Regular inspections can identify these early.


