Imagine filing an insurance claim only to be met with delays or rejection due to inadequate evidence. Quality photos can elevate your claim from questionable to undeniable. But how do you ensure your photographic evidence is compelling and comprehensive? This guide offers an essential blueprint for capturing the finest details of floor damage, effectively setting the stage for a successful claim. With step-by-step instructions on preparation, photography techniques, and organisation, you’ll be equipped to provide indisputable visual proof and expedite the processing of your insurance claim.
Preparing to Photograph Floors for Insurance Claims
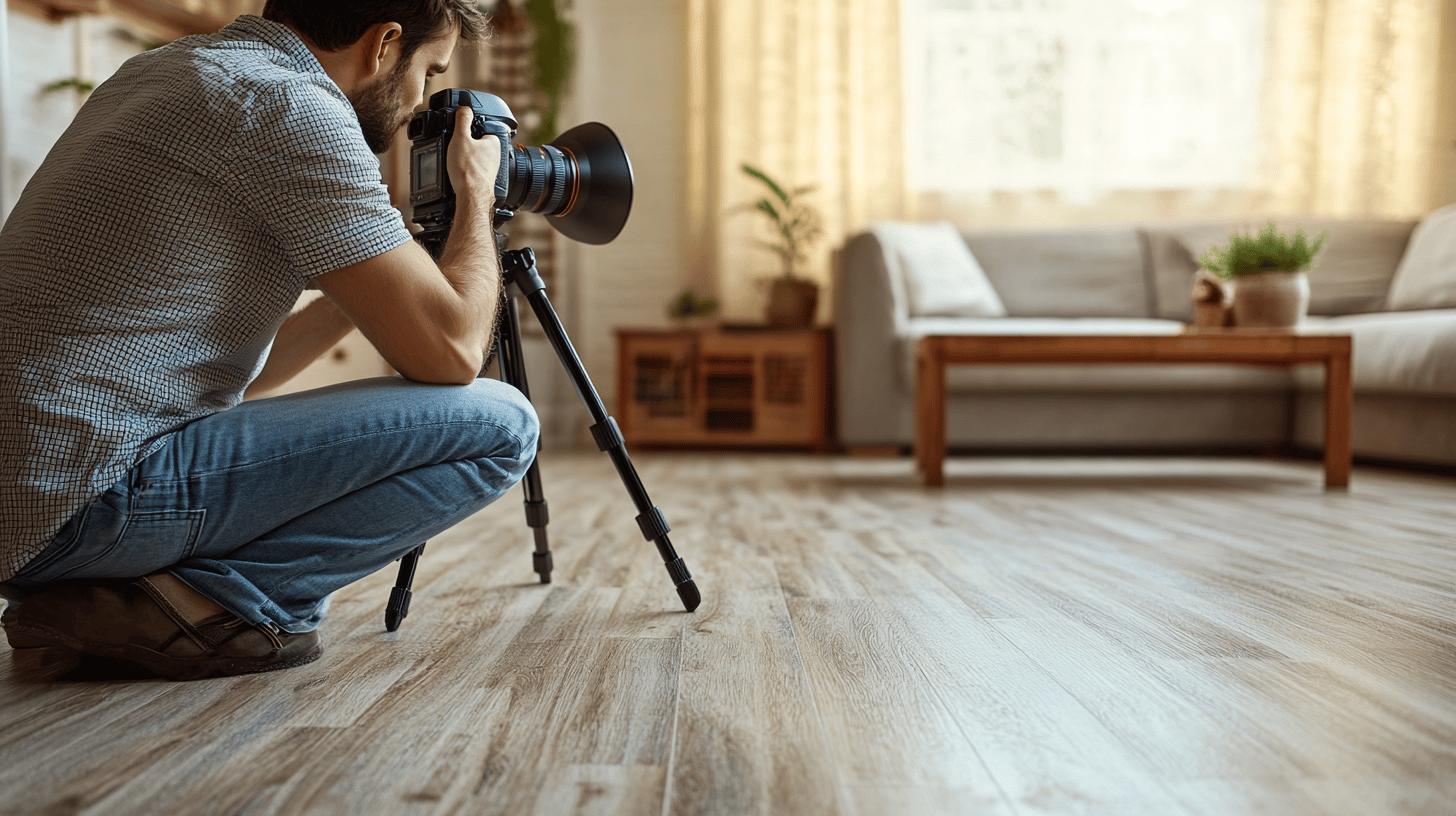
Having the right equipment is crucial when photographing floors for insurance claims. A good-quality camera, whether a smartphone or DSLR, is essential for capturing clear images that effectively convey the extent of damage. A flashlight is useful for illuminating dark areas, ensuring that no detail is missed. Additionally, a measuring tape can help provide scale in photos, and a notepad or notes app is handy for recording observations and descriptions.
Clear and well-organized photos are vital in the insurance claim process. They provide tangible evidence of the damage, which is critical for the insurer’s assessment and can significantly impact the claim’s success. High-quality images that clearly show the extent and specific details of the damage facilitate faster processing, helping to secure the necessary coverage.
Preparing the room and floor for photographing involves ensuring that the area is clean and unobstructed. Remove any debris or objects that could obscure the damage. Ensure that lighting is adequate, either by using natural light or supplementing with artificial sources, to avoid shadows that may obscure the details. By setting the scene effectively, you enhance the accuracy and clarity of your photographic documentation.
- Camera (smartphone or DSLR)
- Flashlight for dark areas
- Measuring tape for scale
- Notepad or notes app for descriptions
.
Capturing Floor Damage: Techniques and Best Practices
Wide-angle shots play a pivotal role in documenting floor damage for insurance claims. These images provide an overall view and help establish the context by showing the damage’s position in relation to the rest of the room or home. Capturing the entire floor area allows adjusters to understand the scope of the damage more thoroughly, which is essential when assessing the impact of the incident.
Focusing on details is equally important. Zoom in on specific areas of damage, such as water stains, scratches, or warped sections, to capture the full extent of the issue. Incorporating a scale reference, like a ruler or coin, in these photos assists insurers in gauging the size and severity of the damage. This detailed documentation helps in substantiating claims and provides concrete evidence for insurance appraisals.
Optimal lighting conditions significantly enhance photo quality and clarity. Natural light is ideal, but if it’s insufficient, use additional lighting sources to reduce shadows and highlight the damage. Avoid direct flash as it can create glare or wash out details. Instead, try diffused lighting to maintain the image’s integrity and ensure that textures and colours are accurately portrayed.
Using multiple angles ensures comprehensive documentation and provides a complete perspective of the damage. Capture photos from different viewpoints—such as directly above, at eye level, and from a 45-degree angle—to offer a more thorough representation. This practice not only reinforces the evidence but also gives insurers a clearer understanding of the damage’s full extent, facilitating a more accurate assessment.
Organising and Submitting Floor Damage Photos

To ensure a smooth insurance claim process, it’s crucial to organise your floor damage photos effectively. Arranging photos by room or damage type into structured folders helps create a logical flow of information. This methodical organisation allows insurers to easily navigate through the evidence, understanding the context and specifics of each damage area without confusion. By categorising images in this way, you maintain clarity, which is essential for substantiating claims and avoiding potential delays in the assessment process.
Adding brief descriptions to each photo is another important step. These descriptions should include details such as the location, type of damage, and any notable characteristics. This additional context helps to provide a comprehensive narrative of the damage, supporting the visual evidence presented. Furthermore, backing up your photos in multiple locations—such as cloud storage, external hard drives, or secure online platforms—ensures that your documentation is safe and accessible in case of technical failures or data loss.
Submitting photos digitally is the final step in the process, and adhering to insurance company guidelines is critical. Most insurers provide specific instructions on how to submit photographic evidence, often through dedicated apps or websites. By following these guidelines, you minimise the risk of processing delays and ensure that your claim is handled efficiently. It’s also important to keep a record of submission confirmations for your own reference, ensuring a transparent and traceable claims process.
- Organize by room or damage type
- Add brief descriptions
- Backup in multiple locations
- Follow submission guidelines
.
Smartphone vs Professional Cameras: Choosing the Right Equipment
When it comes to photographing floor damage for insurance claims, smartphones offer significant advantages in terms of convenience and portability. With a smartphone, you have a compact device that is easy to carry around and always on hand. This convenience allows for quick snapshots to be taken at a moment’s notice, ensuring that no detail is missed. Additionally, modern smartphones are equipped with advanced camera technology that can capture high-quality images suitable for documenting damage effectively.
On the other hand, professional cameras, such as DSLRs, provide superior image quality and greater control over camera settings. These cameras allow for adjustments in exposure, focus, and depth of field, which can be crucial for capturing the nuances of floor damage. The higher resolution and dynamic range of professional cameras ensure that every detail of the damage is clearly visible, providing compelling evidence for insurance claims. While they may require more effort to carry and set up, the enhanced quality can make a significant difference in the documentation process.
- Smartphone: convenient and portable
- Professional camera: higher image quality, more control
- Consider needs and budget
.
Ensuring Accuracy and Clarity in Floor Damage Photos
Timestamping photos is crucial for ensuring accuracy in documenting floor damage for insurance claims. By marking images with the date and time they were taken, you provide a verifiable timeline that is essential for substantiating claims. This practice helps insurers correlate the damage with specific events or incidents, strengthening the credibility of your evidence. Additionally, maintaining high resolution in your photos is vital for capturing every detail with clarity. High-resolution images offer a sharp and precise portrayal of damage, which is indispensable for thorough assessment and evaluation.
Accurate and clear photos are a cornerstone of a successful insurance claim process. When images are well-documented and visually precise, they provide compelling evidence that can expedite claims approval. Insurers rely on clear visuals to understand the extent and nature of the damage accurately, which aids in determining the appropriate coverage. By ensuring that your photos are both precise and well-presented, you enhance the reliability of your documentation, ultimately facilitating a smoother and more efficient claims process.
Final Words
Capturing and organising floor damage photos for insurance claims involves more than just clicking a button. Armed with the right tools, such as a good camera and flashlight, one can provide insurers with clear, comprehensive evidence.
Using wide-angle and detailed shots, alongside optimal lighting, enhances image quality. Proper organisation by room or damage type, backed up with descriptions, ensures a smooth submission process.
Whether choosing a smartphone for convenience or a professional camera for superior quality, every detail matters in accurately portraying damage. Ultimately, understanding how to photograph floors for insurance claims bolsters the likelihood of a successful claim.
Need claim help? → Contact Us
FAQ
How to take photos for insurance?
A: To take effective photos for insurance, use a good-quality camera or smartphone. Ensure the flooring area is well-lit, and employ wide-angle shots for context. Focus on damage details with close-ups, using a scale for reference.
What photos do you need for insurance?
A: Photos should include wide shots for context and detailed shots to highlight floor damage. Use a scale reference to depict the size of the damage, and ensure images are clear, high-resolution, and timestamped. Organise by room or damage type.


