Have you ever wondered what it truly takes to achieve that showroom shine with professional wood floor polishing? Many homeowners overlook the crucial step of polishing after sanding, not realising its influence on both durability and aesthetics. This guide explores the meticulous art of polishing wooden floors after sanding to perfection. From dust-free preparation to selecting the ideal polish, every step enhances the rich allure of your wooden floors. Join us as we delve into expert techniques, ensuring your floors remain the envy of the neighbourhood and elevate your home’s appeal.
Preparing Your Wooden Floors for Polishing
Proper preparation through wood floor sanding before polishing is crucial to achieving a flawless finish. Sanding preparation involves more than just ensuring the surface is smooth; it requires a meticulous approach to dust removal to prevent imperfections in the polish. Start by clearing the space of any furniture or obstacles that could hinder the process. Thoroughly clean the floor to eliminate dirt and debris that can interfere with sanding and polishing. This initial step sets the foundation for a successful sanding process, ensuring the surface is ready for the next stages.
To effectively remove dust from your floor, follow these steps:
- Employ a large, soft paintbrush to sweep away loose dust particles from the surface.
- Use a vacuum cleaner equipped with a brush attachment for a more thorough cleaning.
- Apply a tack cloth to capture fine particles that the vacuum might have missed.
- Ensure the floor is completely dry before proceeding, as moisture can compromise the polish.
- Conduct a final inspection to confirm no dust remains on the floor.
After ensuring the dust is eradicated, it is essential to verify the floor’s readiness for polish application. A dry and dust-free surface will allow the polish to adhere properly, enhancing the floor’s appearance and durability. The thoroughness of this preparation phase cannot be overstated, as it directly impacts the quality and longevity of the polished wooden floors.
Choosing the Right Polish for Your Wooden Floors
Selecting the appropriate polish for your wooden floors is fundamental to enhancing their appearance and protection. Different types of floor finishes offer various benefits, each suitable for specific floor types and personal preferences. Organic oil finishes are renowned for their ability to highlight the natural beauty of the wood while providing exceptional water-repellent properties, making cleaning and maintenance easier. On the other hand, natural wax delivers a soft, mellow finish that allows the wood to breathe, providing a classic look that many homeowners desire. Understanding these options will enable you to choose the polish that best suits your floor’s requirements.
| Polish Type | Benefits |
|---|---|
| Organic Oil | Enhances natural beauty, water-repellent |
| Natural Wax | Soft appearance, allows the wood to breathe |
| Polyurethane | Durable, resistant to scratches and stains |
| Varnish | High gloss finish, UV protection |
Eco-friendly polish options are becoming increasingly popular for those seeking sustainable solutions. These products are designed to minimise environmental impact while maintaining high performance. Eco-friendly finishes, often derived from natural ingredients, do not emit harmful chemicals and are safer for indoor air quality. Choosing an eco-friendly polish not only benefits the environment but also ensures a healthier home atmosphere, making it a preferred choice for families concerned with sustainability and health.
Step-by-Step Guide to Polishing Wooden Floors
Achieving a perfectly polished wooden floor requires meticulous attention to technique. The polishing process is not merely about applying a product but involves a series of steps that ensure the finish is smooth, shiny, and durable. Proper floor polishing techniques are essential to enhance the wood’s natural beauty and protect it from everyday wear and tear. Employing the correct methods will not only improve the appearance of your floors but also extend their lifespan, making your efforts worthwhile.
To polish your wooden floors efficiently, follow these detailed steps:
- Select the Appropriate Polish: Choose a polish suitable for your floor type, considering factors like finish type and desired appearance.
- Gather Necessary Tools: Ensure you have the right tools, such as a high-quality applicator pad or brush, suitable for even polish application.
- Test Patch Application: Always start by testing the polish on a small, inconspicuous area to check compatibility and appearance.
- Apply Polish Evenly: Use your applicator to spread the polish evenly across the floor, working in small sections to avoid uneven drying.
- Follow the Grain: Apply the polish in the direction of the wood grain to ensure a smooth, streak-free finish.
- Allow Sufficient Drying Time: Let the polish dry thoroughly as per the manufacturer’s instructions to prevent smudging or clouding.
- Inspect and Touch-up: After drying, inspect the floor for any missed spots or imperfections, and apply touch-ups as needed.
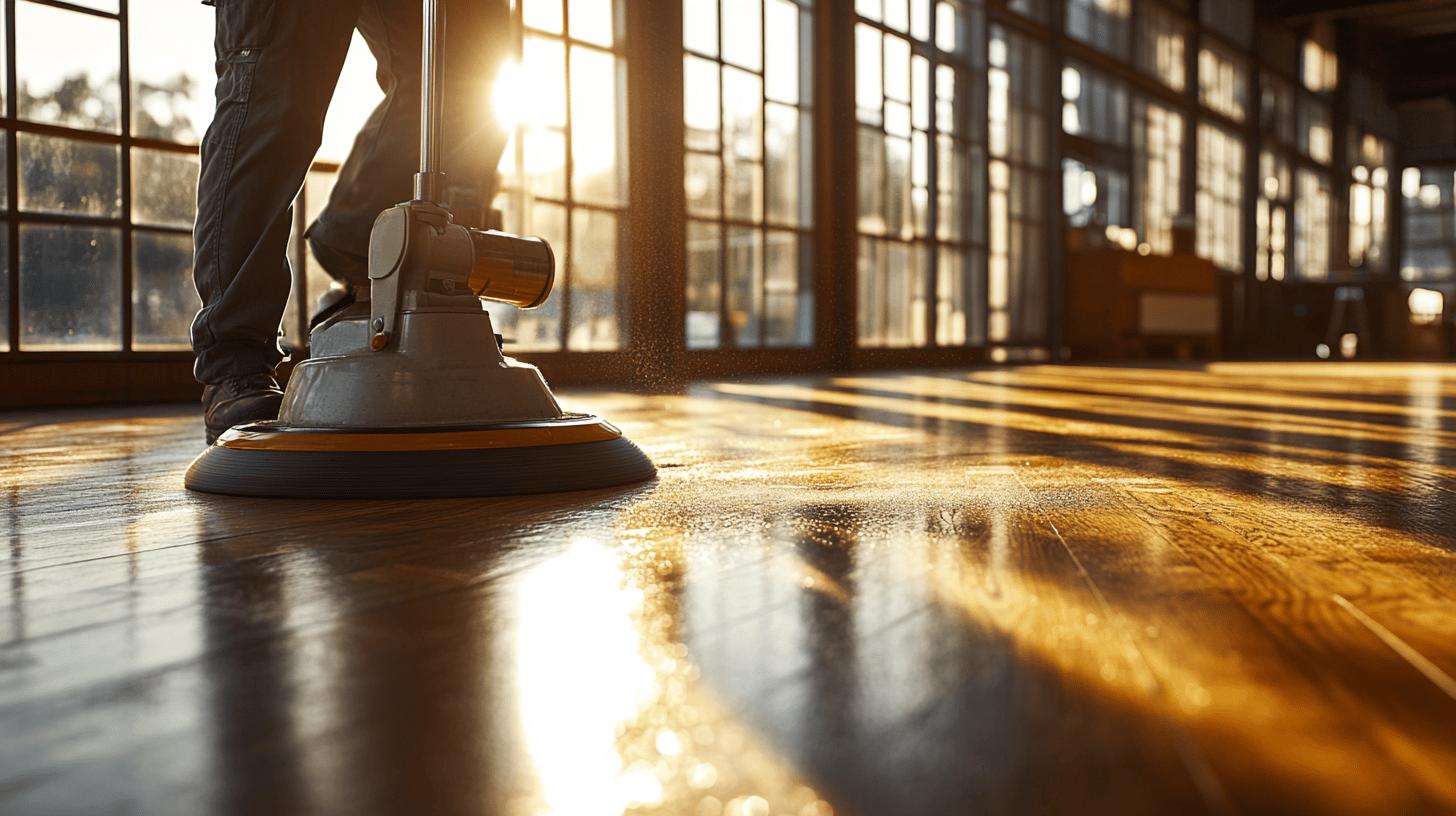
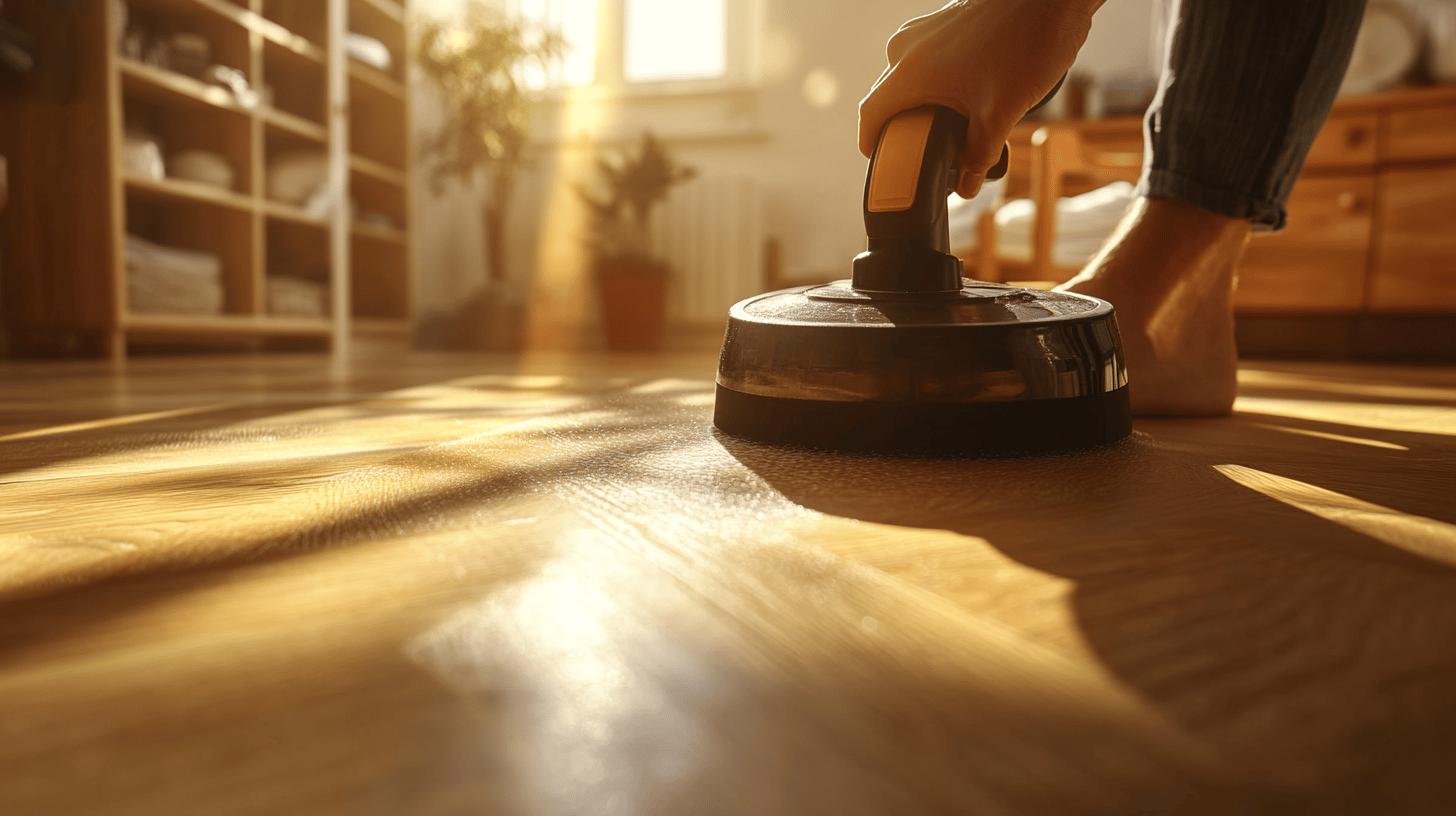
Once the polish is applied and dried, enhancing the floor’s sheen through professional buffing is the next crucial step. Buffing involves using soft machines or hand-polishing techniques to add a lustrous finish, significantly enhancing the floor’s visual appeal. Employing a soft cloth or a buffing pad, gently work over the polished surface to achieve a consistent sheen. This not only elevates the floor’s aesthetic but also contributes to a smoother texture, making maintenance easier. Remember, the thoroughness of these final touches can vastly improve the overall outcome of your floor polishing efforts.
Safety Tips for Polishing Wooden Floors
Polishing wooden floors requires attention to safety, particularly when it comes to protective gear. Essential items include masks to prevent inhalation of dust and chemical fumes, gloves to protect hands from polish and cleaning agents, and safety goggles to shield eyes from splashes. These items are crucial in maintaining personal safety while ensuring that the polishing process does not negatively impact health. Wearing the correct gear reduces exposure to potentially harmful substances and provides peace of mind when undertaking this task.
Controlling polishing pressure is vital to avoid damaging the floors. Applying excessive force can scratch or gouge the wood, undermining the polish’s effectiveness and the floor’s aesthetic appeal. Use a light touch, applying consistent pressure across the surface to maintain the wood’s integrity. Adhering to this principle ensures that the polish is applied evenly, resulting in a smooth finish that highlights the floor’s natural beauty without causing harm.
Maintaining Your Polished Wooden Floors
Regular maintenance is crucial to preserving the polished look and extending the life of your wooden floors. Consistent care not only maintains aesthetic appeal but also protects the floor from potential damage caused by daily wear and tear. By incorporating a routine cleaning schedule, you ensure that dust and dirt do not scratch the surface. This proactive approach helps in maintaining the sheen and prevents the polish from wearing off prematurely. The effort you invest in regular maintenance will pay off, keeping your floors looking pristine for years.
To prevent damage, employ specific floor care tips that focus on avoiding scratches and dents. Use protective pads under furniture legs to minimise the risk of indentations. When moving furniture, always lift rather than drag to avoid scratches. Moreover, placing doormats at entry points reduces the amount of grit and debris tracked onto the floor, which can act like sandpaper. Routine sweeping with a soft-bristled broom or vacuum cleaner equipped with a hardwood floor setting will further prevent surface damage. These preventive measures are essential in maintaining the polished finish and overall integrity of your wooden floors.
Addressing spills and stains promptly is vital to maintaining the floor’s appearance. In the event of a spill, quickly blot the area with a soft, absorbent cloth to prevent liquid from seeping into the wood and causing stains. Avoid using harsh chemicals, as they can damage the polish; instead, opt for a gentle wood cleaner recommended by the manufacturer. For stubborn stains, a slightly damp cloth can be used, but ensure the area is dried immediately afterwards. Effective management of spills and stains will help retain the floor’s beauty and ensure its longevity.
Final Words
Preparing your wooden floors for polishing is essential, as it sets the foundation for a flawless finish. Choosing the right polish tailored to your floor type enhances both beauty and durability. Employ appropriate techniques to apply the polish, ensuring an even coat and superior sheen. Prioritising safety by wearing protective gear and managing pressure mitigates risks during the process.
Consistent maintenance safeguards your polished floors, extending their lifespan and aesthetic appeal. Mastering how to polish wooden floors after sanding not only elevates your home’s appearance but also adds significant value to your space.
FAQ
How to polish wooden floors after sanding?
Polishing wooden floors after sanding involves applying a suitable polish evenly. Before polishing, ensure the floor is clean and dust-free by using a vacuum and tack cloth. Allow the polish to dry completely for a smooth finish.
How to clean wood floors after sanding before staining?
To clean wood floors before staining, use a large, soft paintbrush and vacuum to remove dust. Follow with a tack cloth to capture fine particles, ensuring the surface is clean and ready for staining.
What is the best way to clean after sanding?
The best way to clean after sanding is to vacuum thoroughly, followed by wiping the surface with a tack cloth to remove any remaining dust. This ensures a clean base for any finish or polish.
How do you sand wood floors yourself?
To sand wood floors yourself, clear the space and clean the floors thoroughly. Use sanders of varying grits to remove the old finish and smooth the surface. Ensure proper safety measures, like wearing a dust mask and eye protection.
Do you need to buff hardwood floors after sanding?
Yes, buffing hardwood floors after sanding is recommended as it enhances the sheen and smoothness of the finish. Buffing can be done using soft machines or hand-polishing for best results.
How do you polish wood after sanding?
Polishing wood after sanding includes applying the polish evenly, allowing it to dry, and then buffing to enhance the surface sheen. Appropriate tools like a soft cloth or buffer should be used for application and finishing.
What is the next step after sanding wood floors?
After sanding wood floors, the next step is to thoroughly remove any dust and debris thoroughly, ensuring a clean surface for staining or polishing. Follow up with the chosen finish application to protect and enhance the wood’s appearance.


