
Are you ready to transform your wooden floors but unsure how to prepare your home for the task? Proper preparation is crucial for a smooth floor sanding process. By ensuring unobstructed access to your floors, you can save time and prevent potential mishaps. This article will guide you through effective room clearance strategies, dust protection measures, damage assessments, and more. With these practical tips, you can confidently prepare for a successful floor sanding experience and enjoy enhanced aesthetics and value in your home. Dive in to learn how to get your space sanding-ready!
Clearing the Room Before Floor Sanding
Clearing the room is crucial before any floor sanding service begins. Removing obstacles ensures that professionals have unobstructed access to the entire floor surface, allowing them to work more efficiently and achieve a uniform finish. Additionally, it prevents potential damage to furniture and personal belongings during the sanding process. By clearing the room thoroughly, homeowners also reduce the risk of dust settling on items, which can be difficult to clean and may cause damage.
- Furniture
- Rugs
- Personal items
- Fragile decorations
- Electronic devices
Organising furniture removal can be streamlined with a few practical tips. Start by creating a temporary storage space in a different area of the home for larger items like furniture and rugs. Label boxes for personal items and decorations to keep track of where everything goes. For items that cannot be easily moved, like built-in furniture, consider covering them with dust sheets for protection. Planning the sequence of removal and enlisting help can also make the process faster and less stressful.
Protecting Adjacent Areas from Dust
Protecting adjacent areas from dust during floor sanding is essential to maintaining a clean and safe environment throughout your home. Dust generated from sanding can easily spread, settling on surfaces and causing potential respiratory issues. Implementing effective dust protection measures not only safeguards your belongings but also simplifies post-sanding cleanup. By taking the necessary precautions, homeowners can ensure that the sanding process does not disrupt other areas of the home or compromise air quality.
To effectively seal off doorways and vents, start by using plastic sheeting to cover doorways. This creates a barrier that prevents dust from escaping the work area. Dust barriers are particularly useful for covering vents, as they block dust from circulating through your heating and cooling systems. By closing off these pathways, you can significantly reduce the spread of dust to other parts of the house. Additionally, ensure skirting boards are protected by using tape and covers, which help to prevent dust accumulation in these often overlooked areas.
Plastic sheeting offers several advantages over other dust protection methods. It is versatile, easy to install, and can be cut to fit various spaces, making it an ideal solution for covering doorways. Its transparent nature allows light to pass through, maintaining visibility in sealed-off areas. Moreover, plastic sheeting is cost-effective and can be reused for future projects, providing a practical and economical option for dust control.
Addressing Floor Damage Prior to Sanding
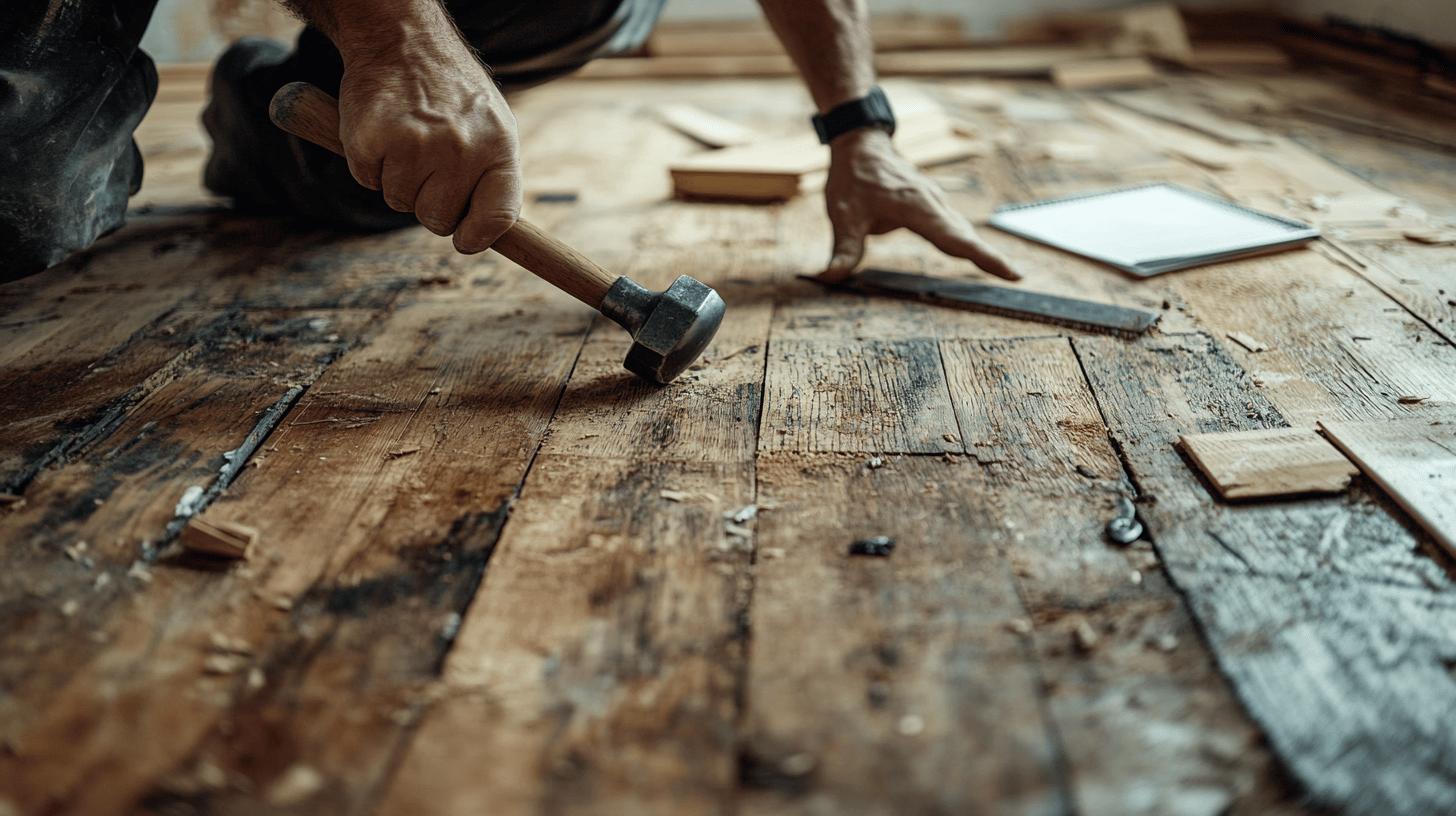
Identifying common types of floor damage is a crucial step in preparing your floors for sanding. Loose boards, for instance, can cause uneven sanding and should be secured to prevent further movement. Protruding nails not only pose a safety risk but can also damage sanding equipment, so they must be hammered down or removed. Cracks in the wood can accumulate dust and debris, affecting the smoothness of the finish. Additionally, minor surface scratches, though often overlooked, should be addressed as they can become more pronounced after sanding. Lastly, gaps between boards can detract from the aesthetic quality of the floor and might require filling for a seamless appearance.
- Loose boards
- Protruding nails
- Cracks in wood
- Minor surface scratches
- Gaps between boards
When it comes to addressing these issues, homeowners may consider whether to undertake DIY repairs or seek professional assistance. Simple tasks like hammering down nails or filling small gaps can often be handled with basic tools and materials. However, more complex repairs, such as fixing extensive cracks or dealing with structural issues, might require the expertise of a professional. A professional can ensure that repairs are conducted properly, preventing future complications and extending the lifespan of your floors. Deciding between DIY and professional help often depends on the extent of the damage and the homeowner’s confidence in their repair skills.
Communicating with Your Floor Sanding Service Provider
Setting clear expectations with your floor sanding service provider is essential to ensure a smooth and successful project. Clear communication helps to align your vision with the expertise of the professionals, minimising misunderstandings and ensuring your needs are met. Discussing your expectations upfront allows the service provider to tailor their approach, ensuring they deliver the desired results. Additionally, having a detailed discussion about the timeline and scope of the project helps manage your schedule and reduces the risk of unexpected delays. This proactive approach fosters a collaborative relationship, enhancing the overall quality of the service provided.
Key Questions to Ask Your Service Provider
- What is the estimated timeline for the project?
- Are there any additional services that might enhance the outcome?
- What precautions do you take to manage dust and noise?
- How do you handle unexpected issues during the sanding process?
The benefits of a pre-sanding meeting are manifold. It provides an opportunity to address any specific concerns you may have, such as areas of the floor that require special attention or preferences regarding the finish. This meeting also allows you to confirm logistical details, such as working hours and access requirements, ensuring minimal disruption to your daily routine. By discussing these aspects in advance, you and the service provider can confidently enter the project, knowing that all necessary preparations have been made. A pre-sanding meeting lays the foundation for a successful partnership, ultimately resulting in a beautifully restored floor.
Ensuring Safety and Efficiency During Sanding
Keeping the work area clear of pets and children is paramount during the floor sanding process. Why is this important? It ensures both safety and efficiency. Pets can be unsettled by the noise and dust, potentially causing accidents or disruptions. Similarly, children may inadvertently wander into the sanding zone, which poses safety risks due to the machinery and materials involved. By restricting access, homeowners protect their loved ones and allow professionals to work without interruptions, ensuring a smooth and efficient sanding process.
- Keep pets away from the work area
- Ensure children do not enter the sanding zone
- Confirm working hours with the service provider
- Plan for alternative routes around the home
Coordinating schedules with your floor sanding service provider is another crucial step in maintaining minimal disruption to your routine. Confirming their working hours allows you to plan your day accordingly, ensuring that activities do not overlap with the sanding work. It is also beneficial to discuss any specific needs or constraints you may have, such as school runs or work-from-home requirements. By planning alternative routes around the home, you maintain accessibility without interfering with the professionals’ progress, ultimately facilitating a more efficient and organised project.
Planning Post-Sanding Cleaning and Maintenance
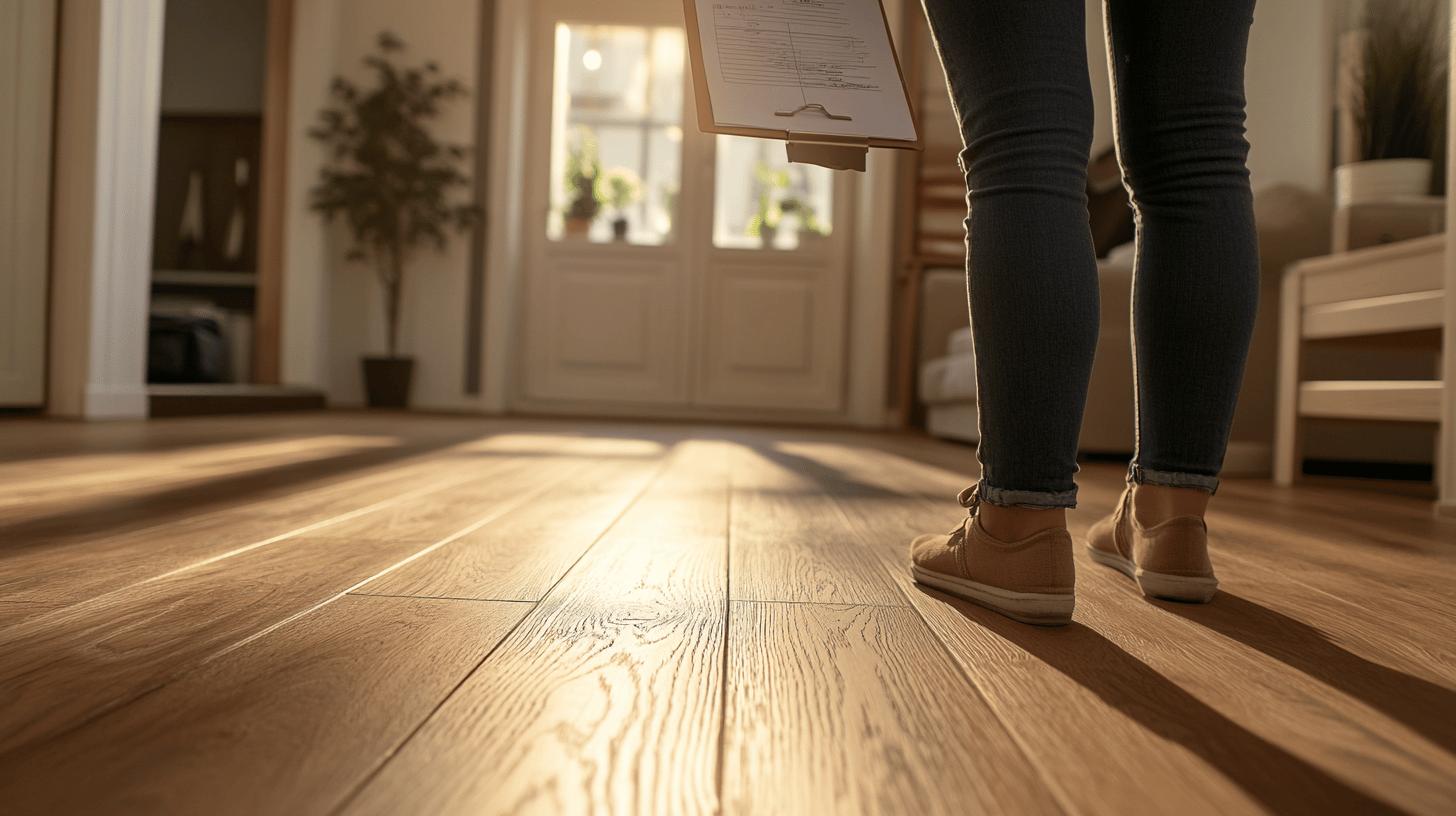
Once the floor sanding project is complete, a final check and walkthrough with your service provider are crucial. Why is this important? It ensures that all aspects of the job meet your expectations and allows for immediate resolution of any concerns. During this walkthrough, inspect the finish for uniformity and examine high-traffic areas to ensure they are adequately protected. This step confirms the work’s quality and provides an opportunity to discuss any additional care instructions or maintenance advice with the professionals. Establishing clear communication at this stage can prevent misunderstandings and ensure long-term satisfaction with your newly sanded floors.
- Clean floors with suitable products
- Schedule regular inspections for wear and tear
- Consider using rugs to protect high-traffic areas
Scheduling regular maintenance is essential for the longevity and appearance of your floors post-sanding. Regular inspections help identify signs of wear and tear early, allowing for prompt intervention before minor issues become significant problems. Implementing a routine cleaning regimen using appropriate products maintains the floor’s finish and enhances its durability. Additionally, placing rugs in high-traffic areas reduces direct impact and minimises wear, preserving the floor’s pristine condition. By establishing a consistent maintenance schedule, homeowners can enjoy the beauty and functionality of their floors for years to come, protecting their investment and ensuring a lasting impact.
Final Words
Preparing your home before floor sanding involves meticulous steps to ensure a smooth process. Clearing the room is crucial, requiring the removal of furniture and personal items. Implementing dust protection measures like plastic sheeting and addressing existing floor damage guarantees efficiency. Effective communication with service providers about expectations and timelines further aids the project. Ensuring safety by managing obstructions is essential for a seamless experience. Lastly, planning post-sanding cleaning and maintenance will ensure the longevity of your floors. Following these guidelines on how to prepare your home before a professional floor sanding service sets the stage for achieving pristine, beautifully restored floors.
FAQ
How do you prepare your house for floor sanding?
Preparing a house for floor sanding involves clearing all furniture, rugs, and personal items, ensuring unobstructed access to the floors.
How do you prep a house for floor refinishing?
To prep for floor refinishing, remove all furniture, rugs, and personal items, then protect adjacent areas from dust.
How do you prepare a room for sanding?
Remove furniture, personal items, and fragile decorations to prepare a room for sanding. This will enable an open work area.
Can I sleep in my house after refinishing hardwood floors?
Sleeping in your house after refinishing is possible; ensure good ventilation to disperse any remaining fumes.


