Imagine capturing the perfect shot, only to find your hardwood floor’s orange hue distorts the model’s skin tones indiscriminately. Choosing the right flooring for your photography studio isn’t just about aesthetics; it can significantly affect the quality of your photographs. From the neutrality of white flooring to the realistic textures provided by reflective mats, each choice influences your final images. This article delves into selecting the ideal flooring material for photography studios, exploring different options, their photographic impact, and expert solutions provided by Ryan’s Restoration. Discover how to create the perfect backdrop, propelling your photography to new heights.
Choosing the Right Flooring Material for Photography Studios
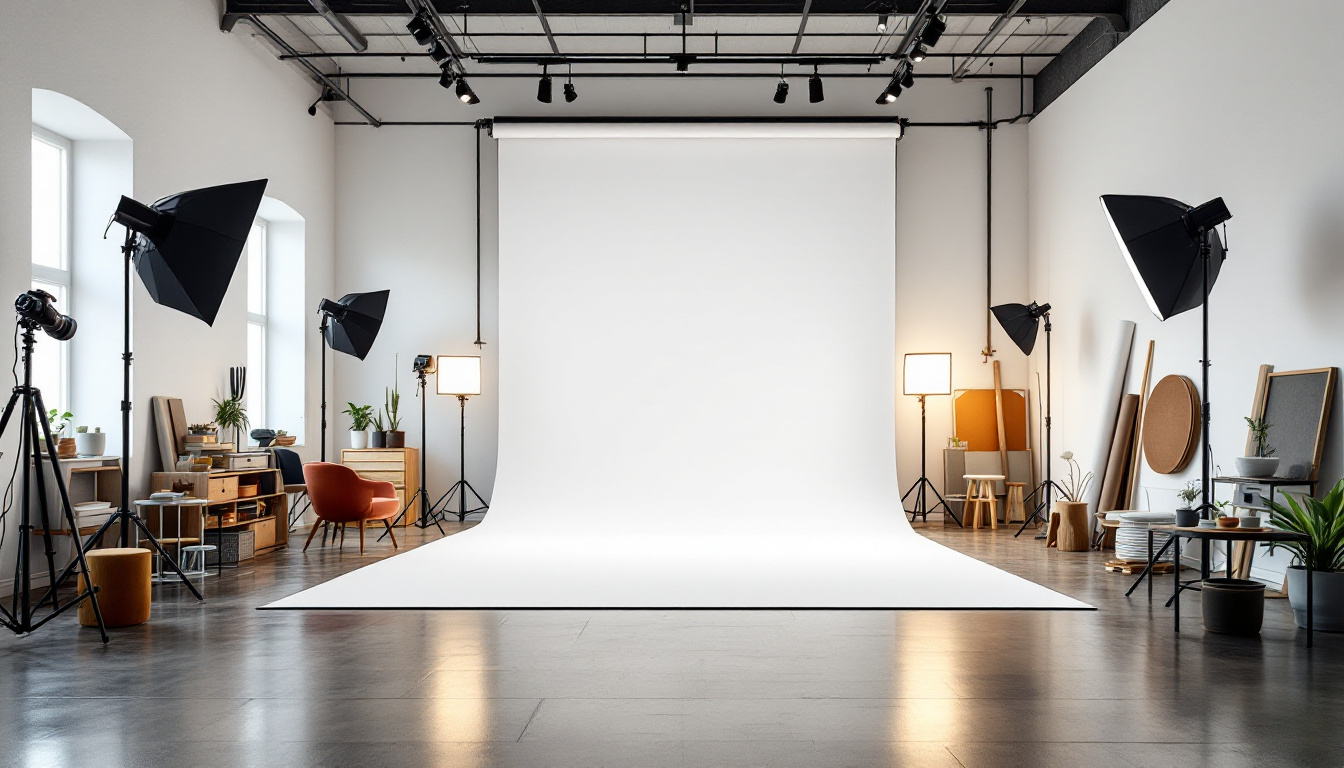
Selecting the appropriate flooring material is crucial in photography studios, as it directly impacts the quality and aesthetic of the photographs. Different materials can either enhance or detract from the final image, making it essential to choose wisely. Wood floors with an orange hue might not be ideal for studios aiming for accurate skin tones, as they can cast a warm tint in photographs. Conversely, cool concrete floors are favoured for their neutrality, providing a more accurate representation of colours and tones. White flooring can offer a perfect neutral backdrop, aiding photographers in achieving precise colour balance and representation.
The following are five flooring materials commonly considered for photography studios:
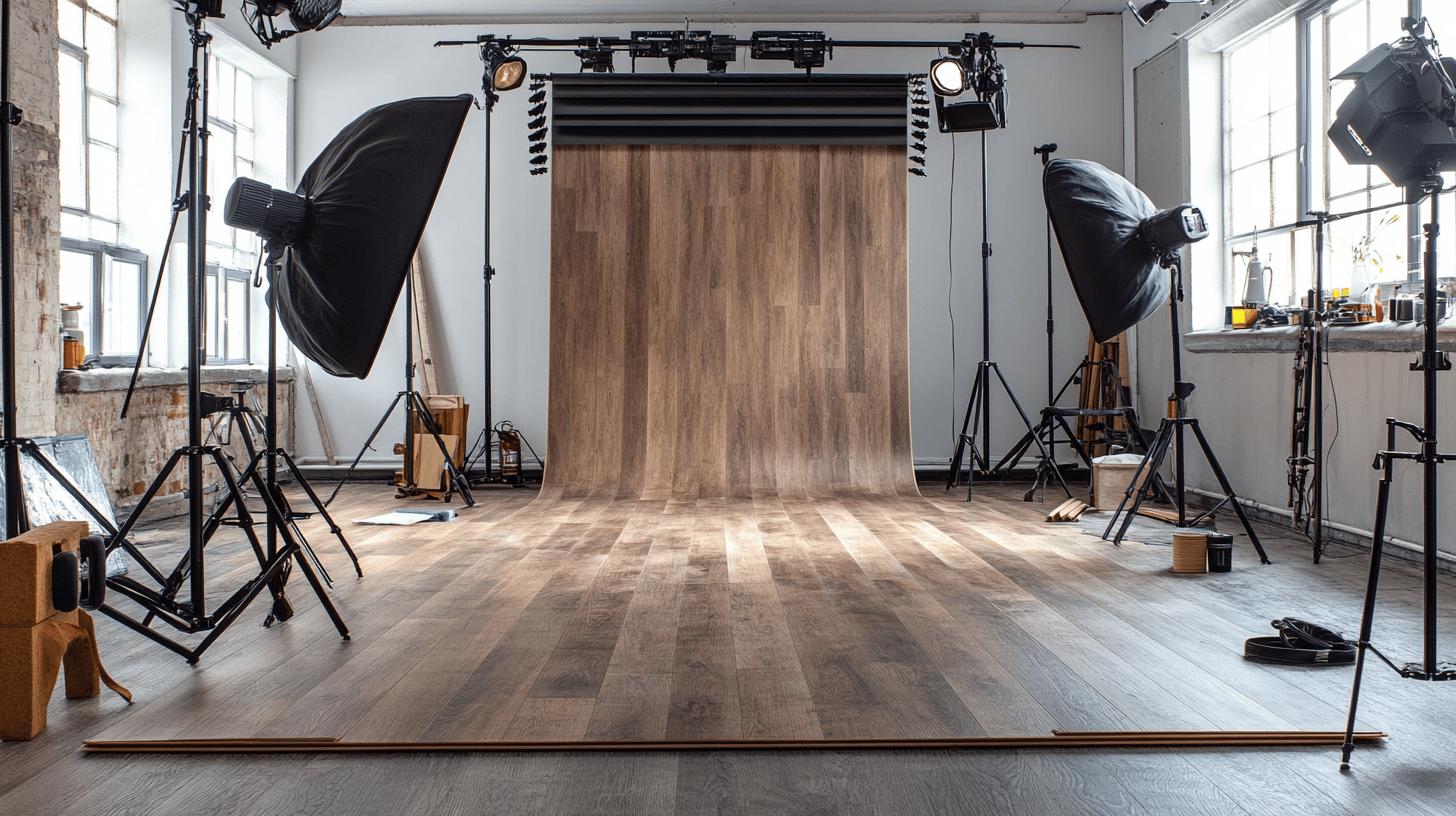
- Hardwood
- Pros: Offers a timeless, classic look; durable and long-lasting.
- Cons: Orange hues can distort colours and may require maintenance to prevent scratches.
- Concrete
- Pros: Neutral colour tones; cost-effective and durable.
- Cons: Can be cold and hard underfoot; may require sealing to prevent staining.
- White Vinyl
- Pros: Provides a clean, neutral backdrop; easy to clean and maintain.
- Cons: Can show dirt and wear quickly; may require frequent replacement.
- Laminate
- Pros: Affordable with a variety of finishes; easy installation.
- Cons: Less durable than hardwood; not as visually authentic.
- Carpet Tiles
- Pros: Comfortable underfoot; can add warmth to the studio.
- Cons: Can affect lighting and colour tones; requires regular cleaning.
Ryan’s Restoration is renowned for delivering high-quality flooring solutions tailored to the specific needs of photography studios, ensuring both functionality and aesthetic appeal.
Aesthetic Considerations for Perfect Backdrops
Aesthetics play a pivotal role in photography studio settings, as they can significantly influence the mood and tone of the images captured. Choosing the right flooring not only enhances the visual appeal but also complements the overall design and functionality of the studio. The perfect backdrop is achieved when the flooring seamlessly integrates with the studio’s theme and lighting.
Textures and colours are integral to creating visually appealing backdrops. They can either enhance or detract from the overall aesthetic. For instance, textured floor surfaces can add depth and interest to a photograph, while the wrong colour can clash with the subject or backdrop, leading to an undesirable outcome.
Here are three innovative floor designs that can complement backdrops:
- Photography Floor Mats
- Mimic various textures and materials, such as hardwood, provide versatility and adaptability to different themes.
- Reflective Mats
- Enhance depth and ambient lighting, creating a more dynamic and visually engaging atmosphere without the need for polished floors.
- Interlocking Tiles
- Offer customisation with various patterns and colours, allowing easy adjustments to suit different aesthetic requirements.
Reflective mats, in particular, are a popular choice for adding artistic effects, as they can transform any space into a striking visual stage, adding layers and dimension to the photographs without requiring extensive structural changes.
Practical Tips for Installing Studio Floors
Proper planning is essential when installing flooring in a photography studio, as it directly affects the studio’s functionality and the quality of the photographs. By considering both personal and client needs during the design phase, one can create a space that is both practical and visually appealing. Below is a step-by-step guide to ensure a successful flooring installation:
Assess the Space Requirements
Measure the studio area accurately to determine the amount of flooring material needed. Consider factors such as lighting and acoustics, which can influence the choice of flooring material.
Select the Appropriate Material
Choose a flooring material that complements the studio’s aesthetic and meets practical needs. Consider durability, maintenance, and how the material interacts with lighting and photography equipment.
Prepare the Subfloor
Ensure the subfloor is clean, dry, and level before installation to prevent future issues. Address any imperfections or moisture problems to extend the life of the flooring.
Install the Flooring Material
Follow the manufacturer’s instructions for optimal results. Use the appropriate tools and techniques for the selected material, whether it involves nailing, glueing, or floating the floorboards.
Finish and Seal the Floor
Apply the necessary finishes or sealants to protect the floor and enhance its appearance. This step is crucial for maintaining the material’s integrity and ensuring it withstands the rigours of a busy studio environment.
Common Installation Mistakes to Avoid
Overlooking the importance of a level subfloor is a common mistake. An uneven surface can lead to premature wear and tear and may cause the flooring to shift or warp over time. Always ensure that the subfloor is adequately prepped and levelled before proceeding with the installation of any flooring material.
Another frequent misstep is neglecting to acclimate the flooring material to the studio environment. Failing to do so can result in expansion or contraction of the material, leading to gaps or buckling. Allow the flooring to adjust to the studio’s temperature and humidity levels for at least 48 hours prior to installation.
Consulting with experts such as Ryan’s Restoration can provide invaluable insights and professional advice. Their expertise in flooring solutions ensures a tailored approach to meet the unique needs of photography studios, guaranteeing both aesthetic appeal and functionality.
Maintenance and Longevity of Photography Studio Floors
Regular maintenance is crucial for preserving the aesthetic appeal and functionality of photography studio floors. Proper care not only ensures that the floors remain visually appealing but also extends their lifespan, making them a wise investment for studio owners. Below are four maintenance tips to keep your studio floors in top condition:
Regular Cleaning Routine
Use a dry mop or warm water for cleaning transparent reflective floor mats. This routine helps remove dust and dirt without damaging the floor surface.
Preventive Measures
Place mats at entry points to reduce the amount of debris tracked onto the floor. This practice minimises scratches and wear.
Protective Treatments
Apply sealants or protective coatings to hardwood and concrete floors. These treatments prevent moisture penetration and enhance durability.
Immediate Spill Management
Address spills promptly to prevent staining and moisture damage. Use a soft cloth to blot liquids and avoid harsh chemicals that may harm the floor’s finish. Investing in high-quality flooring and adhering to a diligent maintenance schedule can significantly enhance the longevity of studio floors. Well-maintained floors not only retain their aesthetic appeal but also provide a stable and safe environment for photography sessions. Ryan’s Restoration is renowned for its expertise in maintaining and servicing photography studio floors, offering tailored solutions that cater to the unique needs of each studio, ensuring long-lasting and visually stunning results.
Budget-Friendly Flooring Options for Studios
Budget planning is a critical component in designing a photography studio.
Selecting cost-effective flooring options enables studio owners to maintain quality without overspending, ensuring a functional and aesthetically pleasing space. The right flooring can make a substantial difference in the studio environment, enhancing both the visual and practical aspects of photography.
| Flooring Option | Cost | Benefits |
|---|---|---|
| Vinyl Planks | £10-£20 per square metre | Durable, easy to install, and moisture-resistant |
| Laminate Flooring | £5-£15 per square metre | Affordable, offers a variety of finishes, and simple maintenance |
| Cork Flooring | £15-£25 per square metre | Eco-friendly, comfortable underfoot, and provides good insulation |
Ryan’s Restoration is an expert in providing quality flooring solutions that do not compromise on aesthetics or durability.
They specialise in cost-effective flooring installations, ensuring that studio owners can achieve the desired look and functionality within their budget constraints.
Their tailored solutions cater to various studio needs, blending affordability with excellence.
Innovative Trends in Photography Studio Flooring
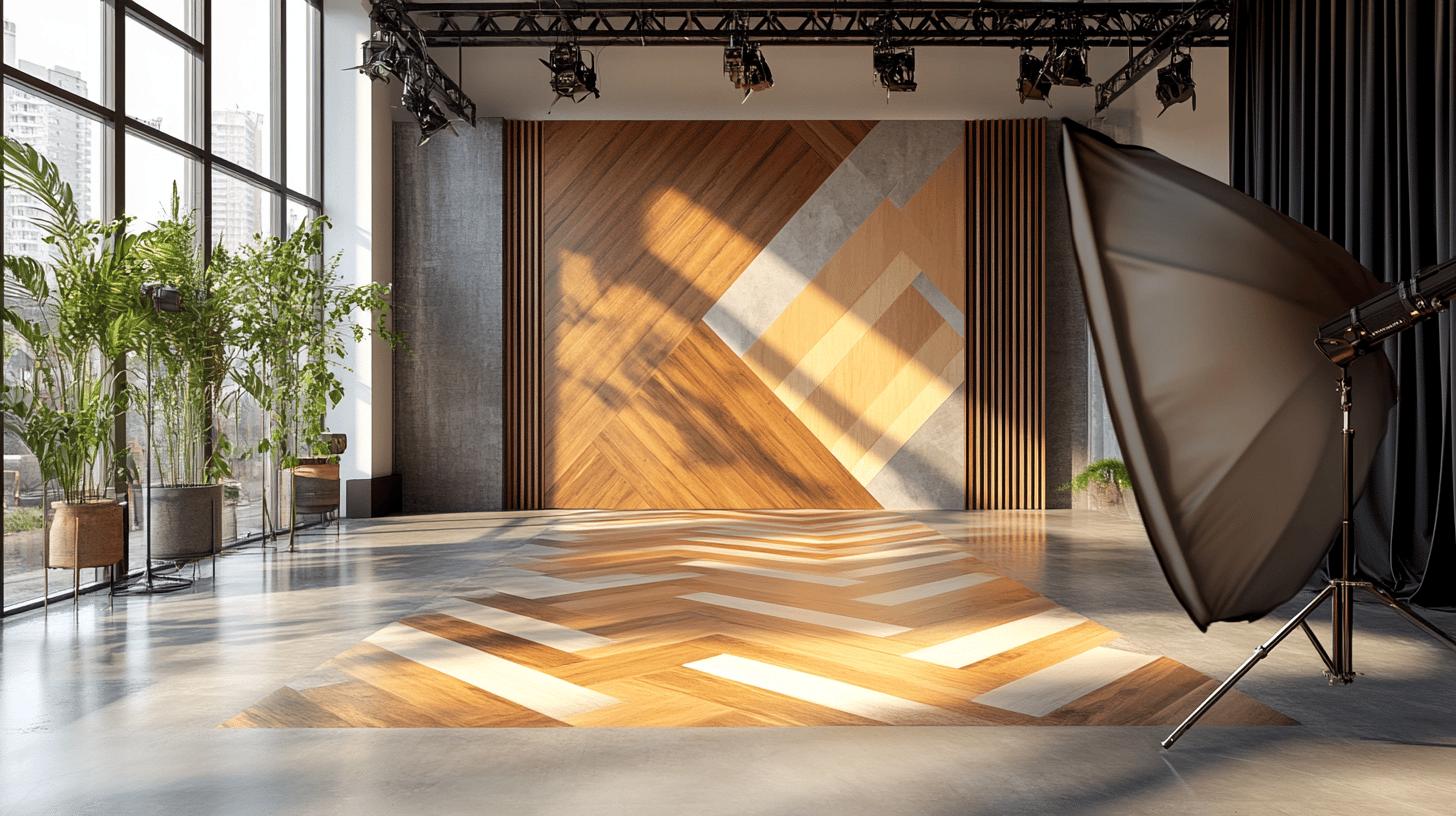
Innovative flooring trends are reshaping photography studios, offering unique visual impacts that enhance both the aesthetic and functional aspects of studio settings. As photographers increasingly seek to create distinctive and memorable images, the choice of flooring becomes a crucial element in achieving a cohesive and impactful backdrop. One current trend in studio flooring is the use of multi-textured surfaces. These surfaces add depth and dimension to photographs, enabling photographers to create more dynamic compositions. Multi-textured floors can mimic various materials, such as stone or distressed wood, providing a versatile base that complements a wide range of photographic styles and themes.
Another notable trend is the integration of sustainable materials in studio flooring. As environmental consciousness grows, photographers are opting for eco-friendly options like bamboo and reclaimed wood. These materials not only reduce environmental impact but also offer unique textures and tones that can enhance the visual appeal of the studio setting.
Ryan’s Restoration is at the forefront of these trends, offering cutting-edge flooring solutions tailored to the specific needs of photography studios. Their expertise ensures that studio owners can access the latest in innovative floor designs, providing a foundation that is both aesthetically pleasing and functionally effective.
Enhancing Photo Quality with Proper Floor Lighting
Lighting is a cornerstone of effective photography, and its integration with studio floors can significantly enhance image quality.
How does lighting impact photo quality? Lighting affects the exposure, mood, and detail in photographs, determining how subjects are perceived. Proper lighting integration with flooring ensures uniform light distribution, reducing shadows and highlighting textures.
Flooring and lighting synergy create an environment where the floor acts as a reflector, bouncing light back onto subjects, thus enhancing the overall aesthetic. By choosing the right flooring material, such as reflective surfaces or lighter hues, studios can optimise the interaction between floor and light to achieve desirable photographic results.
Ryan’s Restoration excels in marrying flooring and lighting solutions tailored for photography studios. Their expertise ensures that flooring choices not only complement the lighting setup but also enhance the visual depth and clarity of photos. Through strategic planning and innovative design, Ryan’s Restoration provides studio environments that maximise lighting potential, delivering superior photographic outcomes.
Final Words
Choosing the right flooring material for photography studios is crucial to achieving the perfect backdrop. From considering aesthetics and practical tips for installation to maintenance and budget-friendly options, each aspect plays a role in enhancing the studio environment. Modern trends, coupled with appropriate floor lighting, further improve photo quality and consistency.
Ryan’s Restoration stands out as a trusted expert, providing innovative and cost-effective solutions. With their guidance, photographers can ensure their studio floors act as an integral part of setting the stage for exceptional photography.
FAQ
Q: What are the best materials for photography backdrops?
Photography backdrops are best made from cotton, polyester, canvas, velour, and vinyl, as they offer durability, flexibility, and aesthetic appeal for various setups and styles in both professional and amateur photography.
Q: Which backdrop material is best for photography?
The best backdrop material for photography is often vinyl due to its durability, ease of cleaning, and ability to provide a smooth, wrinkle-free surface that enhances the clarity and quality of images.
Q: What type of backdrop stand is recommended for photography?
Sturdy, adjustable backdrop stands made of aluminium or steel are recommended for photography for easy setup, stability, and versatility in supporting diverse backdrop materials and sizes.
Q: What is the best colour backdrop for photography?
A seamless, neutral colour backdrop, like grey or white, is best for photography as it provides a clean, versatile setting that can be easily modified with lighting to match any style or requirement.
Q: What are the professional backdrops for photography studios?
Professional backdrops for photography studios typically include seamless paper, muslin, and canvas due to their high quality, reusability, and ability to adapt to various lighting and creative styles.
Q: How do different flooring materials affect photography quality?
Wood floors with warm hues can distort colours, while concrete offers accurate tones. White flooring provides a neutral base advantageous for true colour rendition, enhancing overall photography quality.
Q: How do you choose budget-friendly flooring options for a photography studio?
Consider materials like laminate, vinyl, or polished concrete for budget-friendly studio flooring. These options offer cost savings while maintaining quality, durability, and visual appeal.


