Could the secret to stunning wood floors lie in how well you manage wooden floor repairs? Wood floors, renowned for their timeless beauty and durability, often suffer from a variety of issues, including moisture damage and surface wear. But fret not—fixing these imperfections is not just possible; it’s an opportunity to restore and enhance the elegance of your home. In this article, discover how understanding the common causes of wood floor damage and adopting the right repair techniques can transform your living space. Address the problem with precision, and you’ll be rewarded with breathtaking results.
Common Causes of Damage to Wood Floors
Wood floor damage is predominantly caused by moisture fluctuations, resulting in issues such as warping and cupping. These problems occur when wood absorbs excess moisture, causing it to expand, whereas a lack of moisture leads to shrinking. Both scenarios can result in uneven surfaces, affecting the structural integrity and aesthetics of the floor. It is crucial to maintain stable humidity levels to prevent these moisture-related issues.
Everyday wear and tear also significantly contribute to wood floor damage. High foot traffic, especially in commercial spaces, can lead to scratches and surface wear. Additionally, the movement of heavy furniture can cause dents and scuffs on the wood. Even domestic environments are not immune, with pets’ claws and children’s toys often leaving marks. Regular maintenance, such as using protective pads on furniture, can mitigate these issues.
Common damage causes include:
- Moisture fluctuations: Leading to warping and cupping.
- High foot traffic: Resulting in surface wear and scratches.
- Furniture movement: Causing dents and scuffs.
- Pet claws: Leaving scratch marks.
- Accidental spills: Leading to potential water damage.
The impact of these damages goes beyond aesthetics, as they can compromise the floor’s durability and lifespan. If left unaddressed, superficial damage can penetrate deeper layers, necessitating more extensive repairs. Therefore, understanding and identifying these common causes is essential for effective damage prevention and maintenance.
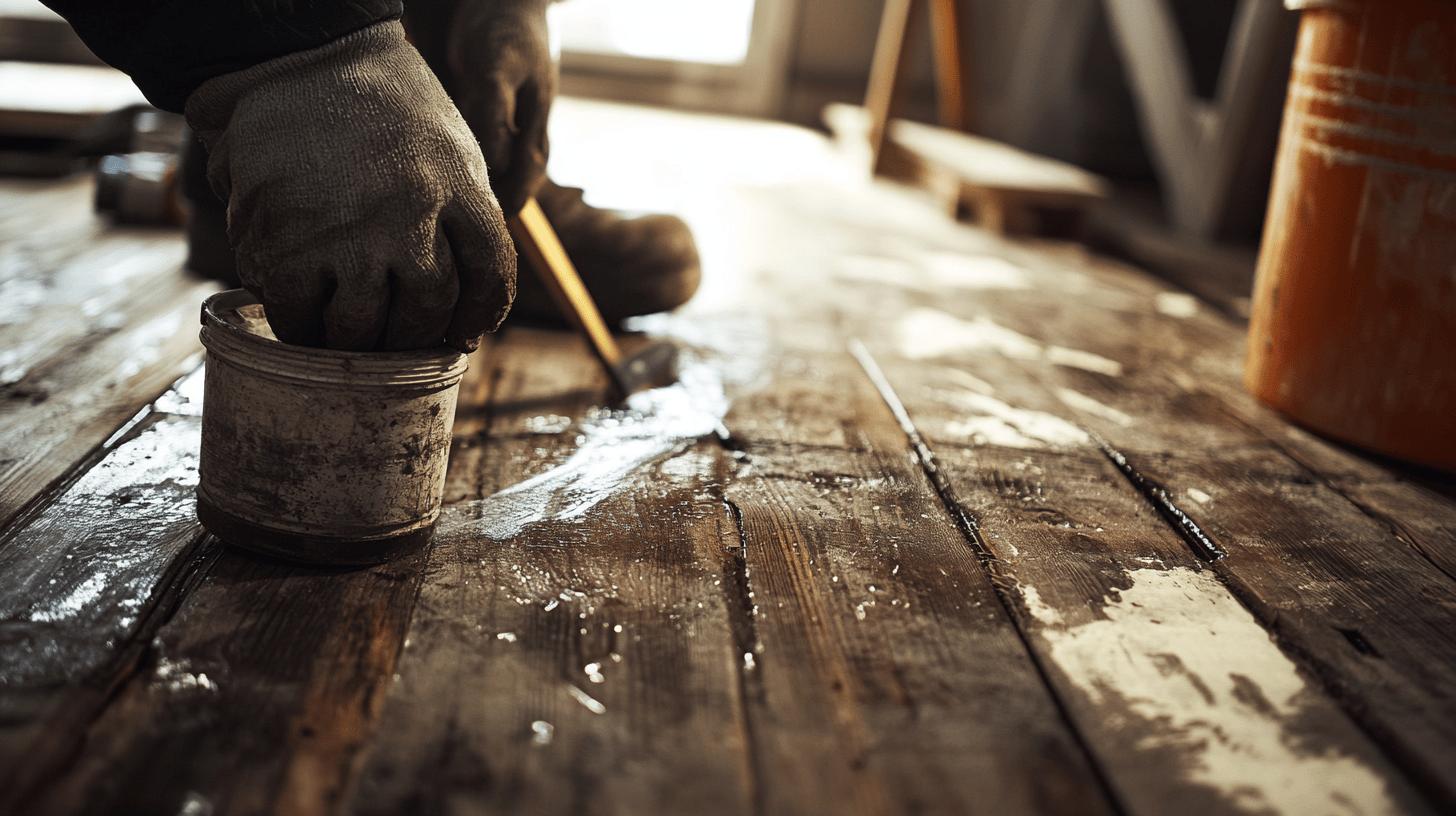
DIY Solutions for Repairing Scratches and Dents
When it comes to repairing scratches and dents on wood floors, DIY solutions offer a practical and cost-effective approach. With the right tools and materials, homeowners can address minor damage without the need for professional intervention. Tackling these issues promptly not only restores the floor’s aesthetic appeal but also helps prevent further deterioration. Below are step-by-step guides for effectively managing common wood floor imperfections.
Repairing Scratches
Scratches on wood floors, whether minor or noticeable, can often be remedied with simple DIY methods. To repair surface scratches, consider using products like touch-up markers or blending pencils, which are readily available and easy to use.
- Clean the Area: Begin by cleaning the scratched area with a damp cloth to remove any dust and debris, ensuring that the scratch is clearly visible.
- Select the Right Colour: Choose a touch-up marker or blending pencil that closely matches the floor’s stain. It’s crucial to match the colour to maintain consistency in appearance.
- Apply the Marker or Pencil: Carefully apply the product along the scratch, following its direction. It’s advisable to start with a light application and build up the colour gradually.
- Blend the Colour: Use a clean, dry cloth to gently blend the applied product into the surrounding area, ensuring a seamless finish.
- Seal if Necessary: If the scratch is deep, consider applying a sealant to protect the area after the repair.
Fixing Dents
Dents in wood floors require a different approach, often involving wood fillers to restore the surface. This method is effective for dents that have not compromised the wood’s structural integrity.
- Clean the Dent: Wipe the dented area with a damp cloth to ensure it is free from any particles.
- Apply Wood Filler: Use a putty knife to apply wood filler directly into the dent. Ensure the filler is level with the floor surface.
- Allow to Dry: Let the filler dry completely as per the manufacturer’s instructions. This step is crucial to ensure a solid repair.
- Sand the Area: Once dried, lightly sand the area using fine-grit sandpaper to smooth out any excess filler, creating a flush surface.
- Finish the Repair: Finally, apply a matching stain or finish to blend the repaired area with the rest of the floor.
While DIY repairs can effectively manage minor scratches and dents, there are instances where professional help is necessary. For example, if the damage is extensive or involves structural issues like buckling or deep gouges, a professional repair service should be considered. Professionals not only bring expertise but also have access to specialised tools and materials that ensure a high-quality restoration. Deciding when to seek professional assistance depends on the severity of the damage and the homeowner’s comfort level with DIY repairs.
Professional Repair vs. DIY: Choosing the Right Approach
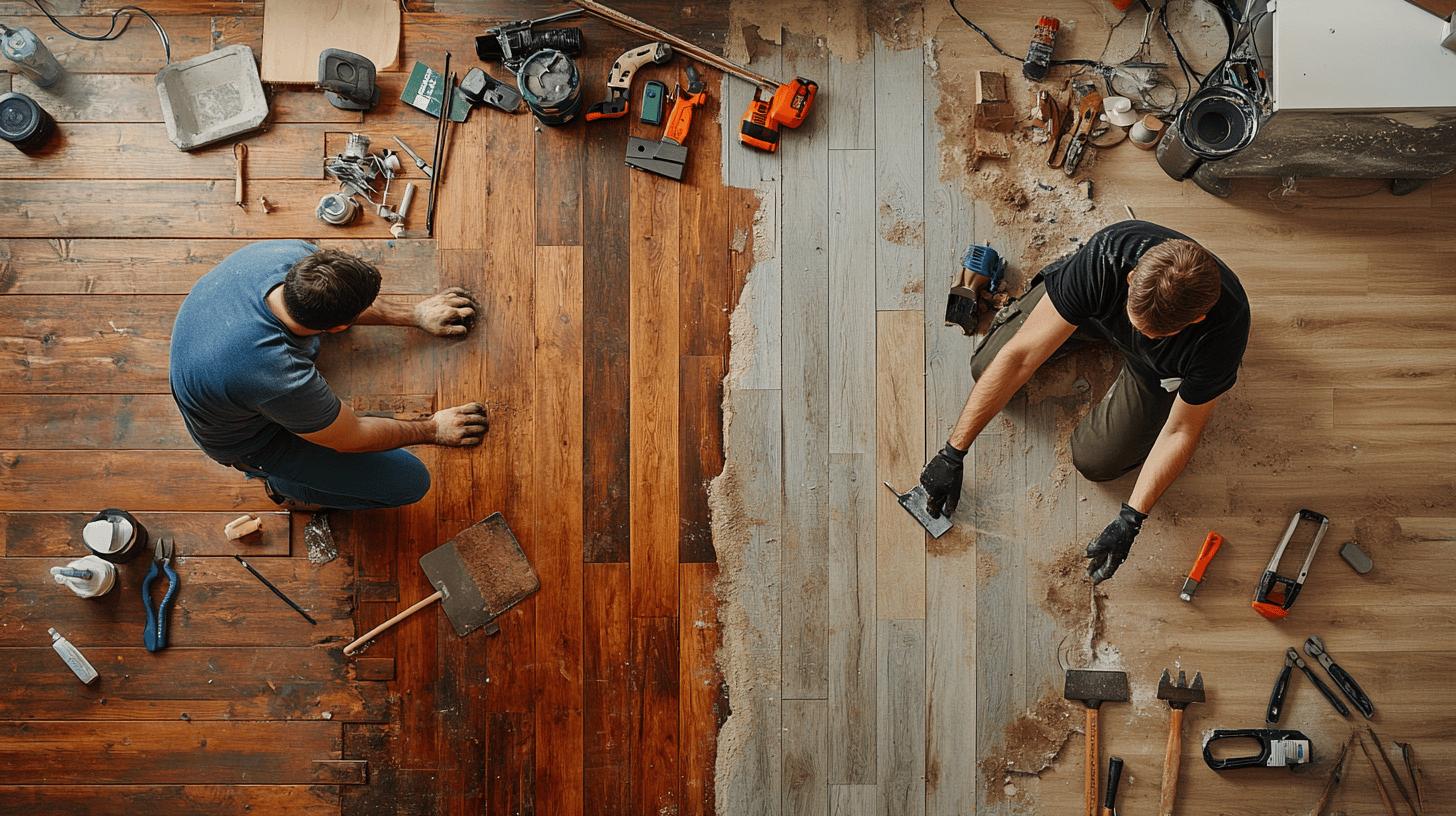
DIY floor repair methods are an appealing choice for many due to their cost-effectiveness and the satisfaction of tackling a project independently. These repairs are ideal for minor damages, such as surface scratches or small dents, where the right tools and materials are readily accessible. DIY enthusiasts enjoy the flexibility of working at their own pace, and the methods can often be learned from guides or tutorials. However, the limitations include the risk of inadequate repairs if the damage is underestimated or if the person lacks the necessary skills. Additionally, failing to match finishes or stains accurately can result in an uneven appearance.
In contrast, professional floor repair services, like those offered by Ryan’s Restoration, bring a wealth of expertise and specialised equipment to handle severe damage, such as buckling or deep scratches. Professionals ensure high-quality results by accurately diagnosing the problem and applying the most effective solutions. This approach is especially beneficial for complex issues that require precision and experience. While the cost of professional repairs may be higher than DIY options, the investment often translates into long-term durability and a flawless finish.
When considering repair cost estimation, it is vital to balance the immediate savings of DIY repairs against the potential need for future repairs if done incorrectly. For extensive or complicated damage, professional help is often more economical in the long run, as it reduces the need for repeated interventions. Evaluating the extent of damage and one’s comfort level with repairs can guide the decision between DIY and professional solutions.
Addressing Water Damage on Wood Floors
Water damage on wood floors demands immediate attention to prevent long-term structural issues and aesthetic degradation. When water infiltrates wood flooring, it can lead to warping, cupping, and unsightly discolouration. Quick response is essential to mitigate further damage and restore the floor’s original beauty. The initial phase involves removing excess moisture and stabilising humidity levels to avert additional harm.
Drying and Mitigation
Effective drying and mitigation techniques are pivotal in addressing water damage. Begin by removing any standing water using mops or a wet vacuum. Following this, fans and dehumidifiers will be deployed to enhance air circulation and expedite drying. It’s crucial to maintain a consistent airflow, particularly in the affected areas. For severe cases, consider professional-grade equipment to ensure thorough moisture removal. Monitoring humidity levels using a hygrometer can help keep the environment stable, reducing the risk of subsequent damage.
Sanding and Refinishing
Once the floor is adequately dried, sanding and refinishing are necessary to restore its appearance. Start by lightly sanding the damaged areas to remove any surface imperfections, such as discolouration or unevenness. Use fine-grit sandpaper to avoid causing further damage. After sanding, clean the floor thoroughly to eliminate dust and debris. Finally, apply a fresh finish or stain that matches the original colour of the floor. This not only enhances the aesthetic appeal but also adds a protective layer to resist future water exposure.
Preventative measures to avoid future water damage include:
- Monitor indoor humidity: Keep humidity levels between 30-50% to prevent moisture-related issues.
- Utilise area rugs: Place rugs in high-risk areas like kitchens and entryways to absorb spills.
- Install moisture barriers: Vapour barriers beneath the floor are used during installation to block moisture.
- Regular inspections: Check for leaks in plumbing and roofing to catch potential issues early.
- Prompt spill management: Clean up spills immediately to prevent water from seeping into the wood.
Implementing these strategies can help maintain the integrity and appearance of wood floors, reducing the likelihood of costly repairs in the future.
Preventive Maintenance for Long-Lasting Wood Floors
Regular maintenance is crucial for preserving the beauty and longevity of wood floors. By implementing a consistent care routine, homeowners can significantly reduce the risk of damage and costly repairs. Wood flooring is susceptible to wear from daily activities, moisture fluctuations, and physical impacts. Therefore, proactive measures are essential to maintain its structural integrity and aesthetic appeal. Routine maintenance not only extends the life of the wood floors but also enhances their appearance, ensuring they remain a stunning feature of any space.
Key maintenance tasks to consider include:
- Develop a cleaning schedule: Regular sweeping and vacuuming help remove dirt and debris that can scratch the floor’s surface.
- Use protective pads: Place pads under furniture legs to prevent scratches and dents when items are moved.
- Control indoor humidity: Maintain humidity levels between 30-50% to prevent warping and cupping.
- Place rugs strategically: Use rugs in high-traffic areas to reduce wear and tear.
- Avoid harsh chemicals: Use cleaners specifically designed for wood floors to prevent damage.
- Inspect regularly for damage: Early detection of scratches or dents can prevent more severe issues.
- Rotate furniture periodically: Changing the layout helps distribute wear evenly across the floor.
Implementing these maintenance practices is a wise investment in the longevity of your wood floors. By protecting against common sources of damage and maintaining optimal conditions, you can avoid expensive repairs and ensure your floors remain in excellent condition. Consistent care not only preserves the floors’ aesthetic value but also contributes to a healthier indoor environment.
Final Words
Repairing damaged wood floors requires understanding common causes such as moisture and everyday wear. DIY solutions like using wood fillers and touch-up markers provide practical fixes for minor scratches and dents. Yet, for severe damage, professional services like Ryan’s Restoration offer the expertise needed. Addressing water damage swiftly is crucial, as well as utilising drying and refinishing techniques. Preventive maintenance through regular cleaning and humidity control enhances the longevity of wood floors. By integrating these practices, homeowners can ensure their wood floors remain pristine, preventing costly repairs and enhancing home aesthetics and value.
FAQ
Q: Can damaged wood floors be repaired?
A: Damaged wood floors can usually be repaired. The method depends on the extent of the damage, whether it’s minor scratches and dents or more severe issues like warping and buckling.
Q: How can I repair my hardwood floors myself?
A: Hardwood floors can be repaired using DIY methods. For minor scratches, use touch-up markers. For dents, apply wood fillers with a putty knife, let it dry, and sand the area before finishing.
Q: Can you use wood filler for damaged hardwood floors?
A: Wood fillers are effective for repairing scratches and dents in hardwood floors. They restore the surface by filling imperfections, followed by sanding for a smooth finish.
Q: How do you fix a wood floor that is lifting?
A: For wood floors that are lifting, address moisture issues first. Dry the area, possibly using fans or a dehumidifier, then consider professional aid for refitting or replacing affected boards.
Q: How do you fix wooden floor gaps?
A: To fix gaps in wooden floors, use wood filler or rope caulk. Clean the gap thoroughly before application to ensure good adhesion. Sand and finish after the filler dries for a seamless look.
Q: What are the costs involved in wood floor repair?
A: Wood floor repair costs vary. DIY repairs for minor damage are cost-effective, while professional services for extensive damage are pricier, factoring in labour and material quality.
Q: What are the common products for wood floor repair?
A: Common wood floor repair products include wood fillers, touch-up markers for scratches, blending pencils, and sanding equipment. Consider professional-grade products for the best results.


