Are you about to tackle a DIY floor sanding project and wondering if you’ve got everything under control? While sanding your floors yourself might seem like a cost-effective solution, it can become a double-edged sword for beginners. From choosing the incorrect sandpaper grit to neglecting essential sanding techniques, these common DIY floor sanding mistakes can lead to uneven surfaces and unsatisfactory results. Understanding these errors and learning how to avoid them is crucial for achieving that flawless, professional finish you’re aiming for. Read on to discover the top pitfalls to sidestep and ensure your floor sanding project is a success.
Common DIY Floor Sanding Mistakes to Avoid
Recognising common beginner mistakes is crucial for anyone embarking on a DIY floor sanding project. Understanding these pitfalls can significantly enhance the chances of achieving a smooth and professional-looking finish. Many DIY enthusiasts underestimate the intricacies involved in floor sanding, often leading to unsatisfactory results. By identifying typical errors ahead of time, such as using the wrong grit sandpaper or applying improper sanding techniques, individuals can avoid unnecessary setbacks and enhance the quality of their work.
- Incorrect Grit Sandpaper: Choosing the wrong grit can lead to inefficient sanding and surface unevenness.
- Inadequate Sanding: Not sanding enough may leave old finishes or stains, impacting the final appearance.
- Improper Sanding Direction: Failing to sand diagonally can prevent the removal of deep scratches and unevenness.
- Inconsistent Edge Sanding: Sanding the edges improperly results in noticeable differences between floor areas.
- Neglecting Sandpaper Replacement: Not changing sandpaper regularly can lead to ineffective sanding.
The consequences of these DIY floor sanding mistakes can be significant. Using incorrect grit sandpaper or failing to sand adequately can result in an uneven finish, where old coatings or stains remain visible. Improper sanding direction and inconsistent edge sanding may lead to noticeable imperfections and a lack of uniformity across the floor. Neglecting to replace sandpaper can further exacerbate these issues, as worn-out sandpaper loses its abrasiveness, resulting in poor surface texture. Recognising and addressing these mistakes is essential to achieving a flawless finish and maximising the longevity of the wooden floor.
Importance of Proper Equipment and Technique
Selecting the right tools is vital for the success of any DIY floor sanding project. The choice of equipment can significantly impact the outcome, as using inappropriate tools often leads to unsatisfactory results. One common error is the misuse of a drum sander, which can cause severe damage if not handled correctly. A drum sander is essential for covering large areas efficiently, but it requires careful operation to avoid gouging the wood surface. Additionally, investing in high-quality sanding paper and edgers can make a noticeable difference in the project’s overall quality.
Choosing the Right Sander
Different sanders are suitable for various stages of floor sanding. A drum sander is preferred for initial sanding due to its power and ability to remove old finishes quickly. However, for less intensive work or smaller areas, an orbital sander offers more control and is less likely to cause damage. Edging sanders are specifically designed for reaching areas that are hard to access, such as room corners and along skirting boards. Understanding the appropriate use of these tools is crucial for achieving a professional finish.
- Pressure Control: Apply consistent, moderate pressure to avoid uneven sanding or gouging the wood.
- Sanding Patterns: Utilise a crisscross or diagonal pattern to ensure uniform removal of the surface layer.
- Sandpaper Progression: Start with a coarser grit and gradually move to finer grits for a smooth finish.
- Feathering Edges: Blend sanded sections into unsanded areas to prevent noticeable transitions.
Reading equipment manuals and seeking professional guidance can greatly enhance the sanding process. Manuals often contain crucial information regarding the operation and maintenance of tools, which can prevent common mistakes. Additionally, consulting with experienced professionals can provide valuable insights into proper techniques and tool selection. By combining the right equipment with the correct technique, DIY enthusiasts can achieve a high-quality finish that enhances the beauty and longevity of their wooden floors.
Effective Dust Management Strategies
Effective dust management during sanding is crucial for achieving a clean finish and maintaining a safe working environment. Wood dust can easily become embedded in the floor finish if not properly managed, potentially ruining the final appearance. To prevent this, it is essential to implement containment measures that minimise dust spread. Sealing off adjacent areas with plastic sheeting and using a vacuum equipped with a HEPA filter are fundamental steps. These strategies not only keep the workspace clean but also protect other areas of the home from dust infiltration. Proper dust management is particularly important in ensuring that the finish adheres correctly and looks professional.
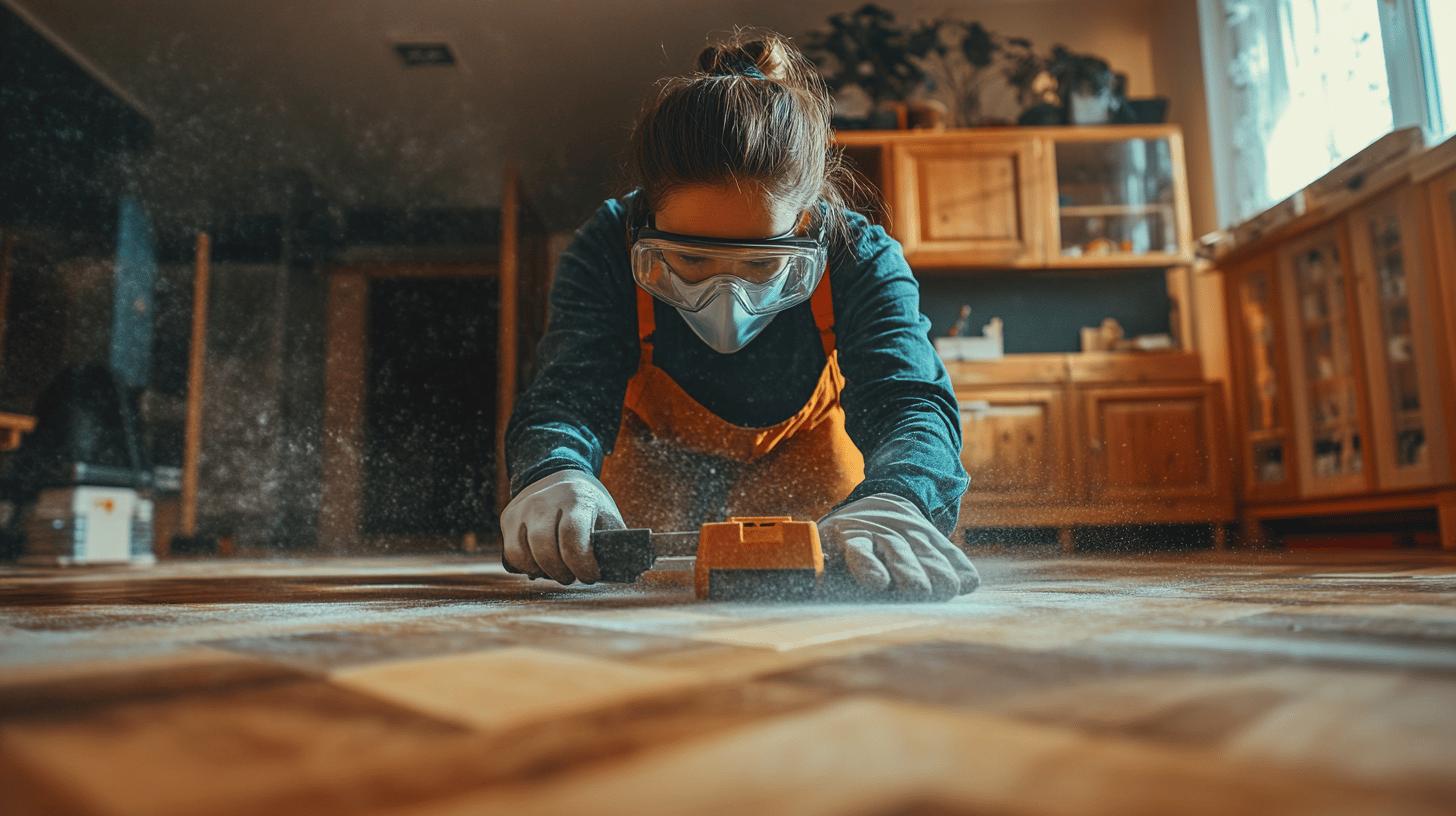
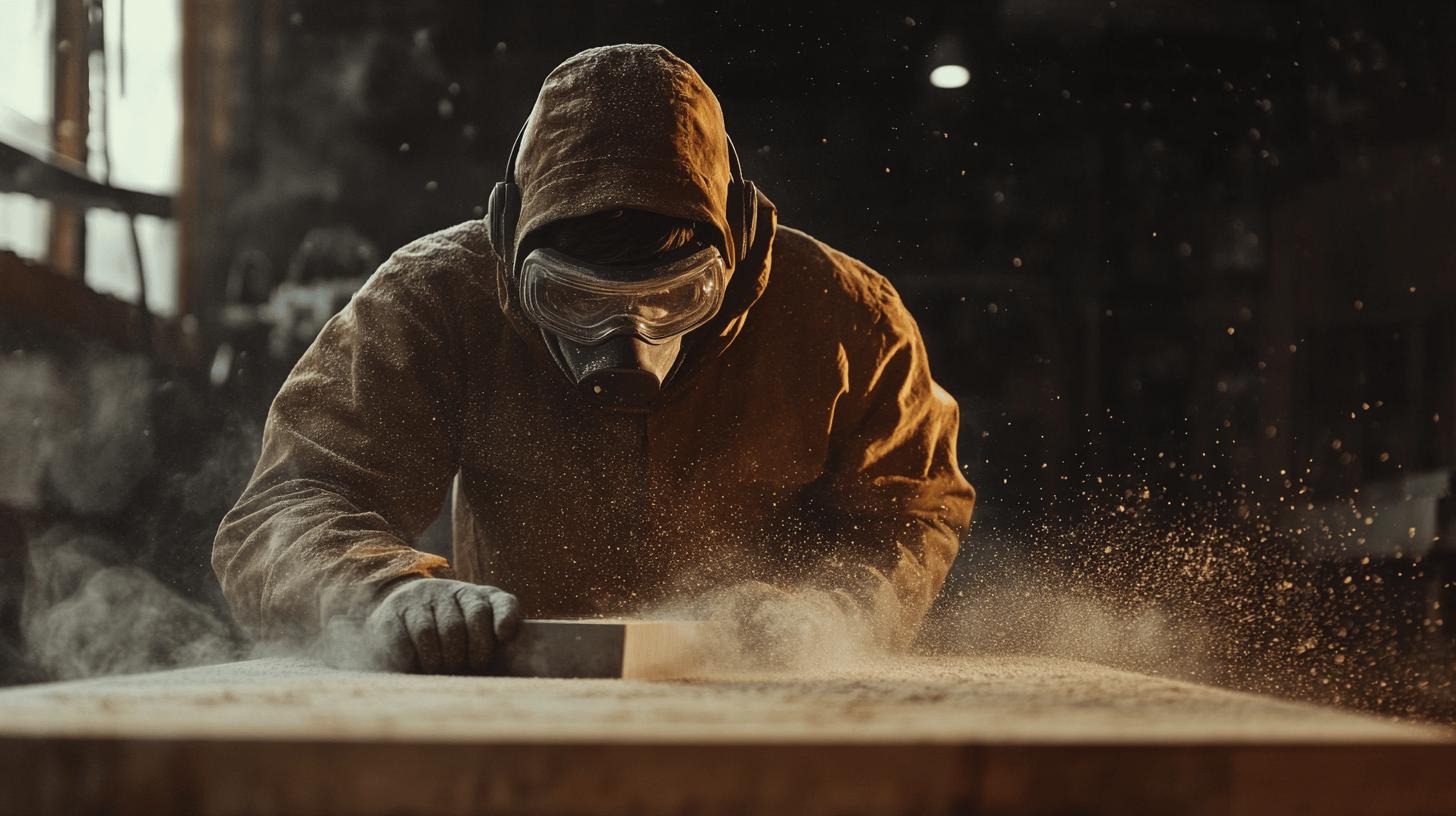
Health precautions are equally important when managing dust during DIY floor sanding projects. Wood dust can pose serious respiratory risks if inhaled, making the use of protective gear non-negotiable. Wearing masks specifically designed to filter fine particles, such as N95 respirators, is essential to protect lung health. Additionally, goggles and ear protection should be used to safeguard against eye irritation and noise exposure. By taking these precautions, individuals can protect themselves from potential health hazards associated with wood dust, ensuring a safer and more effective sanding process.
Ensuring a Smooth Finish with Proper Sanding and Finishing Techniques
Achieving a smooth finish is a critical aspect of any floor sanding project, as it determines both the appearance and longevity of the floor. The finishing stage requires careful attention to detail, as rushing or improper application can lead to uneven results. It’s essential to follow the manufacturer’s instructions, especially regarding drying times between coats, to ensure that the finish sets correctly. By adhering to recommended procedures, DIY enthusiasts can enhance the visual appeal and durability of their wooden floors.
Sanding Patterns and Edge Feathering
For a uniform look, sanding patterns and edge feathering play crucial roles. Applying consistent pressure and working in a crisscross or diagonal pattern ensures even removal of the surface layer, preventing visible imperfections. Feathering involves gradually blending sanded areas into unsanded sections, particularly around the edges, to avoid noticeable transitions. This technique helps in achieving a seamless finish across the entire floor, including difficult-to-reach areas like corners and edges.
- Clean the Surface: Thoroughly remove all dust and debris with a tack cloth before applying any finish.
- Follow Drying Times: Adhere to the manufacturer’s recommended drying times between coats to prevent tackiness and uneven drying.
- Even Application: Use a high-quality brush or roller to apply the finish in long, even strokes, following the wood grain direction.
- Inspect Between Coats: After each coat dries, inspect the surface for imperfections and lightly sand any inconsistencies before applying the next layer.
- Final Coat Care: Allow the final coat to cure for the recommended period before placing any furniture or walking on the floor to avoid damage.
Common varnishing pitfalls can undermine the entire sanding effort if not properly addressed. One major mistake is neglecting the drying times, which can lead to a tacky or uneven finish. Additionally, applying too thick a coat can result in bubbles or drips, detracting from the floor’s appearance. To avoid these issues, it’s important to work methodically, applying thin, even coats and ensuring each layer is fully dry before proceeding. By being mindful of these potential pitfalls, individuals can achieve a professional-grade finish that showcases the natural beauty of their wooden floors.
When to Seek Professional Help
DIY floor sanding projects come with a unique set of challenges and risks that can lead to unsatisfactory results if not properly managed. One of the main challenges is the risk of uneven sanding, which often occurs when the wrong equipment is used or when techniques are improperly applied. This can result in noticeable divots or scratches that are difficult to correct without professional intervention. Additionally, the process of edge sanding requires precision to ensure a uniform appearance, which can be particularly challenging for beginners. If you’re unsure whether you’re equipped to handle these tasks, it may be time to consider professional assistance.
Hiring professional sanding services offers significant advantages, particularly when dealing with complex issues or extensive projects. Professionals possess superior equipment, such as industrial-grade sanders and precise edging tools, which are not typically available to DIY enthusiasts. Their expertise allows them to achieve a smoother finish and rectify common mistakes like improper edging or uneven surfaces. Furthermore, professionals can offer valuable advice on the best finishes and techniques to enhance the floor’s durability and appearance. For those concerned about potential errors and their associated costs, turning to experts can provide peace of mind and ensure high-quality results.
Ryan’s Restoration is a reputable choice for those seeking expert assistance in floor sanding projects. With a proven track record of delivering exceptional results, they specialise in addressing the complexities that often arise in such endeavours. Their team is equipped to handle everything from initial sanding to the final finish, ensuring that all stages of the process meet high standards of quality. For anyone struggling with their DIY project or looking to avoid costly mistakes, Ryan’s Restoration can offer the expertise and service needed to achieve a flawless floor finish.
Final Words
Navigating through DIY floor sanding projects requires careful attention to detail. By understanding common mistakes, such as using incorrect grit sandpaper and improper sanding techniques, one can avoid uneven surfaces. Equally important is the use of proper equipment and techniques, ensuring effective dust management, and following precise finishing procedures.
These elements combined lead to a successful project outcome. For those times when the task feels overwhelming, engaging professional help like Ryan’s Restoration can provide peace of mind. Avoiding top mistakes ensures not only a smooth and beautiful finish but also enhances the value of your home.
FAQ
What should you not do when sanding floors?
Avoid using incorrect grit sandpaper, applying excessive pressure, and failing to follow a consistent sanding pattern. These actions can lead to uneven surfaces and reduced finish quality.
What is the most common mistake that users make when sanding?
The most common mistake is using the wrong grit sandpaper, which often results in uneven sanding and poor finish outcomes. Consistent pressure and proper technique are crucial for success.
What are some things that could go wrong with sanding?
Potential issues include uneven surfaces due to improper sanding techniques, damage from excessive pressure, and an unsatisfactory finish from skipping vital preparation steps.
What to do before sanding floors?
Before sanding, ensure all furniture is removed, repair any significant floor damage, and thoroughly clean the area. Proper preparation leads to a more even sanding result.


