When it comes to achieving flawless wooden floors, the choice of sanding grit isn’t just a trivial detail—it’s a critical decision that can spell the difference between mediocrity and mastery. Just as a painter selects the right brush for each stroke, selecting the proper grit ensures an even surface ready for finishing. But how does one choose wisely among the myriad options? In this guide, Ryan’s Restoration dives deep into understanding sanding grit and its pivotal role in refinishing wood floors, equipping you with the knowledge to make informed decisions for perfect floors.
What’s the Best Sanding Grit for Perfect Floors?
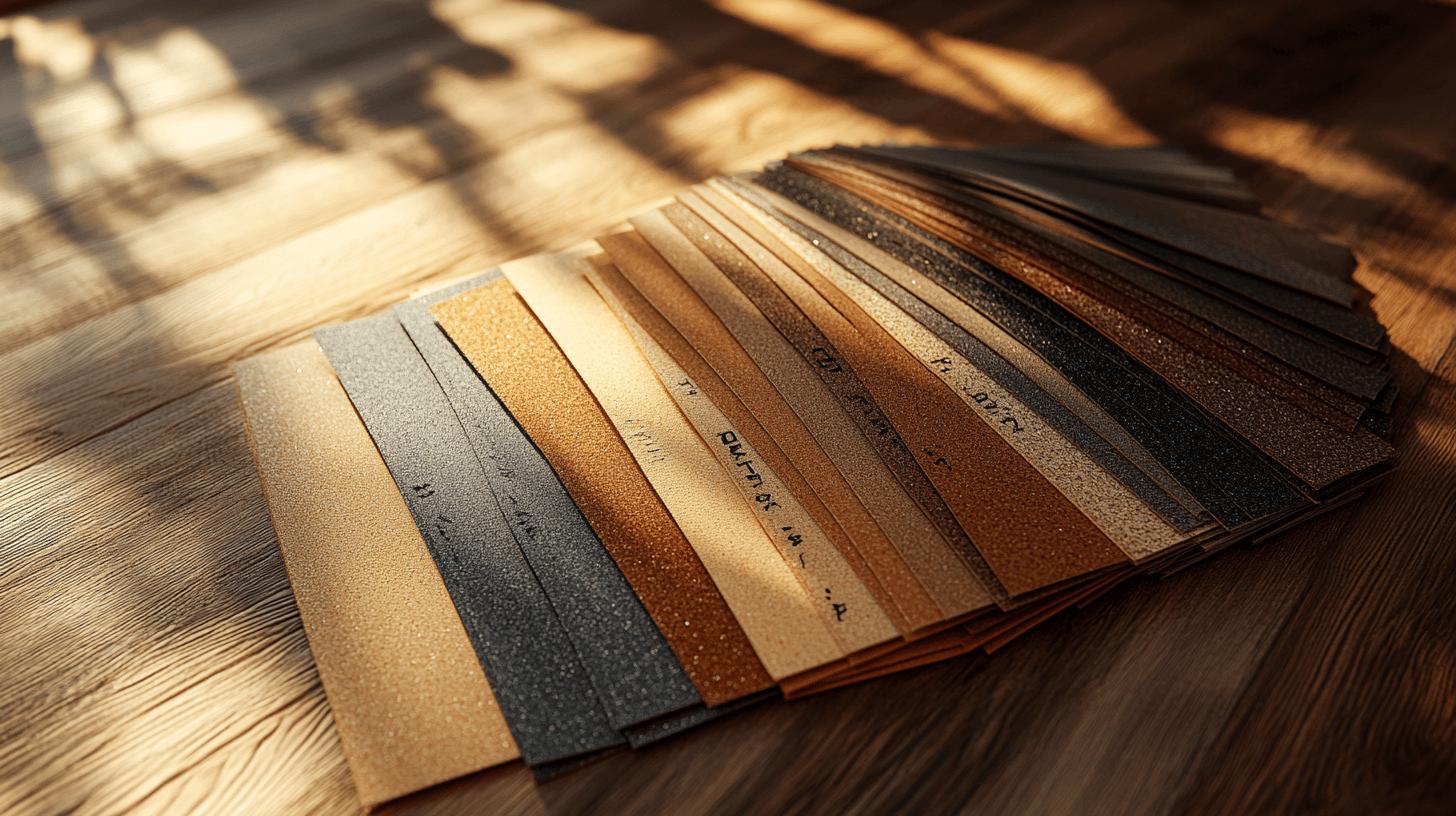
Sanding grit refers to the abrasive quality of sandpaper used in the wood floor refinishing process. Understanding grit numbers is fundamental, as they indicate the coarseness of the sandpaper; lower numbers are coarser, effectively removing old finishes and levelling surfaces, while higher numbers are finer, providing a smooth finish.
- Grit number 12-24: Extremely coarse, suitable for removing tough finishes and levelling uneven floors.
- Grit number 36-40: Coarse, used for the initial sanding to strip away old finishes and surface imperfections.
- Grit number 60-80: Medium, employed for smoothing out scratches left by coarser grits and preparing the floor for finer sanding.
- Grit number 100-120: Fine, ideal for final sanding stages to achieve a smooth surface ready for finishing.
- Grit number 150 and above: Very fine, used sparingly for the final buffing to ensure an ultra-smooth finish before applying the finish coat.
Choosing the proper sanding grit sequence significantly impacts the quality of the refinishing project. Starting with a coarser grit is essential to effectively remove old finishes and level any imperfections on the floor. As the process progresses, transitioning to finer grits ensures that the surface becomes progressively smoother, eliminating scratches and preparing the wood for finishing. The refinishing project culminates in a visually appealing and durable floor by meticulously selecting and following an appropriate grit sequence, exemplifying the importance of understanding sanding grit in achieving perfect floors.
Selecting the Right Grit Sequence for Wood Floor Refinishing
Grit progression is crucial in the refinishing process as it ensures a methodical approach to achieving a smooth and even surface. Starting with a coarser grit effectively removes old finishes and levels the floor, while progressively finer grits eliminate scratches and prepare the wood for the final finish. By carefully selecting the grit sequence, one can ensure the floor is aesthetically pleasing and durable. This process is essential for both new and refinished floors.
Common Grit Sequences
Selecting the right grit sequence can significantly influence the outcome of the refinishing project for new and old floors. A typical sequence for new floors might start with a coarse grit like 36, then proceed to 50, and finish with 80. Skipping a grit size between steps ensures that each stage effectively smooths the surface and prepares it for the next.
For older floors, a sequence such as 40-60-100 is often recommended. Starting with 40 removes accumulated layers and imperfections, 60 further smooths the surface, and 100 prepares it for finishing.
| Grit Sequence | Floor Type |
|---|---|
| 36-50-80 | New Floors |
| 40-60-100 | Old Floors |
| 24-36-60-100 | Extensively Damaged Floors |
Defining the final grit early in the process is vital as it sets the stage for the desired finish quality. Knowing whether 100 or 120 grit will be the final step guides the entire sanding process, ensuring each stage is tailored to achieve a smooth surface. This foresight prevents unnecessary sanding and optimises the floor’s appearance and longevity.
Sanding Equipment and Techniques for Optimal Results
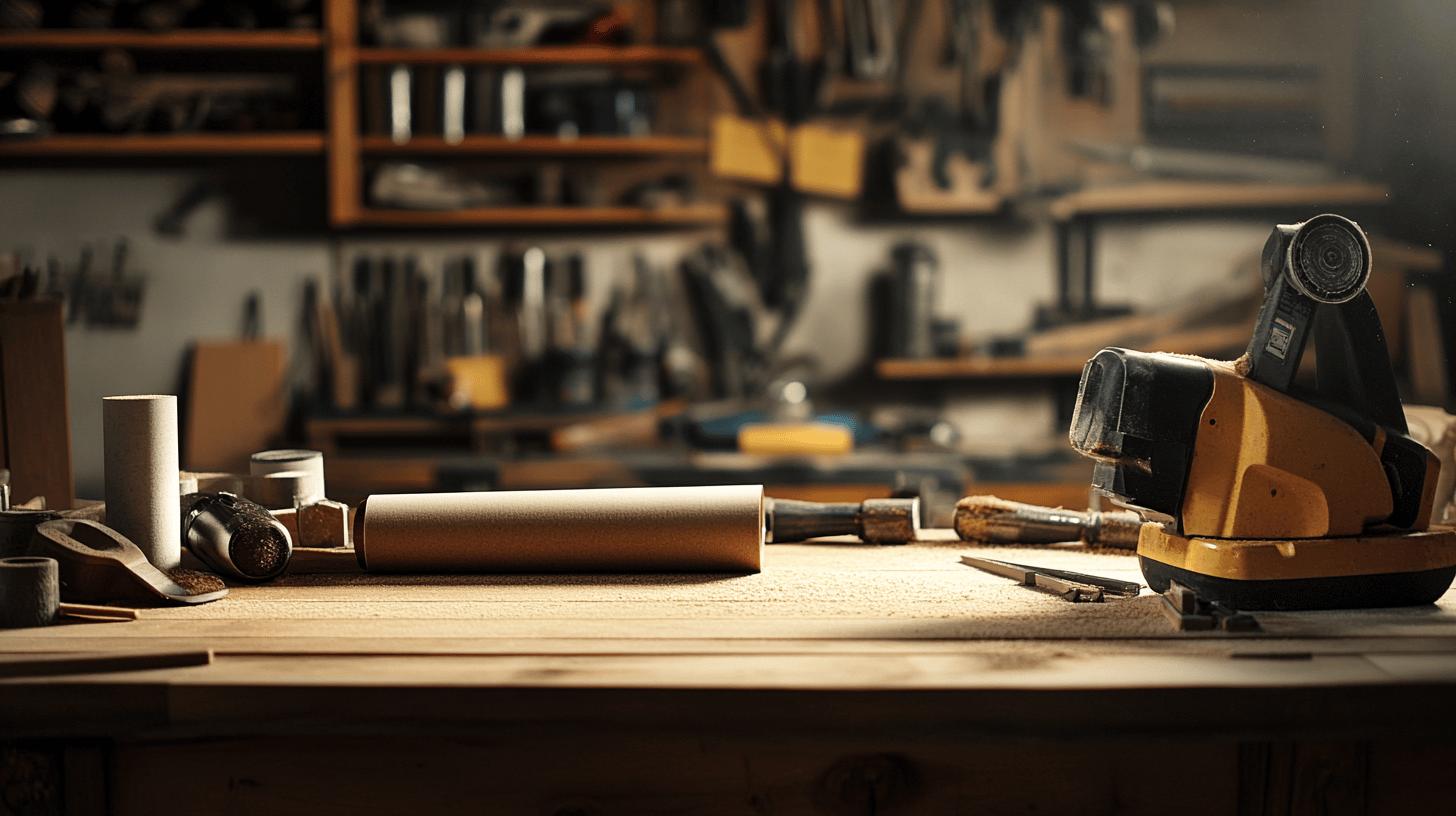
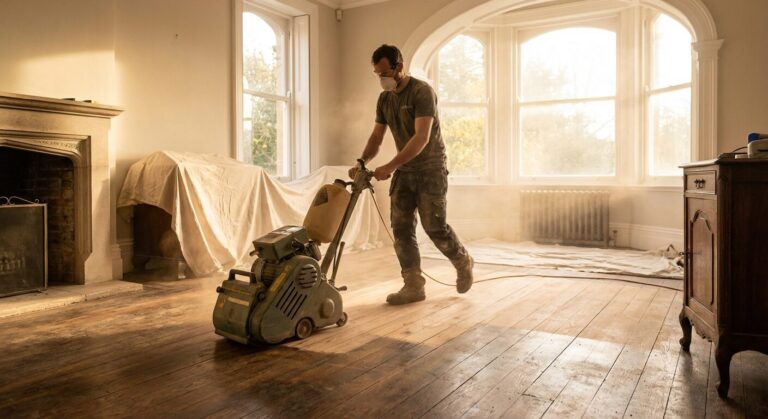
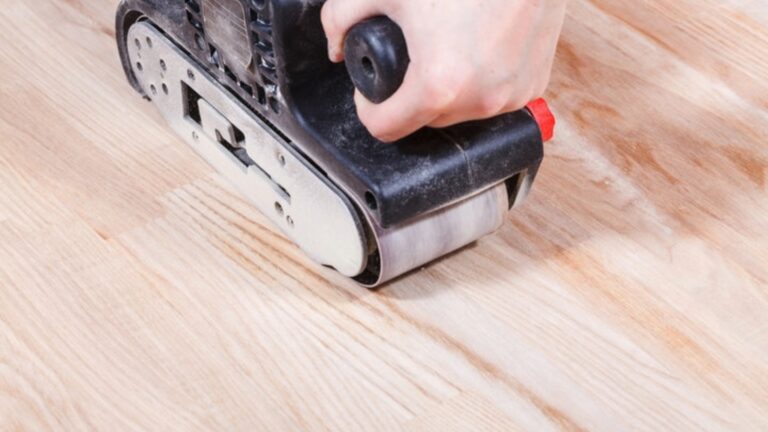
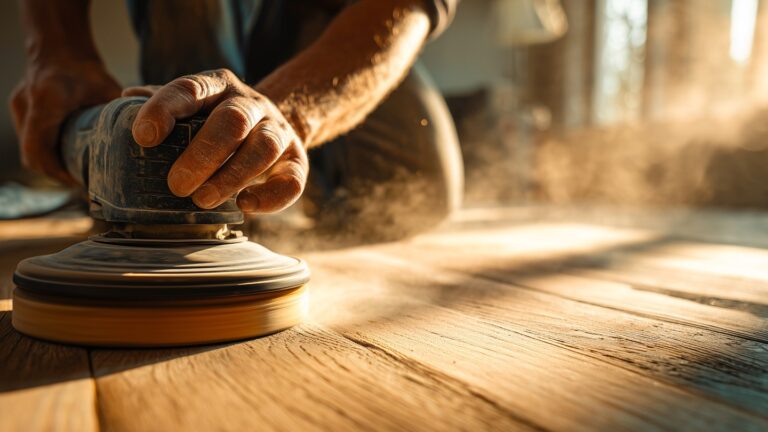
Sanding equipment is crucial in achieving a smooth and even finish on wood floors. Essential tools include sanding machines, such as drum and edge sanders, each serving a specific purpose in the sanding process. The choice of sandpaper is equally critical, with options like aluminium oxide and silicon carbide available. Aluminium oxide is durable and ideal for hardwoods, while silicon carbide is best for finer sanding and finishing.
- Choose the right machine: Use a drum sander for large, open areas and an edge sander for corners and edges.
- Select appropriate sandpaper: Match the sandpaper type to the task—aluminium oxide for durability and silicon carbide for a finer finish.
- Ensure even pressure: Apply consistent pressure to avoid uneven surfaces and gouges.
- Follow grit progression: Begin with coarse grit and progress to finer grits for a smooth finish.
- Keep equipment clean: Regularly clean sanders and change sandpaper to maintain effectiveness.
- Check for wear: Inspect sandpaper frequently and replace it when worn to ensure optimal performance.
- Use protective gear: Wear masks and goggles to protect against dust and debris.
Sanding experts recommend several techniques to maximise results. Consistently moving the sander in the wood grain direction prevents cross-grain scratches. Overlapping passes by half the machine’s width ensures uniform sanding and avoids missing sections. Ryan’s Restoration services excel in employing these best practices, providing high-quality finishes through expert handling of equipment and techniques. Their attention to detail and the right tools guarantee a refined and enduring wood floor finish.
Factors to Consider When Choosing Sanding Grit
When selecting sanding grit for refinishing wood floors, both wood type and floor condition are critical factors. The wood type affects how aggressively the sandpaper should work; harder woods like oak and maple may require a more robust approach than softer woods like pine. Similarly, the floor’s condition dictates the grit needed; heavily worn or damaged floors may need coarser grit to remove imperfections effectively.
- Assess wood hardness: Hardwoods like oak need coarser grit than softer woods like pine.
- Evaluate floor condition: Use coarser grit for floors with significant wear or damage.
- Test a small area: Experiment with different grits on a hidden spot to find the best fit.
- Consider the desired finish: Finer grits are essential for a smoother, high-quality finish.
- Use compatible equipment: Ensure the chosen sandpaper suits the sanding machine for optimal results.
These considerations significantly influence the floor’s final appearance and longevity. Selecting the appropriate grit sequence ensures that the refinishing process effectively removes old finishes and imperfections while preparing the wood for a durable finish. Ryan’s Restoration, with their expertise, can expertly guide the selection process, ensuring that every client’s floor receives the tailored care needed for a perfect result.
Achieving a Smooth Finish with Proper Sanding Grit
Fine grit sandpaper, such as 100 to 120, is essential in the final stages of sanding to achieve a smooth finish on wood floors. This fine grit effectively removes minor scratches and imperfections left by coarser grits, preparing the surface for finishing. The softer the finish, the better it looks and performs once the final coat is applied.
- Maintain consistent sanding pressure: This prevents gouges and ensures an even finish across the entire floor.
- Sand with the grain: Always move the sander toward the wood grain to avoid cross-grain scratches.
- Overlap passes: Each pass should overlap the previous one by about half the width of the sander to ensure no areas are missed.
- Regularly inspect the surface: Check for any remaining imperfections after each sanding pass and address them immediately.
- Clean between grits: Thoroughly remove dust and debris between grit changes to prevent scratches from leftover particles.
Final steps in preparing the floor for finishing involve meticulous cleaning and inspection. All dust and residues must be vacuumed and wiped away to ensure the finish adheres properly. Ryan’s Restoration provides expert services, ensuring floors are impeccably prepared and finished. Their attention to detail guarantees a high-quality finish that enhances both the appearance and durability of the wood floor.
Final Words
Choosing the best sanding grit for refinishing wood floors is crucial to the project’s success. This guide covered the importance of understanding grit coarseness, selecting the proper progression, and employing effective techniques and equipment. Considering wood type and condition ensures optimal results, while the final grit impacts the finish’s look and durability.
Proper grit selection results in a flawless surface, with Ryan’s Restoration offering the expertise needed for top-notch finishes. Armed with this knowledge, individuals can achieve remarkable results in enhancing the aesthetics and value of their homes.
FAQ
What’s the best sanding grit for refinishing wood floors before applying a finish?
Refinishing wood floors typically begins with a coarser grit, such as 36 or 40, to remove the old finish, progressing to medium and fine grits like 80 and 100 for a smooth surface.
What grit sandpaper should be used for wood floors with a polyurethane finish?
For polyurethane floors, start with 36 or 40 grit to strip the surface, then move to finer grits like 80 and 120 to smooth and prepare the surface for re-coating.
What is the floor sanding grit sequence?
Common grit sequences for sanding wood floors are 36-50-80. This progression effectively removes old finishes and prepares the wood for the final coat.
How many sanding sheets are typically required to sand a floor?
The number of sanding sheets needed depends on floor size and condition but may range from 5 to 20, as multiple grits are used progressively.
How much does it cost to sand wood floors?
Sanding wood floors can cost between £20-£50 per square metre, factoring in labour and materials.
What grit sandpaper should be used for a floor drum sander?
For a drum sander, begin with 36 or 40 grit for aggressive material removal, followed by finer grits up to 100 for smoothing.
How do orbital floor sanders differ in their use?
Orbital floor sanders provide a less aggressive sanding method, which is ideal for fine finishing or when working on delicate surfaces like softwood.
How many passes are generally required when sanding floors?
Typically, three to five passes are required, starting with coarse grit and gradually moving to fine grit to achieve a smooth, finish-ready surface.
How can one achieve a smooth finish on hardwood floors?
To achieve a smooth hardwood finish, use a sequence of increasing finer grits, ending with 100-120 grit. Ensure even sanding to avoid surface imperfections.
