Ever wondered why your once-sparkling wood floors now look dull and lifeless? The secret lies in the finesse of wood floor sanding and sealing. By following expert techniques, you can transform your hardwood and parquet floors, restoring their former glory. In this article, discover Ryan’s Restoration’s top tips for preparing, sanding, and sealing your wood floors to perfection. These steps will not only enhance your home’s aesthetics but also extend the lifespan of your flooring. Get ready to breathe new life into your living spaces with a bit of professional know-how.
Preparing Your Hardwood and Parquet Floors for Sanding
Proper preparation is crucial for achieving a flawless finish when sanding hardwood and parquet floors. Neglecting this step can lead to uneven results and potential damage to your flooring. Ensuring that your floors are well-prepared will make the sanding process more efficient and effective.
Essential Tools and Materials
To begin the sanding process, gather the following tools and materials:
- Drum sander
- Orbital sander for edges
- Spare floorboards
- Oil or varnish
- Safety gear (goggles, masks, and shoes)
Inspecting and Preparing the Floor
Before starting the sanding process, inspect the floor meticulously for any damages. Look out for:
- Scratches
- Dents
- Gaps
- Protruding nails
- Other hazards
Address any issues you find by repairing scratches, filling gaps, and ensuring nails are flush with the floor surface.
Next, ensure the floor is completely clean and free of dust. This step is crucial as any debris can interfere with the sanding process and damage the equipment. Use a vacuum and a damp mop to thoroughly clean the floor, making sure it’s dry before beginning.
By taking these steps, you set a solid foundation for a successful sanding and sealing project, ensuring your hardwood and parquet floors are revitalised to their best condition.
Step-by-Step Guide to Sanding Hardwood and Parquet Floors
Proper sanding techniques are essential for achieving a smooth, even finish on hardwood and parquet floors. Incorrect sanding can lead to visible imperfections and uneven surfaces, which can affect the overall appearance and durability of your floors.
Choosing the Right Grit
Why is it important to choose the right grit sandpaper?
The initial choice of sandpaper grit determines the effectiveness of removing the old finish and any previous sanding imperfections.
- Coarse Grit (24-36): Start with the coarsest grit to strip off the old finish and level the floor.
- Medium Grit (60-80): Move to a medium grit to smooth out the scratches left by the coarse grit.
- Fine Grit (100-120): Finish with a fine grit to achieve a smooth, even surface ready for sealing.
Sanding Pattern
What is the best sanding pattern to follow?
Following a specific sanding pattern ensures even sanding across the entire floor.
- Begin in one corner of the room and work methodically in overlapping rows.
- Move the sander in a continuous motion, parallel to the grain of the wood.
- Ensure each pass slightly overlaps the previous one to avoid missed spots.
Sanding Corners and Edges
How do you sand corners and edges effectively?
Edge sanders and detail sanders are crucial for reaching areas that the drum sander cannot access.
- Use an edge sander with the same grit sandpaper as the main sander for consistency.
- Carefully sand along the edges and in corners, maintaining an even pressure.
- Switch to a detail sander or hand sand for intricate areas.
Moving to Finer Grits
Why is it necessary to move to finer grits gradually?
Gradually moving to finer grits helps to refine the surface, removing scratches left by coarser grits and preparing the floor for sealing.
- After the initial coarse sanding, switch to a medium grit and repeat the sanding pattern.
- Finish with a fine grit, ensuring a smooth surface free of any visible scratches.
- Clean the floor thoroughly between each sanding stage to remove dust and debris.
Common Sanding Mistakes to Avoid
- Skipping grits: Always follow the progression from coarse to fine grit without skipping steps.
- Uneven pressure: Maintain consistent pressure to avoid gouges and uneven areas.
- Ignoring corners and edges: Ensure thorough sanding in all areas to avoid visible discrepancies.
- Rushing the process: Take your time to achieve a professional finish.
By following these steps and avoiding common mistakes, you can ensure a beautifully sanded floor ready for sealing.
Expert Tips for Sealing Hardwood and Parquet Floors
Sealing is a crucial step in maintaining the longevity and appearance of hardwood and parquet floors. Proper sealing protects the wood from damage, enhances its natural beauty, and ensures a durable finish.
Types of Sealants and Their Pros and Cons
Different sealants offer various benefits depending on your needs. Here are five common types:
- Oil-Based Polyurethane:
- Pros: Provides a durable, high-gloss finish.
- Cons: Longer drying time and strong odour.
- Water-Based Polyurethane:
- Pros: Quick drying, low odour, and clear finish.
- Cons: Less durable than oil-based options.
- Varnish:
- Pros: Offers a tough, resilient finish.
- Cons: Can yellow over time and requires multiple coats.
- Penetrating Oil:
- Pros: Enhances the wood’s natural grain and offers a more organic finish.
- Cons: Requires regular maintenance and reapplication.
- Lacquer:
- Pros: Provides a high-gloss, durable finish.
- Cons: Strong fumes and shorter lifespan than polyurethane.
How to Apply Sealant Correctly
What is the correct procedure for applying a sealant?
To achieve a smooth, flawless finish, follow these steps:
- Clean the Floor: Ensure the floor is completely clean and free of dust. Use a vacuum and a tack cloth to remove any particles that could interfere with the sealant.
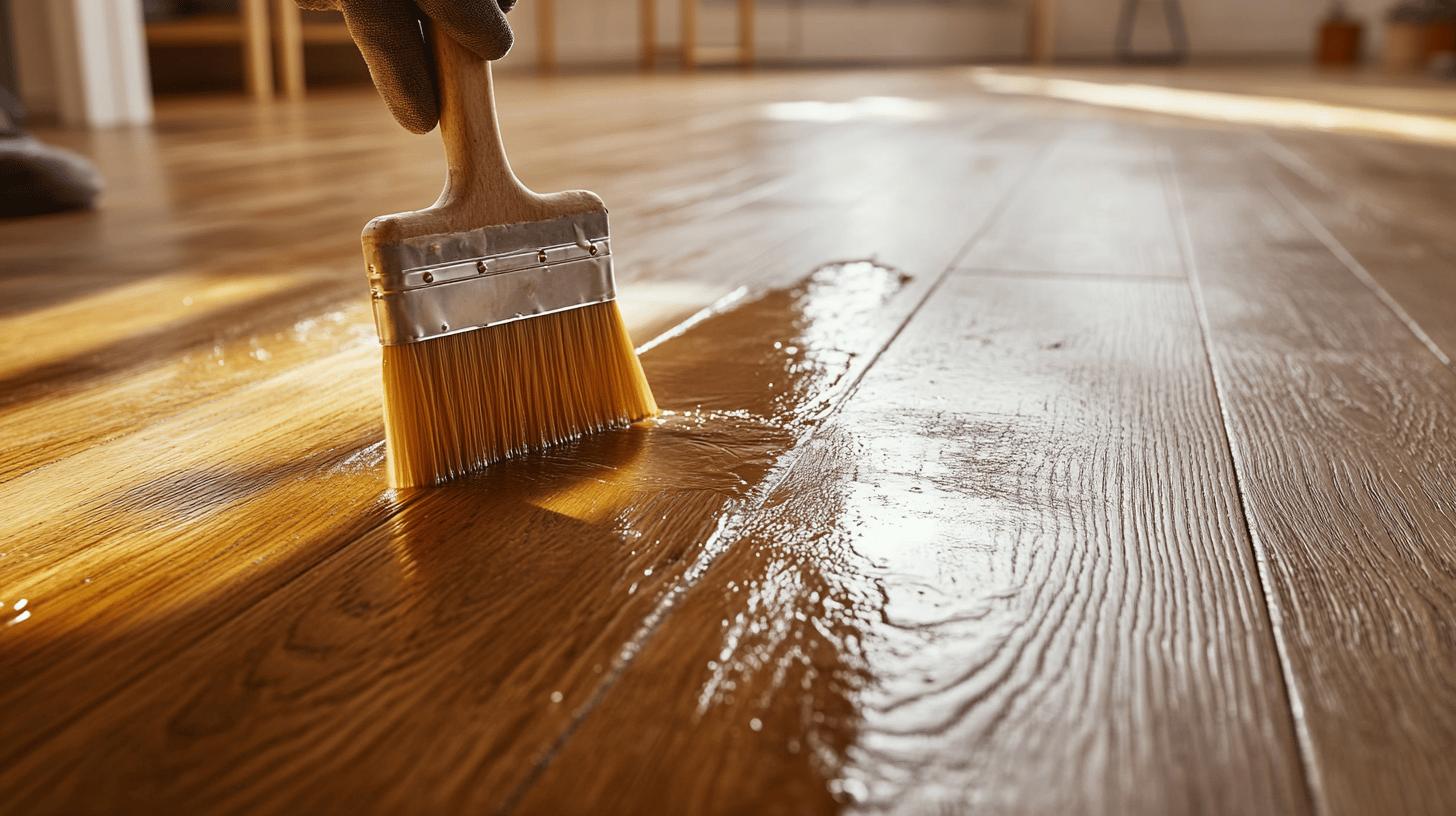
- Apply the First Coat: Using a high-quality brush or roller, apply the first coat of sealant evenly. Follow the grain of the wood for the best results.
- Allow to Dry: Let the first coat dry completely according to the manufacturer’s instructions. This drying time can vary depending on the type of sealant used.
- Light Sanding: Lightly sand the floor between coats using fine-grit sandpaper (e.g., 220). This step helps with adhesion and ensures a smooth final finish.
- Apply Subsequent Coats: Apply additional coats as needed, usually 2-3 coats for optimal protection. Lightly sand between each coat.
- Final Inspection: Once the final coat is dry, inspect the floor for any missed spots or imperfections and touch up as needed.
Sealing Tips for a Flawless Finish
To ensure your sealing job is perfect, consider these expert tips:
- Consistent Application: Apply the sealant consistently to avoid streaks and bubbles.
- Proper Ventilation: Ensure the room is well-ventilated to help the sealant dry faster and reduce fumes.
- Temperature and Humidity: Apply sealant in a controlled environment where temperature and humidity are stable.
- Use Quality Tools: Invest in high-quality brushes and rollers to achieve a professional finish.
- Patience: Allow adequate drying time between coats to ensure each layer sets properly.
By following these expert tips, you can ensure your hardwood and parquet floors are beautifully sealed, enhancing their appearance and durability for years to come.
Choosing Between DIY and Professional Floor Sanding
Deciding between DIY floor sanding and hiring a professional can be challenging. Your choice will depend on your experience, available time, and budget. If you have some home improvement experience, DIY might be a feasible option. However, if you’re short on time or lack the necessary skills, hiring a professional can ensure a flawless finish.
Advantages and Disadvantages of DIY Sanding
- Cost-Effective
- Advantage: If you already have the tools, DIY sanding can save you money.
- Disadvantage: Renting or purchasing equipment can make DIY just as expensive as hiring a professional.
- Flexibility
- Advantage: You can work at your own pace and schedule.
- Disadvantage: The process can take several days, especially for large areas or multiple coats.
- Learning Experience
- Advantage: DIY projects can be fulfilling and educational.
- Disadvantage: Mistakes can be costly and affect the final outcome.
Advantages and Disadvantages of Professional Sanding
- Expertise
- Advantage: Professionals bring experience, knowledge, and specialised tools, ensuring a flawless finish.
- Disadvantage: Hiring a professional can be more expensive upfront.
- Time-Efficiency
- Advantage: Professionals can complete the job faster, often within a few days.
- Disadvantage: You may need to schedule in advance and accommodate their availability.
- Guaranteed Results
-
- Advantage: Professionals often offer warranties or guarantees, providing peace of mind.
- Disadvantage: Limited control over the process and outcomes compared to DIY.
If you are considering professional services, Ryan’s Restoration offers expert sanding and sealing for hardwood and parquet floors. Their team ensures a high-quality finish, saving you time and potential frustration.
Maintaining Your Sealed Hardwood and Parquet Floors
Regular wood floor restoration and maintenance is crucial for preserving the beauty and durability of your sealed hardwood and parquet floors. Consistent care not only extends the life of the finish but also keeps your floors looking their best.
Top Care Tips for Wooden Floors
- Use Appropriate Cleaning Products: Always use cleaners specifically designed for hardwood floors to avoid damaging the finish.
- Maintain a Stable Indoor Climate: Fluctuations in temperature and humidity can cause wood to expand and contract, leading to potential damage. Keep your home environment stable.
- Promptly Address Spills and Scratches: Clean spills immediately to prevent stains and use protective pads under furniture to avoid scratches.
- Avoid Excessive Water: Clean your floors with a damp, not wet, mop to avoid water damage.
- Regular Dusting: Dust your floors frequently to prevent dirt and debris from scratching the surface.
- Use Rugs and Mats: Place rugs in high-traffic areas and mats at entrances to reduce wear and tear.
Benefits of Regular Professional Maintenance
Professional maintenance, including deep cleaning and reapplication of finishes like oil or lacquer, is vital for maintaining the appearance and durability of your floors. Professionals have the expertise and equipment to perform these tasks effectively, ensuring optimal results.
Regular professional services help to:
- Prolong the life of your floor’s finish.
- Maintain the floor’s aesthetic appeal.
- Address minor issues before they become significant problems.
Ryan’s Restoration offers comprehensive care services to keep your hardwood and parquet floors in top condition. Their professional team ensures your floors receive the attention they need to remain beautiful and durable for years to come.
Final Words
Revitalising your floors through expert sanding and sealing requires comprehensive preparation, from inspecting for damage to gathering necessary equipment.
Following precise techniques to sand your hardwood and parquet floors ensures a smooth, even surface.
Applying the right sealant offers durability and enhances the wood’s natural beauty.
Deciding between DIY and professional services depends on your experience and resources.
Regular maintenance is crucial to keep your floors in excellent condition.
By adhering to these expert tips, you can effectively revitalise your floors, achieving a professional finish and long-lasting beauty.
FAQ
How do you make parquet floors look new again?
To make parquet floors look new again, you should clean them thoroughly, sand the surface, and apply a fresh coat of finish or sealant. Proper maintenance and care will help retain their appearance.
Is it worth restoring parquet flooring?
Restoring parquet flooring is worth the investment as it enhances the floor’s beauty, increases property value, and extends the floor’s lifespan. Properly restored parquet floors also provide a durable and elegant finish.
How to rejuvenate parquet flooring?
To rejuvenate parquet flooring, deep clean the surface, sand it to remove old finish and imperfections, and apply a new finish or sealant. Regular maintenance, such as oiling or lacquering, will keep them looking fresh.
Can I sand the parquet flooring myself?
You can sand parquet flooring yourself if you are experienced with DIY projects and have the proper equipment like a drum sander and edge sander. However, hiring a professional ensures a flawless and durable finish.


