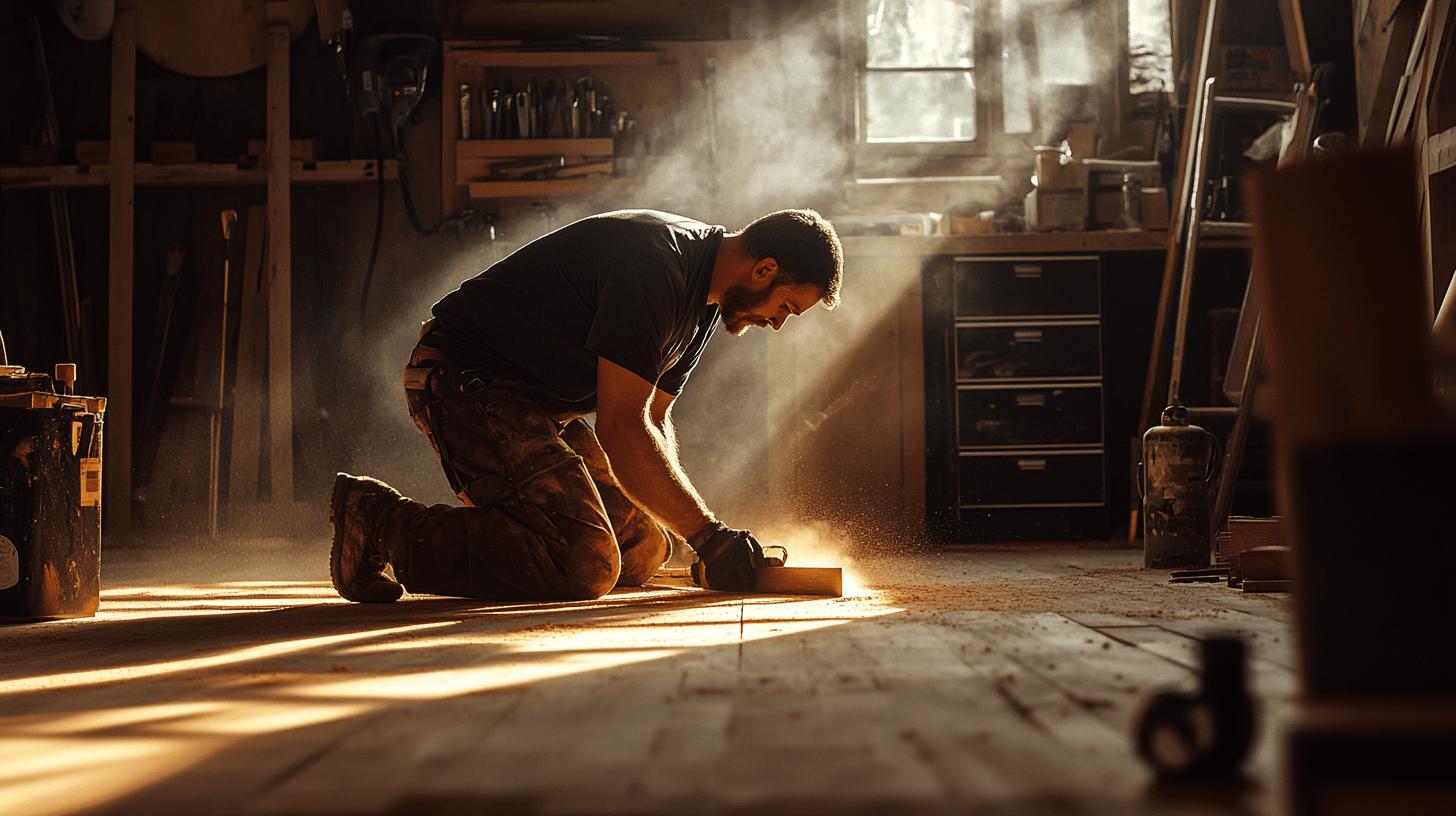
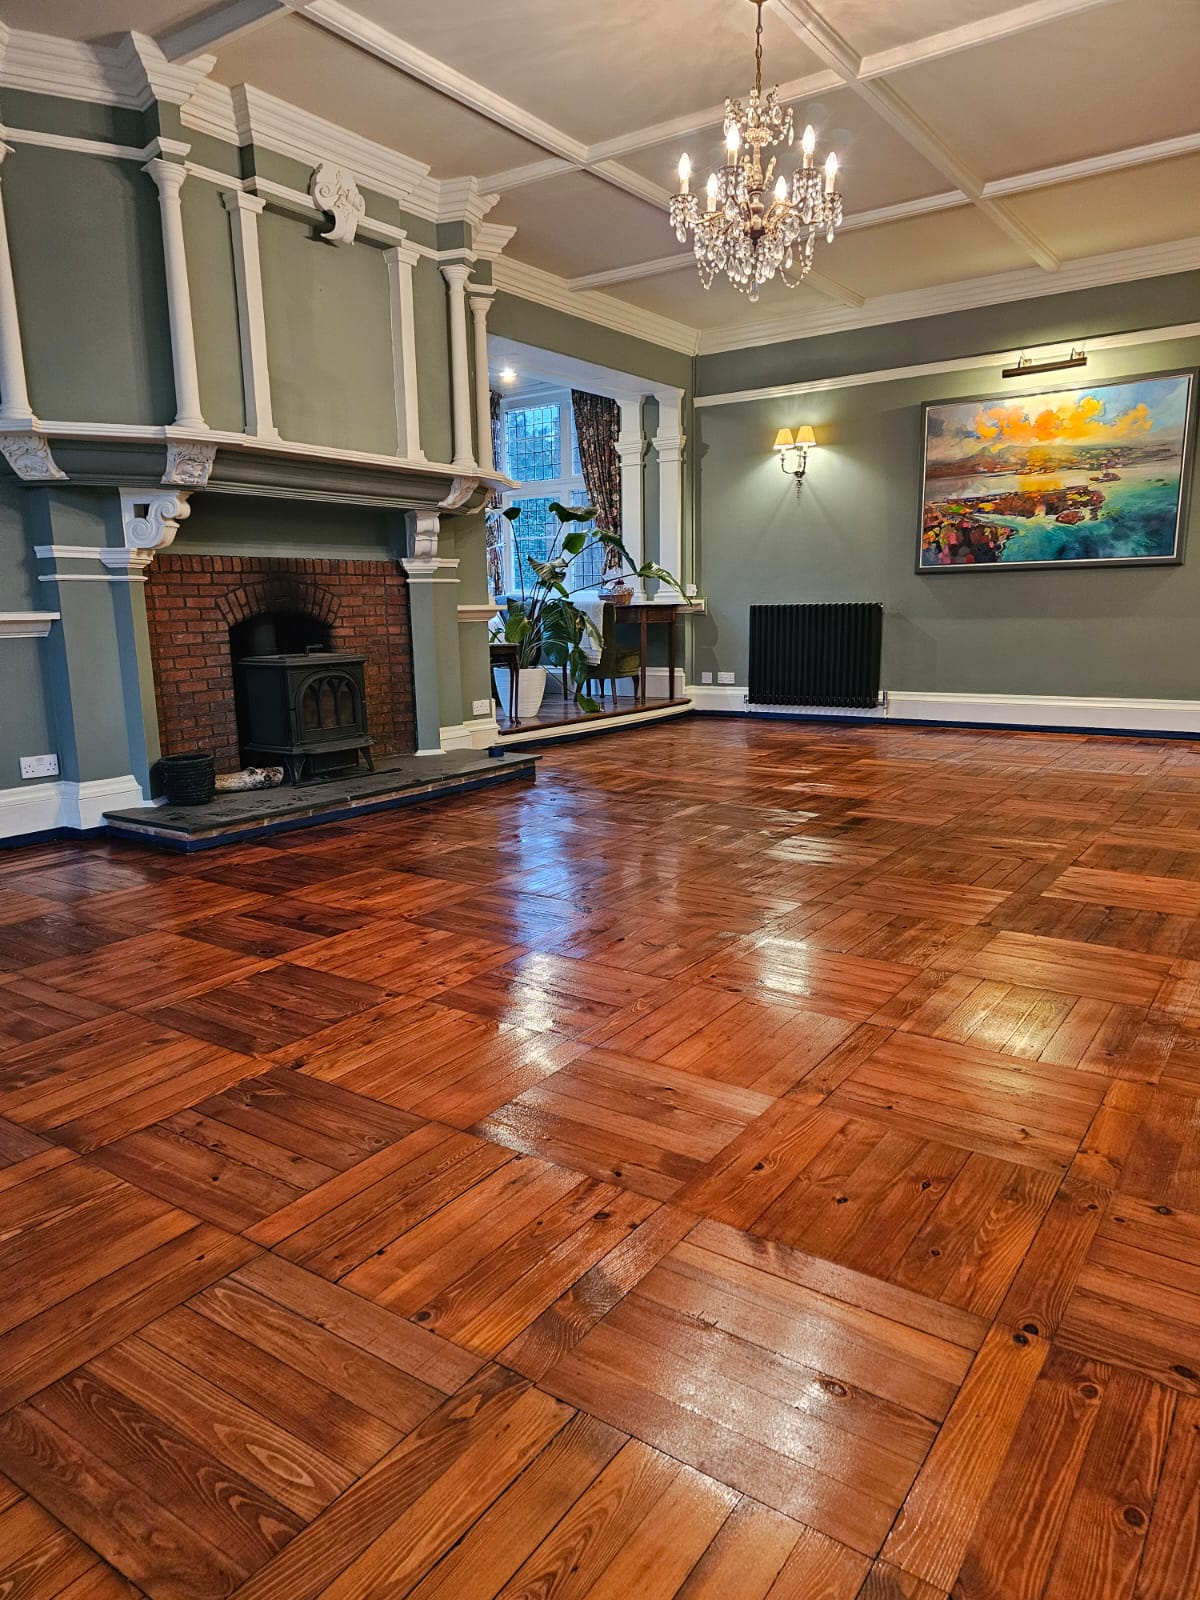
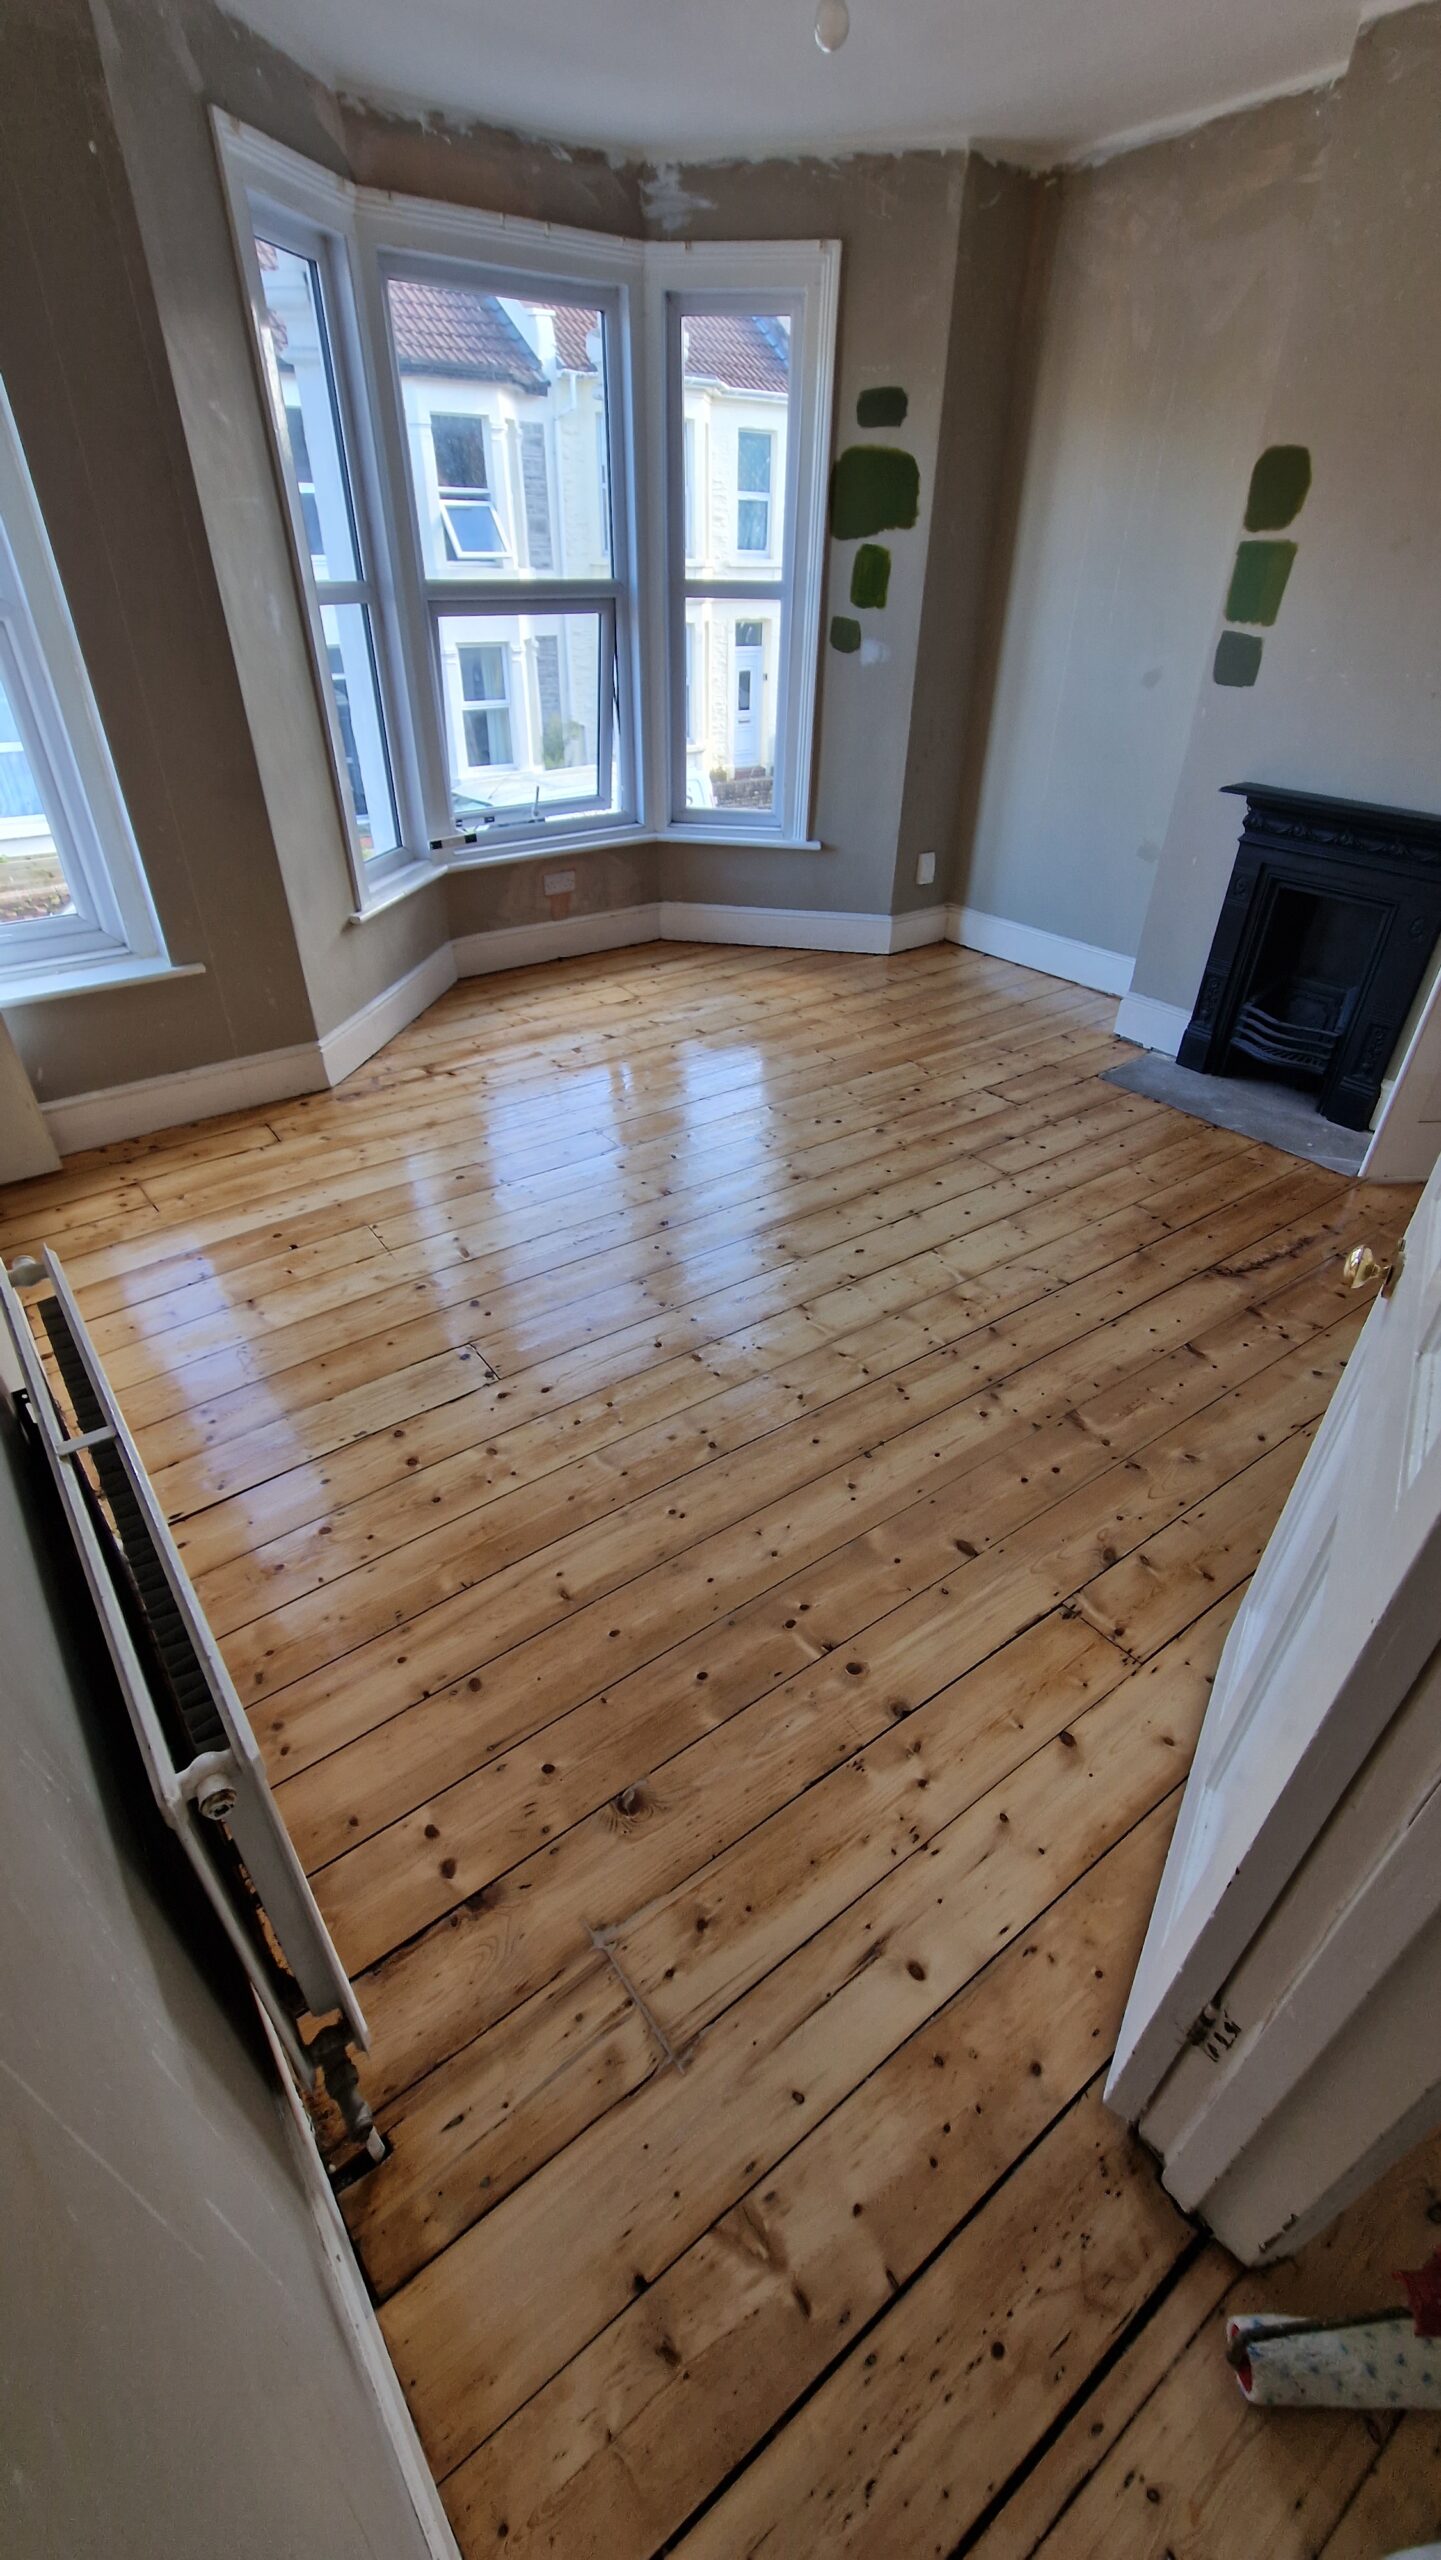
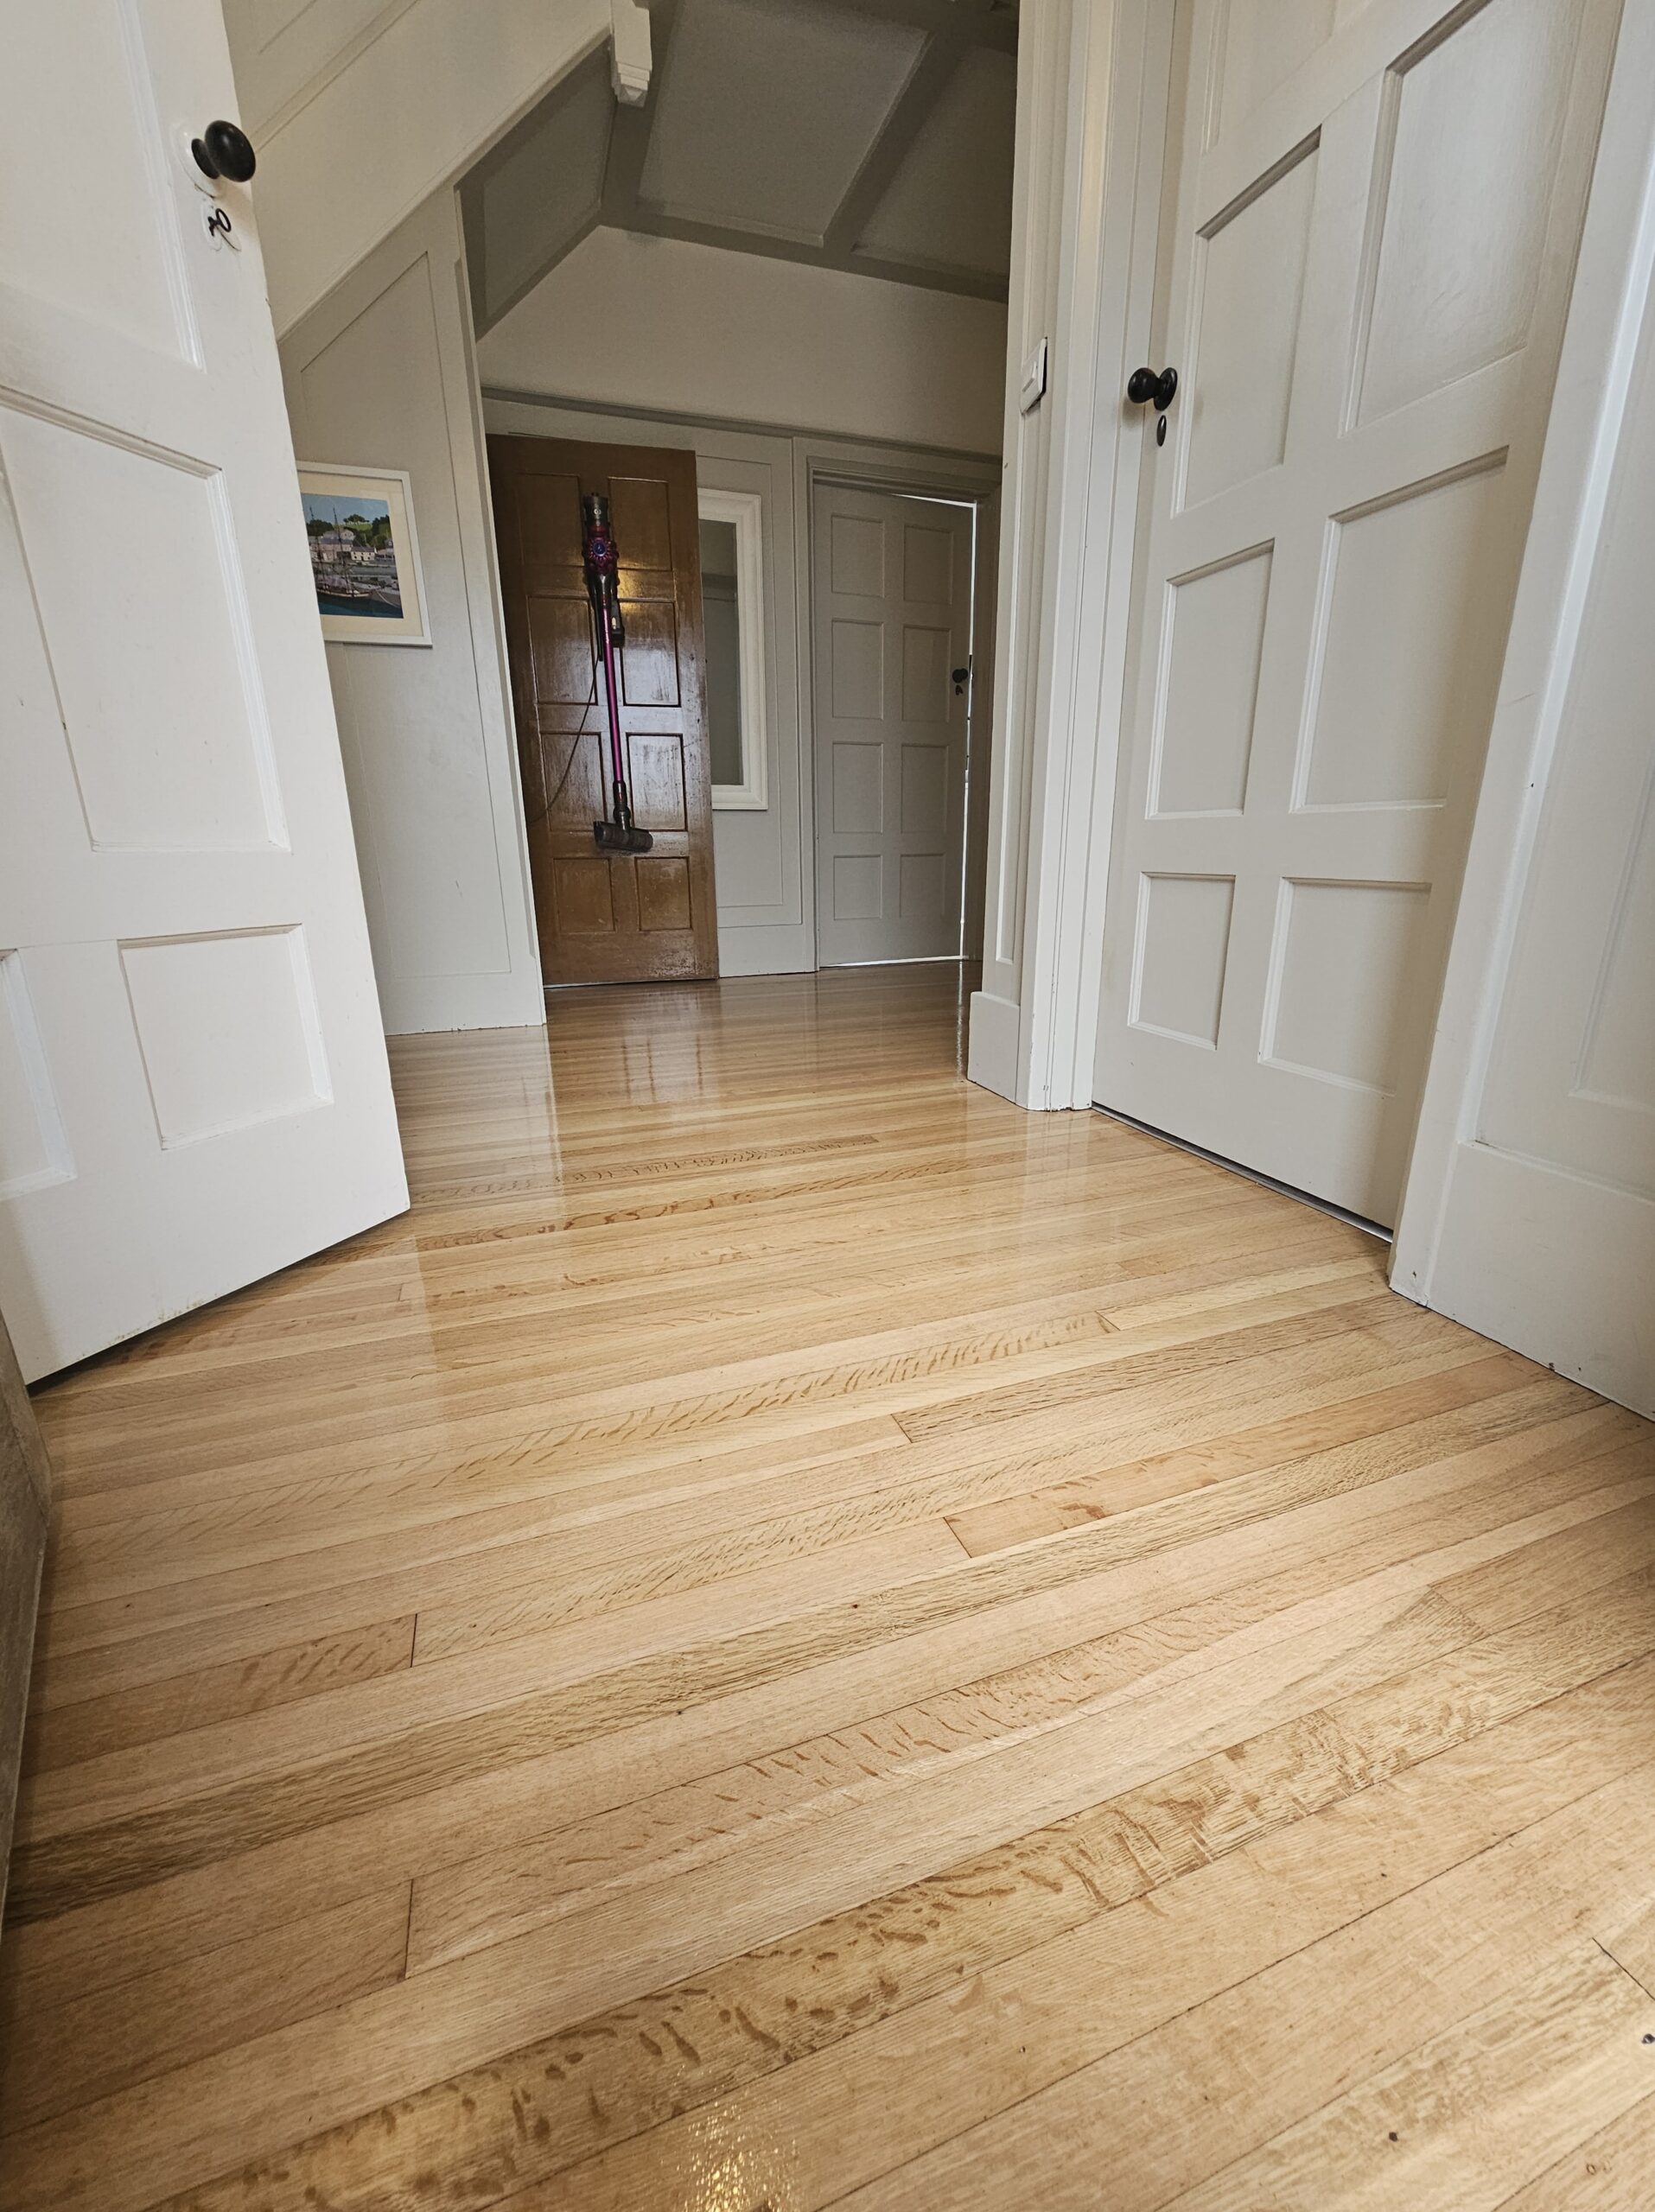
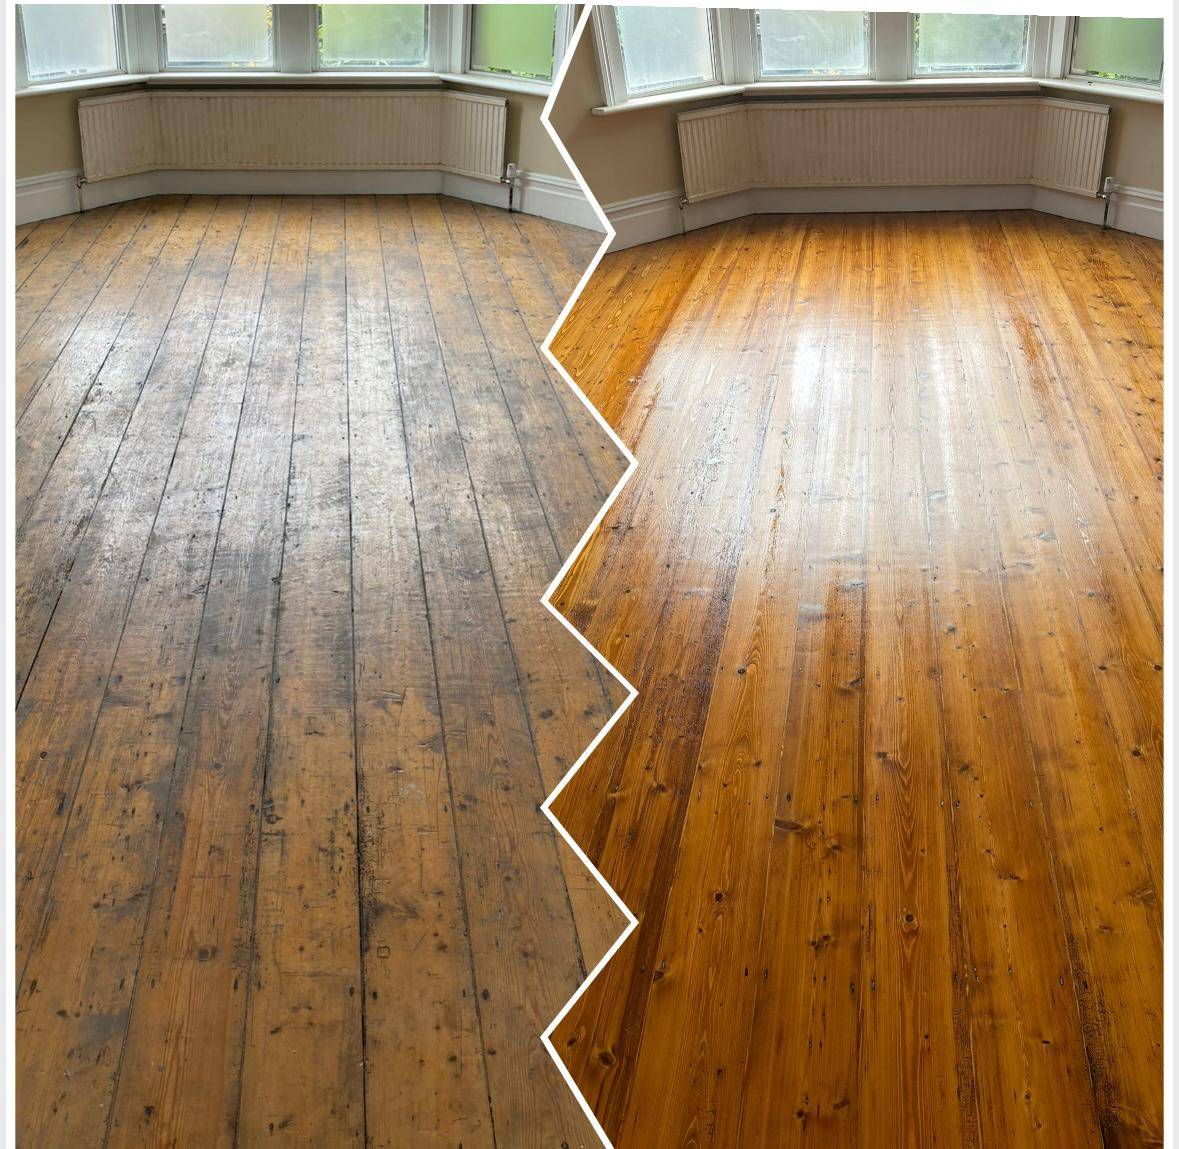
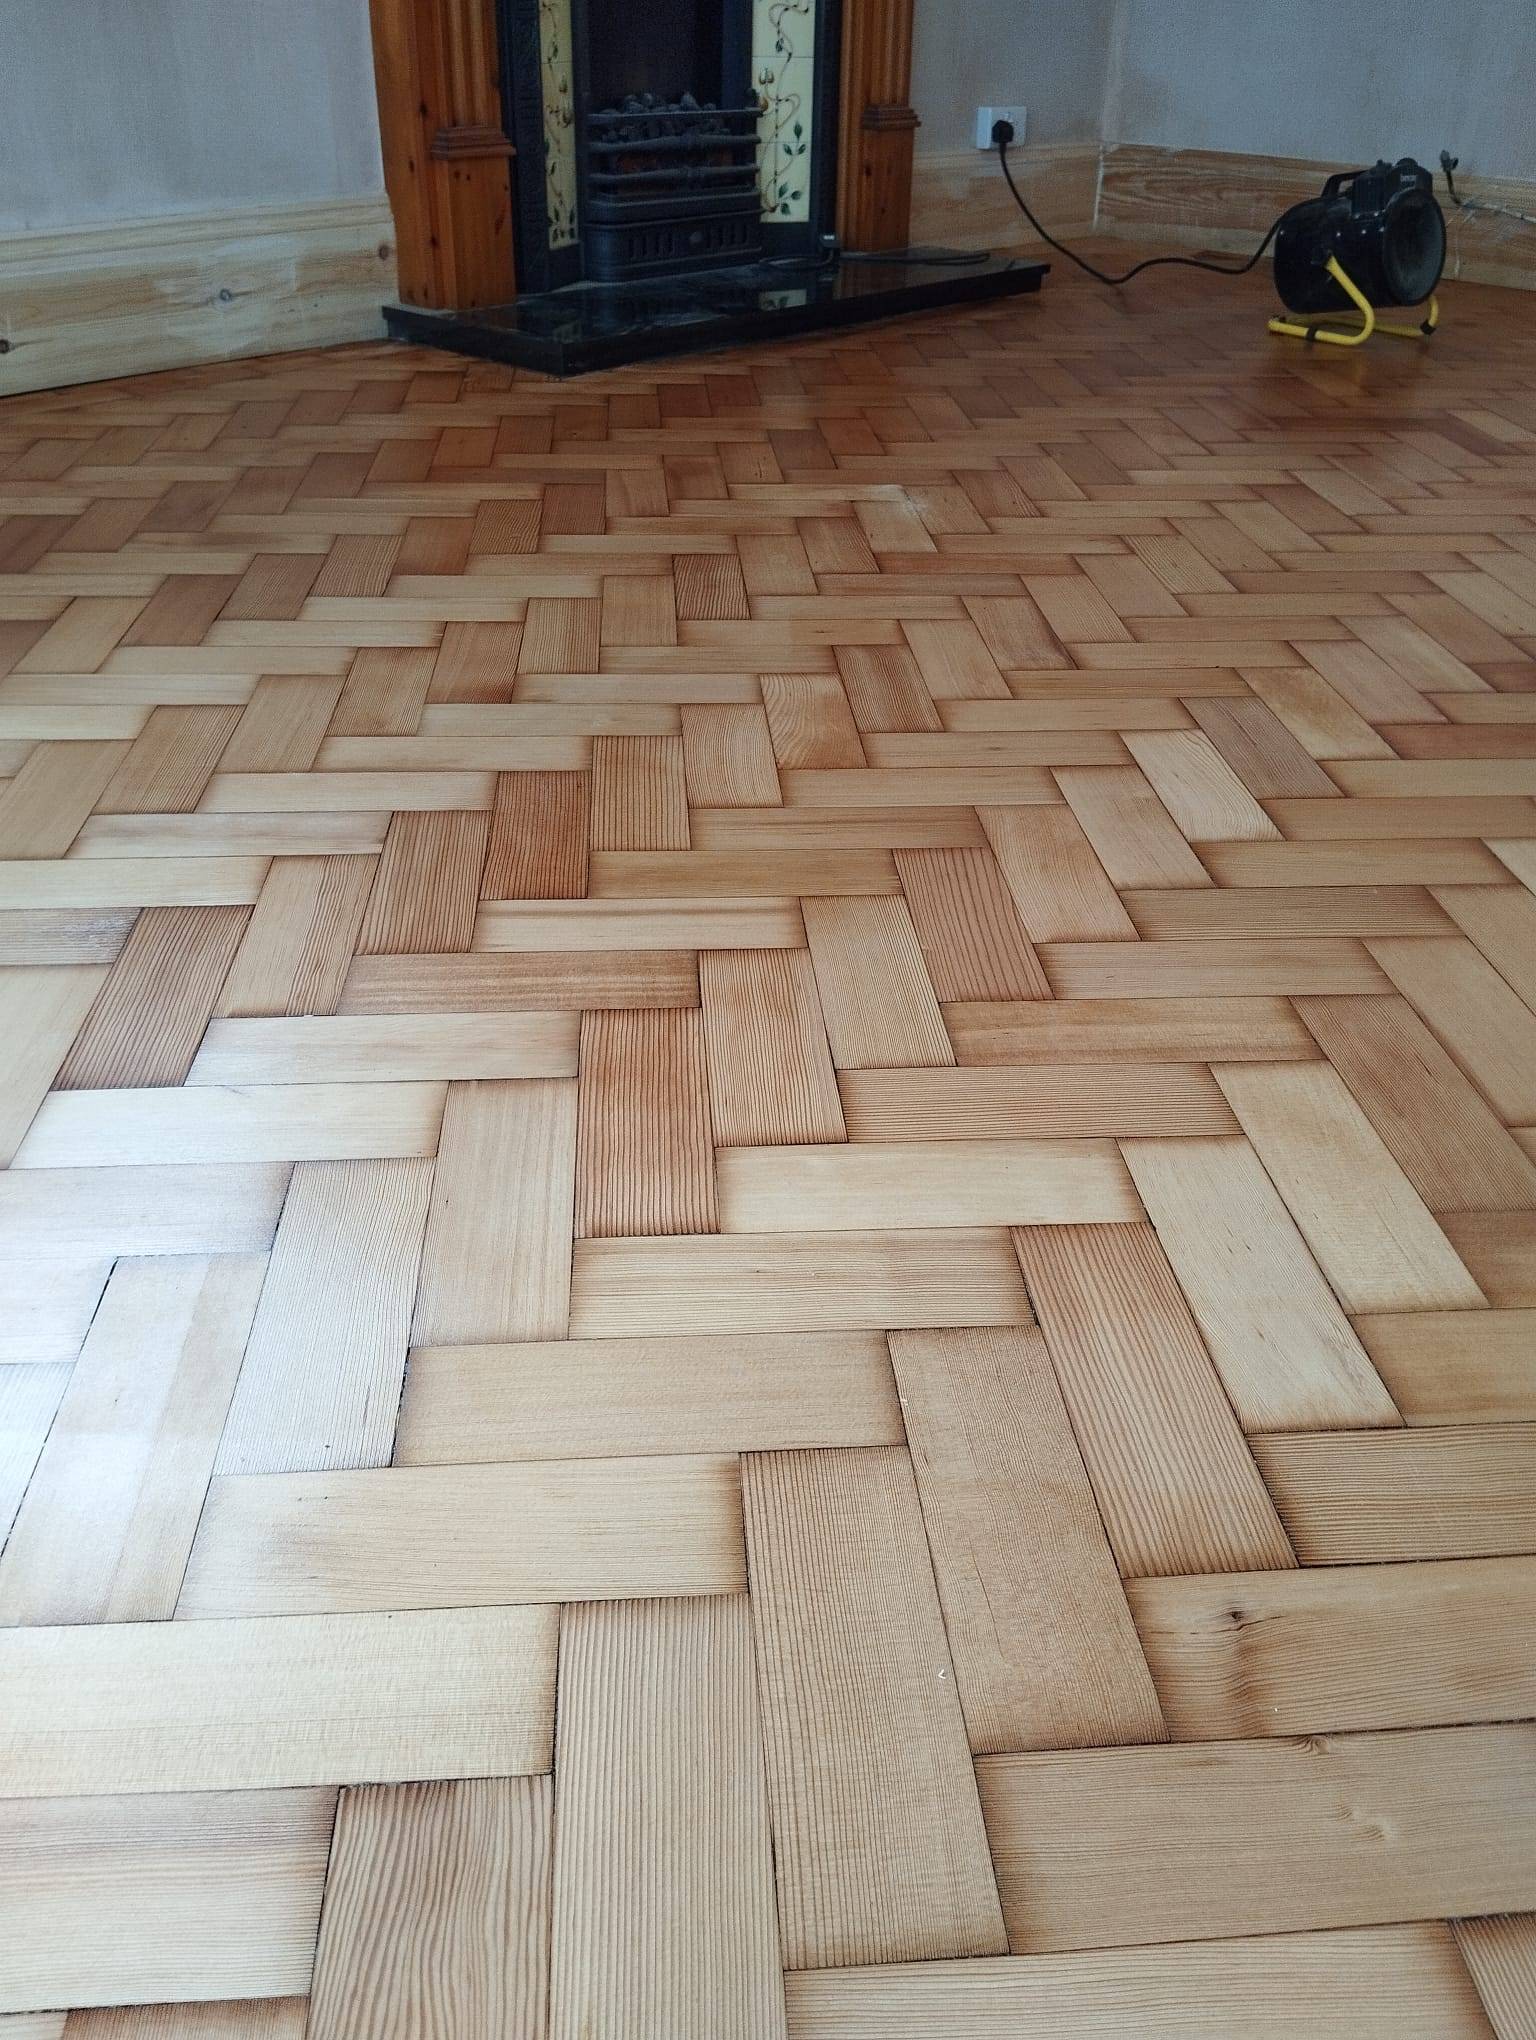
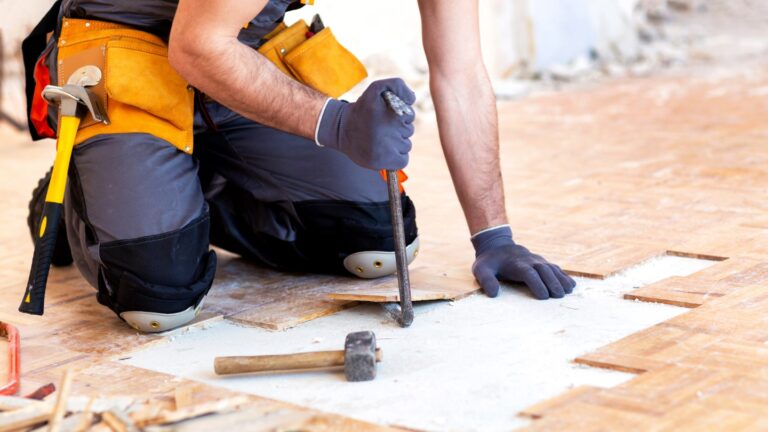
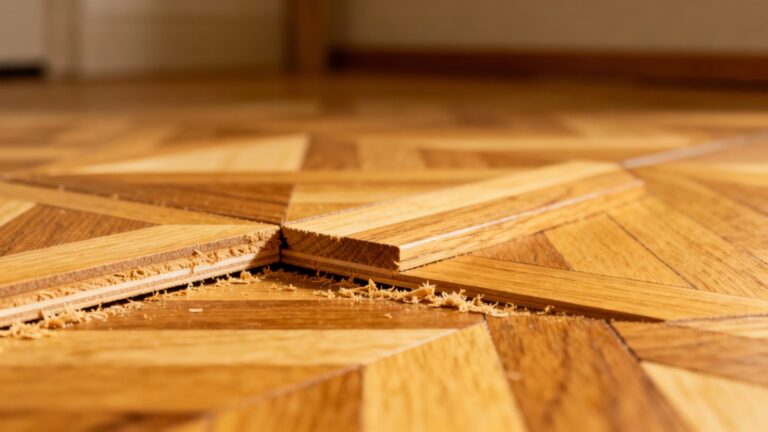
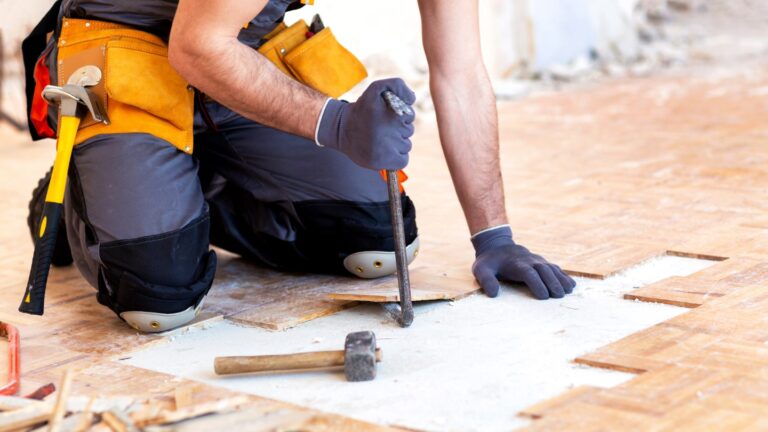
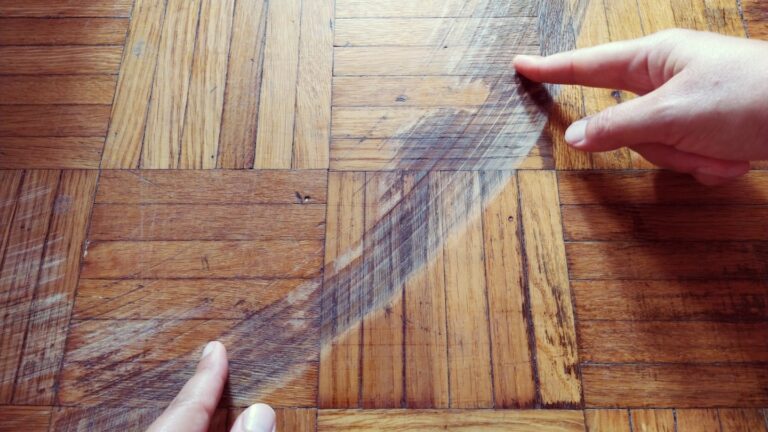
Refinishing your wood floors can transform your living space, but did you know that a simple oversight can lead to costly mistakes and unsatisfactory results? Neglecting proper floor preparation is a common pitfall that jeopardises the entire refinishing process. The importance of thorough preparation cannot be overstated—it not only sets the foundation for a flawless finish but also protects your investment in the long run. In this article, we will delve into five essential tips to ensure your refinishing project is a success, avoiding common mistakes and ensuring professional-grade results with Ryan’s Restoration.
Mistake One: Neglecting Proper Floor Preparation
One of the most common mistakes when refinishing wood floors is neglecting proper floor preparation. This oversight often involves inadequate cleaning or failing to remove furniture and debris, which can significantly impact the results. Insufficient preparation may lead to an uneven application of finishes and a less durable surface. Any remaining dust or particles on the floor can cause imperfections in the final finish, while overlooked furniture can obstruct the sanding and staining process. Therefore, ensuring a clutter-free and clean workspace is crucial to achieving a professional-looking outcome.
- Remove all furniture and debris
- Thoroughly clean the floor
- Inspect for and repair any damage
- Ensure the floor is completely dry
- Conduct a detailed inspection before beginning refinishing
Thorough preparation offers significant benefits, including a smoother refinishing process and a more durable finish. By addressing these preparatory steps, you can avoid common pitfalls and enhance the overall quality of the work. For those seeking a professional approach, Ryan’s Restoration provides expert services that ensure meticulous preparation, leading to superior refinishing results. Their attention to detail helps prevent unnecessary mistakes and guarantees a high-quality finish that stands the test of time.
Mistake Two: Choosing the Wrong Sandpaper Grit
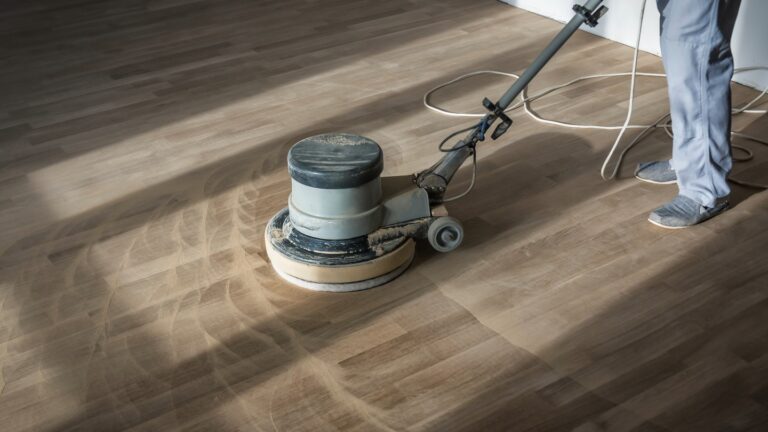
Selecting the correct sandpaper grit is crucial in achieving a high-quality finish when refinishing wood floors. Why does grit selection matter? The wrong choice can lead to various issues, such as scratches if the grit is too coarse or an uneven surface if it’s too fine. These problems detract from the floor’s appearance and can compromise its durability. Proper sanding grit selection ensures the removal of old finishes and imperfections without damaging the wood, allowing for a smooth, even surface ready for staining and finishing.
- Begin with 36-grit for initial sanding
- Progress to 60-grit for smoothing
- Use 80-grit for a finer finish
- Finish with 100-grit for an ultra-smooth surface
For those unfamiliar with sanding techniques or uncertain about grit selection, consulting Ryan’s Restoration can offer valuable insights. They provide expert advice on the best sanding practices, ensuring each step is executed with precision. Such guidance helps avoid common sanding mistakes, leading to a superior finish that enhances both the beauty and longevity of wood floors.
Mistake Three: Improper Staining Techniques
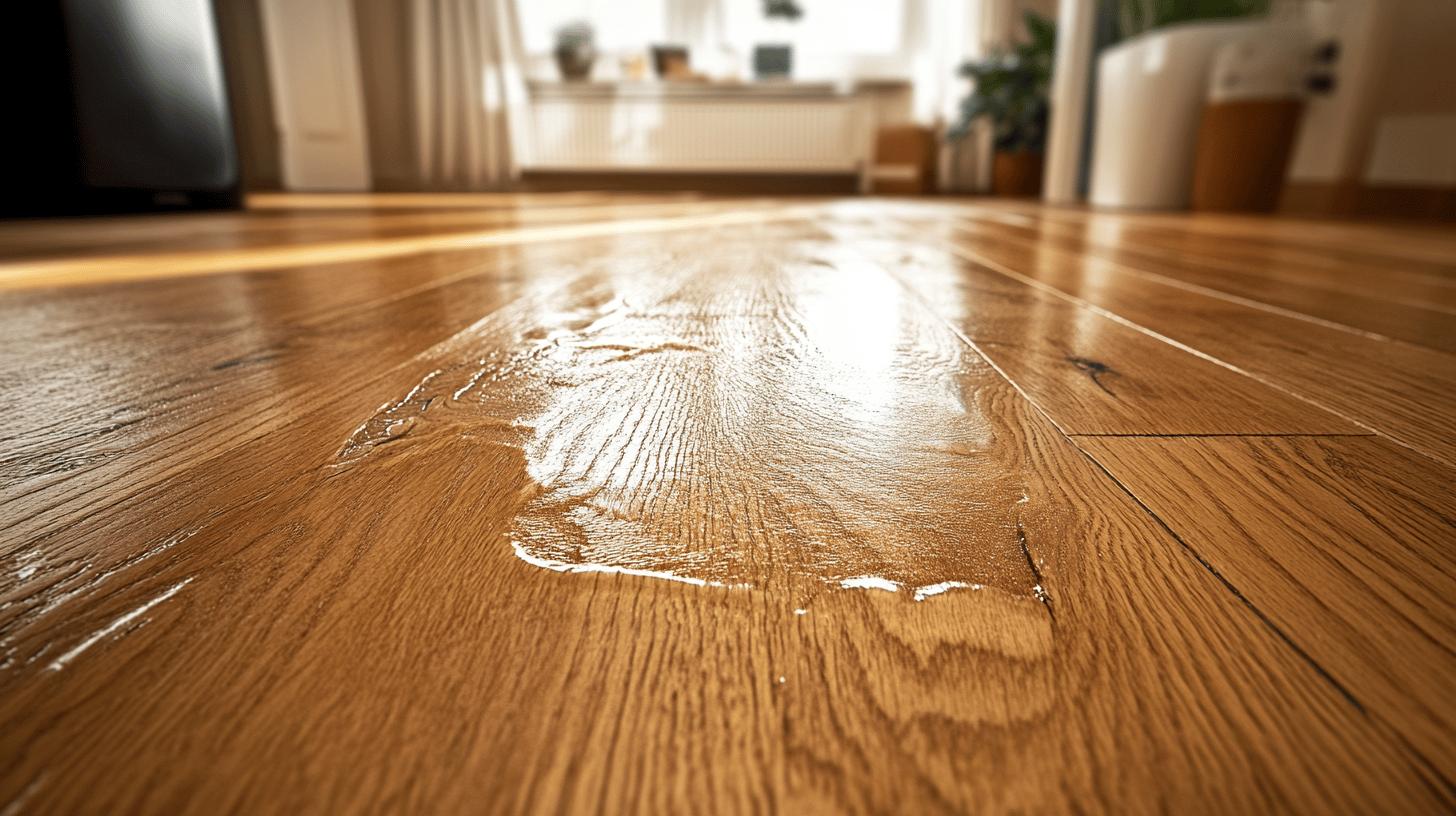
Improper staining techniques can significantly affect the appearance and longevity of your wood floors. What are the typical staining mistakes to avoid? Incorrect application can lead to streaks, bubbles, or an uneven coat, detracting from the floor’s durability and overall aesthetics. Applying stain without consistency or skipping essential steps often results in a patchy finish. Moreover, failing to buff between coats can leave a rough or uneven surface, which diminishes the floor’s visual appeal. Such oversights can be costly and time-consuming to correct, making it crucial to understand and implement proper staining methods.
Key Staining Techniques
- Always test stains in a small area first
- Apply stain with the grain
- Use even pressure when applying
- Wipe off excess stains promptly
- Ensure proper ventilation during the application
- Allow adequate drying time between coats
The importance of buffing between coats cannot be overstated. Buffing smooths out any imperfections, allowing for an even application of subsequent layers. This step enhances the stain’s adherence and contributes to a professional-looking finish. For those unsure about executing these techniques, consulting Ryan’s Restoration can provide invaluable guidance. Their expertise ensures that each stage of the staining process is completed with precision, resulting in a flawless finish that enhances both the beauty and durability of your wood floors.
Mistake Four: Incorrect Finish Selection
Selecting the incorrect finish for your wood floors can have detrimental effects, leading to peeling, cracking, or discolouration. Why does this happen? Mismatched stains and finishes can react poorly together, resulting in a compromised appearance and reduced longevity of your floors. Understanding the fundamental differences between water-based and oil-based finishes is essential in making the right choice for your project. Each type offers specific advantages and disadvantages that can significantly impact the final outcome of your refinishing efforts.
When it comes to selecting a finish, consider your specific needs and preferences. Water-based finishes are ideal for those prioritising environmental concerns and quick application. They offer a clear finish and lower toxicity. However, for a more durable and richly coloured finish, oil-based options might be preferable despite their longer drying times and stronger odour. For personalised advice tailored to your specific circumstances, consulting Ryan’s Restoration can be invaluable. Their expertise ensures that you choose the most suitable finish, enhancing both the aesthetic appeal and durability of your wood floors.
Mistake Five: Overlooking Health and Safety Measures
Neglecting health and safety measures during the wood floor refinishing process is a serious oversight that can lead to significant health risks. What are the common safety oversights to be aware of? Many
Final Words
Avoiding The Top Five Mistakes to Avoid When Refinishing Your Wood Floors is essential for achieving a professionally refined finish. Proper floor preparation ensures a clean slate for the refinishing process while choosing the correct sandpaper grit prevents surface damage. Mastering staining techniques avoids uneven finishes and selecting the right finish protects and enhances your wood floor’s beauty.
Additionally, prioritising safety maintains a hazard-free environment. For a flawless outcome, consulting Ryan’s Restoration ensures an expert touch on your wood floor project. Embrace these guidelines to enhance the aesthetics and value of your home effectively.
FAQ
How hard is it to sand your own floors?
Sanding floors can be challenging without experience. It requires precision and proper equipment to avoid damage. Hiring professionals ensures high-quality results and minimises the risk of costly mistakes.
Why is floor sanding so expensive?
Floor sanding is costly due to labour intensity, equipment expenses, and expertise required. Skilled work is necessary to achieve a smooth finish, which involves careful sanding, staining, and sealing.
How long does it take to sand floors?
Sanding floors usually takes 1-3 days, based on room size and floor condition. This timeframe accounts for preparation, sanding, and finishing, ensuring the best results.
How can you sand wood floors yourself?
Sanding floors yourself involves renting equipment, following detailed instructions, and using proper grit progression. It’s essential to follow safety measures and have patience for a professional-looking result.
What should sanded floors look like?
Sanded floors should appear smooth and even, free from scratches or rough patches. Achieving this finish requires correct sandpaper grit usage and careful technique.
What are important floor sanding tips?
Important floor sanding tips include following grit progression, ensuring thorough cleaning, and maintaining even pressure. Safety precautions and patience throughout the process are crucial for optimal results.
What should you avoid when refinishing hardwood floors?
Avoid rushing the refinishing process, skipping sandpaper grits, and neglecting safety. Ensuring clean surfaces and using compatible products yields durable, aesthetically pleasing results.
How can you tell if wood floors can be refinished?
Wood floors can often be refinished if the surface is worn but structurally intact. Consulting a floor expert can confirm viability and recommend the best refinishing approach.
How long must you stay off hardwood floors after refinishing?
Avoid walking on refinished hardwood floors for 24-48 hours to allow drying. Extra care preserves the finish’s quality and durability over time.
What is best to use for refinishing hardwood floors?
Refinishing hardwood floors requires sanders, appropriate grit sandpaper, stains, and finishes compatible with floor conditions. High-quality products and equipment ensure professional results.
