Is your wooden floor looking tired and worn out, but you’re unsure about where to start with restoration? Reviving your wooden floor to its former glory is attainable and essential for enhancing your home’s aesthetics and value. From sanding away years of wear to sealing it for protection, the restoration process is a journey that demands precision and care. You can transform your floor into a stunning centrepiece with the right guidance. In this comprehensive guide, Ryan’s Restoration takes you through every step of rejuvenating your wooden floors, ensuring a flawless finish and a dust-free, hassle-free experience.
Preparing Your Wooden Floors for Sanding
Inspecting your wooden floors before sanding is essential to achieving a flawless finish. Begin by checking for any damages, such as scratches, dents, or loose boards, and ensure the surface is clean and debris-free. This initial step is crucial as it allows you to identify areas requiring repair or replacement before sanding. A clean and well-inspected floor will ensure that the sanding process proceeds smoothly and results in a uniform finish.
Gathering the right tools is equally important for an effective sanding process. Essential tools include a drum sander and an edge sander, which are necessary for tackling large floor areas and corners. Various grit sandpapers are required to facilitate different stages of sanding, from coarse to fine. A vacuum cleaner is indispensable for removing dust and debris during and after sanding, ensuring a clean work environment. Lastly, don’t forget protective gear, such as masks and goggles, to safeguard against dust and particles.
- Drum sander
- Edge sander
- Various grit sandpapers
- Vacuum cleaner
- Protective gear
Mastering the Sanding Process for Wooden Floors
Using the correct sanding technique is paramount in the restoration of wooden floors. It ensures the removal of old finishes and imperfections and prepares the surface for sealing, enhancing the wood’s longevity and appearance. A systematic approach with the right tools, including a drum sander and appropriate grit sandpapers, is essential. This process is organised into three stages: coarse, medium, and fine sanding, each serving a distinct purpose and requiring specific techniques.
Coarse Sanding
Coarse sanding is the first stage, crucial for eliminating old finishes, stains, and any surface imperfections. Utilising 36 or 40-grit sandpaper is effective at this stage. The coarser grit efficiently strips away layers of worn finish and exposes the bare wood beneath. Maintaining a steady pace and even pressure is vital to avoid gouging the surface when using a drum sander. This stage lays the groundwork for subsequent sanding by creating a level surface.
Medium Sanding
Following the coarse sanding, medium sanding aims to smooth the surface further. This stage employs 80-grit sandpaper. The transition to a finer grit helps refine the wood surface by minimising the scratches left by the coarse sanding. Keeping the sanding motion consistent is important, overlapping each pass slightly to ensure an even finish. This step prepares the wood for the final polishing phase by eliminating the roughness from the initial sanding.
Fine Sanding
The final stage, fine sanding, utilises 100 or 120 grit sandpaper to achieve a polished finish. This step is crucial for removing minor scratches and ensuring the surface is smooth and ready for sealing. The fine sanding stage requires careful attention to detail, ensuring that the entire floor is uniformly treated. This meticulous approach ensures the wood floors are not only smooth to the touch but also optimally prepared for the application of sealants, enhancing both the aesthetics and durability of the floors.
Cleaning and Repairing Your Wooden Floors
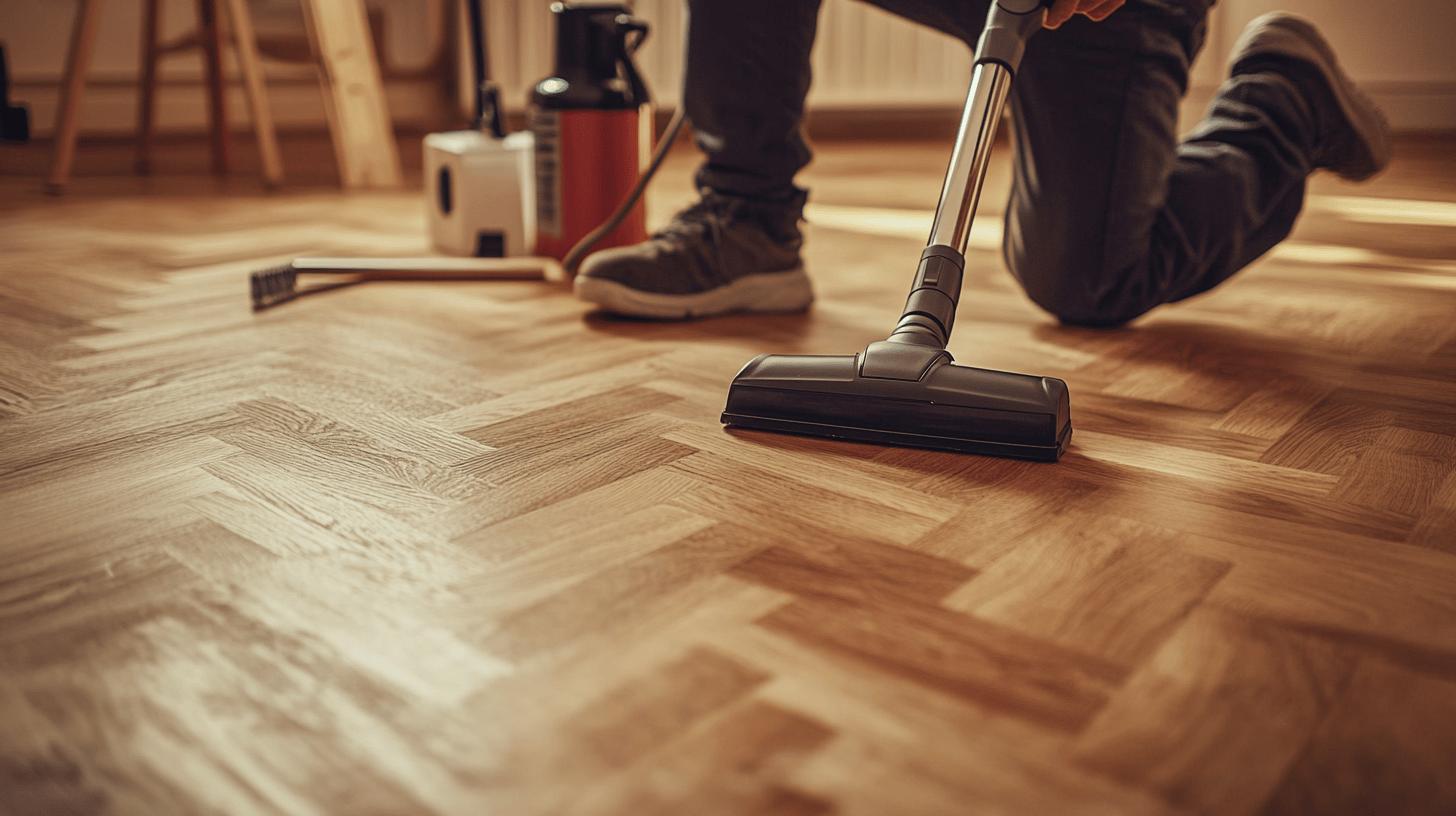
Once the sanding process is complete, cleaning the floor is critical before applying any sealants. Why is it essential to clean the floor after sanding? To ensure the sealant adheres appropriately and provides an even finish. Residual dust and debris from sanding can interfere with the sealant’s effectiveness, leading to an uneven or blotchy appearance. Thoroughly vacuum the entire floor and use a damp cloth to eliminate any remaining dust particles. This meticulous cleaning sets the stage for a flawless sealing process.
Repairing your wooden floors is equally vital in the pre-sealing phase. What common repairs should be addressed before sealing? Filling gaps, repairing scratches, replacing damaged floorboards, and ensuring an even surface. Gaps between floorboards may be filled with a suitable wood filler, restoring the floor’s continuity and aesthetic. Scratches, often more visible after sanding, require attention to maintain a smooth surface. Addressing these issues improves the floor’s appearance and enhances the sealant application’s durability and longevity.
- Filling gaps with wood filler
- Repairing scratches
- Replacing damaged floorboards
- Ensuring even surface
Addressing these repairs creates a solid foundation for the sealing process. Replacing any damaged floorboards is crucial, as it prevents future structural issues and ensures the floor maintains its integrity. Ensuring an even surface is vital; uneven areas can cause the sealant to pool or wear unevenly over time. By carefully cleaning and repairing the floor, you prepare it for effective sealing, ultimately leading to a beautifully restored wooden floor that can withstand daily wear and tear.
Choosing and Applying the Right Sealant for Wooden Floors
Sealing wooden floors is crucial for protection, aesthetic enhancement, and durability. The right sealant safeguards against wear and moisture while accentuating the floor’s natural beauty. Different sealants cater to various needs, such as water-based polyurethanes, which dry quickly and emit low odours, making them suitable for homes with children or pets. Oil-based polyurethanes provide a rich, amber tone and are more durable, ideal for high-traffic areas. Water-based options are less durable but preserve the wood’s original colour. Varnishes and lacquers are also standard, each with specific benefits. Selecting the right type depends on location, expected wear, and desired finish.
Applying sealant effectively involves a systematic approach. Begin by ensuring the floor is clean and dry, as any dust can mar the finish. Use a high-quality brush or applicator to apply the first coat, moving along the wood grain for an even application. Allow each coat to dry thoroughly, adhering to the manufacturer’s instructions for drying times. Lightly sanding between coats with fine-grit sandpaper ensures a smooth finish. Typically, two to three coats are recommended for optimal protection and appearance. This meticulous process extends the floor’s lifespan and enhances its visual appeal.
Comparing Sealant Options
Choosing the appropriate sealant and applying it correctly ensures that wooden floors remain beautiful and resilient, ready to withstand everyday challenges while maintaining their charm.
Tips for Maintaining Your Restored Wooden Floors
Regular maintenance is crucial for preserving the beauty and durability of restored wooden floors. What cleaning products should be used on sealed wooden floors? Gentle, wood-safe cleaners are recommended to prevent damage to the floor’s finish. Regular cleaning with these products helps maintain the floor’s appearance and extends its lifespan by protecting the sealant layer. Additionally, avoiding excessive water exposure is vital, as moisture can seep into the wood, causing swelling and damage over time. Keeping the floors dry and using appropriate cleaning agents maintains the integrity of the restored surface.
Periodic professional maintenance offers significant benefits for wooden floors. Why should homeowners consider professional maintenance services? Professionals have the expertise and equipment for deep cleaning and reapplying finishes that may be beyond the capabilities of typical home cleaning efforts. They can assess the floor’s condition, reapply protective coatings, and address any emerging issues, ensuring the floor remains in optimal condition. Moreover, reapplying the finish as required and protecting floors from direct sunlight are essential practices. Sunlight can cause fading and discolouration, while a refreshed finish protects the floor against daily wear and tear. Engaging experts periodically ensures the floor looks its best and retains its value over the long term.
- Use gentle, wood-safe cleaners.
- Avoid excessive water exposure
- Reapply finish as required
- Protect floors from direct sunlight
- Consider professional maintenance services
Final Words
Embarking on restoring wooden floors involves several essential steps, from preparation to sealing. Beginning with a thorough inspection and proper tool selection, the foundation is set for effective sanding. The sanding process, divided into coarse, medium, and fine stages, ensures a smooth and refined surface. Subsequent cleaning and repairs prepare the floors for sealing, enhancing both durability and appearance. Choosing the right sealant and mastering its application is vital for lasting protection. Following these steps, from sanding to sealing, restoring wooden floors guarantees a stunning and enduring finish.
FAQ
Q: What is the cost of sanding wooden floors in the UK?
A: The cost of sanding wooden floors in the UK varies based on factors such as floor size and condition but typically ranges from £12 to £20 per square meter.
Q: How can one restore hardwood floors without sanding?
A: Restoring hardwood floors without sanding involves deep cleaning, applying a chemical abrasion kit, and top-coating with polyurethane for added durability and shine.
Q: What does the wooden floor restoration involve from start to finish?
A: From sanding to sealing, the wooden floor restoration process includes preparation, sanding, cleaning, repairs, sealing, and maintenance to ensure a durable and aesthetically pleasing finish.
Q: How does one sand a wooden floor by hand?
A: Sand a wooden floor by hand using a handheld sander and various grit sandpapers, starting with coarse grit and progressing to finer grits for a smooth finish.
Q: What are the stages of refinishing hardwood floors?
A: Refinishing involves three stages: coarse sanding with 36-40 grit, medium sanding with 80 grit, and fine sanding with 100-120 grit sandpaper, followed by sealing and maintenance.
Q: What should be done after sanding wood floors?
A: After sanding, clean the floor thoroughly, fill any gaps, repair damages, and apply a suitable sealant to protect the wood and enhance its appearance.
Q: How is a wood floor sealed post-sanding?
A: Seal a wood floor by applying an even coat of chosen sealant with a brush or roller, allowing it to cure fully before adding additional coats if necessary.
Q: What should be applied to wooden floors after sanding?
A: After sanding, apply a protective sealant like polyurethane to enhance durability and finish, ensuring the floor remains attractive and resilient against wear.
Q: How to find wooden floor restoration services nearby?
A: Locate nearby wooden floor restoration services by searching online directories, checking local listings, or requesting recommendations from friends or neighbours.


