Have you ever considered tackling your wooden floors yourself but are worried about achieving professional results? With the right guidance and tools, DIY floor sanding can be a rewarding challenge that breathes new life into your home. Before you dust off those old sneakers and dive into the task, understanding each step involved is crucial to avoid costly errors. In this article, readers will explore valuable tips and techniques that ensure flawless finishes comparable to professional standards. Equip yourself with the knowledge to master your next DIY project with confidence and achieve a beautiful, pristine floor.
Essential Tools and Materials for DIY Floor Sanding
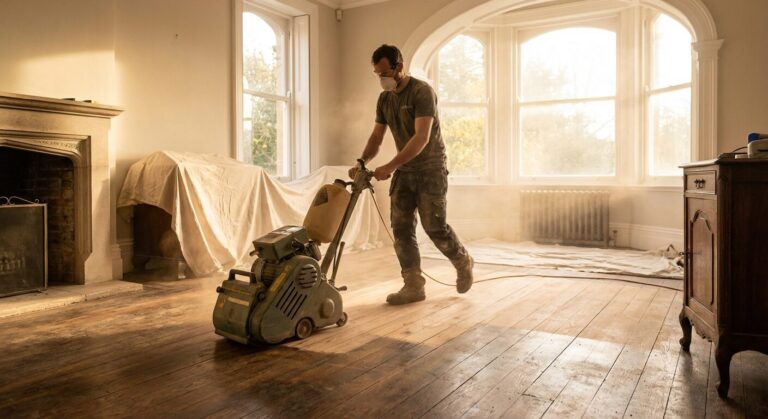
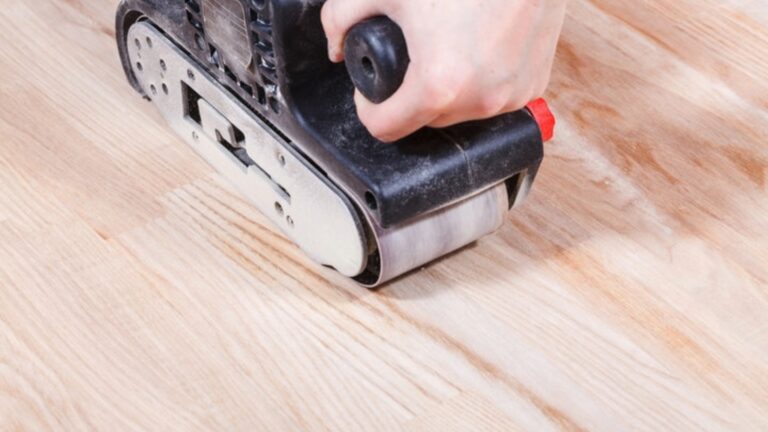
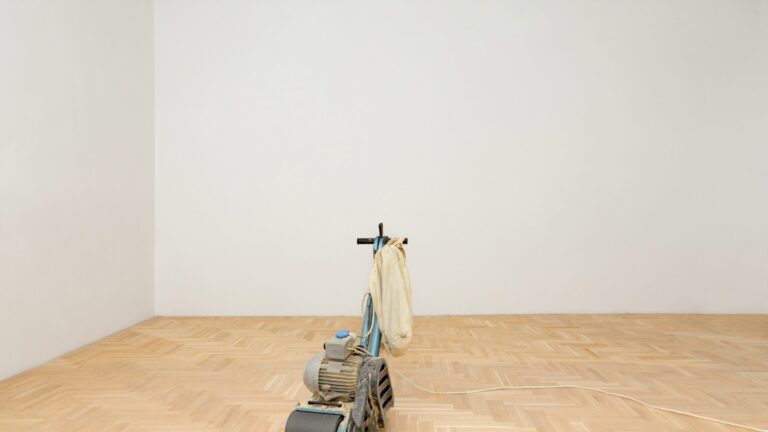
Utilising the right tools and equipment is crucial for achieving professional-quality results in DIY floor sanding. Selecting the appropriate machinery and accessories ensures efficiency and minimises potential damage to the floor surface. Essential sanding tools include a drum sander and an edge sander, which are indispensable for tackling large areas and tight corners. Sandpaper of varying grits is necessary to achieve a smooth finish, starting with coarser grits to remove old finishes and imperfections and progressing to finer grits for polishing the wood. Additionally, using continuous belt machinery with mobile extraction units is vital for dust-free sanding, maintaining both cleanliness and safety during the process.
- Drum sander
- Edge sander
- Sandpaper (various grits)
- Vacuum
- Continuous belt machinery
- Mobile extraction unit
- Dust mask
- Safety goggles
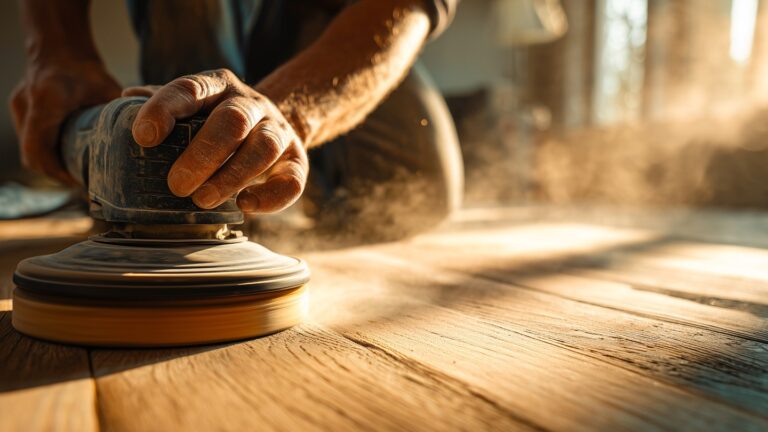
Safety gear and dust control measures are paramount to protect both the individual and the work environment. Wearing a dust mask and safety goggles shields the user from fine dust particles that can pose respiratory and eye hazards. Moreover, employing a vacuum alongside mobile extraction units effectively captures dust during sanding, ensuring a cleaner and safer workspace. By investing in quality equipment and prioritising safety, individuals can confidently undertake their DIY floor sanding projects with optimal results.
Preparing Your Space for Floor Sanding
Proper preparation is vital to prevent equipment damage and ensure effective sanding results. Inadequate preparation can lead to unnecessary complications during the sanding process, such as equipment malfunction or surface imperfections. By dedicating time to prepare your space properly, you enhance the efficiency of the sanding and protect your investment in both the equipment and your flooring.
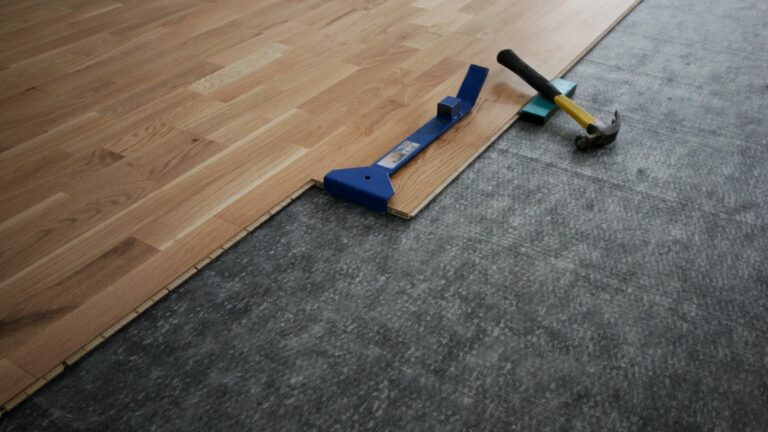
Begin by clearing the room of furniture and any movable items. This not only provides a clear working area but also protects your belongings from dust and potential damage. Secure any loose floorboards and ensure nails are hammered below the surface to avoid damage to the sanding equipment. Additionally, covering immovable items with protective sheets can help safeguard against dust accumulation.
Conduct a thorough assessment of your wooden floors to identify any necessary repairs before starting the sanding process. Look for protruding nails, loose boards, or damaged areas that require attention. Addressing these issues prior to sanding ensures a smoother operation and a better-quality finish. This proactive approach is essential for achieving the desired results and maintaining the integrity of your floors.
Step-by-Step Guide to Proper Sanding Techniques
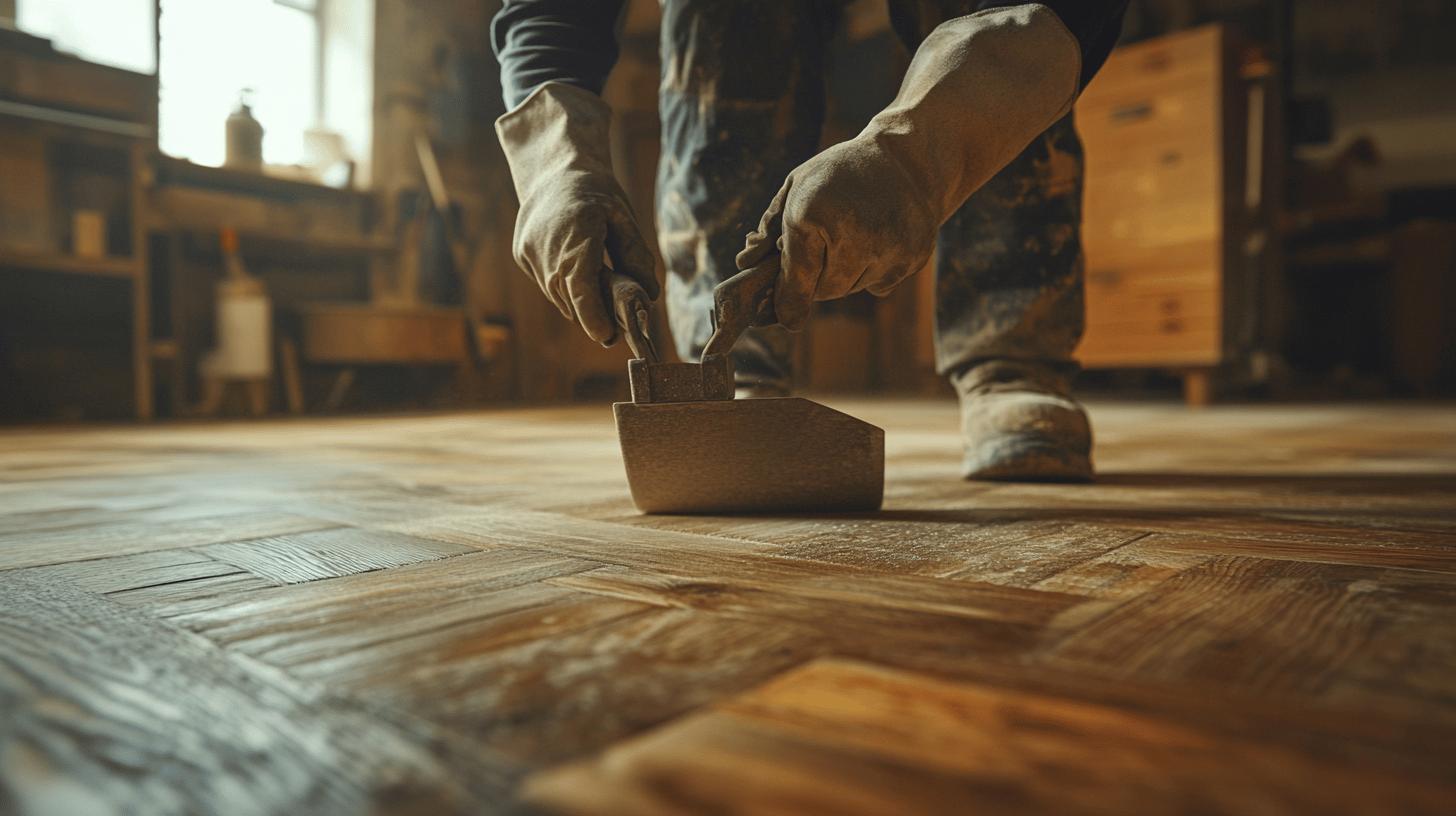
Employing the correct sanding techniques is critical for achieving a flawless finish on your wooden floors. Proper sanding methods not only enhance the appearance of the floor but also prolong its lifespan by ensuring a smooth, even surface that is ready for finishing. By understanding and applying the right techniques, you can avoid common pitfalls such as uneven sanding, swirl marks, and visible imperfections.
Diagonal and Crisscross Patterns
Sanding in diagonal and crisscross patterns is highly effective in ensuring even sand across the entire floor surface. These patterns minimise the risk of creating swirl marks, which can occur when the sander is pushed in a single direction. By moving the sander in a diagonal direction, you distribute the pressure more evenly, which helps in levelling out the floor. The crisscross technique further enhances this by providing a second layer of sanding that covers any areas that might have been missed initially. This method is particularly beneficial for older or uneven floors, where achieving uniformity is essential.
Feathering Edges
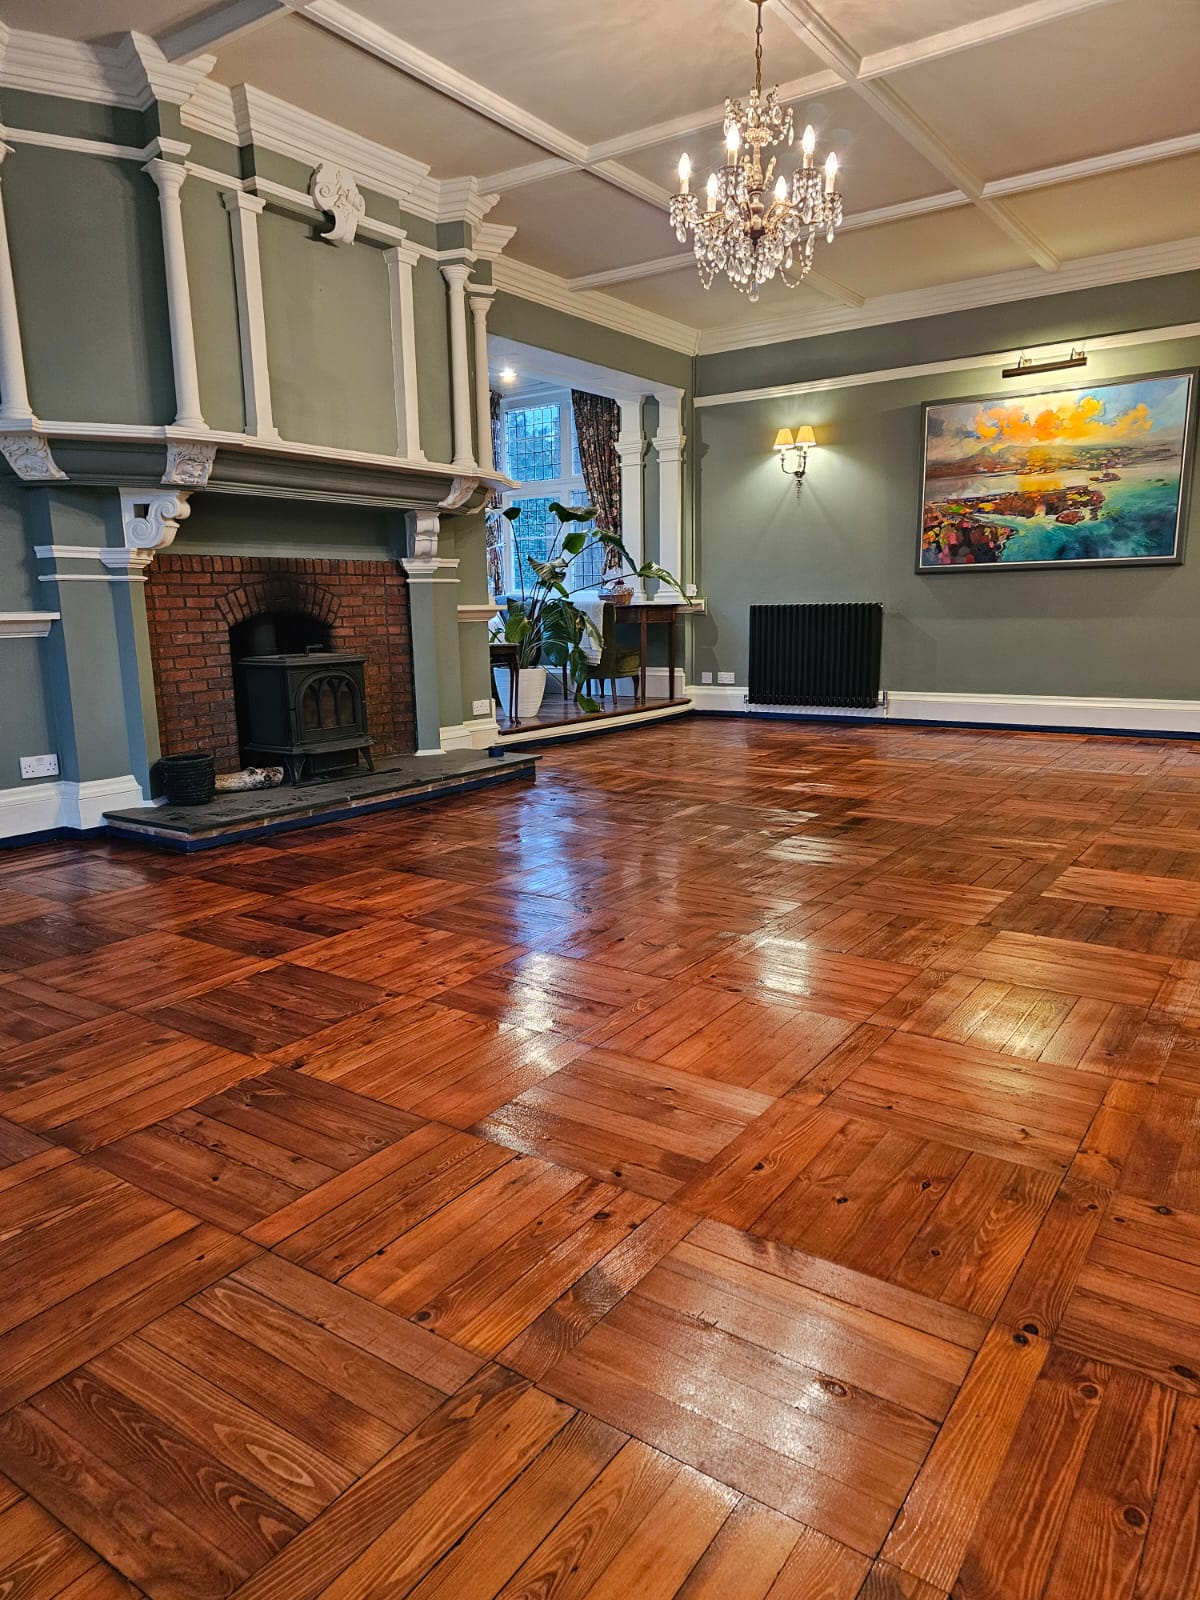
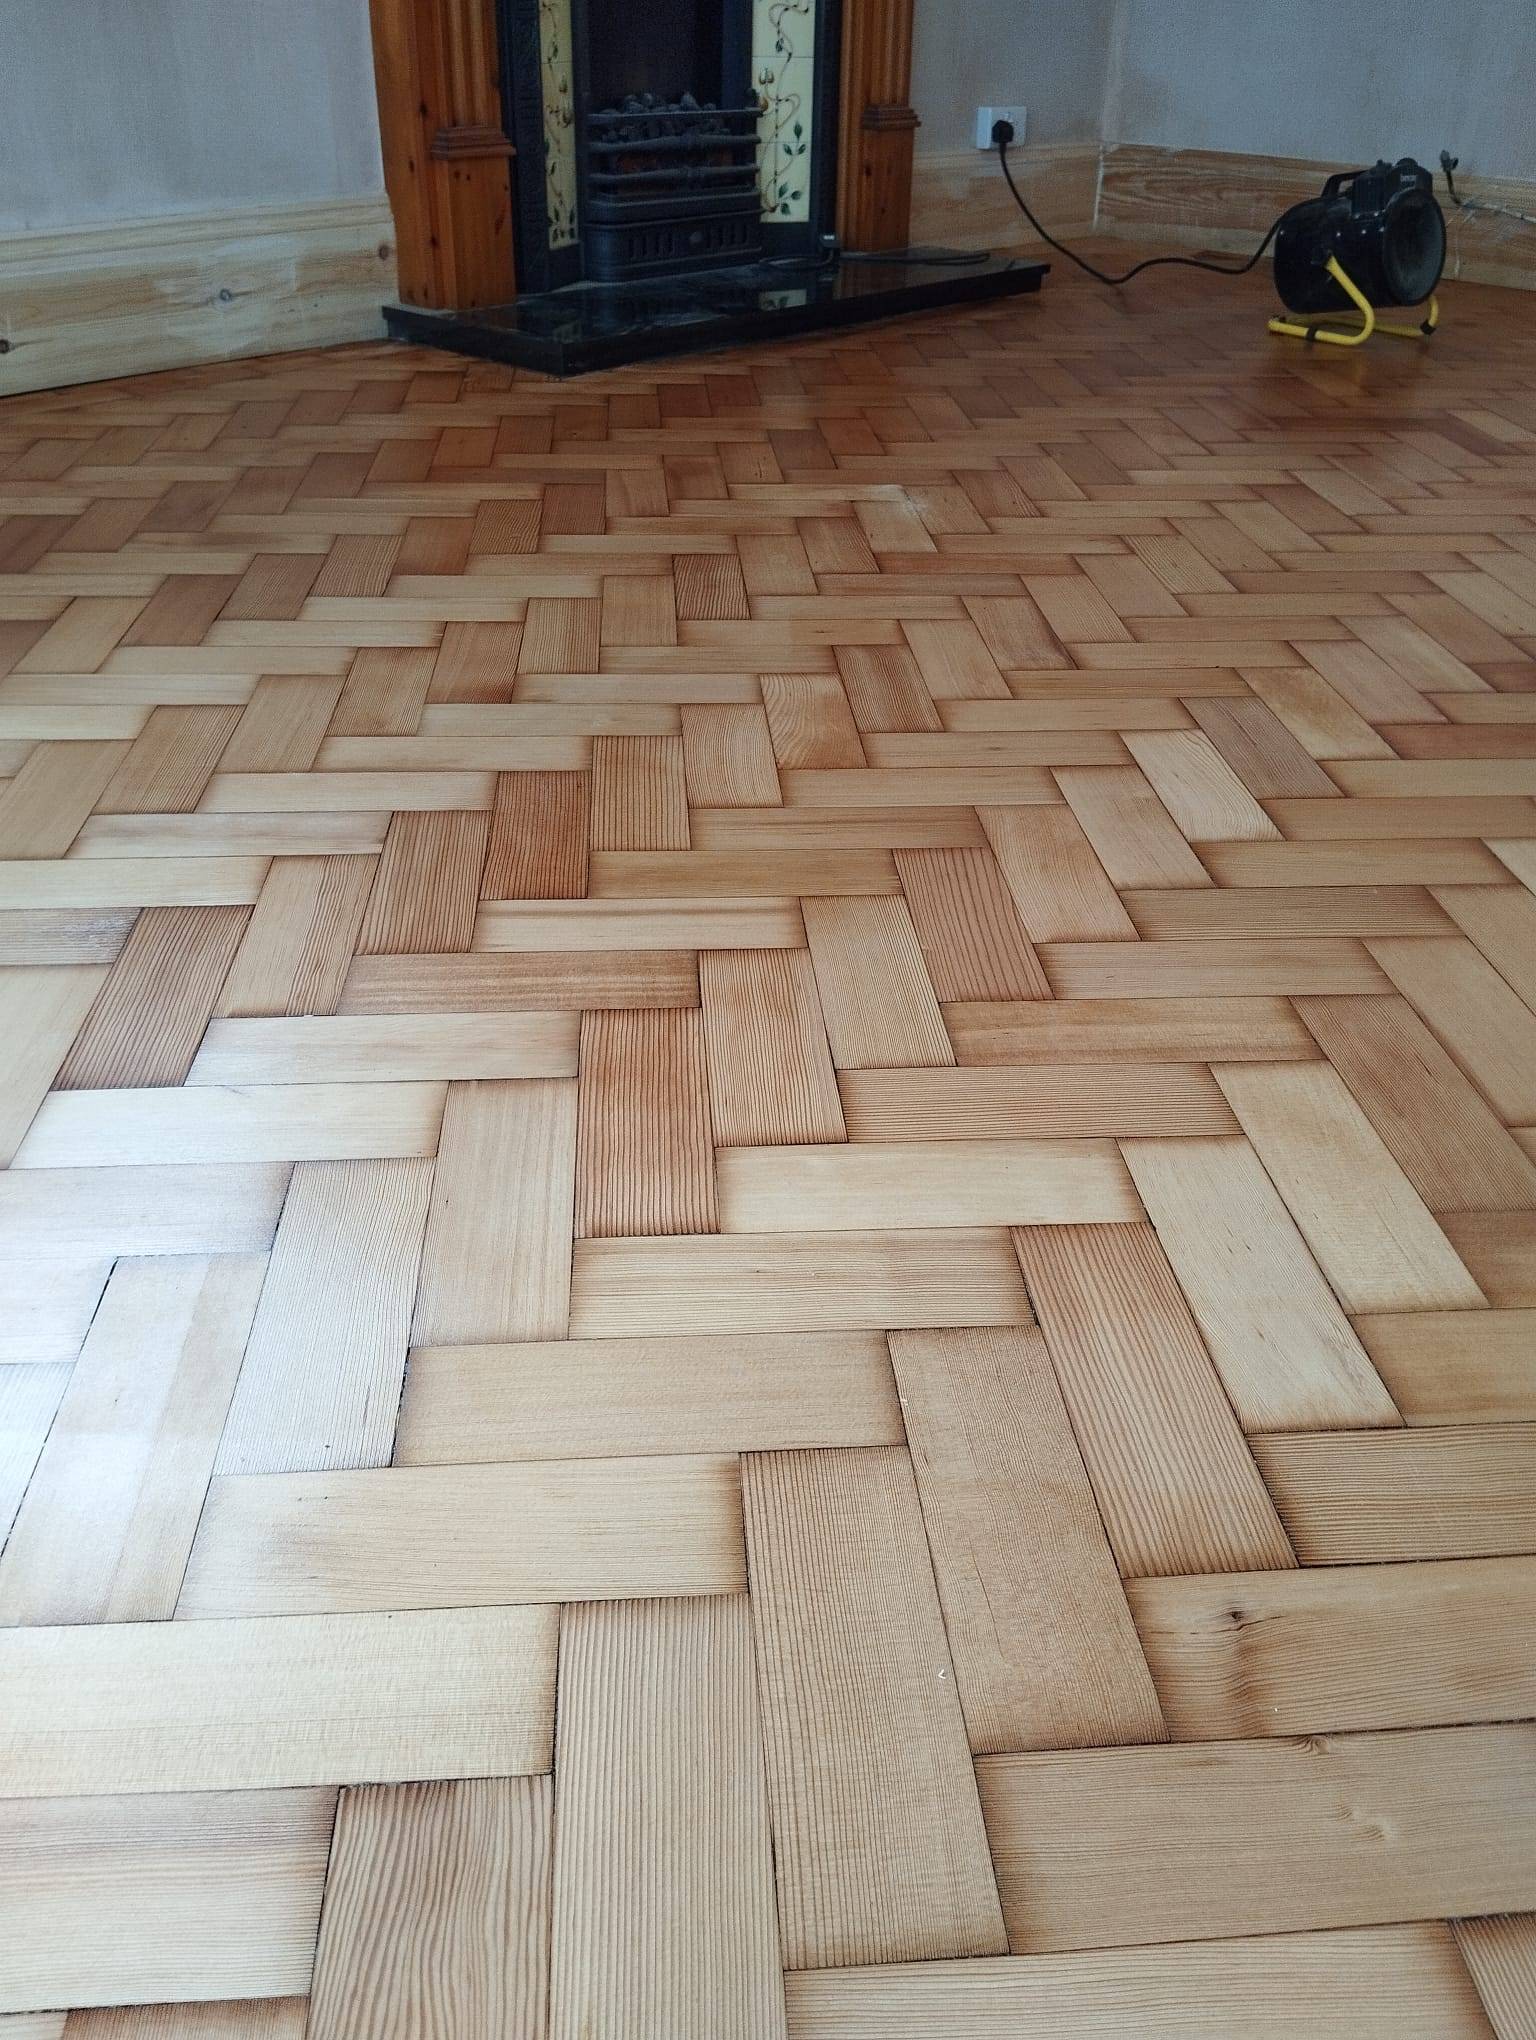
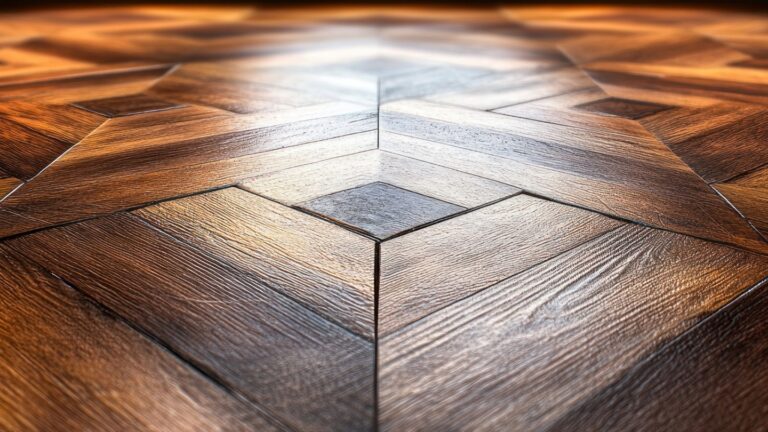
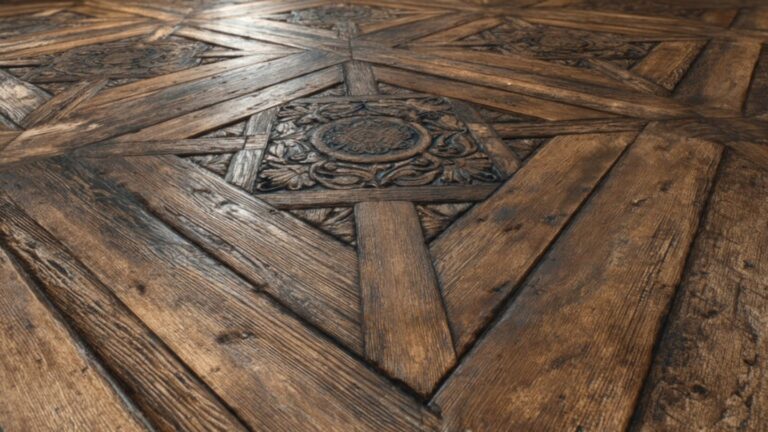
Feathering the edges is a crucial technique to achieve a seamless transition between sanded and unsanded areas. This method involves gently blending the edges of each sanded section to avoid any harsh lines or noticeable transitions. To feather edges effectively, reduce the pressure on the sander as you approach the boundary of the sanded area. This light touch ensures that the edges are smoothed out, creating a cohesive appearance across the entire floor. Feathering is especially important when working with intricate flooring designs, such as parquet, where precision is key to maintaining the floor’s aesthetic.
Mastering these sanding techniques is vital for achieving a professional finish that enhances both the beauty and durability of your floors. Proper sanding methods ensure that the surface is evenly prepared for finishing, allowing for optimal absorption of finishing products and a long-lasting result. By practising these techniques, DIY enthusiasts can replicate the quality of professional wood floor sanding, adding value and elegance to their homes.
Choosing the Right Sandpaper and Grits
The selection of sandpaper and its grits plays a pivotal role in floor sanding in South East London and beyond, influencing the finish’s smoothness and quality. Starting with a coarse grit is essential for removing old finishes and levelling the surface. As you progress through the sanding process, switch to finer grits to polish the wood and eliminate any residual scratches. For example, beginning with 40-grit sandpaper efficiently strips away the top layers while transitioning to 80-grit or 120-grit refines the surface for a flawless finish. Improper grit selection can lead to common issues like swirl marks, but these can be minimised by using the correct grit in each phase of sanding.
Adjusting sanding angles and pressure is crucial for optimising the effectiveness of each sandpaper grit. Applying consistent pressure and adjusting angles based on the floor’s grain will prevent uneven surfaces and enhance the overall appearance. Sanding with the grain reduces the risk of creating scratches and ensures that the finish will adhere evenly. Individuals can achieve professional-grade results in their DIY floor sanding projects by understanding the interaction between sandpaper grits, sanding angles, and pressure.
Finishing and Protecting Your Sanded Floor
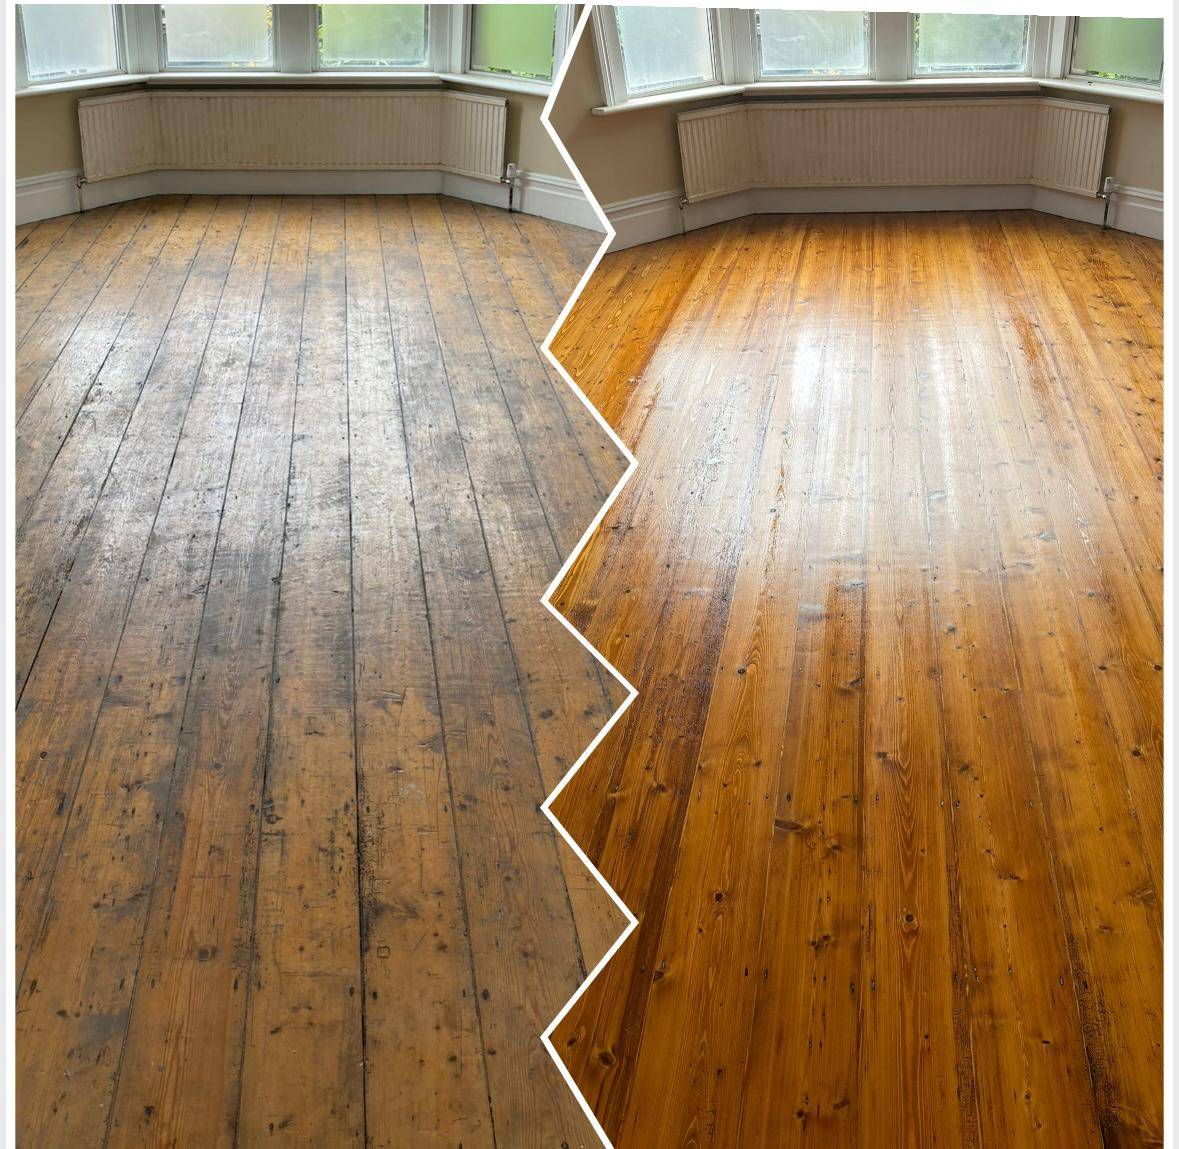
Professional wood floor restoration and finishing is crucial for achieving a durable and aesthetically pleasing floor through professional wood floor polishing. It not only enhances the floor’s appearance but also provides a protective layer that extends its lifespan. Rushing this process can result in uneven finishes and compromised durability, so following manufacturer instructions and applying finishes with long, even strokes along the wood grain is essential. Selecting the appropriate finishing technique—whether oil, wax, varnish, or polyurethane—depends on the desired look and level of protection needed.
Oil and Wax Finishes
Professional wood floor oiling offers an organic finish that highlights the natural beauty of the wood. It penetrates deeply, enhancing the wood grain and providing a water-repellent surface that is easier to maintain. Oils are ideal for achieving a warm, matte appearance that accentuates the wood’s texture.
Conversely, waxing provides a soft, natural look with a sheen that allows the wood to breathe. This finish is more traditional and can add a layer of elegance to the floor. Although wax requires more frequent maintenance to retain its appearance, it offers a unique finish that complements historic or period properties.
Varnish and Polyurethane
Varnish and polyurethane finishes are popular for their durability and glossy appearance. Varnish creates a hard, protective layer that shields the floor from scratches and wear, making it suitable for high-traffic areas. It is available in various sheens, allowing for customisation of the floor’s final look.
Polyurethane is renowned for its resilience and ease of maintenance. It forms a tough, clear coat that resists moisture and abrasion, preserving the floor’s condition over time. This finish is particularly beneficial for households with children or pets, where additional protection is essential.
Maintaining your newly finished floor is vital to preserve its appearance and durability. Regular cleaning with appropriate wood floor cleaners, using protective mats at entryways, and adding felt pads to furniture legs can prevent scratches and wear. By implementing these maintenance strategies, you can sustain your floor’s longevity and aesthetic appeal, ensuring your hard work in sanding and finishing is rewarded with a beautiful, enduring surface.
Common DIY Floor Sanding Mistakes and How to Avoid Them
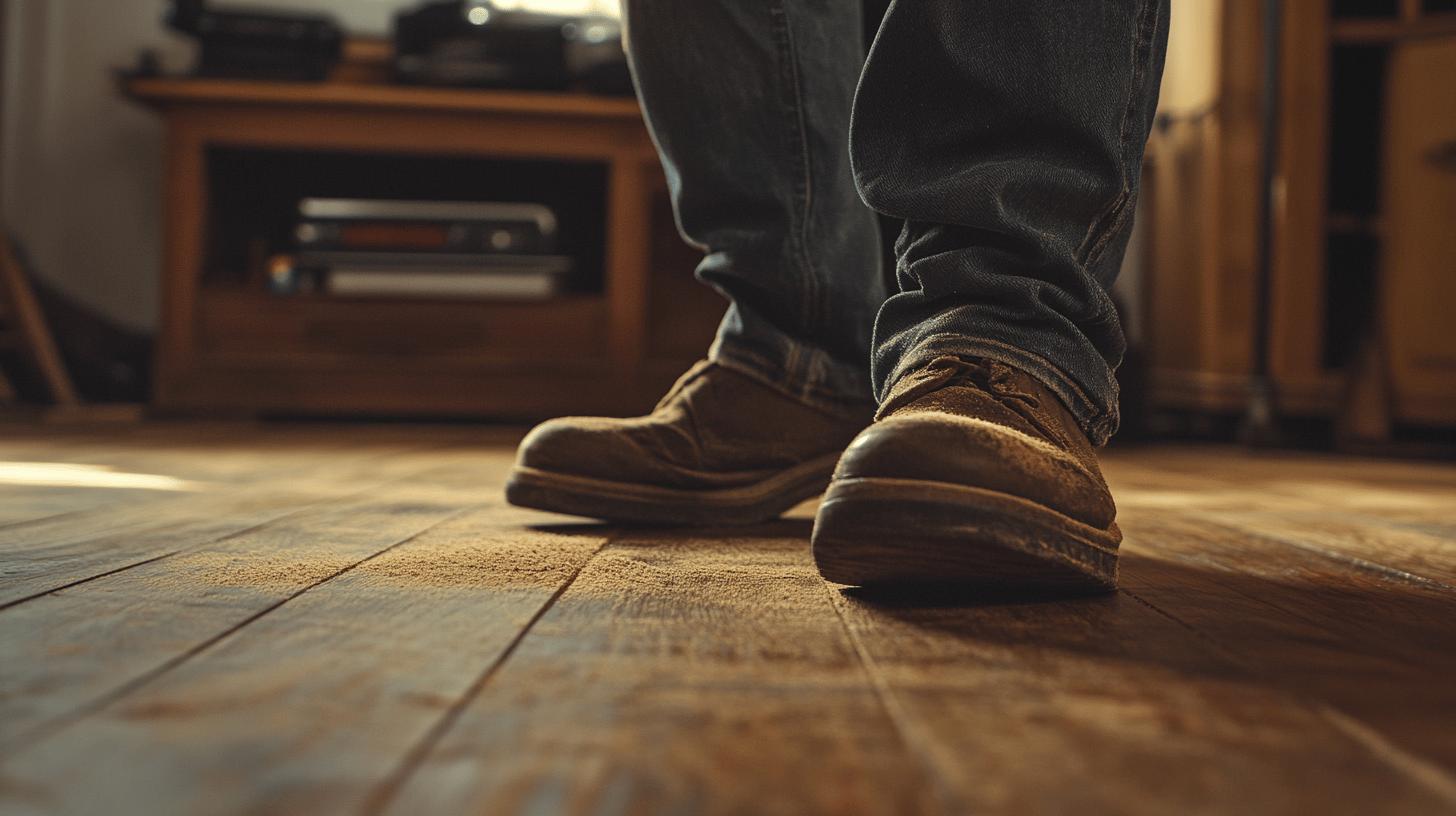
In DIY floor sanding, several common mistakes can significantly impact the quality of your results. Insufficient preparation is a notable error, often leading to equipment damage and unsatisfactory finishes. Failing to clear the space or secure loose boards can cause interruptions and inefficiencies. Additionally, improper equipment usage, such as not adjusting the sander correctly or selecting the wrong grit, can create uneven surfaces and visible imperfections. Rushing the finishing process is another frequent mistake, resulting in blotchy finishes and compromised floor durability. Each of these errors not only affects the outcome but also increases the time and resources required for correction.
- Always read the equipment’s user manual thoroughly before operation.
- Test sanding techniques in a concealed area, such as a closet, to gain confidence.
- Ensure the room is completely cleared and the floor is inspected for protruding nails.
- Begin sanding with the recommended grit and progress methodically to finer grits.
- Allocate sufficient time for each sanding and finishing stage to ensure even application.
Learning from these mistakes is vital to refining one’s DIY sanding skills. Recognising past errors and taking preventive measures can significantly enhance future projects. By practising on small, concealed areas and continuously assessing the sanding process, individuals can adapt and improve their technique. This iterative learning process is essential for achieving professional-quality results and maximising the longevity and beauty of wooden floors.
DIY Sanding vs. Professional Services: Making the Right Choice
DIY floor sanding offers a cost-effective solution for restoring wooden floors, allowing homeowners to save on professional fees. This approach provides personal satisfaction and control over the project, enabling individuals to tailor the process to their specific preferences. However, DIY sanding comes with its challenges. Achieving a consistent and even finish can be difficult without the proper experience and technique, potentially leading to uneven sanding or damage to the floor. Additionally, the process is time-intensive, requiring careful attention and patience at each stage, from preparation to finishing.
Professional floor restoration services provide expertise, precision, and efficiency that can be difficult to match with DIY efforts. If the task’s complexity or the desired quality exceeds personal capabilities, hiring a professional is advisable. Professionals like Ryan’s Restoration possess the necessary skills and equipment to ensure a flawless finish, minimising the risk of errors and the need for rework. Opting for professional services is particularly beneficial for intricate flooring, such as parquet or large areas, where expert handling can make a significant difference in the outcome. By choosing professional assistance, homeowners can ensure their floors receive the attention and care required for a durable and beautiful finish.
Final Words
Navigating the intricate world of DIY floor sanding involves understanding essential tools, preparing your space meticulously, and employing proper techniques. Mastering the right techniques ensures a seamless, professional finish while selecting appropriate sandpaper grits plays a crucial role in achieving a smooth surface.
Finishing and protecting your sanded floor is equally vital, using techniques that enhance durability and elegance. Avoiding common errors ensures successful outcomes, making DIY sanding a rewarding endeavour.
For those seeking exceptional results without the hassle, engaging Ryan’s Restoration offers quality assurance through expert service. These DIY floor sanding tips empower you to transform your space confidently.
FAQ
Q: What is the easiest way to sand a floor?
A: Sanding a floor is most accessible by using a floor sander with continuous belt machinery and a mobile extraction unit. This ensures efficient sanding while minimising dust accumulation in your working environment.
Q: What sander should be used for DIY floor sanding?
A: For DIY floor sanding, a drum sander paired with an edge sander is recommended. These tools effectively remove old finishes and smooth out imperfections.
Q: Do you fill gaps in floorboards before sanding?
A: Yes, filling gaps in floorboards is advisable before sanding. This prevents further wear and ensures a uniform surface for a high-quality finish post-sanding.
Q: How can you sand a floor by hand in the UK?
A: To sand a floor by hand in the UK, use a hand sander with coarse to fine grit sandpaper. Remember to sand in the direction of the wood grain to achieve a smooth finish.
Q: How much does sanding wooden floors cost?
A: The cost of sanding wooden floors varies depending on the room size and finish quality desired. On average, expect prices to range from £20-£30 per square metre.
Q: Is floor sander hire available in London?
A: Yes, floor sander hire is widely available in London. Leading equipment hire companies offer various types of sanders to suit different sanding needs for DIY projects.
Q: Where can I find wooden floor sanding services near me?
A: Wooden floor sanding services are accessible nationwide. Online search directories or local business listings can help locate reliable professionals in your vicinity.
Q: What are some DIY floor sanding tips and tricks?
A: Ensure proper preparation by cleaning the area, using correct sandpaper grits, and sanding in patterns. Maintain safety with appropriate gear, like dust masks and goggles, to protect against debris and dust.
