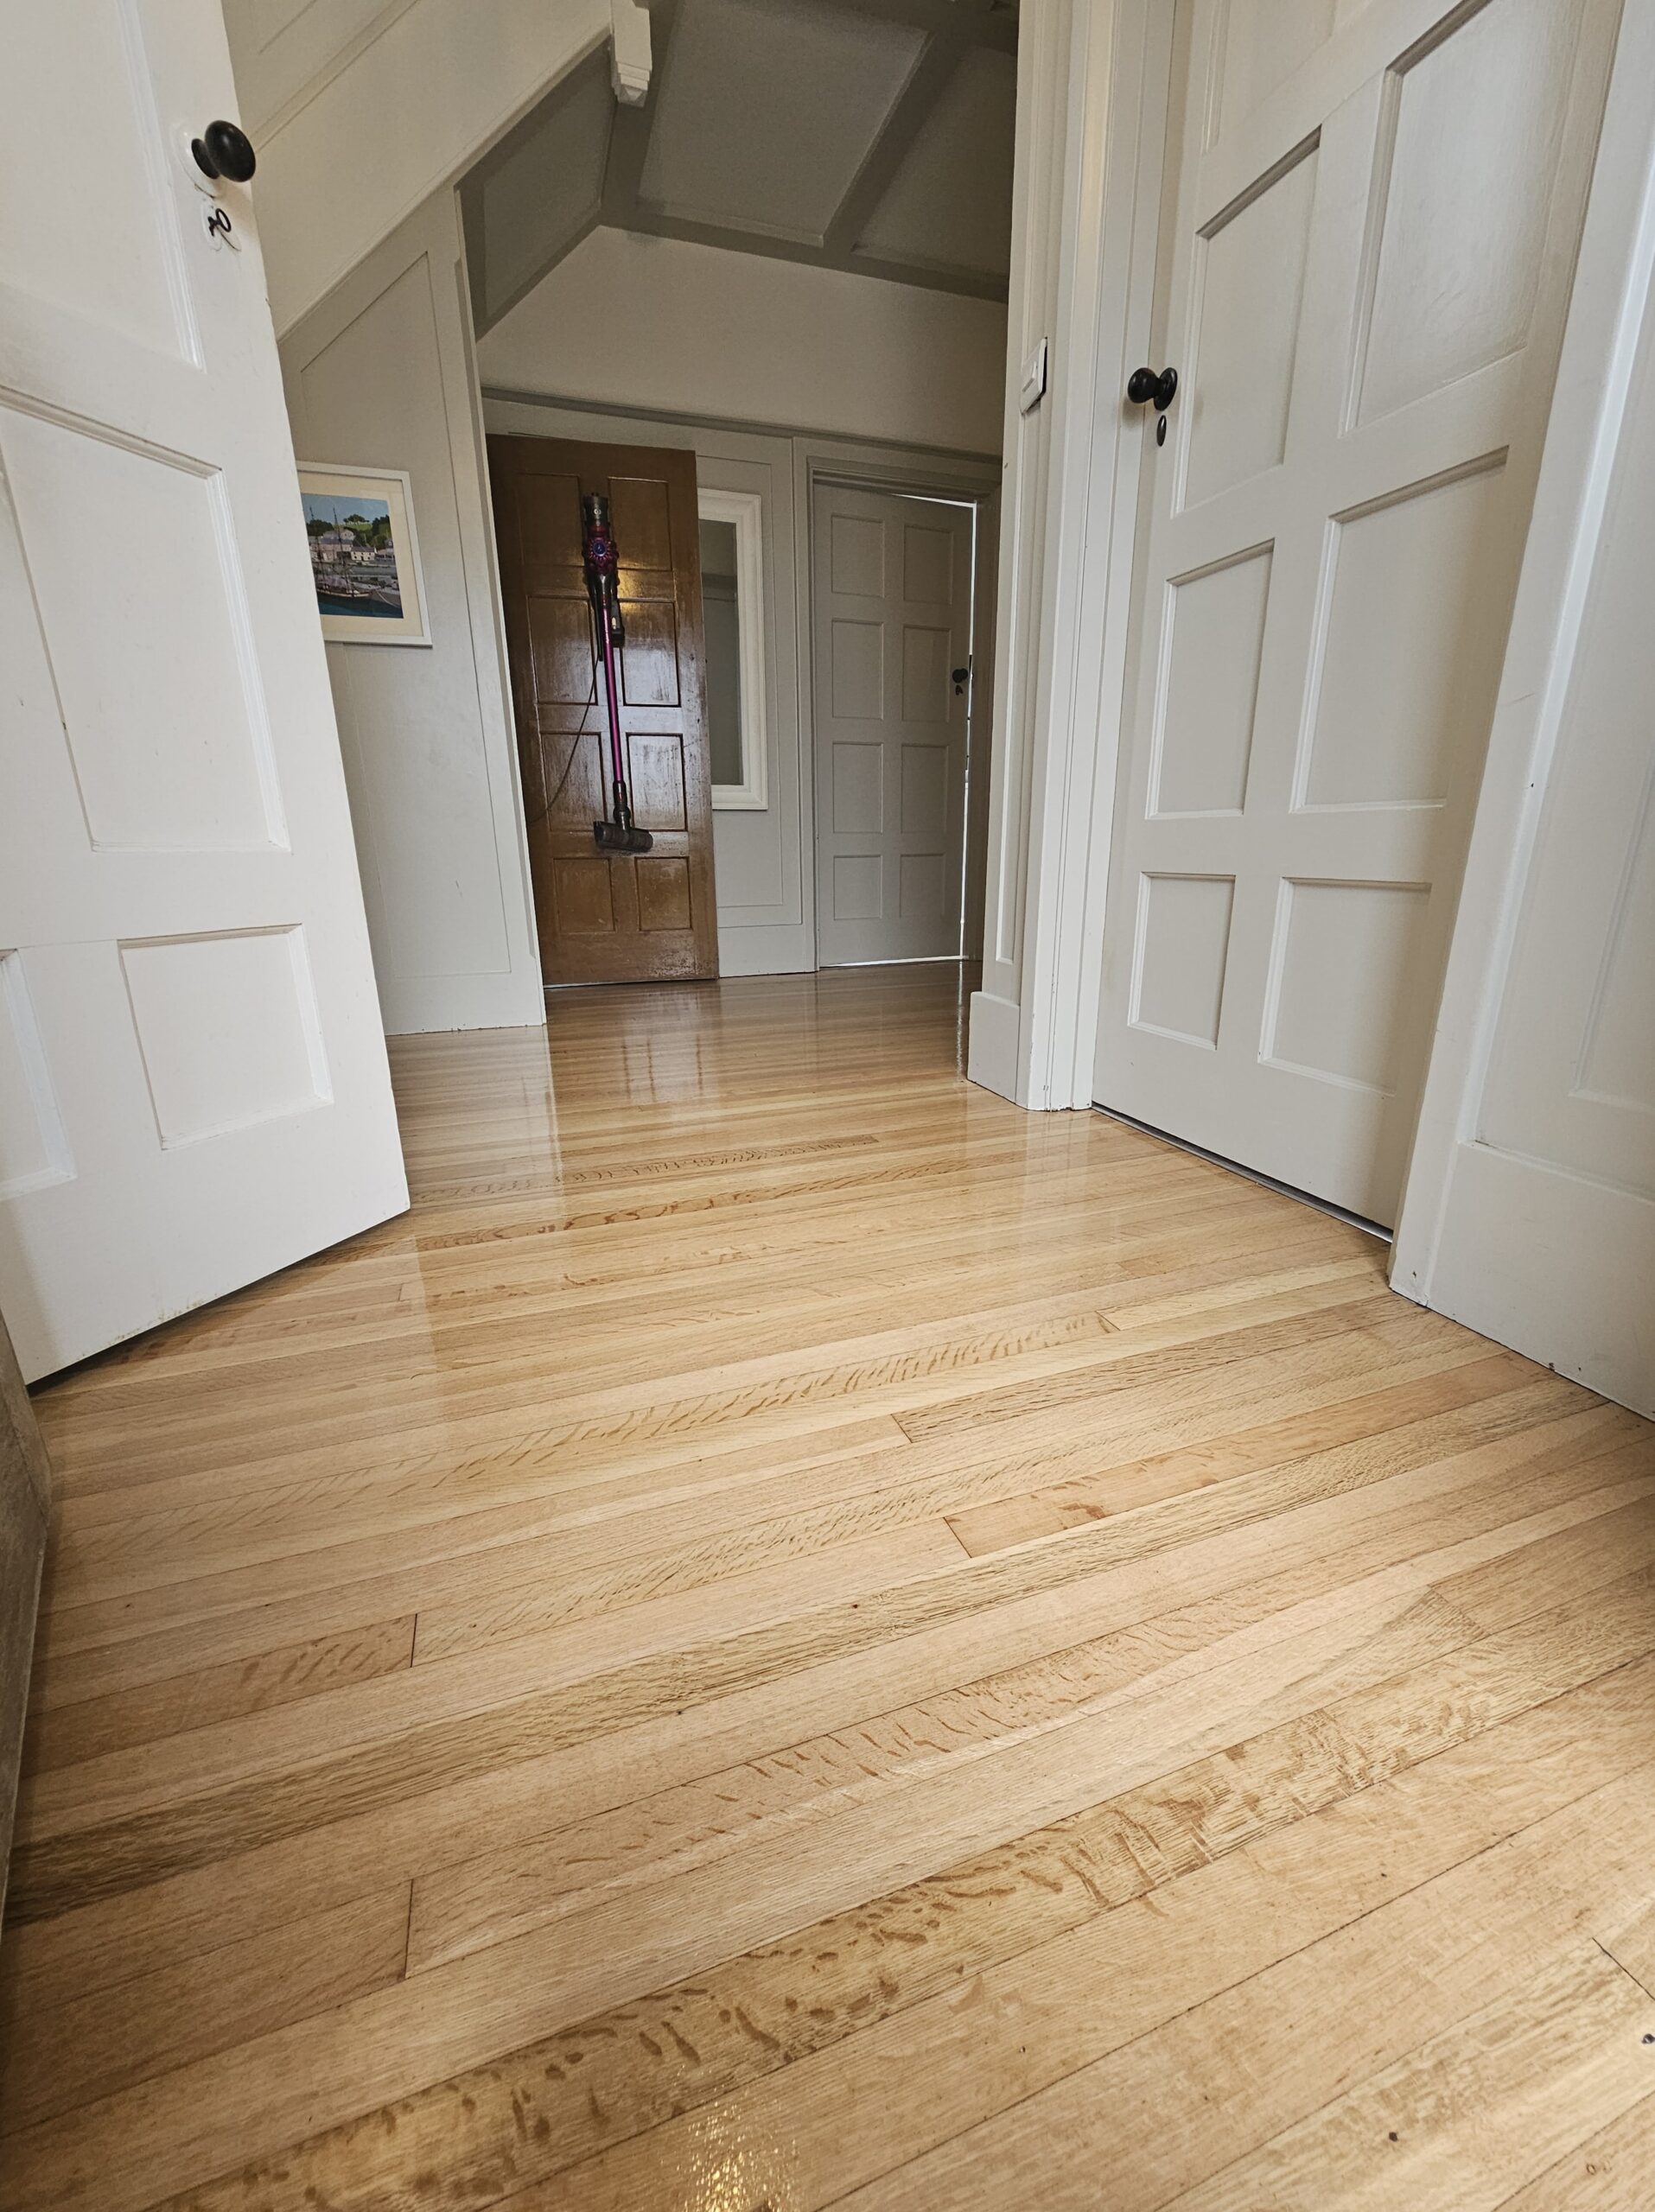
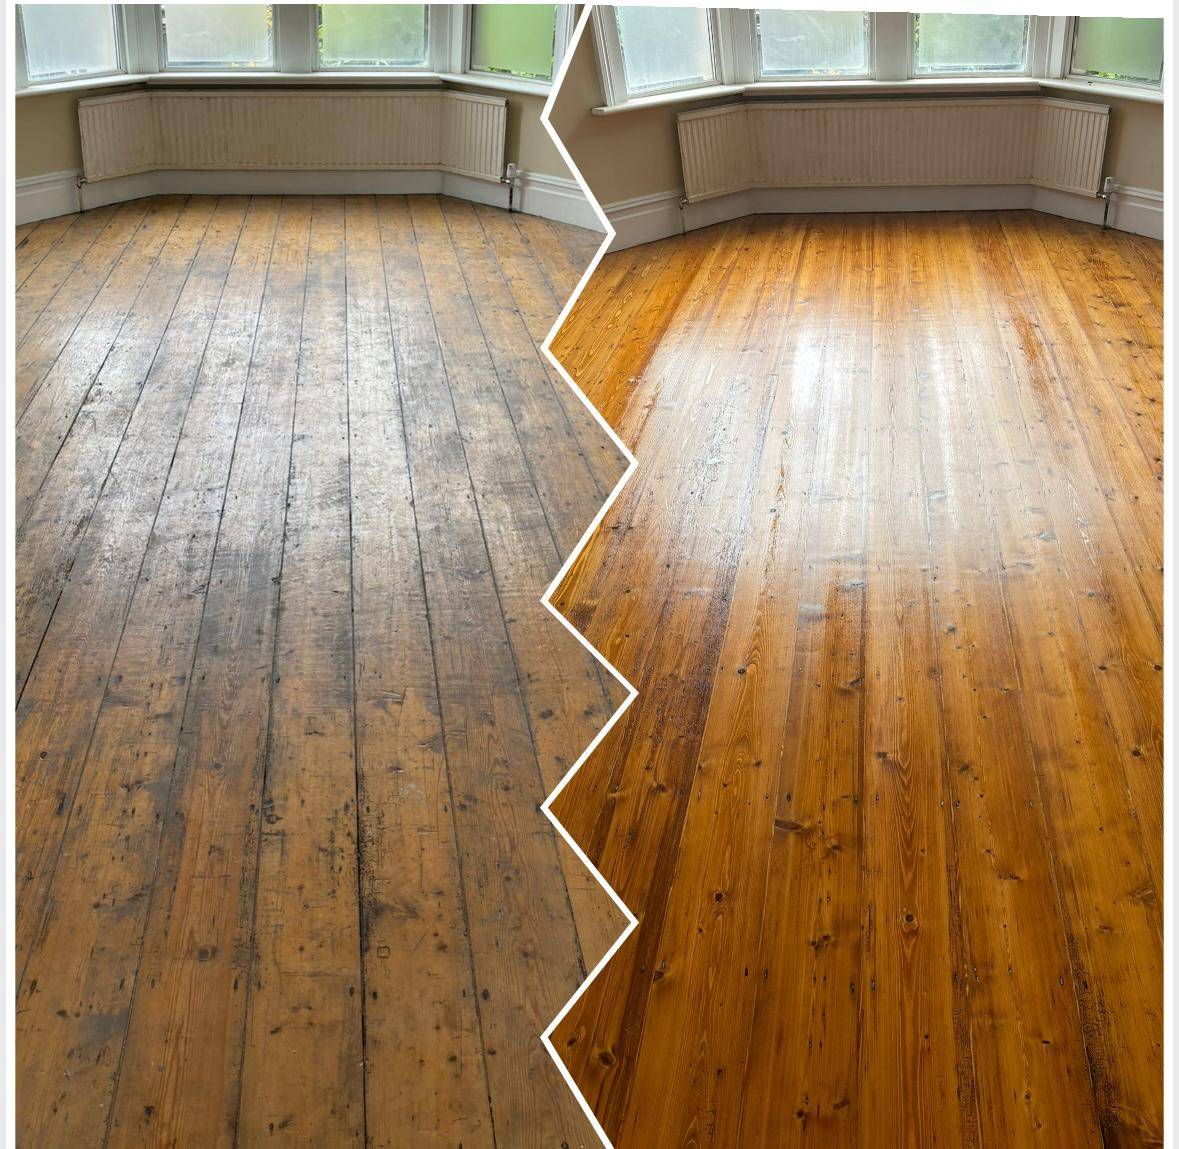
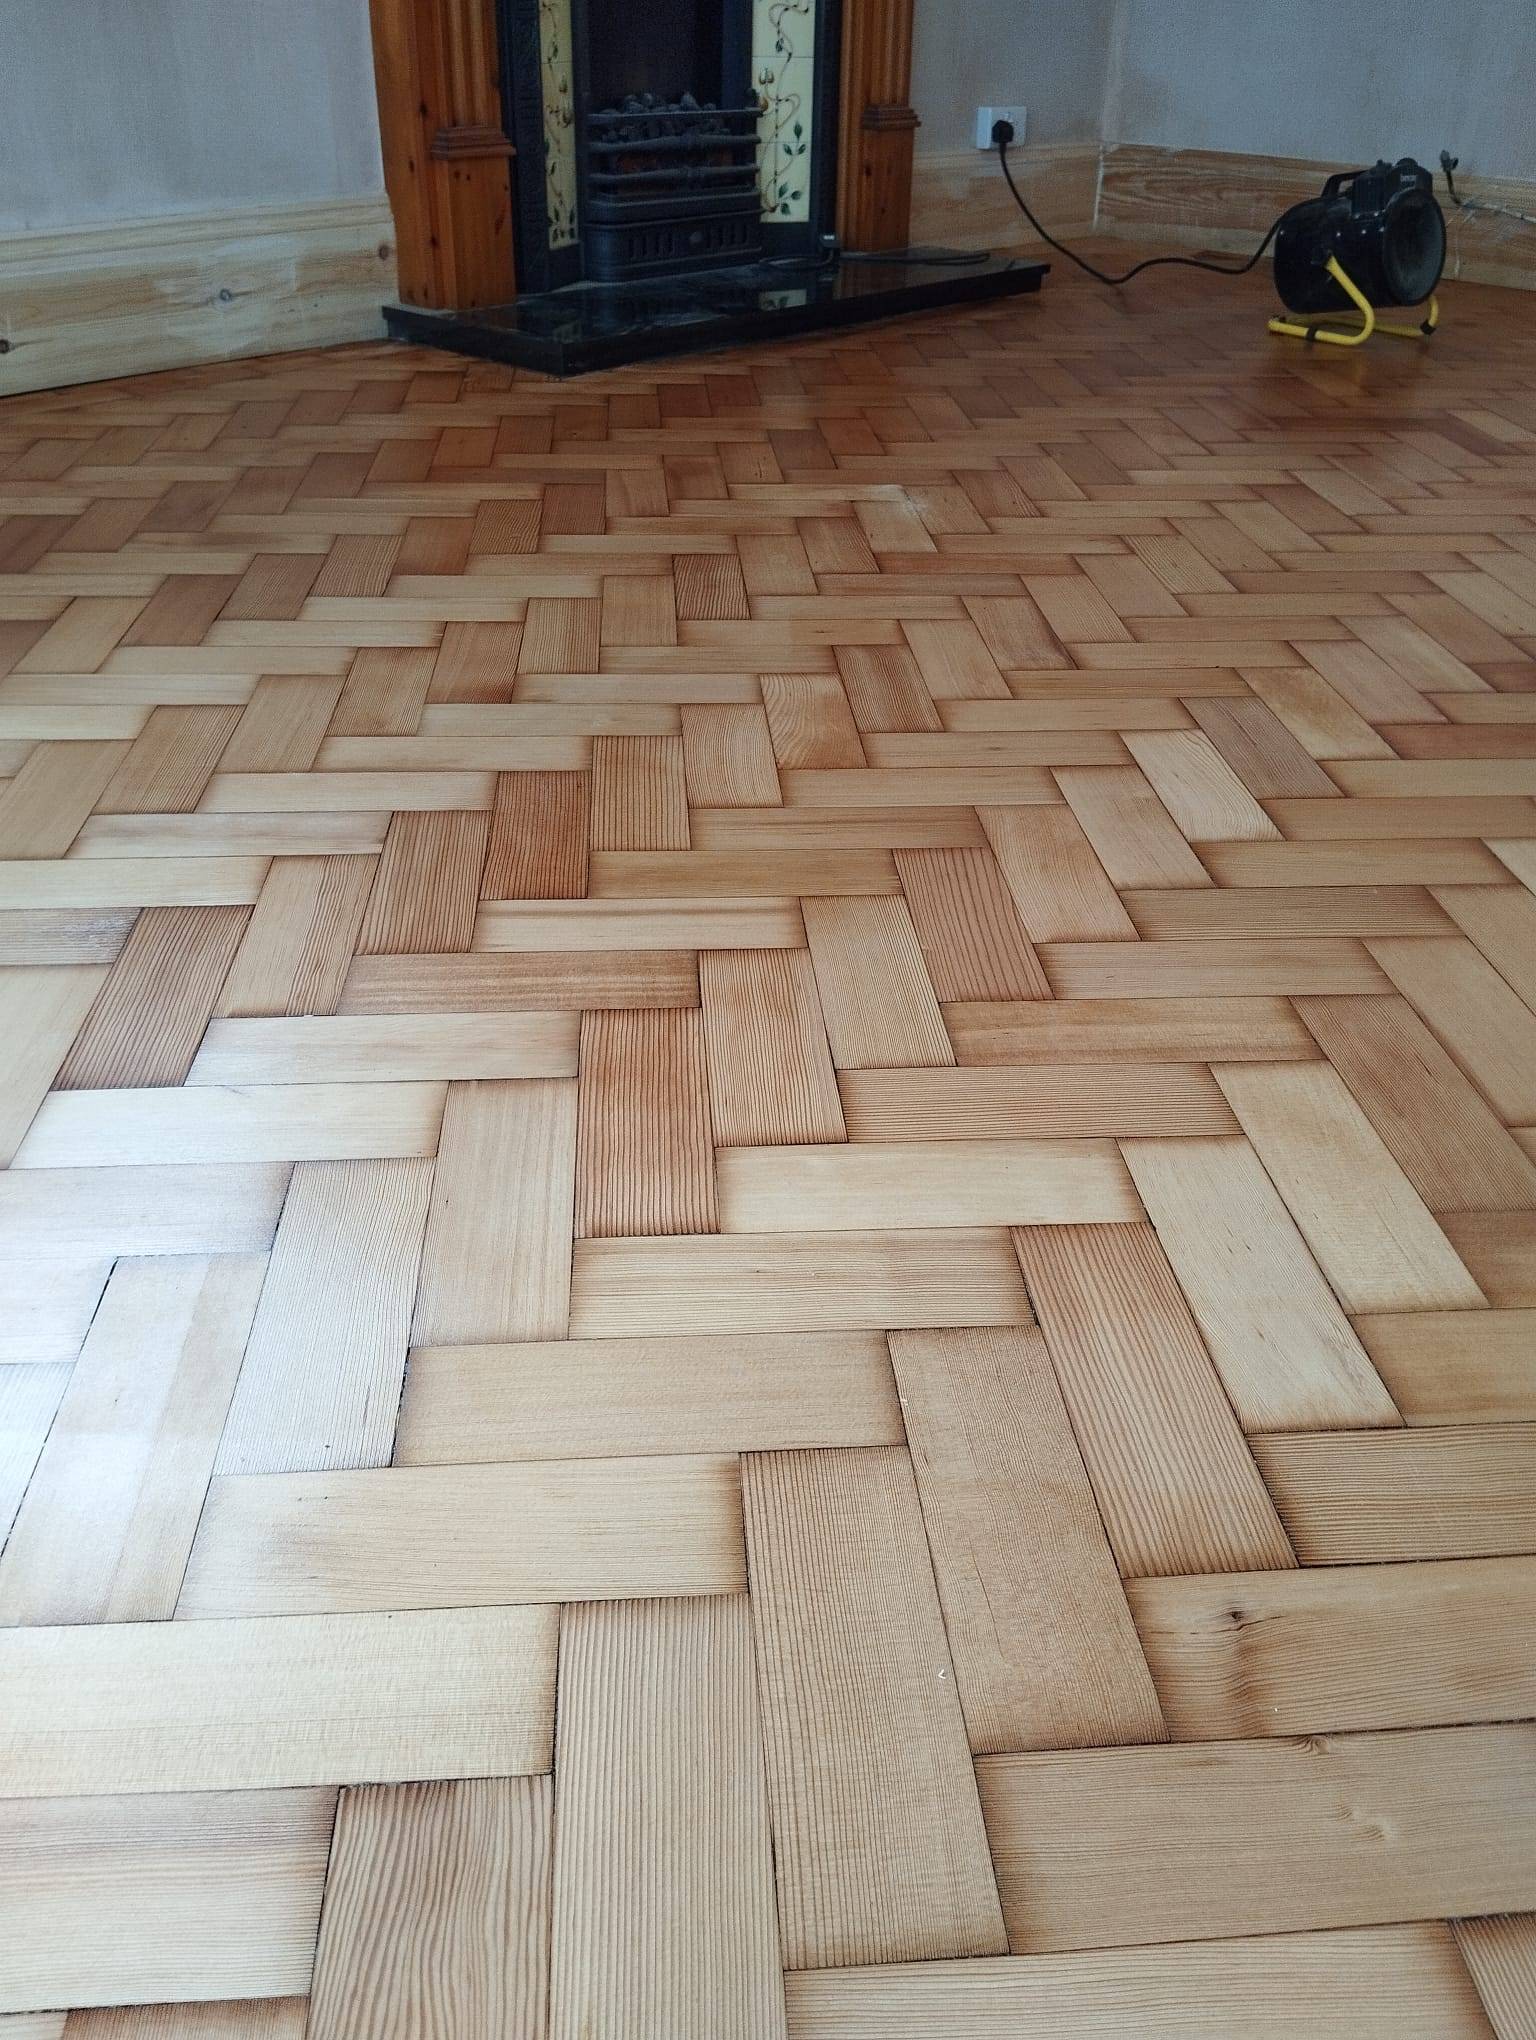
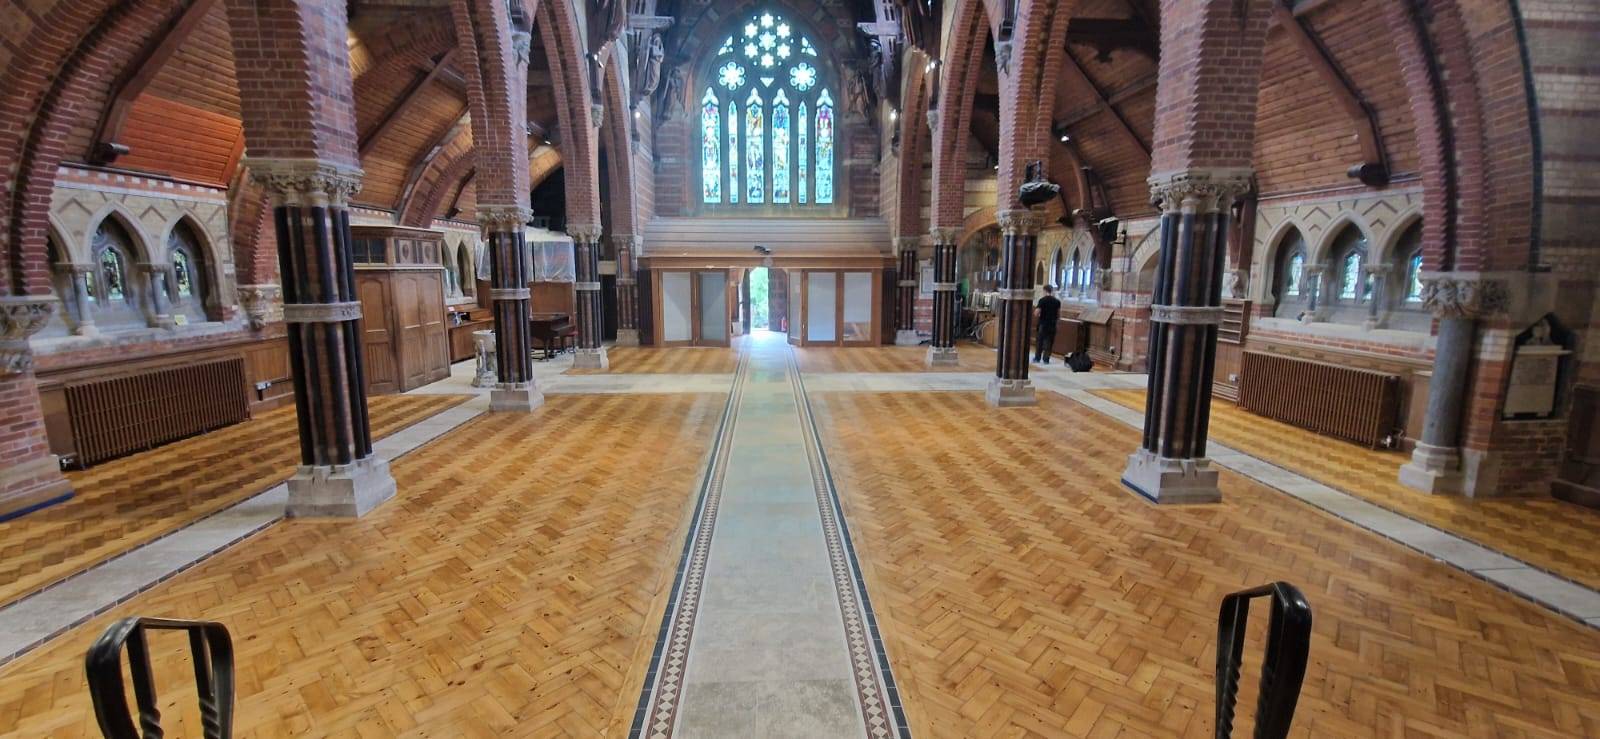
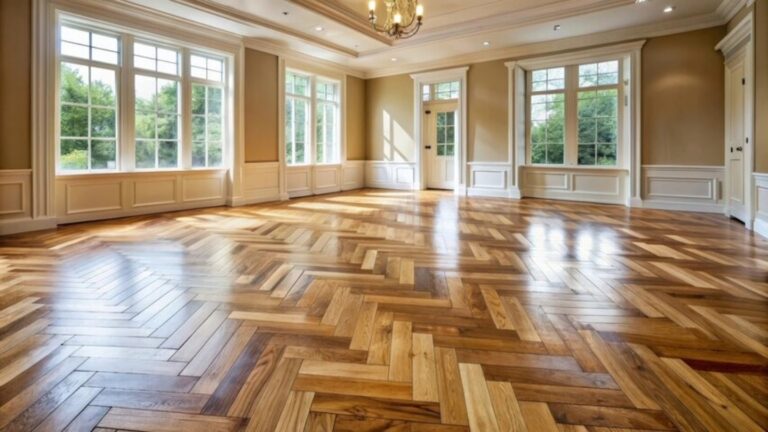
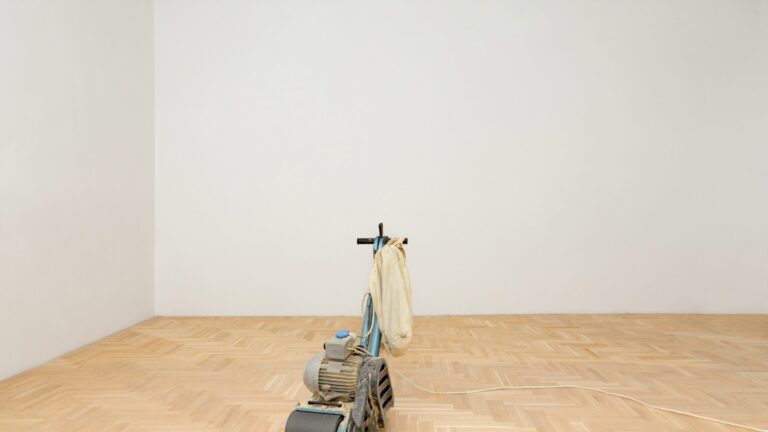
Can narrow board floors truly challenge even the most experienced DIY enthusiast? When the allure of restoring these classic floors beckons, one can quickly find that sanding presents unique difficulties. Many are unaware that without the proper approach, common mistakes such as uneven surfaces and chatter marks can arise, detracting from the beautiful finish desired. However, with professional insights and the right techniques, overcoming these obstacles is achievable. Discover how understanding the intricacies of narrow board floors can not only preserve their elegance but also enhance the overall aesthetics of your home.
Challenges in Sanding Narrow Board Floors
Narrow board floors present several challenges, primarily due to their tendency towards uneven surfaces, which can lead to an inconsistent sanding finish. Unevenness in narrow boards often results from age, wear, or improper installation. This issue necessitates the use of specialised sanding techniques and equipment to avoid damaging the boards. In addition, common problems such as chatter marks and feathering can occur if the sanding process is not executed correctly. Chatter marks are repetitive, small waves that appear on the floor surface, often caused by improper handling of the sanding machine. Feathering, on the other hand, results from uneven pressure applied during sanding, creating an inconsistent finish.
- Skipping grit progression, leading to scratch marks.
- Using inappropriate sanding equipment for narrow boards.
- Applying uneven pressure, resulting in gouges.
- Neglecting edge sanding, causing inconsistent finishes.
- Failing to manage dust, affecting the surface quality.
.
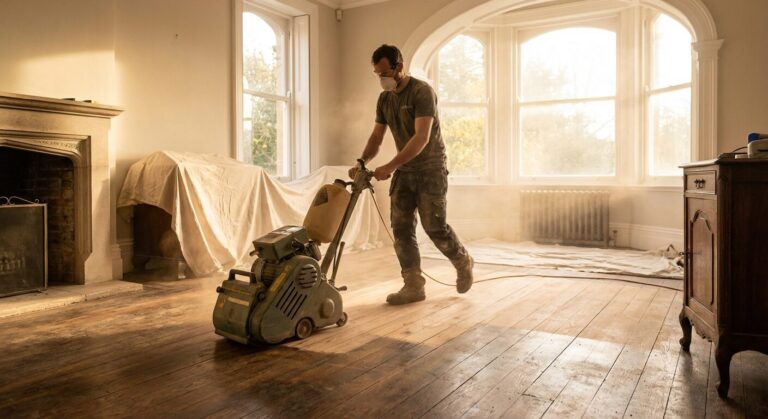
To overcome these challenges, selecting the correct belt width for the sanding machine is crucial. A narrower belt allows for greater control and precision, essential for handling the delicate surfaces of narrow boards. Additionally, maintaining steady pressure and consistent movement of the sanding machine can help minimise chatter marks and feathering. Attention to detail, particularly around edges and corners, ensures a uniform finish. By employing these techniques, one can achieve a smooth and professional result on narrow board floors, enhancing their appearance and longevity.
Professional Techniques for Narrow Board Floor Sanding
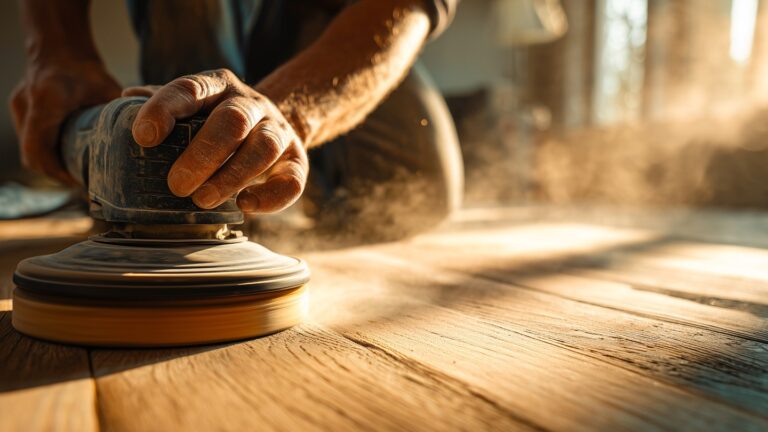
To achieve a flawless finish on narrow board floors, professionals emphasise the importance of grit progression and selecting the right tools. The process typically begins with coarse grit sandpaper, such as 60 or 80 grit, which is ideal for removing old finishes and levelling the surface. Gradually progressing to finer grits, like 120 and 180, smooths the floor and prepares it for finishing. Choosing the correct tools is equally vital; an orbital sander is recommended for its ability to provide a uniform surface without leaving swirl marks, a common issue with other sanding machines. This careful selection of sandpaper and equipment ensures an even and consistent surface, ready for the application of finishes.
Using Edgers for Detailed Work
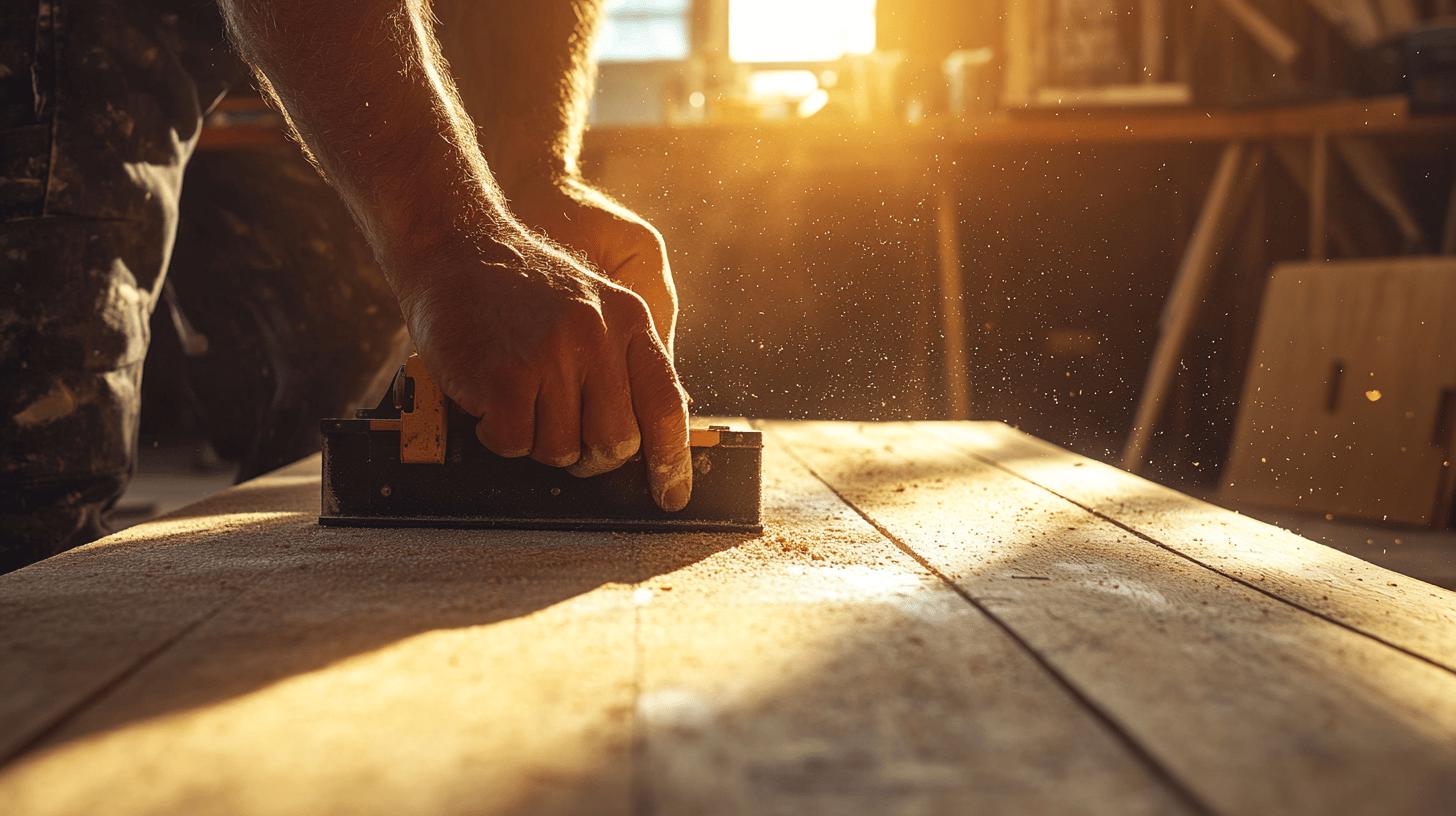
Edgers and smaller tools are indispensable when dealing with the intricate detailing required in narrow board floors. Large sanding machines often struggle to reach corners and edges, where precision is crucial. Edgers are specifically designed to handle these areas, allowing for meticulous attention to detail. The use of hand-held sanders or sanding blocks can further refine the edges and corners, ensuring that no spots are left untouched. This detailed work is essential to maintain consistency and achieve a professional result across the entire floor surface.
Achieving a consistent sanding pattern is essential for a high-quality finish on narrow board floors. Professionals suggest maintaining steady pressure and movement, overlapping each pass slightly to avoid missed spots and ensure uniformity. Professional-grade equipment offers advanced features such as adjustable speed and dust extraction, which enhance control and efficiency during the sanding process. These tools not only improve the quality of the finish but also reduce the time and effort required to complete the job. By employing these professional techniques, one can overcome the challenges of sanding narrow board floors with ease, resulting in a beautifully restored surface.
Selecting the Right Tools and Sanding Equipment
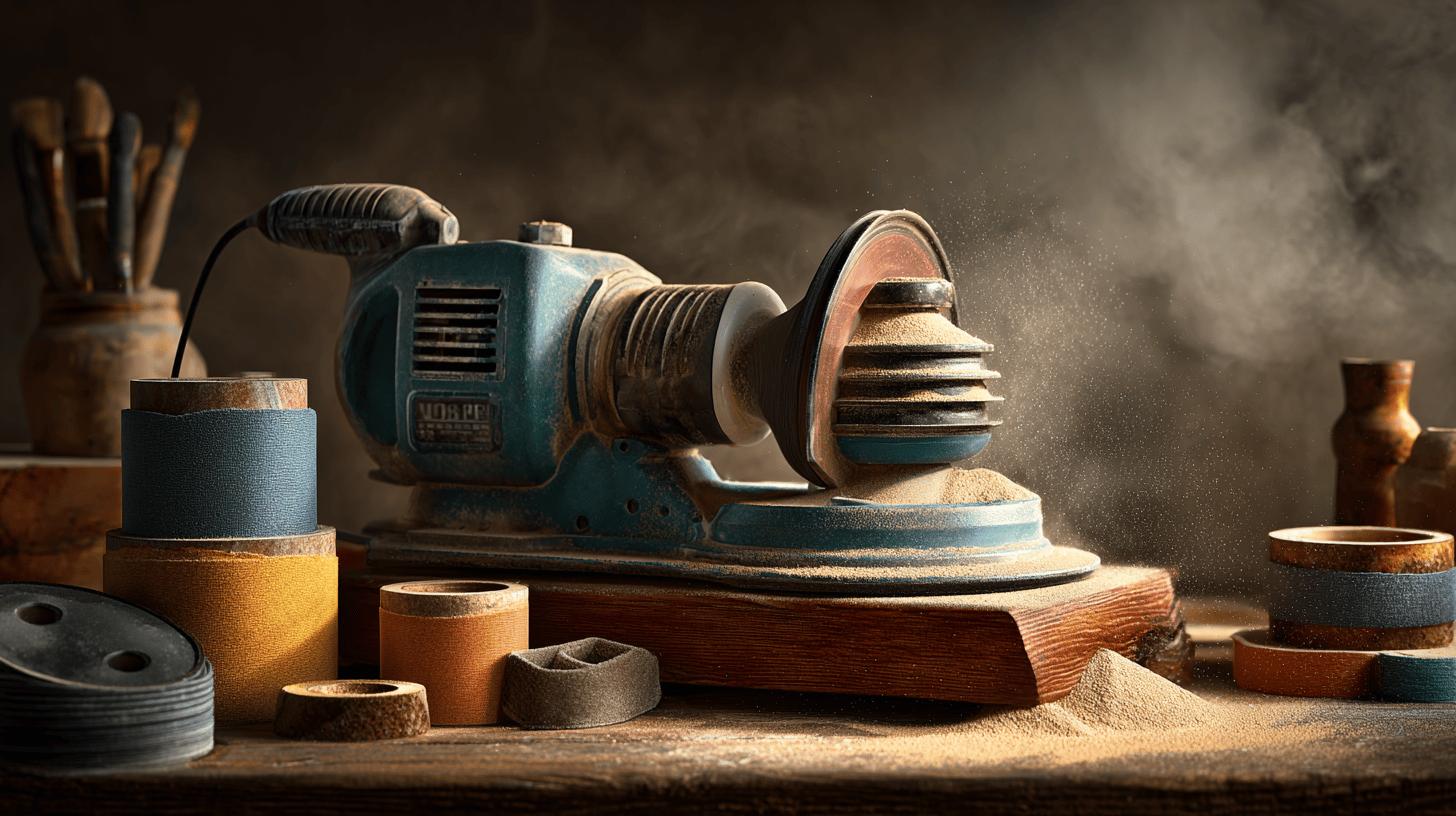
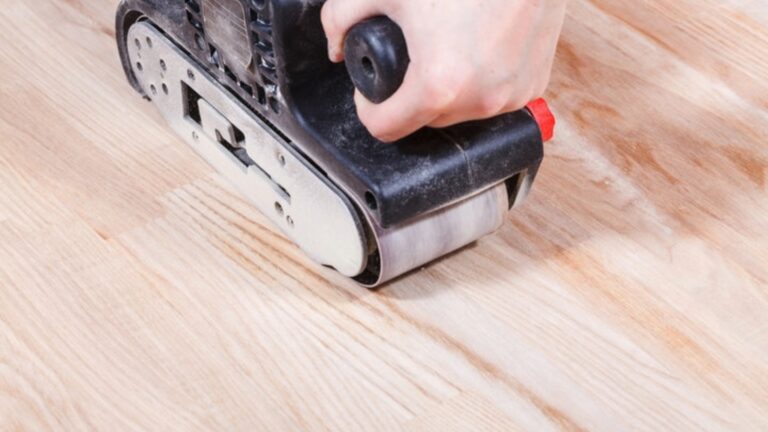
Choosing the appropriate tools is crucial for achieving a smooth and professional finish on narrow board floors. An orbital sander is often recommended due to its ability to provide an even surface without leaving swirl marks, which can be a common issue with other sanding machines. Belt sanders are also effective for removing old finishes and levelling uneven surfaces. The right sandpaper selection is essential, starting with a coarse grit like 60 or 80 to remove imperfections, and progressing to finer grits such as 120 and 180 to achieve a polished finish. These choices ensure that the sanding process is efficient and results in a high-quality surface.
- Orbital Sander: For smooth, swirl-free surfaces.
- Belt Sander: Effective for removing old finishes.
- Coarse Grit Sandpaper (60-80): Initial removal of imperfections.
- Fine Grit Sandpaper (120-180): For a polished finish.
.
Using professional-grade equipment offers several advantages, including enhanced control and efficiency during the sanding process. These machines often feature adjustable speed settings and dust extraction systems that help maintain a clean working environment, reducing the risk of damage to the floor. Additionally, professional tools are designed to handle delicate surfaces, such as narrow boards, with precision and care, ensuring a consistent result across the entire floor. Employing the right equipment not only improves the quality of the finish but also streamlines the sanding process, saving time and effort.
Dust Management and Safety Precautions
Effective dust management is essential when sanding narrow board floors, as it minimises the risk of respiratory issues and ensures a cleaner working environment. One effective technique is vacuuming between each sanding stage to remove fine dust particles that can affect the finish quality. Additionally, using dust extraction systems integrated with sanding equipment significantly reduces airborne dust, enhancing visibility and safety. These systems capture dust directly from the source, preventing accumulation and making it easier to maintain a clean workspace throughout the sanding process.
- Wear a dust mask to protect against inhalation of fine particles.
- Ensure proper ventilation by opening windows and doors.
- Secure loose boards to avoid tripping hazards.
- Use ear protection to guard against noise from sanding machines.
- Keep the area clear of obstructions to prevent accidents.
.
Maintaining a clean and safe working environment is crucial not only for the quality of the sanding results but also for the safety of those involved in the process. Ensuring that the workspace is free from clutter and potential hazards allows for smoother movement and reduces the likelihood of accidents. Proper ventilation is vital to disperse dust and fumes, while personal protective equipment like masks and ear protection further safeguards against health risks. By adhering to these precautions and integrating effective dust management strategies, the sanding process becomes safer and more efficient, yielding a superior finish on narrow board floors.
Achieving a Smooth Finish on Narrow Board Floors
Achieving a smooth finish on narrow board floors involves careful sandpaper grit progression and precise sanding techniques. Start with coarse grit sandpaper, such as 60 or 80 grit, to remove old finishes and level the surface. Gradually progress to finer grits like 120 and 180, ensuring that each stage smooths out the scratches left by the previous grit. Overlapping passes during sanding is crucial for uniformity, preventing low spots and creating an even surface. This methodical approach not only removes surface imperfections but also prepares the floor for the final finish, enhancing its overall appearance and durability.
| Grit | Purpose |
|---|---|
| 60 | Initial removal of old finishes and levelling |
| 80 | Smoothing out deep scratches and imperfections |
| 120 | Further refining the surface for a smoother texture |
| 180 | Final preparation for finish application |
| 220 | Achieving a polished and smooth surface |
Once the sanding process is complete, applying the final finish is essential for both durability and aesthetics. Choose between water-based and oil-based polyurethane, each offering distinct advantages. Water-based polyurethane dries quickly and provides a clear finish, preserving the wood’s natural colour. It is ideal for those who prefer a less odorous and faster application process. Conversely, oil-based polyurethane offers a rich, amber hue and superior durability, making it a popular choice for high-traffic areas. Applying multiple thin coats, regardless of the type chosen, ensures a robust and long-lasting finish that enhances the beauty of narrow board floors.
Final Words
Navigating the intricacies of sanding narrow board floors requires a keen understanding of both challenges and techniques. Uneven surfaces and common mistakes such as chatter marks were addressed with the right grit progression and tool selection. Utilising professional-grade equipment and edgers can enhance outcomes significantly.
Proper dust management and adhering to safety precautions are paramount in ensuring a safe and efficient process. By selecting the appropriate tools and using overlapping passes, a smooth finish becomes achievable. Sanding narrow board floors demands precision, but with the right strategies, one can succeed with ease and competence.
Get flawless sanding → Wood Floor Sanding
FAQ
What are the challenges of sanding narrow board floors?
Sanding narrow board floors presents challenges due to their uneven surfaces, which can cause issues like chatter marks and feathering. Correct techniques and the appropriate belt width can help mitigate these problems effectively.
Can you sand floorboards with a hand sander?
Sanding floorboards with a hand sander is possible, but it can be time-consuming and less effective than using specialised machinery. Hand sanders are best suited for small areas or touch-ups.
What is the process for sanding uneven floorboards?
To sand uneven floorboards, a combination of coarse grit sandpaper and an orbital sander should be used to level surfaces before progressing to finer grits for a smooth finish.
How is a floor sander used in the sanding process?
A floor sander, such as a drum or orbital sander, is used to remove the top layer of wood, smoothing imperfections. It’s essential to choose the right type for efficiency and quality results.
How much does sanding wooden floors typically cost?
Sanding wooden floors can vary in cost depending on the size, condition, and location of the job. Prices commonly range from £20 to £50 per square metre.
What are the benefits of using a drum sander?
A drum sander provides powerful sanding capability, ideal for initial sanding stages on large surface areas, offering speed and efficiency compared to smaller, less robust tools.
How should edgers be used for detailed sanding work?
Edgers are necessary for reaching corners and edges where larger machines cannot fit. They ensure detailed work that results in a consistent finish across all areas.
What tools and equipment are best for sanding narrow boards?
Using an orbital sander can achieve smoother surfaces. Recommended tools include orbitals, belt sanders, and edgers with sandpaper grits ranging from 60 to 220, depending on the sanding stage.
How can dust management and safety be ensured during sanding?
Effective dust management involves using vacuums and dust extraction systems. Essential safety precautions include wearing masks, ensuring ventilation, and securing loose boards for a safe work environment.
How is a smooth finish achieved on narrow board floors?
Achieving a smooth finish involves progressing through different sandpaper grits and using overlapping passes. The application of polyurethane, whether water-based or oil-based, can add durability and aesthetics to the final finish.
