Are unsightly scratches on your wooden floors diminishing the charm of your home? While superficial marks may be taken in stride, deeper scratches and gouges can pose a real challenge, demanding more than a quick fix. Understanding the appropriate repair techniques is essential to restoring the beauty and value of your floors. This article delves into pragmatic methods for effectively tackling even the most stubborn deep scratches, providing guidance on assessment, DIY tips, and when to call in experts like Ryan’s Restoration. Ready to revive your wooden floors? Let’s explore the steps to make them look as good as new.
Evaluating the Damage to Wooden Floors
Evaluating the damage to wooden floors is a critical step in ensuring their longevity and appearance. Proper assessment allows homeowners to determine whether a simple DIY fix is sufficient or if professional intervention is necessary. By identifying the type and extent of scratches, one can decide on the most appropriate course of action.
Scratches and gouges on wooden floors vary in severity. Surface scratches typically affect only the top wax layer and are generally superficial, making them easy to address with simple repair methods. Moderate scratches penetrate deeper, possibly affecting the finish but not the wood itself, requiring more intensive treatment. However, deep scratches reach the wood, potentially causing more damage and often necessitating expert care to restore the floor’s integrity and aesthetics.
- Bare wood exposure: Indicates deep scratches reaching the wood itself.
- Discolouration: Suggests damage to the finish or the wood underneath.
- Rough texture: Implies deeper penetration beyond the surface layer.
- Visible grooves: Points to significant wear that affects the wood structure.
- Loss of sheen: Signals that the protective finish is compromised.
Professional assistance is often recommended for major scratches and gouges. When the damage reaches the wood or involves widespread areas, experts can provide solutions that prevent further harm, such as sanding and refinishing. This approach restores the floor’s appearance and ensures its durability and resistance to future wear and tear. Consulting a professional is particularly important for engineered wood, which can only be sanded once, making expert evaluation and repair essential.
Essential Tools and Materials for Scratch Repair
Using the right tools and materials is crucial for repairing deep scratches and gouges on wooden floors. Proper equipment ensures a quality finish and prevents further damage during the repair process. A comprehensive scratch repair toolset will make the task more manageable and the results more professional.
- Wood stain
- Fine grit sandpaper
- Hardwood floor cleaner
- Wood filler
- Plastic putty knife
- Stain markers
- Wax sticks
Fine-grit sandpaper should always be used toward the wood grain to avoid additional scratches. A plastic putty knife is ideal for applying wood filler smoothly, without harming surrounding areas. Wood stain can match the repaired section with the rest of the floor, ensuring a seamless look. Stain markers and wax sticks are handy for minor touch-ups, particularly in areas where the wood filler might not have completely blended. Proper use of these tools can significantly enhance the longevity and aesthetics of your wooden floors.
Step-by-Step Guide to Repairing Deep Scratches and Gouges
Repairing deep scratches and gouges on wooden floors requires precision and attention to detail. Following the correct procedure ensures that the repair is adequate and the floor is restored to its original beauty. Properly addressing these issues improves aesthetics and extends the floor’s lifespan.
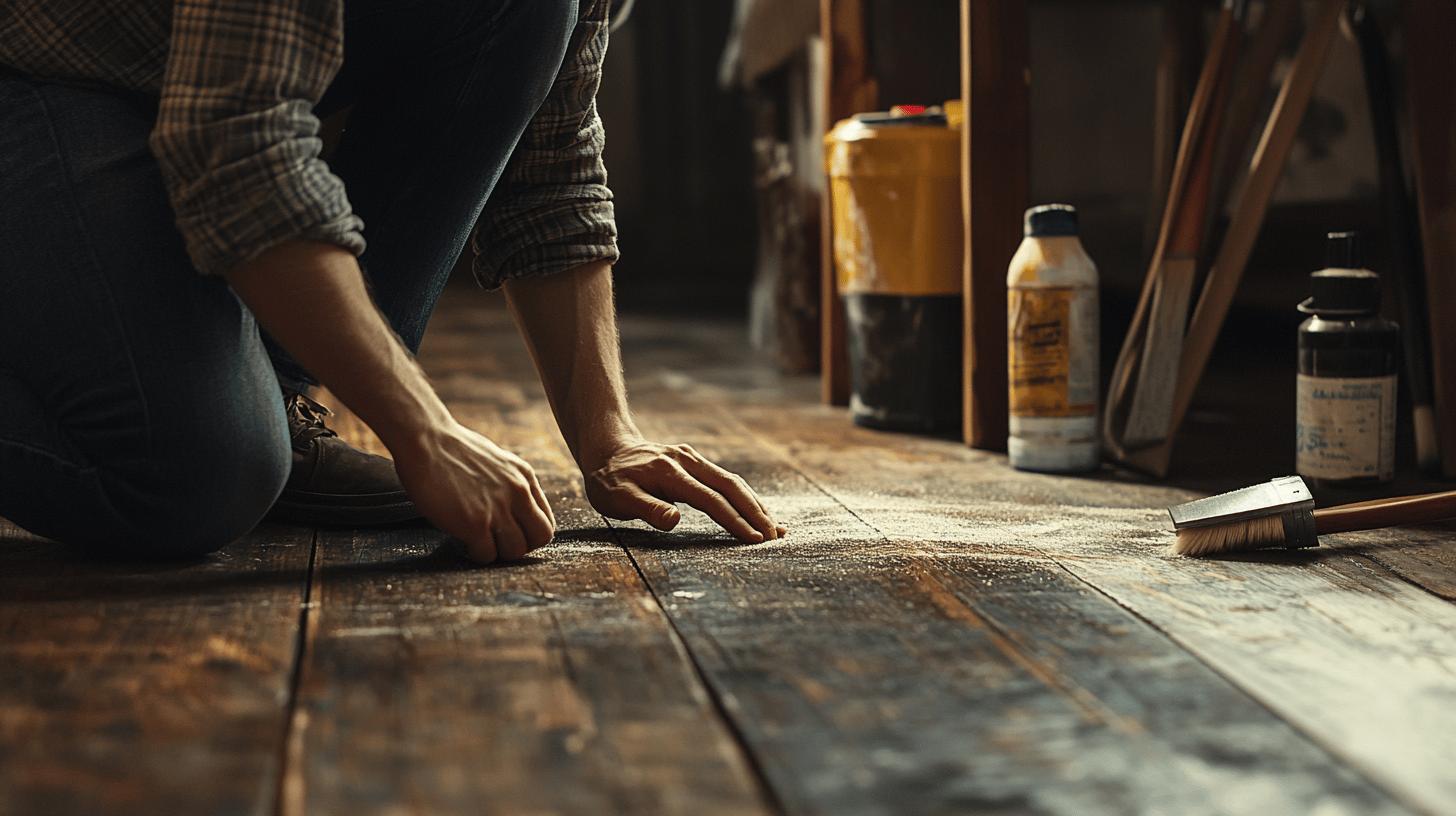
- Assess the damage: Determine if the floor is solid or engineered, affecting the repair method.
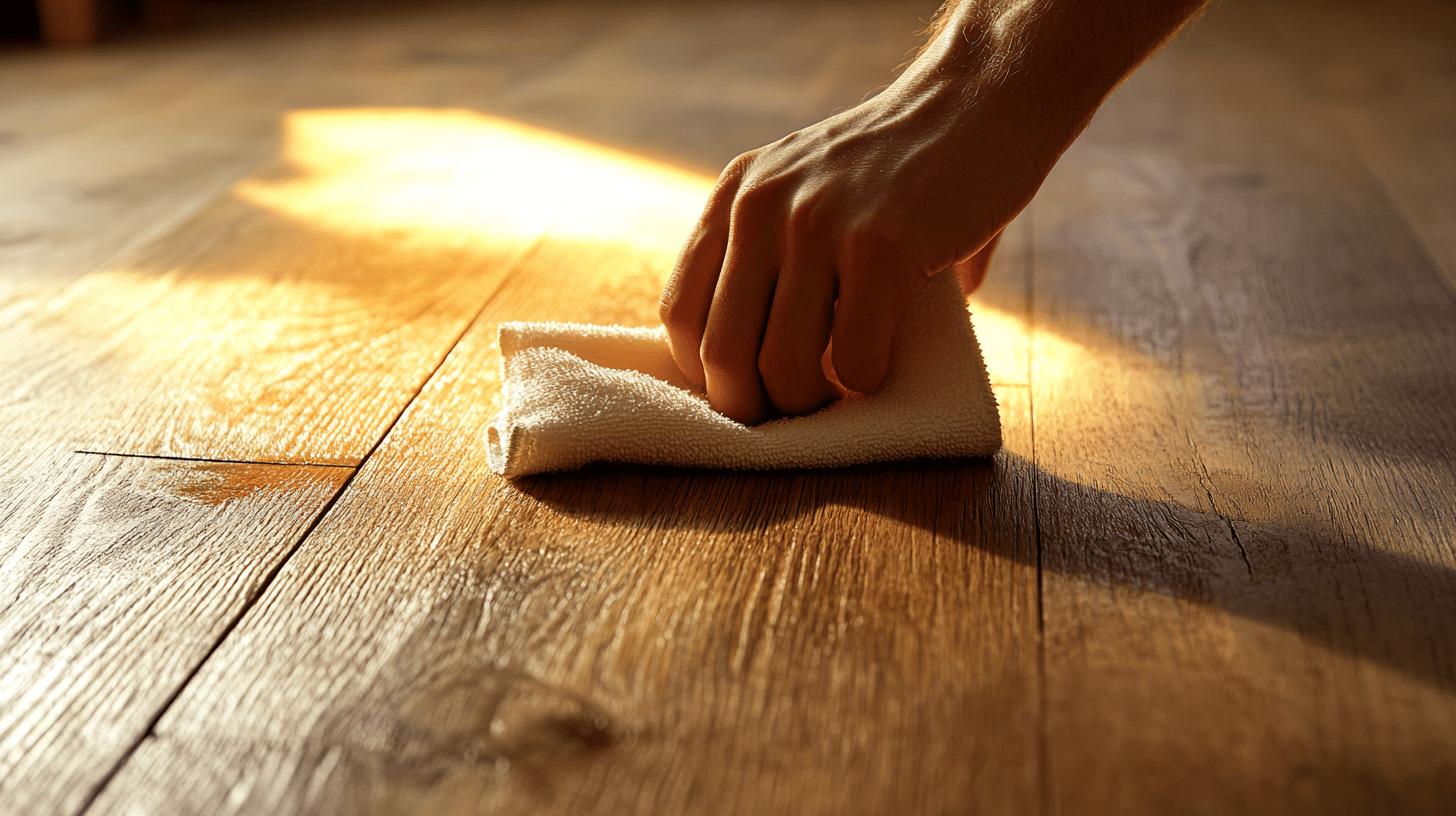
- Clean the area: Use a hardwood floor cleaner to remove dirt and debris, ensuring a clean work surface.
- Sand the scratch: Gently sand the scratch with fine-grit sandpaper, moving toward the wood grain to prevent further damage.
- Remove dust: Wipe away sanding dust with a damp cloth to prepare for filling.
- Apply wood filler: Use a plastic putty knife to fill the scratch with wood filler, matching the floor’s colour as closely as possible.
- Smooth the surface: Once the filler dries, lightly sand the area to ensure a smooth, even surface.
- Stain the repair: Apply a wood stain to blend the repaired area with the surrounding floor.
- Seal the finish: Finish with a protective sealant to enhance durability and restore the floor’s sheen.
Sanding in the direction of the wood grain is crucial, as it prevents further scratches and maintains the integrity of the wood. Fine-grit sandpaper provides the best results, allowing for a smooth finish without damaging the wood. Selecting an appropriate wood filler is equally essential; ensure that the filler matches the floor’s colour to avoid visible inconsistencies.
Choosing the correct wood filler involves understanding the floor’s finish. An oil-based filler is ideal for oil-based finishes, while water-based fillers suit water-based finishes. Applying the filler with a plastic putty knife ensures a smooth application, minimising damage to surrounding areas.
If the damage is extensive or if the repair does not yield satisfactory results, consulting a professional is advised. Professionals can provide expert solutions, especially for engineered wood floors, which require careful handling due to their limited sanding potential. Engaging a professional ensures the floor is repaired effectively and maintains its durability.
Choosing the Right Wood Filler and Repair Products
Selecting the appropriate wood filler is crucial for effective scratch repair on wooden floors, mainly when dealing with deep scratches and gouges. The type of wood finish significantly influences the choice of filler, as compatibility with the existing finish ensures seamless integration and prevents further damage. An oil-based filler is recommended for oil-based finishes, while water-based finishes require water-based fillers. This alignment ensures aesthetic consistency and maintains the floor’s integrity and durability over time.
| Product Type | Best For |
|---|---|
| Oil-Based Wood Filler | Oil-based finishes, deep scratches |
| Water-Based Wood Filler | Water-based finishes, general repairs |
| Latex Wood Filler | Quick drying, minor to moderate scratches |
Applying wood filler correctly is vital for achieving a smooth, professional finish. A plastic putty knife is ideal for this task, allowing for precise application without damaging the surrounding wood. Begin by filling the scratch, ensuring the filler is evenly distributed and flush with the floor surface. After the filler dries, gently sand the area to achieve a smooth texture, then apply a matching stain to blend with the floor. Finally, seal the repair with a protective coating to enhance durability and restore the floor’s appearance.
DIY vs Professional Help: Making the Right Choice
DIY repairs can be a cost-effective solution for minor scratches on wooden floors. Simple techniques and readily available materials allow homeowners to address superficial damage without professional intervention. This approach is suitable for shallow scratches that do not penetrate beyond the finish, making it a practical option for those confident in their repair skills and looking to save on costs.
However, professional services become invaluable when it comes to severe damage where the wood is exposed, or the finish is significantly compromised. Experts like those at Ryan’s Restoration offer comprehensive solutions for deep scratches and gouges, ensuring the floor’s integrity and aesthetic appeal are restored. Professional intervention is particularly crucial when the damage is extensive, as improper repairs can lead to further deterioration. Engaging specialists guarantee a high-quality finish and provide peace of mind, knowing that the floor is protected against future issues.
Preventing Future Scratches and Maintaining Wooden Floors
Regular maintenance is essential for preserving the beauty and durability of hardwood floors. By actively maintaining your floors, you can significantly extend their lifespan while keeping them looking their best. Consistent care prevents minor issues from developing into major problems, ultimately saving time and money on extensive repairs. One critical aspect of maintenance is ensuring your floors are protected from potential sources of damage, such as furniture movement and foot traffic, which can cause scratches and gouges over time.
- Use furniture pads under the chair and table legs to prevent scratches when moving furniture.
- Place area rugs in high-traffic areas to reduce wear and tear.
- Trim pet nails regularly to avoid scratches from excited pets.
- Remove shoes at the door to prevent dirt and grit from scratching the floor.
- Use soft-bristle brooms for sweeping to avoid harsh contact with the floor surface.
- Avoid dragging heavy objects across the floor. Instead, lift them or use sliders.
Selecting the proper cleaning and refinishing products is vital for maintaining the longevity of wooden floors. Products should be chosen based on the type of wood finish, as using incompatible products can cause damage. For instance, oil-based finishes require specific cleaners that preserve their natural sheen, while water-based finishes need products that maintain clarity. Regularly applying a suitable refinishing product helps protect the floor from future scratches and enhances its resilience against everyday wear. By following these practices, you can ensure your hardwood floors remain in excellent condition for years.
Final Words
Evaluating the damage on wooden floors starts with identifying the type and severity of scratches. This assessment determines whether simple DIY repairs or professional restoration is necessary—essential tools and materials, such as wood filler and fine-grit sandpaper, aid in addressing deep scratches.
The step-by-step guide for repair highlights the importance of proper technique and professional consultation when needed. Choosing the right repair products enhances the restoration process. Deciding between DIY or professional help ensures effective solutions tailored to damage severity.
One can preserve their beauty and longevity by understanding how to remove deep scratches and gouges from wooden floors. Emphasizing prevention and maintenance will continue to protect these valuable surfaces.
FAQ
Q: How can deep scratches on a wood floor be repaired?
A: Repairing deep scratches on wood floors involves filling the scratches with wood filler, sanding the area, and applying matching stain or finish to blend it seamlessly with the surrounding floor.
Q: What methods exist for fixing deep scratches on wood floors without sanding?
A: Deep scratches can sometimes be fixed by applying a wood filler that matches the floor colour, gently buffing the area after the filler has dried, and applying a matching finish.
Q: Can vinegar be used to repair scratches on hardwood floors?
A: Using vinegar directly on scratches is not advisable. Instead, focus on cleaning the floor to remove dirt, which may enhance the appearance of scratches by creating a smoother surface.
Q: How does wax help in wood floor scratch repair?
A: Wax can fill and hide minor surface scratches on wood floors, providing a quick but temporary solution. Other methods, such as wood filler, may be required for deep scratches.
Q: Are wood floor scratch repair kits effective?
A: Yes, wood floor scratch repair kits are effective for minor to moderate scratches. Kits typically include wood stains, markers, and fillers to help restore and blend floor imperfections.
Q: Which is the best wood floor scratch repair kit?
A: The best scratch repair kit depends on your specific floor finish and scratch severity. Generally, kits with various stain markers and filler compounds provide versatile repair options.
Q: How can dog scratches on hardwood floors be fixed?
A: To fix dog scratches, clean the area, use a wood repair kit to apply filler if needed, and match the finish to restore the floor’s appearance and protect it further.
Q: Does WD-40 remove scratches from laminate flooring?
A: WD-40 can reduce the visibility of scratches on laminate flooring by filling the gaps; however, this is a temporary fix and mainly enhances the floor’s appearance.
Q: When should one consider professional help for wood floor repair?
A: Professional help is recommended for severe damage when scratches expose the bare wood or cover extensive areas, risking further structural issues if not appropriately handled.


